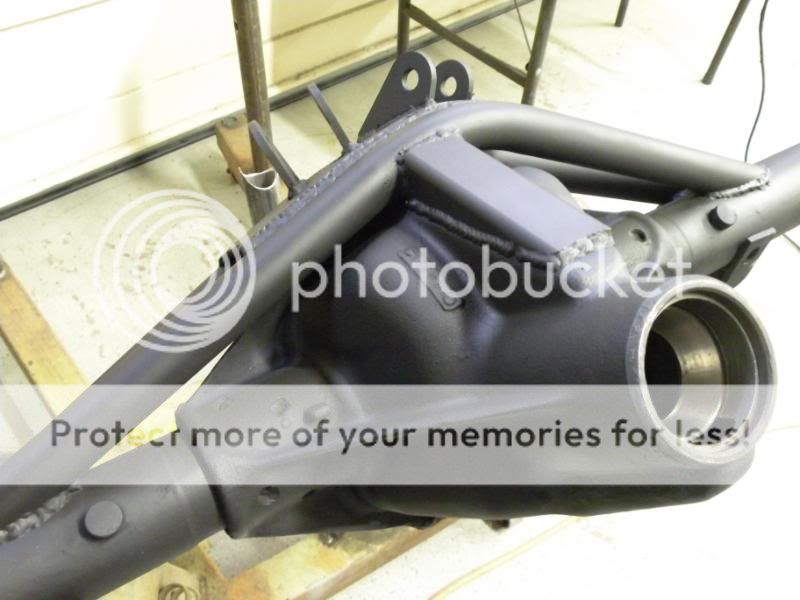
Troy knows a helluva lot more about welding than I do, and I'd have him weld my stuff anytime. So listen to him for an accurate answer. For a garage welder like me, I gave up on all the fancy techniques for welding to diff housings and knuckles. For one thing, they're cast steel and not cast iron, which makes a difference. With a little pre-heating I just use the MIG with normal wire. So far, so good.
It also depends on what exactly you're welding. If you're welding a bridge that attaches to both the tube and the housing, the load is pretty spread out. If you're trussing and welding all along the tube and the housing, then the load is really spread out. But, if you had to weld a link bracket mostly to the cast center section then every technique and precaution should be made for a strong weld. I wouldn't even do it.
Another example is welding shock tabs to inner C's. Many builders, including myself, weld tabs directly to the C with a MIG and no pre-heating, partially because the ball joint is already there. Most C's are good quality steel and there seems to be no issues welding to it. My lower front shock tabs are welded directly to the top of the C with a MIG, and it's been through 2 KOH races and a bunch of pre-running for a 3rd KOH, plus tons of trail running with no issues. (gawd I hope I didn't just jinx myself

)
It's not rocket science, just be smart about it.


")


