• Welcome to the new NAXJA Forum! If your password does not work, please use "Forgot your password?" link on the log-in page. Please feel free to reach out to [email protected] if we can provide any assistance.

CrazyJim's Jeepspeed/Prerunner XJ build

I'm not going through the dash with this one. I will be on the MJ however. But I won't be engine caging the XJ.

You mean not through the firewall right? I know you are going through the dash.

Cage is looking good!!!
Where in mexico are you going?

Santo Tomas to San Quintin on the B500 course backwards....
 
You mean not through the firewall right? I know you are going through the dash.


Santo Tomas to San Quintin on the B500 course backwards....


I'd take my vacation time to go do that sounds like a blast! Got room on the roof? :)
 
I'm not going through the dash with this one. I will be on the MJ however. But I won't be engine caging the XJ.

Cage is looking good!!!
Where in mexico are you going?

I'd take my vacation time to go do that sounds like a blast! Got room on the roof? :)


I have room inside.. hahaha, Damn Broncos have plenty of passenger room. Its a quick 2 day trip we are doing this time...
 
Haha bastards. Its not done yet, I only get to work on it on the weekends as my schedule permits. And ranger race is definitely back on.

Uh huh, Sure it is............:D
 
UPDATE:

Went over late yesterday, as I've been working 16 hour days lately. In installing the cage, we figured out that we'd either have to lose the hood pop lever inside the cab, or relocate it. I opted for hood pins. We started on those yesterday, and got them all set up. Like everything they took 3 times longer than expected. The pins weren't long enough to just bolt down to my header panel, so we had to weld a washer down to the header panel, then weld a nut down to IT. Anyway, here's how they came out:

hoodpin3.jpg


hoodpin2.jpg


hoodpin4.jpg


hoodpin1.jpg
 
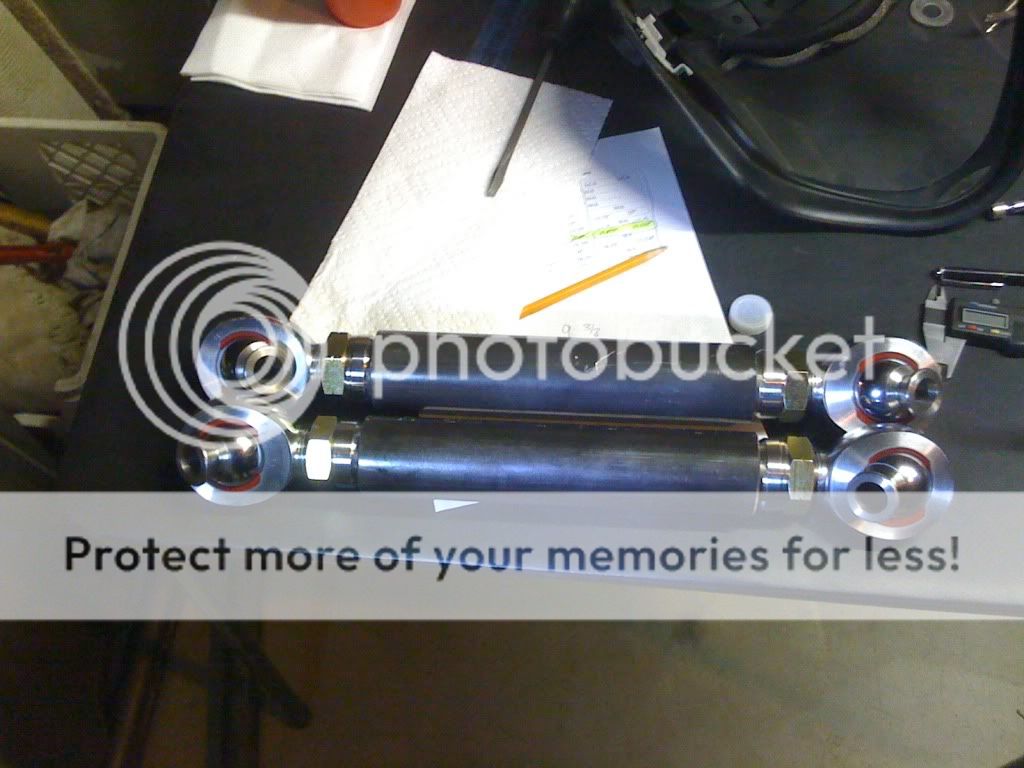
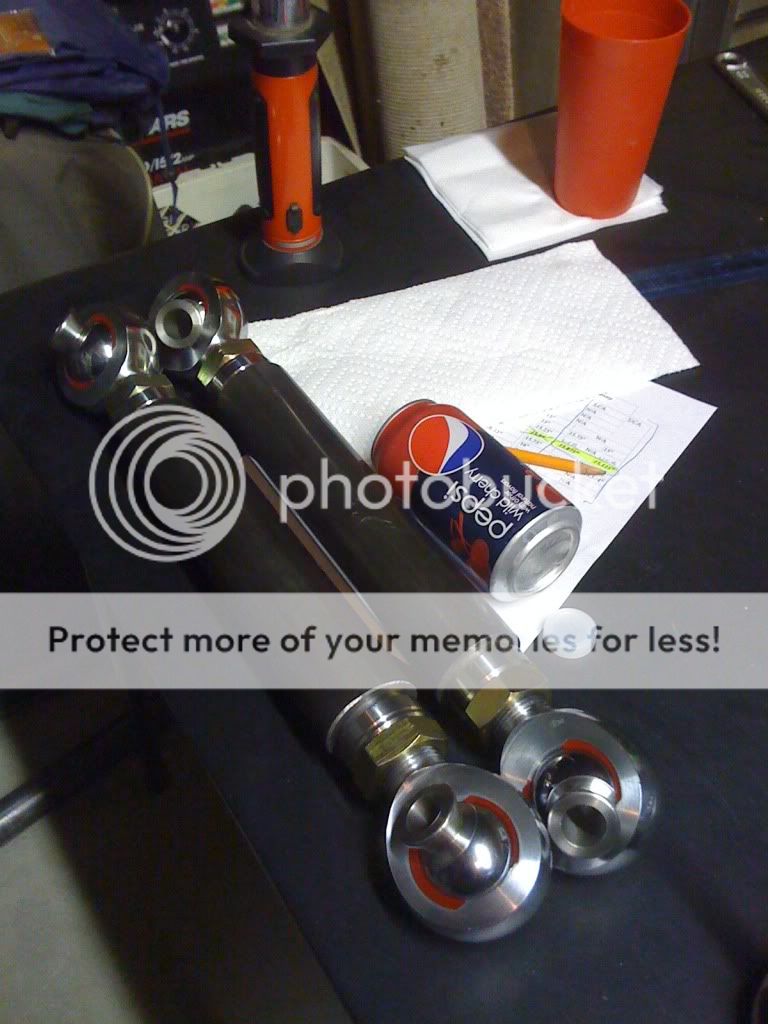
While Lee was working his magic trying to tig a galvanized washer and bolt to a galvanized body, I started cutting material and building my LCA's. These are 2" .250 wall 4130 with 1.25" chromo heims. I think they'll be strong enough for me :D


LCA2.jpg


LCAandDawn.jpg


LCA3.jpg


Going back over there today, we're going to the welding shop to get some bigger tig rod and some other goodies. Stay tuned for today's progress (tomorrow) :D
 
pepsi? where's the dr pepper can!? lol

looks beefy dude, but I can't tell cause dawn is tiny. those would look like long arms if you were holding them :D
 
UPDATE:


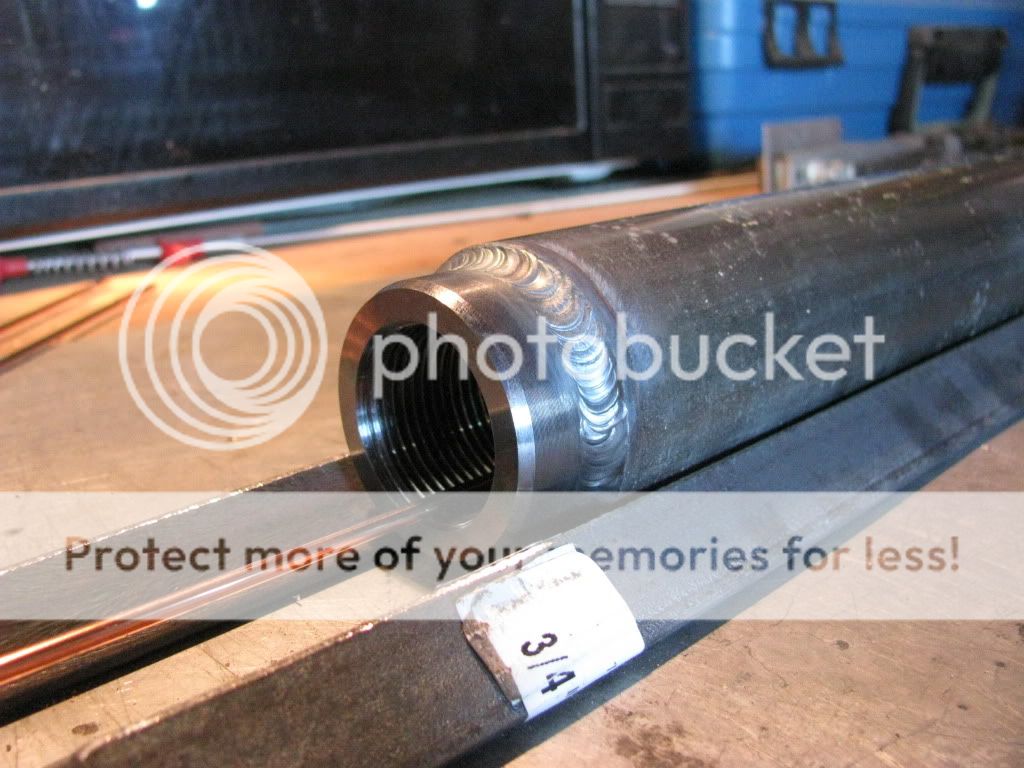
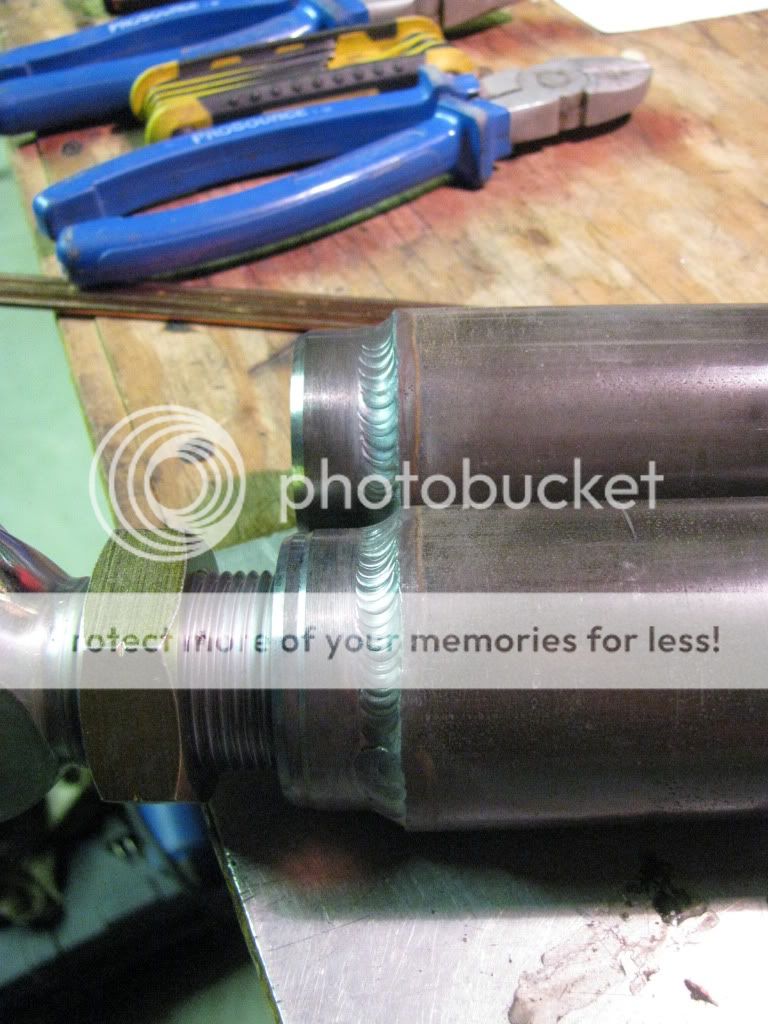
We didn't get much done this weekend, but we got a pretty major item finished. We were both pretty beat, so we worked on small table stuff rather than getting down and dirty. Lee finished up welding the LCA's we assembled yesterday. While he was doing that I measured, cut, and prepped the material for the upper control arms.

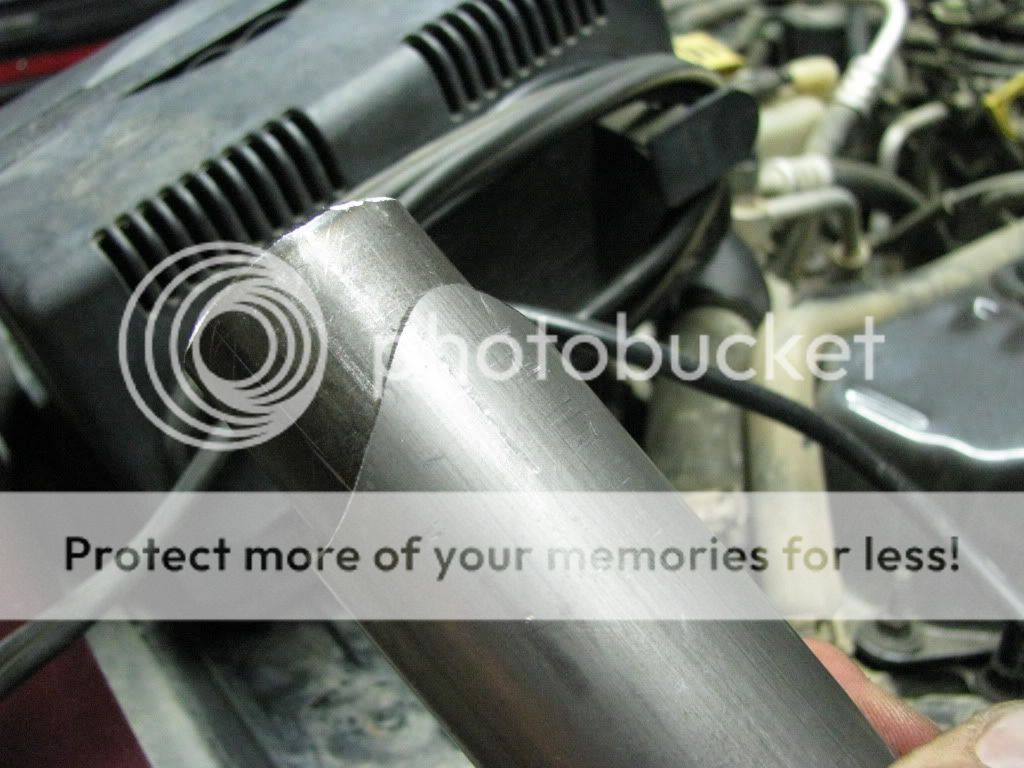
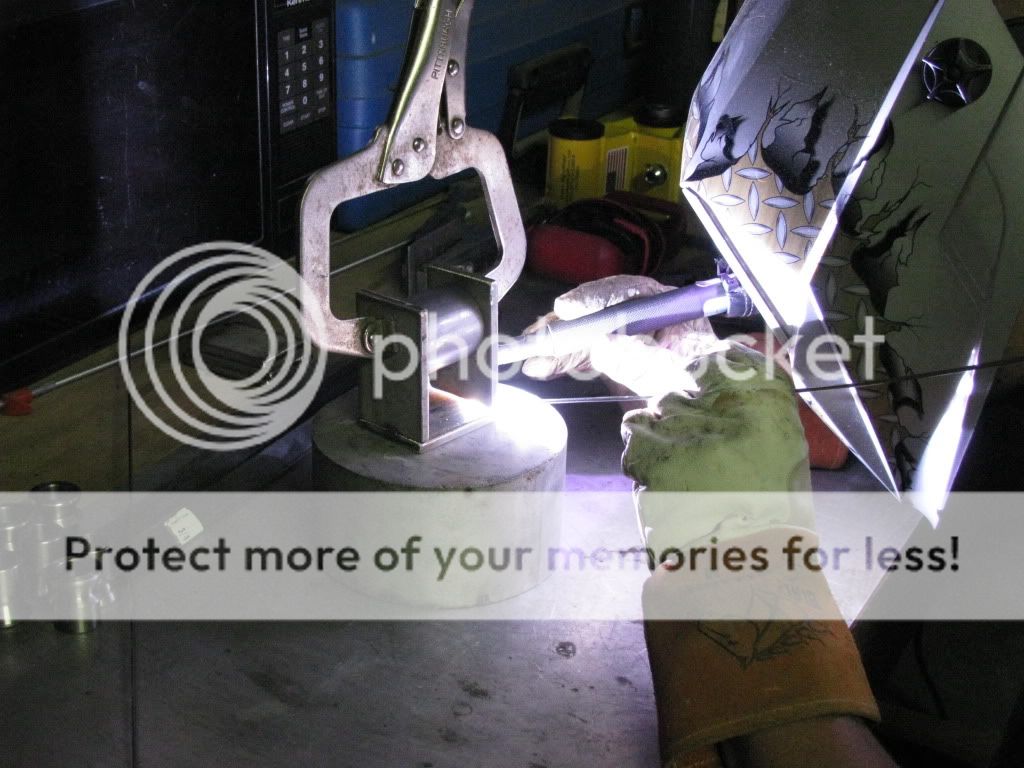
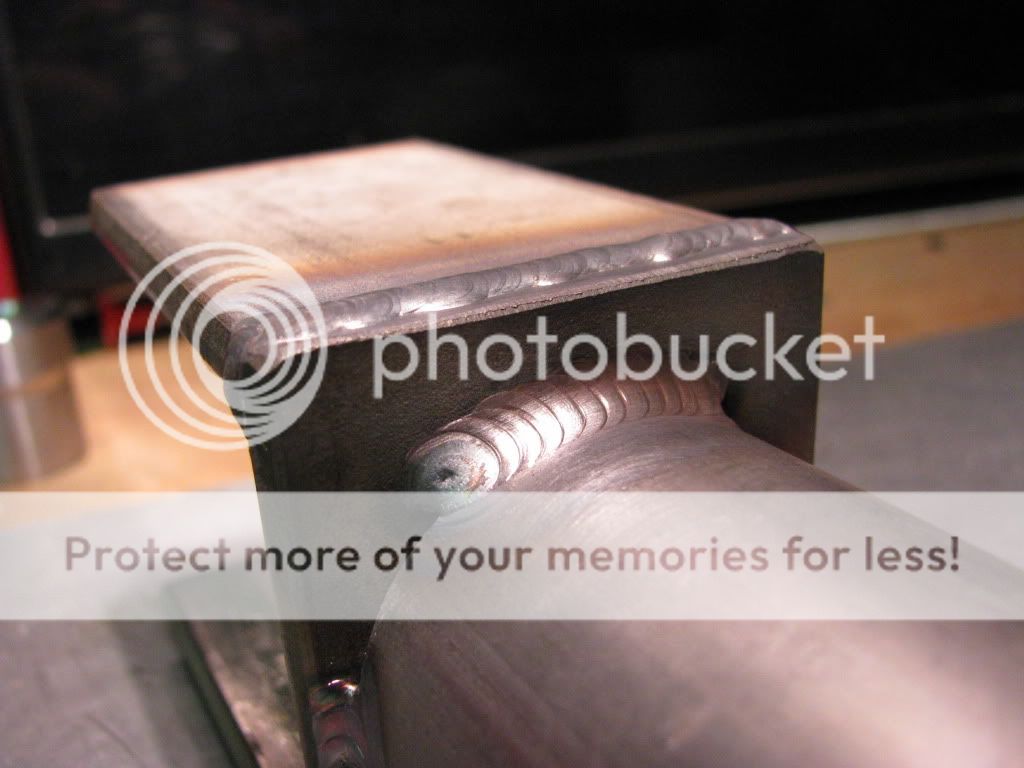
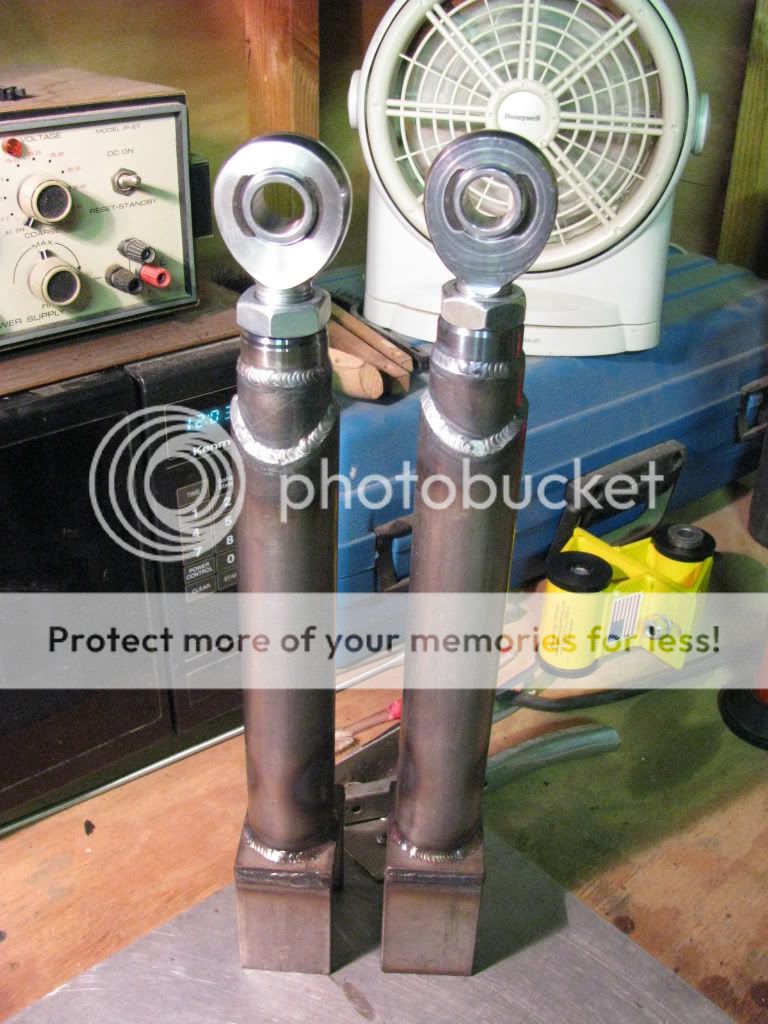
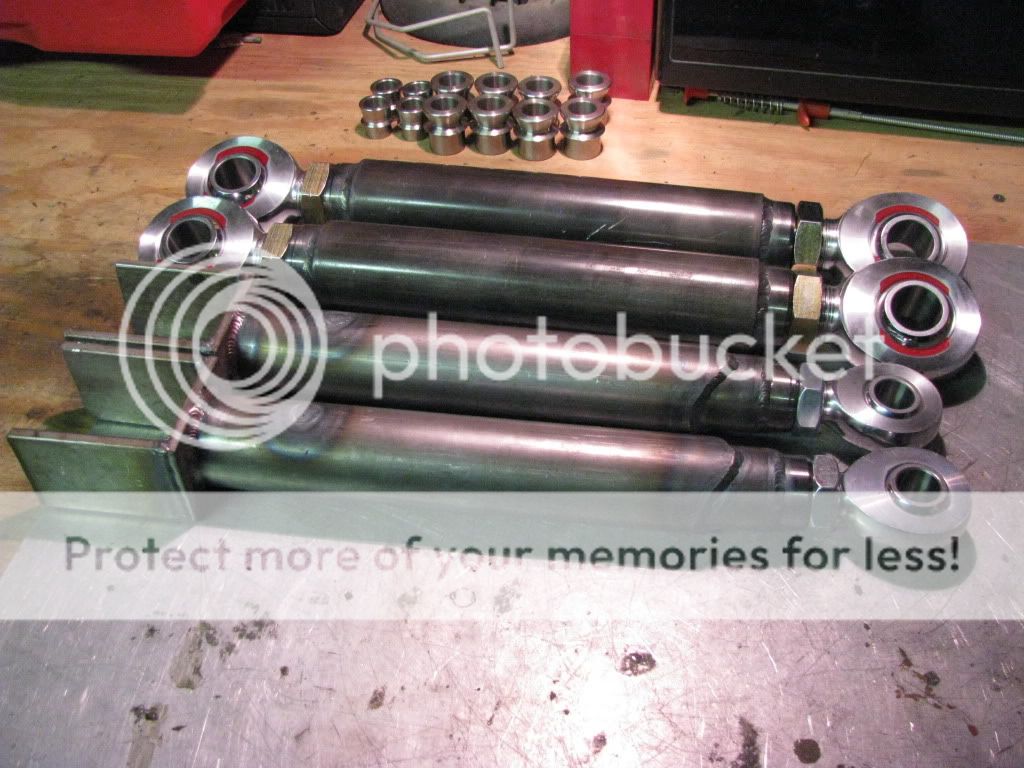
For the uppers we used 1.5" .120 wall DOM sleeved with 1.75" .120 wall DOM. Fisheyed on one side and plug/rosette welded on the other. For the open end we used 1/4" stainless plate. Keep in mind the axle side isn't finished yet on the UCA's, I still need to drill the hole, and round out the ends. Also going to brainstorm on what kind of plating we're going to use to gusset and reinforce the ends. Hopefully the control arms will hold up :D

IMG_1456.jpg


IMG_1457.jpg


IMG_1465.jpg


IMG_1471.jpg


IMG_1475.jpg


IMG_1480.jpg


IMG_1466.jpg


IMG_1469.jpg


IMG_1474.jpg


IMG_1489.jpg


IMG_1494.jpg


IMG_1493.jpg


IMG_1492.jpg
 
I also got the front end back together while Lee was welding. I installed my spiffy BajaHID.com Hi/Lo HID kit along with new fresh new US DOT cut off headlight housings. My old VVME kit stopped going high / low, and my housings had mud caked in the bottom of them. She looks good with a new set of eyeballs...

IMG_1459.jpg


IMG_1496.jpg
 
Back
Top