- Location
- Bakersfield, CA
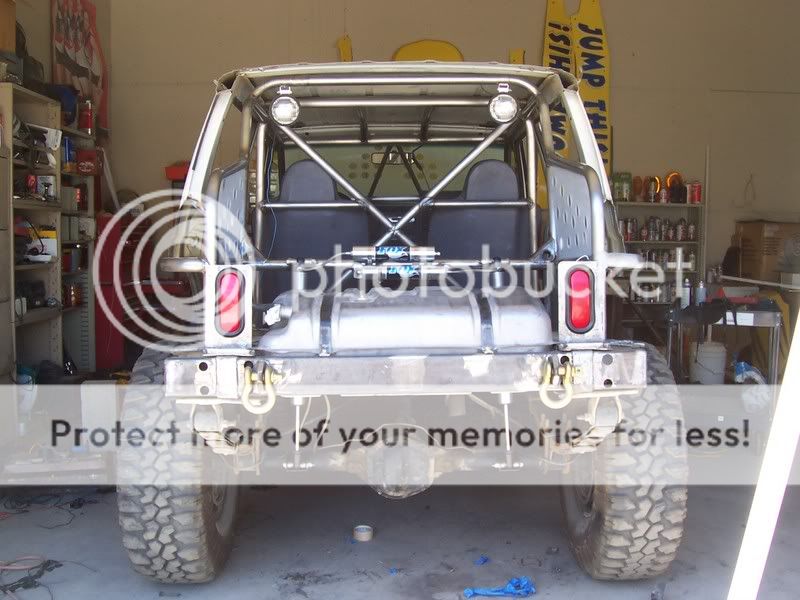
I sorta like the way the back turned out. I like the idea of the vertical shear plane to increase the strength of the rear section, since so much of the original structure is gone. I saw the pic of the steel across the bottom of the rear crossmember, did you also plate inside the cross member, or the back of it? Did you weld or bolt the bumper to the the frame/crossmember? Since the bumper is now an integral part of the structural strength, I think it should be welded on and tied to the cage. Many of us have had cracks around the 8 rear bumper mounting holes, even with bumper mounts that ran down under the frame.
How about the original B and C pillars, are you going to run some plate tie ins to the cage? I think you'll be sorry if you don't.
How about the original B and C pillars, are you going to run some plate tie ins to the cage? I think you'll be sorry if you don't.