• Welcome to the new NAXJA Forum! If your password does not work, please use "Forgot your password?" link on the log-in page. Please feel free to reach out to [email protected] if we can provide any assistance.

Project AllOut: a moderate 2door build (pics warning)

thanks guys, especially nhrocker. i had thought it was really odd that the surface was so pitted and such. definately a repair job. im going to clean out the rest of that filler in those deeper parts and check for more cracking.

on the topic of plating, how feasible does welding the bumper tie-in plate to the frame rail sound? (and also using the hardware). wouldnt that help shore up the area?

TEN 4 THAT!!! Looks like bondo to me.
TOMMY
 
The pitting is from corrosion, the metal does NOT look like that when it's new. Gunga rusty sheet metal always looks like that after you clean it up. I live in Vermont, trust me, I've fixed a LOT of rust spots. When the paint cracks like that, salty water gets under it and the rust acts like a sponge and just holds it against the metal and it just corrodes and gets worse and worse and will eventually eat right through the metal. That's why it's important to touch up those paint chips and cracks ASAP if you live in the salt belt.

That's not saying that it couldn't have been in an accident. Screwing around with the factory paint is usually a sure fire way to start rust.
 
Last edited:
The pitting is from corrosion, the metal does NOT look like that when it's new.

That's not saying that it couldn't have been in an accident. Screwing around with the factory paint is usually a sure fire way to start rust.

From what I saw theres a slight amount of pitting from rust, but it was mainly just surface rust. The bumps and valleys are definately from someone pounding on it cause the filler was well packed in there, so front accident it was

Somebody needs to buy some JKS SBS plates now!!!!! you will NOT regret doing it, espically to a xj thats been punched in the nose.


guaranteed the best option for you

http://store.jksmfg.com/merchant2/merchant.mvc?Screen=SBS&Store_Code=JKS01&Category_Code=Steering_Brake


Thanks foxwar! Any chance the braces will offset the bumper tie-ins too much so the bumper itself doesnt mount properly? the JCR kit includes a steeringbox brace IIRC, so id have to run either the JKS one or the JCR one right? (sorry i havent read the JKS instructions yet)
 
Xwhatever on unibody damage. That thing's been wrecked for sure. I want to say the hole you found is from where the frame straightening machine grabbed it - the claws they grab with punch a hole in the rail from what I have seen.

Look for evidence of straightening/hammered metal on the inner fender wall right where the outer fender and header panel bolt on. That, and the bumper mounting area you already found, are what I had to straighten out with a pair of hammers and some vise grips after I slid into a guard rail at 15mph when my brake line blew up.
 
so i got some more done in the past few weeks: JCR winch bumper came it and began priming, wired fuel pump shutoff switch, wired some rear speakers, herculined the interior

heres after rust removal and touch up.
GOPR0113.jpg


the rust situation wasnt that terrible. the black is a rustconverter sprayon
GOPR0116.jpg


only a few spots where the rust ate entirely through. i taped a piece of duct tape to close the holes from the bottom, none sticky side up. then filled the hole in with JB weld. after it was dry i removed the duct tape (didnt stick to the JB weld at all).
GOPR0115-1.jpg


GOPR0114.jpg


during the interior trim removal i found sets of aftermarket speakers hidden in the rear cup holder areas. i connected them into the OEM rear soundbar wires that run towards the back
GOPR0127.jpg


front done. seriously, F the rear seatbelt retaining bolts. i stripped out 3 of those torx heads then said F it and left them in. now im aggrevated that i messed with them in the first place
GOPR0124.jpg


GOPR0122.jpg


GOPR0126.jpg


the liner dried very quickly in the recent warm weather. i only used the 1 gallon kit from herc, and id agree that another quart would have been the perfect amount. mine ended up a little thin in some areas

heres the JCR being primed. too bad it wont be going on any time soon cause i still have to address the damaged front rail
GOPR0120.jpg
 
Last edited:
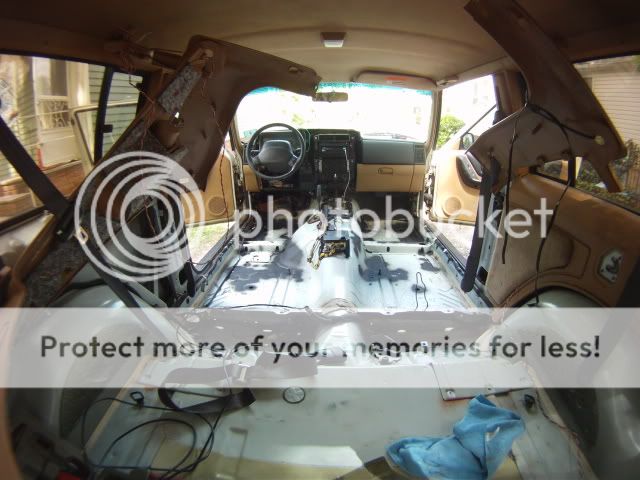
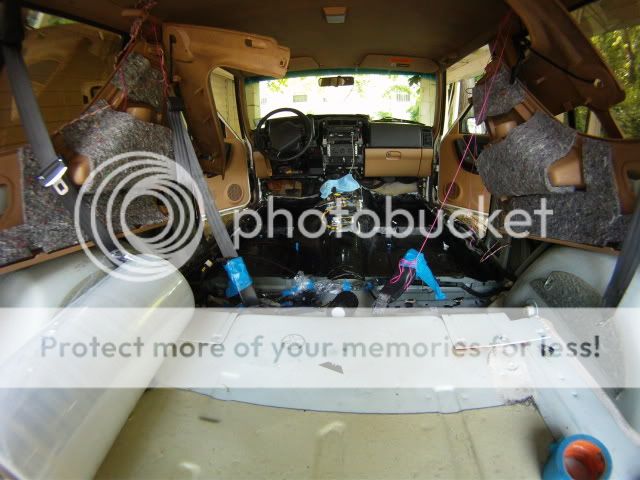
Since I've seen so much complaining..FISHEYE ALERT for these upcoming pictures. No I don't have another camera available yet.

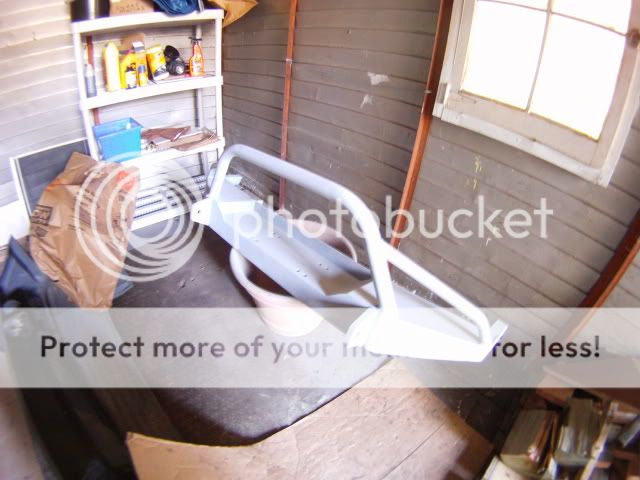
I walked into my garage to find this yesterday morning :party:
GOPR0144.jpg


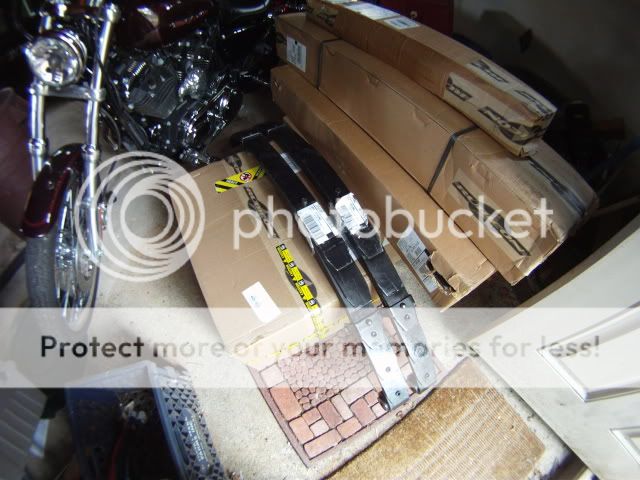
The UPS guy put it all right into the garage for me. RE 5.5" longarm with free monotubes from JeepinOutfitters. They were extremely helpfull and got it all shipped to my door for $2000. Thanks to Anthony (asp) I've got some RE coil spacers and RE boomerang shackles on the way, so I'm hoping to be sitting at about 6.5" when I'm done.

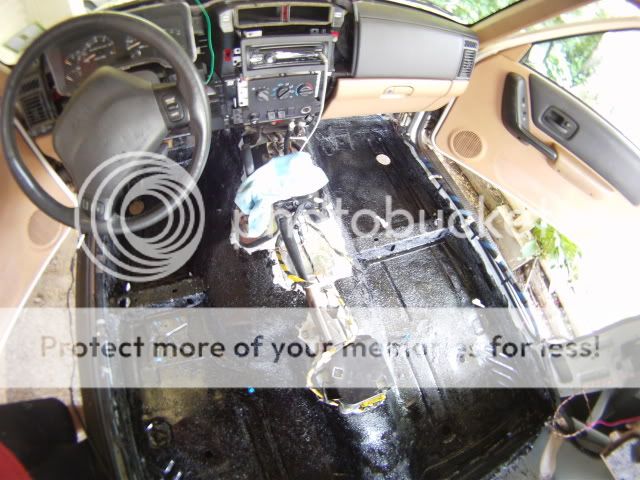
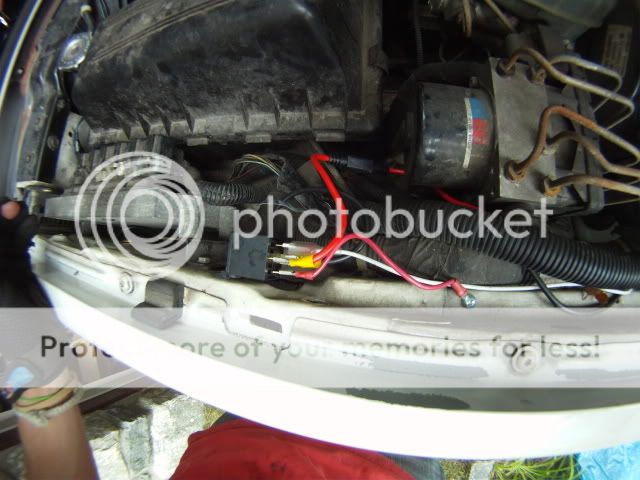
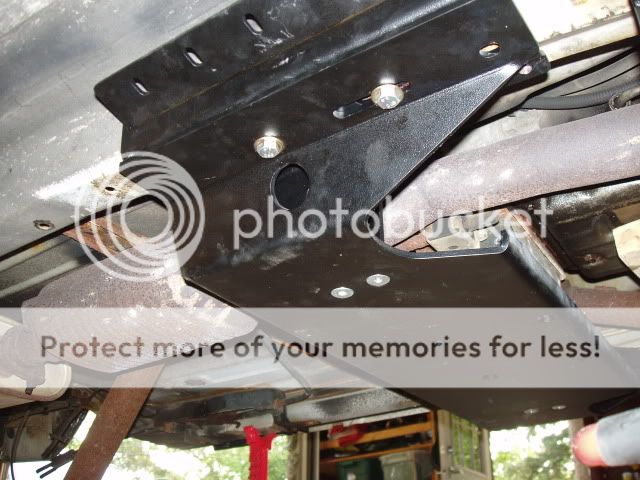
While I've been waiting for the lift kit to arrive I got the manual switch for the e-fan wired up. I followed rstarch's writeup which was on JeepForum I think. Temporary relay mounting: (Also check out that ABS system just taking up much needed room. It'll be gone soon enough :fuse:
GOPR0134.jpg


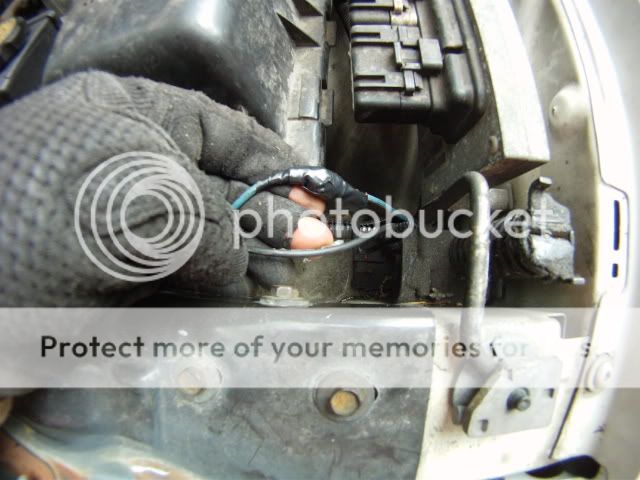
Splice into the fan wire with 10gauge wire. I wrapped it around, soldered it, coated with silicon and finished with electrical tape.
GOPR0133.jpg


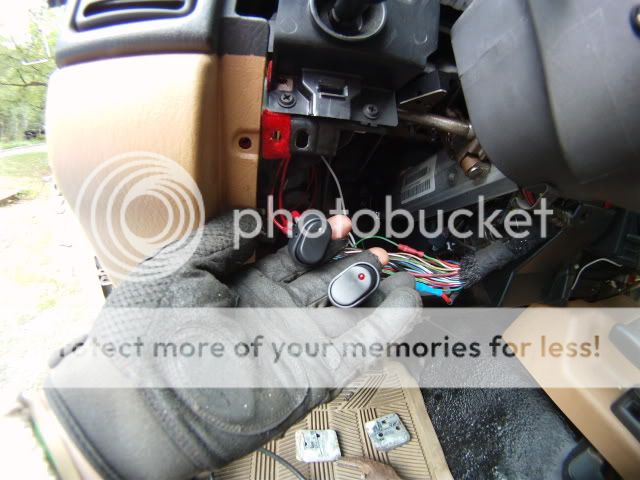
Here's the fan switch and my fuel pump kill switch. I'm not entirely sure where I'm going to mount them or if I'm even going to keep those switches. I still have to add wiring/switches for 2 KC daylighters, 2 first responder blue lights, and maybe strobes; so I may reorganize everything into one area of toggles.
GOPR0136.jpg


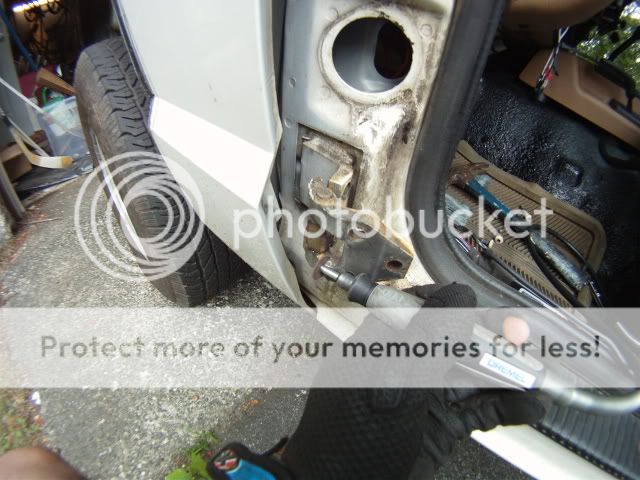
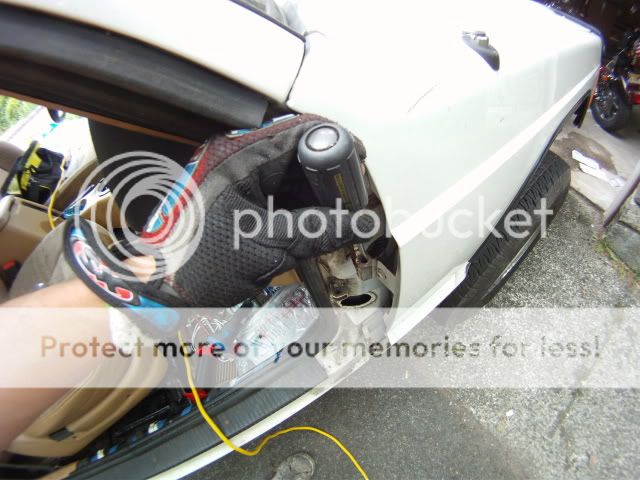
Also I did the removal doors mod the other day. I went with removing the doors off the hinges first then cutting the hinges. This little guy was quite helpful with removing the torx bolts: Ratchet for 1/4 bits
GOPR0141.jpg


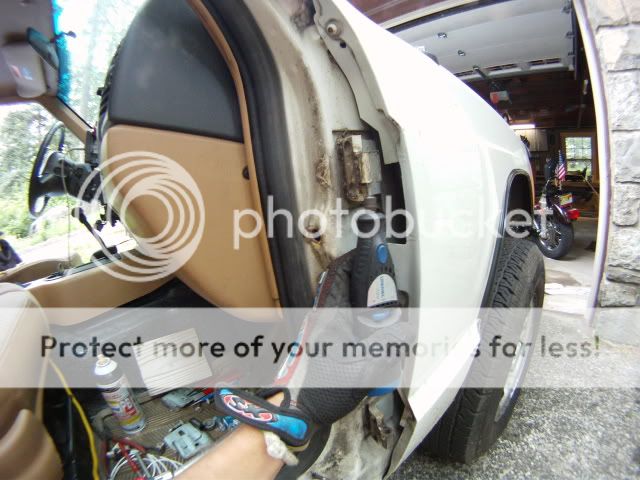
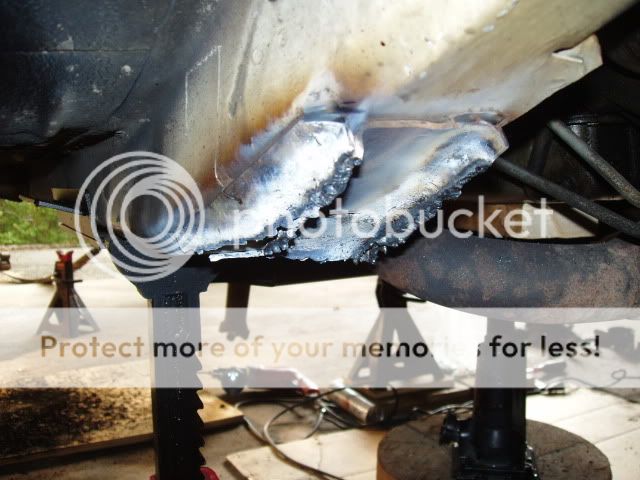
Dremel on the hinges
GOPR0128.jpg


Here's the best way I've found to remove the metal bushings inside the hinges: with a flathead hammer in there to loosen them up:
GOPR0132.jpg


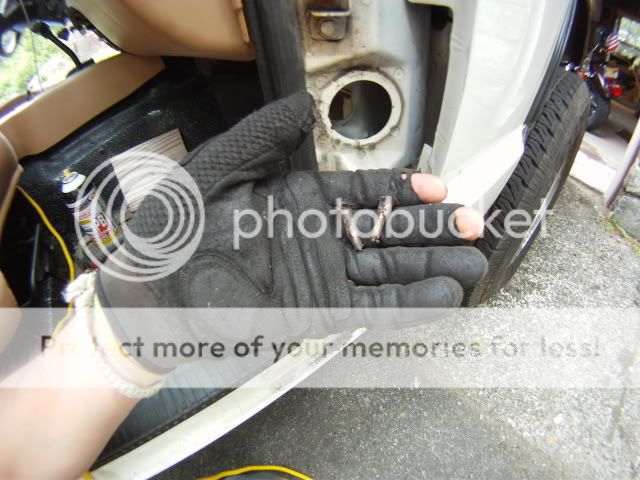
Then a dremel with a drill bit on it. Hold it loosely and let it skip around inside the hinge
GOPR0130.jpg


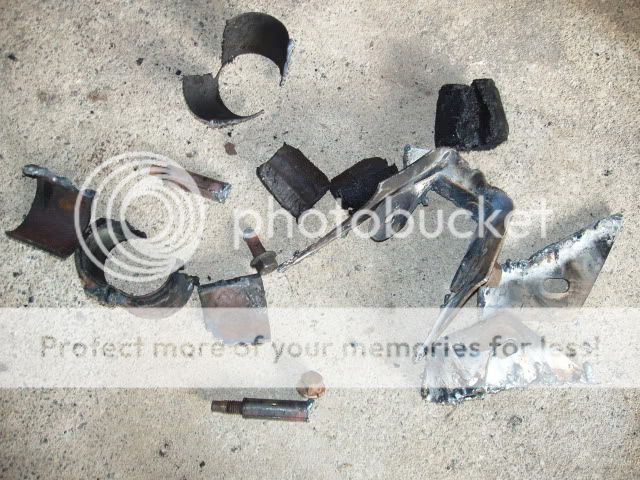
The bushings should fall out slightly mangled but whole.
GOPR0131.jpg


That bushing removal method has worked flawlessly for me on 2 different XJ's so far.

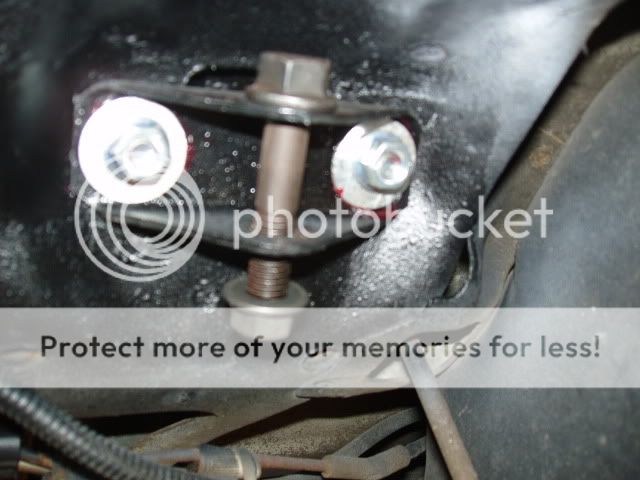
For the passengerside hinges, I removed the pins from the piece that I cut off and reinstalled them in the hinges from the top. Cleaned up and painted:
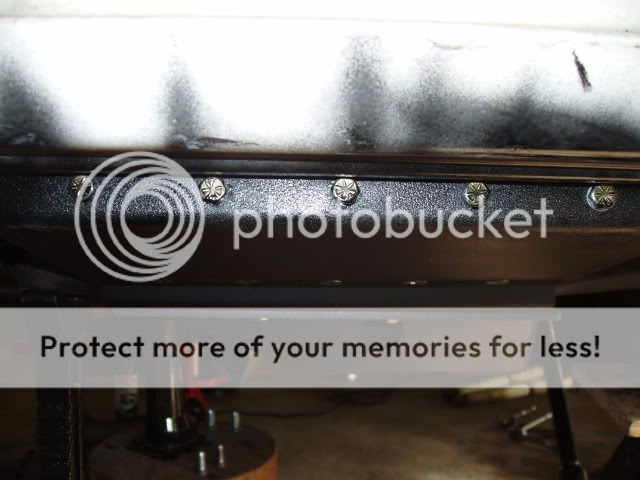
I also replaced all the torx bolts with M8x1.25x30 hex bolts. I highly recommend this as torx bolts suck extremely bad as I'm sure you know.
GOPR0140.jpg
 
Last edited:
It's been a busy summer, slow for the jeep though. I expected to have it on the road by the end of June, but that didn't happen haha. I ran into a bunch of snags with stubborn bolts and lack of tools to deal with them. Today my buddy was able to bring over an oxyacety torch and cut off the rear leafs and the LCA mounts.

In the front of both leaf packs the bolts were seized to the inner bushing sleeves, stopping them from coming out.
PB280096.jpg


A few random tries here and there with sawzall and angle grinder with cutoff wheel were getting absolutely now where with the LCA mounts so thankfully this only took 10 minutes with the torch. It'll be easy to grind down and clean up

PB280099.jpg


In the mean time I set up BPEs from the old swaybar and have the crossmember and new arm mounts mocked up for drilling and bolting.
PB280097.jpg


PB280100.jpg


So right now everything new is ready to go in (which should be smooth sailing) except for the D44 which still needs brakes and perches.
 
:woohoo: NO MORE FISHEYE!!!!


:thumbup::thumbup::thumbup: Looking good!! Who's bellypan is that? I found drilling out the spot welds on the LCA mounts makes quick work of them.
 
So the 3-piece belly pan install wasn't as cut and dry as it should have been, but its basically done now.

One problem was trying to bolt the control arm mounts into the newly drilled holes through the pinchweld on the driver's side. The brake and fuel lines were in the way to feed the bolts. The only way to make them fit was to feed the bolts from the top and wrestle them past the hardlines. You can see the shiny part on the lines were the bolt contacted on the way down.
PC040112.jpg


Then there were the bolts for the outer panels bolting through the rocker pinchwelds. The way everything seated caused the holes to be drilled slightly higher than intended and the heads of the bolts ended up contacting the body on the top. What would have taken 2 seconds to tighten all of them with a ratchet and socket ending up taking awhile because less than a 1/4 turn with an open end could be done at a time.
PC040120.jpg

Yeah thats overspray from coating the fresh drill holes. I plan to paint the lower part of the rig black anyway.

Finally the transmission mount bracket where it attaches to the crossmember wouldn't line up with the holes even though theres a bunch of options on where to bolt it up. To top it off, RE decided to go with countersunk carriage bolts for this with inset square holes in the cross member. Because of this, I was hesitant to just drill em out to make it fit, but ended up doing that. Now I need to get new non-carriage countersunk bolts, probably allen ones .
PC040113.jpg


Despite all that though I got a compressor for free from a buddy :clap:
Well I got him back with a 30rack of beer and a headunit as a thanks
PC040118.jpg


And a quick note, the non-working end of punches and cold chisels work well as allen keys when you dont have that size
PC040122.jpg
 
Neat trick... and WTF! The pictures are screwing with my head! They aren't all distorted anymore! :spin1:

BTW, those brake lines and fuel lines *should* unclip from the frame rail with a minimum of effort, just pry them out of the plastic clips.
 
Haha yeah i've been using my parents 'regular' lensed camera for these last few. Yeah i was able to unclip the hardlines but even unclipped and moved up they were still in the way. It was managable though. I really need to look into new hardlines sometime in the future though, some segments towards the back are badly rusted
 
If they are rusted don't wait. I was reintroduced to wrenching via a rusted hardline that chose the worst possible moment to blow and put me on a guardrail. Replace them NOW if they look bad!

Also, when you are replacing them is the perfect time to work on the frame rail behind them, since they are no longer in the way. The thin one going to the fuel tank is just a vapor return line, you don't have to be as careful with that one since it's at very low pressure so I would practice on that one first.
 
Back
Top