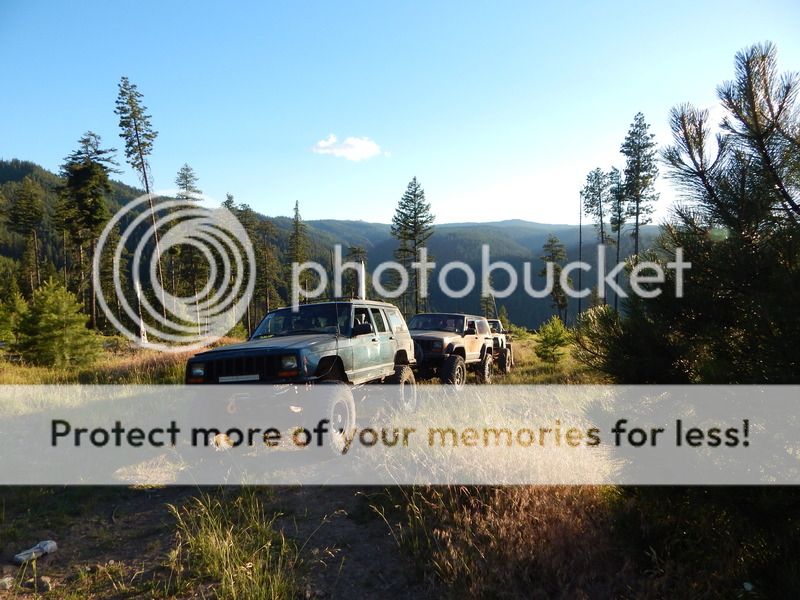
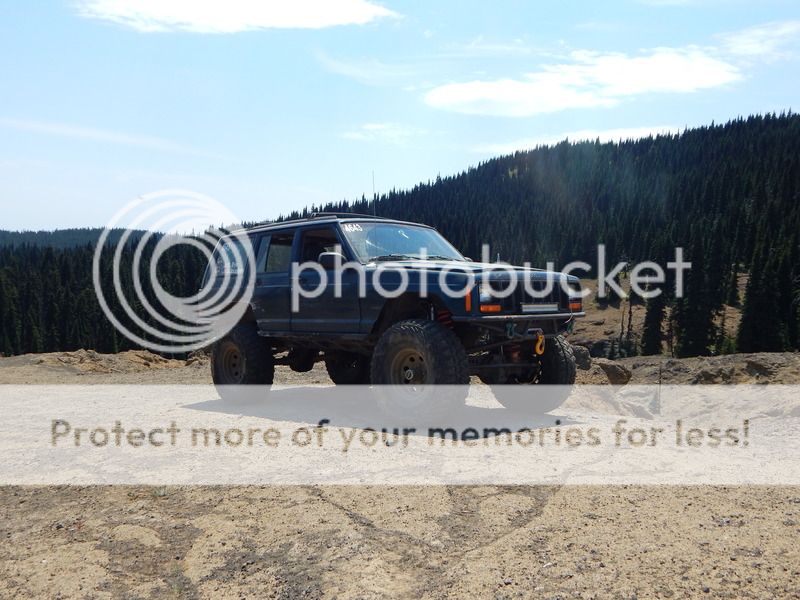
The Nail Salon

Nice work Dustin! Great job on patching the floor back up! Stout, as always.
I'd like to see some countersunk UHMW for the boat sides. Probly an equal amount of work and money, but it's removable and badass.
 
That looks amazing. Thought about a piece of umhw or other to go over the angled pieces underneath?
 
Thanks, guys.

Before even starting this project I've had the vision of using UHMW plastic for the boat-sides. I think it's a sexy look, and am very curious to see how it behaves on rocks (some love it, some hate it). I've just been tossing around what thickness to use, and if a backing plate is needed. I think I've come to a decision on that though, and found a pretty good line on a local supplier. ;)
 
Well not much to update over the past month. After finishing up the one boat side I pretty much parked the Nail Salon and haven't touched it since. With Oregon Trophy Challenge coming up in a few weeks I figured I owe it to the team to pull it out of the weeds, and give it some attention.

I drove it over to the 4500 shop one day, and then decided to do its annual oil change for this year. Last filter was marked 2/14, and it's had a few good trips since then. It sadly just doesn't get used very often anymore.
999B2471-1626-454C-9B8B-4DF46407636C.jpg


The Jeep's been needing a jump start pretty much every time after sitting for more than a day. After driving the Jeep home, I yanked the battery to have it tested. Results were in...
7E6C3042-4CF8-45F2-A499-2E660367B9F6.jpg


It wasn't holding a charge anymore, and was only supplying a little over 100 cranking amps. This wasn't surprising as this battery was over five years old, and has had a hard life in an off-road rig the whole time. I've been more than satisfied with the battery (Deka Intimidator) over the years so I went ahead and picked up another one.
C9B85FB1-DC2E-4860-B223-F2BA83737AC6.jpg


My starter has also been on it's way out since last year's Thanksgiving Run. Its required the ole hammer trick to get it motivated a few times. Since it's not a daily driver I've procrastinated on fixing it. With Trophy Challenge coming up, I figured it would be wise to cross it off the list now.
21456897-1C94-4ACB-B3D0-7BD6701D9615.jpg


With the fresh battery and starter, the Jeep cranks over like a champ now. Plus having a fresh battery will be a peace of mind during any winching tasks thrown at us this year.

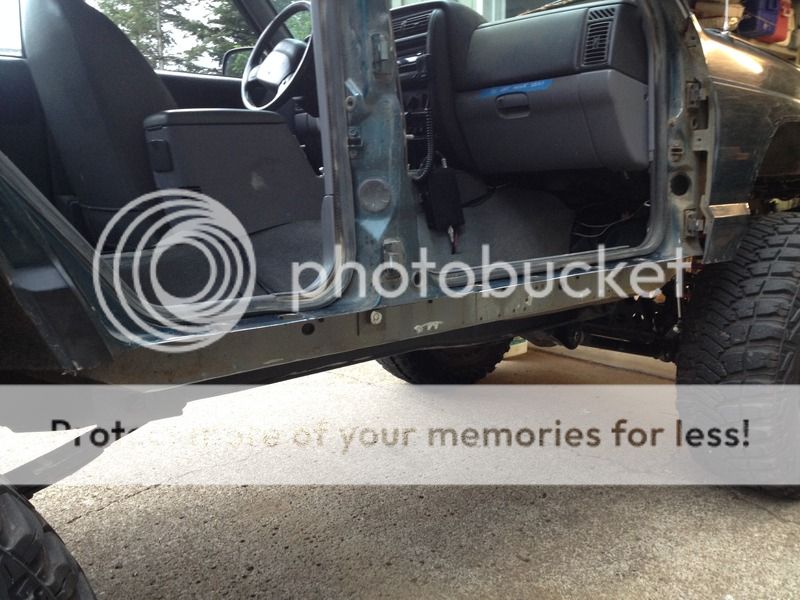
I figured Scott would appreciate a boat side on his side as well for OTC, so I got started on that project as well by cutting out the factory rocker on the passenger side. I'm hoping this side will go quick.
6E9D433B-A425-4724-BB0A-A8CAF0BC74AB.jpg


When I yanked the carpet from the passenger side I unfortunately was greeted by some pretty nasty rust over the muffler (typical XJ thing). Since I like cutting things apart, I hacked out the worst of it in a 6x8" chunk. When I pulled the carpet, it was wet underneath, so I'm guessing the moisture and heat from the exhaust just sped up the oxidization process.
CDBF033F-AC51-4191-A487-B17DFF4DECEC.jpg


I then welded in some 16 gauge for a patch, and sealed the edges for good measure. I'll wire wheel the rest of the surface rust later when the boat side is finished, and then give it a good coat of primer. If this was a restoration / show car I would probably look into a POR15 type product. However, it's a Jeep. If/when I link out the rear, this will probably be getting hacked out anyway.
4D576C8B-8D78-4EC6-9242-50968687C618.jpg


In other news, Scott, Aaron, and I got away this past weekend, and watched some Ultra4 short course racing down in Rancho Cordova, California. It was a really fun trip.
DSCN1126.jpg


DSCN1371.jpg


C0FE71FE-BD2E-4C28-9B58-20C6517845D7.jpg


Looking forward to getting this boat side project wrapped up, and then just enjoying some good summer wheeling this year.
 
I've been plugging away at the Jeep a little bit this past week. The passenger side boat-side went in pretty easy. Few differences between the sides, but all-in-all pretty much the same process.
99DDF50B-CDDE-41BF-BA56-1BBE27E177EA.jpg


After getting all the surfaces prepped for welding (nasty task), I burned it all in last night. Today it got primed, sealed, and painted. Rocker replacements can now be crossed off the list! Almost hate to scratch them up... :laugh:
41B22EAD-DF55-456F-A337-0C2683543214.jpg


The interior cleaned up pretty good too. I wire wheeled the floor real well, and then gave it all a good coat of primer. The unpainted portion still has some remaining floor goo (late model guys will know what I mean) that I need to strip off.
C1BD1248-88B1-431B-8A63-B190A34591B7.jpg


I don't think I'll have the side plating on by OTC. In the meantime though I'll get the material ordered up, and tackle the last few projects on the to-do list.
 
With the recent warm streak in the weather, I got to thinking about temps for OTC. There's a lot of gravel time spent climbing up ridge tops. Something that has been on the to-do list from the beginning has been a manual over-ride switch for the electric fan. However, I didn't want to simply wire in a new switch, and bypass the computer. I've learned from past experiences it's way to easy to forget to turn the fan on in the heat of the moment (no pun intended).

After a bit of searching to see what others have done I discovered a fantastic write-up by, fyrfytr1717, Radiator Fan Override Switch (The Easy Way). It turns out the way I was planning on doing it (splicing into the fan relay's signal wire) would have triggered a check engine light.

First task was finding the stock fan relay's signal wire between the PCM and PDC. In the write-up it's supposed to be a dark blue wire with pink stripe. I dug into the loom at the third connector on the PCM (pin 2) to verify it was the same on my 97. You can see the bark blue wire with pink stripe, as well as a misleading dark blue with orange stripe. Choose wisely.
9D73C9C6-44EE-4ED2-B4EE-70DBEB248D49.jpg


After verifying which wire I needed to go after, I chose a spot to splice into it. Since I already had a relay on the passenger side, I chose to cut into the loom on that side. Gotta keep things organized. I then added some new 18ga wire extensions off each side of the DB/PK signal wire.
EB2659E2-1AE8-483F-A741-EB82C1628815.jpg


Rather than splicing into a switched power wire, I went straight to the PDC post for power. Had a brain fart for my reasoning for this, but still serves the same purpose. I got the new relay wired up.

Post 85- DK/PK from PCM
Post 86- 12V Power
Post 87- DK/PK to PDC
Post 30- Relay ground

For the over-ride switch wire, it shares the same connection at post 87 on the relay.

Taped the loom back up, and made all the connections one final time. For the OCD, don't worry the relay connections will get some heat shrink. It bugs the hell out of me too. :D
328EF0F6-A771-40C8-B653-1546EF25C34D.jpg


On the inside, pick a spot for the over-ride switch. I have my winch controls up top, and the new over-ride below them. With all the switches happening inside, I really need to get a label maker.

B1046F82-3D13-41C4-B007-0D210A6B3F6B.jpg


Another little project crossed off the list.

After the rocker replacements the interior was covered in grinding dust, paint over spray, seam sealer, and who knows what else. Spent a good amount of time vacuuming, cleaning the interior, and washing the Jeep. I mainly did this to impress, Scott for OTC. She's looking ready to run. :cool:
8DDDF567-8957-4C55-94F9-EA0E7E50F6C9.jpg
 
b5774715265a3666ba2733ff7ff5f8b9.jpg


76014392a87a8175691acb67bf38aa82.jpg


Oregon Trophy Challenge this past weekend was incredible! It all still seems pretty surreal, but the NWC's Team NAXJA brought home first place again for two years in a row.

I'll get a full trip report up later, but what an awesome event!
 
TORXreport: Oregon Trophy Challenge 2015

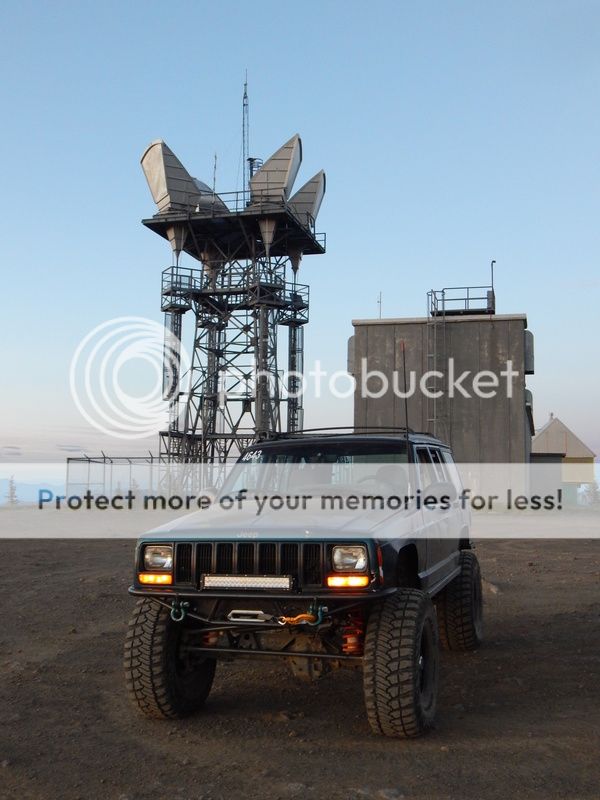
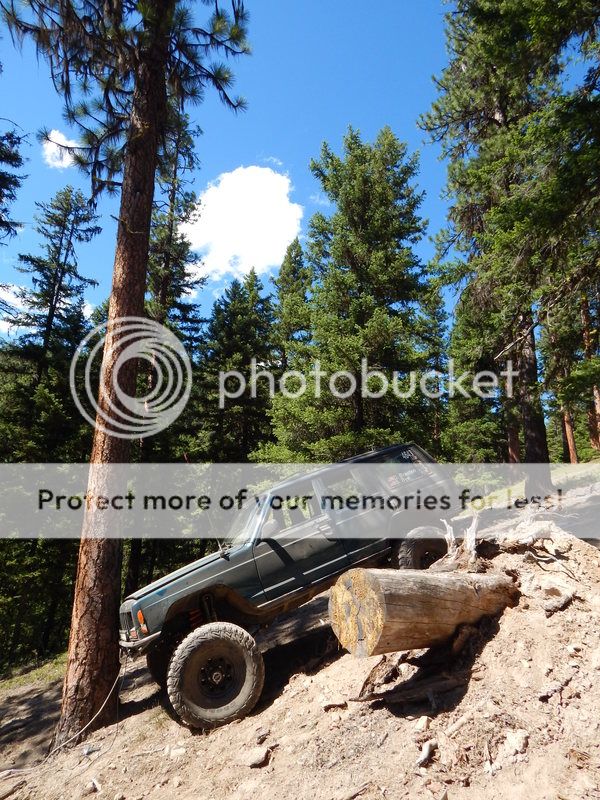
The Nail Salon proved itself at OTC this year. In 24 hours it racked up over 200 miles of trail and gravel road bombing. Conquered Airplane Hill (twice), Waterfall (up), Waterfall (down), Can Opener, Little Rubicon, Upper Crushers, and Lower Crushers. Aside from putting a hub back together wrong a few days prior (whoops), it really didn't need any wrenches turned on it during the event.

One issue Scott and I found out about was a heat issue on the passenger side floor board over the exhaust. Since the boat-sides were added, I ditched the factory carpet on both sides. We learned this carpet actually insulates the cab from the radiant heat, and without it the floor becomes a furnace. Enough to actually start to smolder the floor mats, and smoke us out of the cab a few times. At one point I was just dumping water on the floor as we didn't have time to stop.

I figured I had better address this with NWF just around the corner. Since reinstalling the carpet wasn't an option, I began to search for a way to help eliminate some of the radiant heat coming off the floor. I found a product made by Thermo Tec, which is an adhesive heat shielding. I picked up 15 sq/ft off Amazon, and got to work applying it over the passenger side floor board.

I applied it half way up the trans tunnel to about center of the uni-frame. I cut the pieces to shape, and then let them warm up in the sun to maximize the adhesion. This stuff is crazy sticky! Any seams I sealed up with an aluminum backed tape.
DB939CCF-2697-4BC4-8542-8BE74014666C.jpg


I ran it basically over where the exhaust is ran, from the front firewall all the way to the rear seat bottom. I don't believe the hole for my upper was the main culprit, as much as the radiant heat from the exhaust was. So for now the upper still hangs out in the cab.
63AA247F-4C16-44B6-88B8-96AA9C8B60E4.jpg


I planned to build a heat shield over the muffler too, until I saw it was about a 1/4" below the floor and 10% of it was smashed in. Apparently I massaged my exhaust at some point (Can Opener). Not wanting to mess with tweaking my exhaust back down (it's been self clearanced), I decided we'll just give the heat shielding a try. If I can cut down on half the radiant heat, it'll be tolerable. In the meantime, I added another rule for my passengers.
41BE9BDD-7E45-4D6E-9018-708B5D3EEE01.jpg


Haven't had time to drive the Jeep yet, but NWF will definitely put it through it's paces.

Got the itch for a little fab project, and decided to build a mount for my hi-lift. While I'm not a huge fan of hi-lifts ( they're sketch), they are useful in some situations. I decided to mimick the last mount I made for JeepForceOne (now in Nick's ride). Start with framing in the base with 1/2" angle, build side plates, add speed holes.
6F730FF4-9F35-49B4-B66A-7714BCDE2089.jpg


For the top mount, I cut out a base plate out of .134" to help support the load. Then I found some 7/16" ID tube, which I drilled out to 1/2". Welded this to the base plate, and then welded some 1/2" all thread into the tube. A bolt welded to the plate would have worked, but the tube actually serves as a spacer for the mount.
744E679C-1497-47B0-AA36-640EB72E9710.jpg


Weld the top mount into place, and reinstall the trim piece.
AA251870-F408-4BC1-8610-43E71F5AED93.jpg


Weld the bottom bracket in place, add paint. I left it primed for now since I still have yet to decide how I'm going to finish off the floor in this jalopy.
E45E507A-44DF-4CAE-9DAB-F48E94714A91.jpg


Found a big-ass wing nut in the warehouse. While it's not a custom TORXfab wing nut, I did color match it to the Jeep. The jack sits in the base very securely, and the jack comes out quickly with just one wing nut.
9F96F830-9B91-4897-A6B1-139136E45B95.jpg


For the most part the Nail Salon is ready for Naches. Few more day's and we'll be wheeling!
 
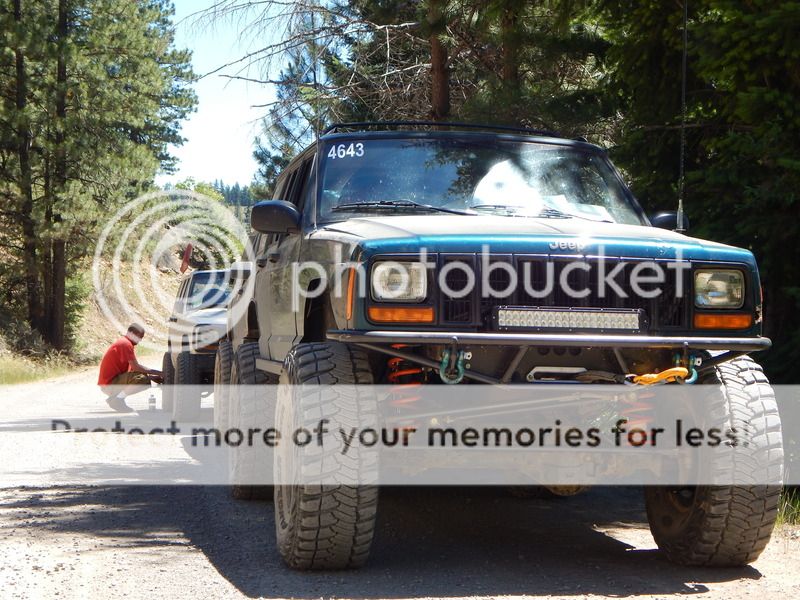
Cal uses the airbake in the Team Naxja 4643 rig. I figure, if it's good enough for that it's good for me!
 
Cal uses the airbake in the Team Naxja 4643 rig. I figure, if it's good enough for that it's good for me!
I'm not putting bakeware on my Jeep. ;)

I know it's a proven go-to mod, but I just don't have the clearance for a heat shield over the muffler. My whole exhaust is tweaked, and in some spots there's only 3/16 - 1/8" of clearance between the floor. Whenever the day comes when I have the exhaust redone, then I'll add an aluminum shield.

As for the adhesive heat shielding, it kind of worked. It dissipated a good amount of the radiant heat from the exhaust. Floor board temps were around 130-115 degrees depending on where I checked (IR gun), and how hard I was pushing the Jeep. This was an improvement though over what it was before when it use to vaporize water on contact.

The downside to the heat shielding was in the adhesive backing. Half way up the first good grade on the way to NWF I started smelling something getting hot. This was the adhesive liquefying and oozing out around the shielding. Wonderful. After a few days of wheeling though, the smell pretty much burned off. We'll see how it all holds up overtime.

As for the hole in the floor for the upper. I tossed some aluminum foil over the opening as well as a thick towel just before departing for NWF. With 250 miles ahead of me I wanted to keep engine heat and road noise out of the cab. While it might have been quite ghetto, it actually made for a quite comfortable drive with the cruise control set, and AC on.

That's the update on my sauna issues.
 
The Nail Salon conquered ~500 miles of pavement, and four days of wheeling at Northwest Fest this year. The best part... no wrenches have been turned after OTC and NWF. She's just flat working. :cool:

Ravens Roost.
DSCN1408.jpg


DSCN1432.jpg


The lower section of Clover Springs had a hell of a hill climb at the end. I ended up winching the last 100 ft. The Nail Salon then became the top winch anchor. Still getting used to the new winch setup, but it worked well all things considered.
DSCN1443.jpg


DSCN1448.jpg


Top of Five Fingers.
DSCN1555.jpg


Moon Rocks.
DSCN1592.jpg


Read more about our trip, TORXreport: Northwest Fest 2015
 
Back
Top