I've put well over 500 miles on the rear diff, so I felt it was time to do a diff flush. Fluid resembled an iced mocha, but all looked good.

Took a hair over two quarts on level ground, but the spec is six pints. Backed the Jeep up an incline, and dumped another quart in. Gotta keep that pinion hydrated. :thumbup:
On a different note, I'm getting itchy to start a new project.
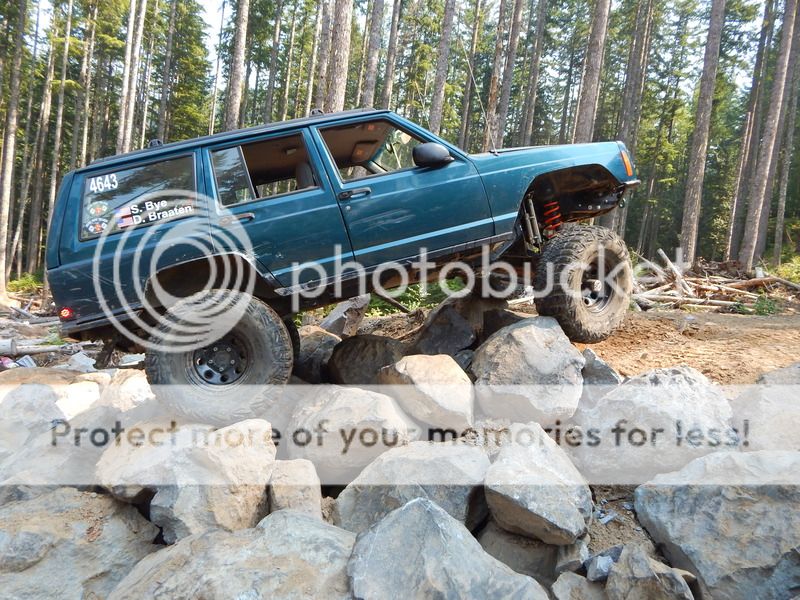
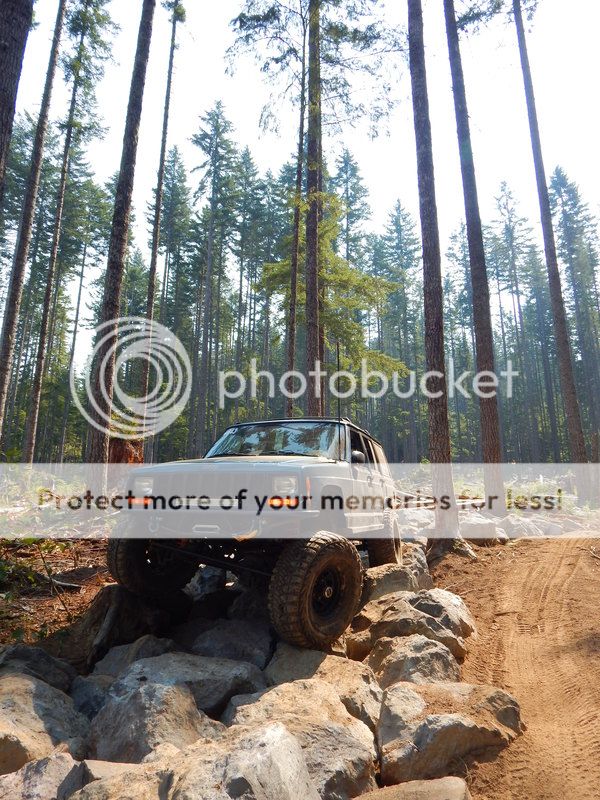
I've noticed the rear end is seeing a good amount of axle wrap under load on climbs. This is pretty common on lifted XJ's, and is what kills leafs over time. At OTC there were a few times where the rear end actually started hopping (Airplane Hill). I want to fix this, and I'm thinking a anti-wrap bar is the answer. Anyone have any experience with them?
I'm thinking about building a shackle style anti-wrap bar that utilizes three poly bushings (two at the axle, one at the shackle) and a heim. Just got to figure out a rear cross-member, and some dimensions.
Also, I have hydro assist on my mind. My steering works great as is, but when I up my shoe size that will likely be a different story. Debating on going with a Surplus Center ram or name brand PSC / Howe. Tapping a factory box, or going name brand PSC / Howe. Modifying a stock pump, or spending the coin on a PSC / Howe high flow pump. I've heard a lot of mixed reviews for both sides.
Lots of researching going on! In the meantime though I'm ready to wheel. :cheers:
Took a hair over two quarts on level ground, but the spec is six pints. Backed the Jeep up an incline, and dumped another quart in. Gotta keep that pinion hydrated. :thumbup:
On a different note, I'm getting itchy to start a new project.
I've noticed the rear end is seeing a good amount of axle wrap under load on climbs. This is pretty common on lifted XJ's, and is what kills leafs over time. At OTC there were a few times where the rear end actually started hopping (Airplane Hill). I want to fix this, and I'm thinking a anti-wrap bar is the answer. Anyone have any experience with them?
I'm thinking about building a shackle style anti-wrap bar that utilizes three poly bushings (two at the axle, one at the shackle) and a heim. Just got to figure out a rear cross-member, and some dimensions.
Also, I have hydro assist on my mind. My steering works great as is, but when I up my shoe size that will likely be a different story. Debating on going with a Surplus Center ram or name brand PSC / Howe. Tapping a factory box, or going name brand PSC / Howe. Modifying a stock pump, or spending the coin on a PSC / Howe high flow pump. I've heard a lot of mixed reviews for both sides.
Lots of researching going on! In the meantime though I'm ready to wheel. :cheers:


 sponsors. However, my issue has always been cost. Call me cheap, but I couldn't justify spending $300 on two pieces of steel.
")


