• Welcome to the new NAXJA Forum! If your password does not work, please use "Forgot your password?" link on the log-in page. Please feel free to reach out to [email protected] if we can provide any assistance.

The Nail Salon

Torx quality work and a great write up as always. One question. The milling machine is in your bathroom? I noticed some nice clean tile on the walls behind it. Again great job and keep up the great work and write ups.
Well isn't that where we all do our best thinking. :gee:

Thanks, Rory. The mill and lathe are over at the 4500 MJ shop. I've been eyeing your build too. Nice machining!

Damn those look great! Did you use poly or rubber bushings?
Motor mounts use a set of the RuffStuff poly bushings. I've had them in for awhile, and they're holding up great.
 
I'm down for a set. Very nice work, as usual.
 
Thanks, dudes. If I had a small plasma table where I could crank out the individual pieces, I'd totally be up for making more. Unfortunately, the time put into just three sets is more than I'd like to think about.


I decided to tackle a little random project today, the extended idle switch. Nick informed me that you can simply tap into an existing wire in the engine wiring harness, wire it up for a switched ground, and it will bump up your idle to 1000rpm while in park or neutral. Interesting.

I figured this could be a useful modification under certain scenarios. At 1000rpm your oil pressure will increase, cooling system will operate more efficiently, and your alternator will increase it's amperage output. Perfect for long winching recoveries/tasks (Trophy Challenge), long periods of idle, or just letting the rig warm up in the morning. Plus it's another switch to play with!

First thing was to track down the wire needed spliced into. On 97+ rigs, this wire is located on Pin A12 on the ECU mounted on the driver side inner fender. I read from a few different sources it's a solid gray wire, and confirmed this on mine. However, on connector-A there are two solid gray wires. You'll want the one leading to the left side where Pin 12 is.
DF03C9F9-86F2-462F-A3B8-1AFBD04D1021.jpg


I wanted to make my splice connection closer to the firewall, so I began pulling apart the factory loom to make sure I could trace the right wire.
3954BB37-3CAD-4E78-895C-53B83399D7F9.jpg


Commitment time. I ran a #18 into the cab, and soldered it to the factory wire. Heat shrink after, and then begin taping the loom back together.
A367B786-1CA7-4791-91AF-8DC5E2FADDEB.jpg


With the work under the hood done, connect the wire in the cab to a switched ground. I wasn't interested in obtaining a factory "Ext Idle" switch, so I just picked up a simple SPST toggle. Success!
C6DB9FF3-F81B-49A2-B76B-DC11AF765B34.jpg
 
Earlier this year I won a set of 4.5" LED brake/reverse lights from Bones Custom Creations at a raffle. Since I already have quarter gaurds with LED's, I've been trying to figure out a use for them.

One thing the Nail Salon has always lacked was interior lighting. I haven't even had a dome light this entire year. I decided these LED's would be perfect work lights for the rear hatch.

Start by removing the hatch trim panel, and hogging out a 4.5" hole for the rubber grommet.
203423B2-8779-4D68-8ACB-E129DAD188E3.jpg


I then wired the two lights together using Weatherpack connectors.
B3673763-424F-4043-B62A-A2E731944E2D.jpg


LED's ready to go.
8DBBD6EC-99C0-47AE-ADA3-FD8E1E425A95.jpg


Then it was time to run some wire. I traced and secured my new wiring to the factory loom ran into the hatch.
496A6310-1D9E-4BA6-87FE-17B8FCD16CA0.jpg


I wired in a SPDT three position switch (white, off, red) for the lights mounted just inside the cargo area. It took a bit of clearancing behind the trim panel for the lights to fit flush, but eventually everything went back together. Let there be light! You can also see my replacement LED dome lights, $4 on Amazon! This picture was actually taken at 8:00PM.
DE1CBF4C-06E3-49C6-9811-58F8D7C5AA15.jpg


It'll be nice not having to go by feel anymore when digging for stuff from inside the Jeep.


Another thing I've been wanting to add has been a rear amber light for trail use. I will admit this is definitely a poser mod, but I see it being useful for people following me on the trail. Nothing is worse than following someone and all the sudden seeing brake lights in the dust. Also, it'll give the person behind me something to look for at turns / intersections.

Ordered up a 6" oval amber LED, and got to work on making a mounting bracket. Used a piece of .125" aluminum that I bent to the angle of the rear hatch glass. After a little trimming it was looking okay.
6D6C2528-8C26-4292-B217-5FB28F6EFB6E.jpg


I riveted the bracket to the hatch, and then trimmed the trim panel to fit around the bracket. Soldered some wiring in, added another toggle switch, and it was good to go.
8FADD3EF-7806-4443-B6C8-0A05CE4E58D6.jpg
 
I just want to say I love everything you have done. Especially how you document things. I spent the last three nights reading through and was ecstatic to see the pictures of your trac bar setup as I need to do some tweaking on mine and your pics are a huge help.
 
I just want to say I love everything you have done. Especially how you document things. I spent the last three nights reading through and was ecstatic to see the pictures of your trac bar setup as I need to do some tweaking on mine and your pics are a huge help.
Thanks, it's nice to know people actually read this thing. It's fun to look back over the years, and see how things have transformed. For better or worse is still to be determined. :laugh:


My porch lights came in handy while loading the Jeep tonight.
0719F6BC-F314-40DD-8190-FF8776E41386.jpg
 
Love those LEDS!
 
Your heep hasn't folded like a taco yet. So it's at least somewhat better than worse.
I appreciate how methodical and precise you are in your mods.

Thanks, it's nice to know people actually read this thing. It's fun to look back over the years, and see how things have transformed. For better or worse is still to be determined. :laugh:
 
It was really great to get out and wheel again. We had some great weather at this year's Thanksgiving Run, and the Nail Salon ran hard all weekend long.

DSCN2171.jpg


DSCN2179.jpg


DSCN2198.jpg


DSCN2247.jpg


DSCN2202.jpg


1F7C01D7-E730-4818-AD88-69948B066510.jpg


No carnage all weekend after a ton of trails, three laps around Waterfall, and a trip through Upper Crushers. My steering box is leaking pretty good from the sector shaft, and I have a TRE that needs some attention, but I drove home at 65 with the cruise control on so it was a successful trip in my book.

Looking forward to some snow wheeling soon!
 
Damn, you went up crushers with snow/ice on the rocks? /respect
We were up there in October and that trail without ice/rocks busted a few really built rigs.
 
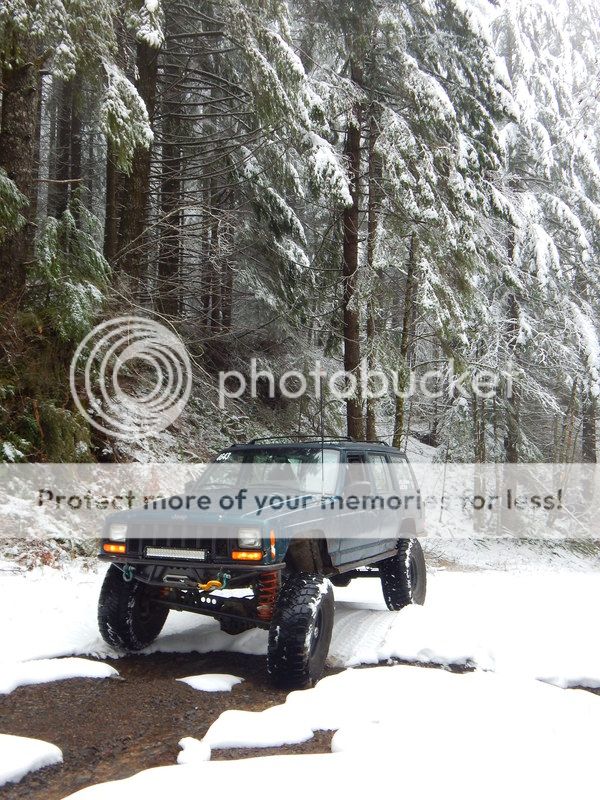
Did a quick once over on the Nail Salon after TSF. Fixed a few minor things, tightened some random bolts, and replaced my in cab winch switch which was being finicky.

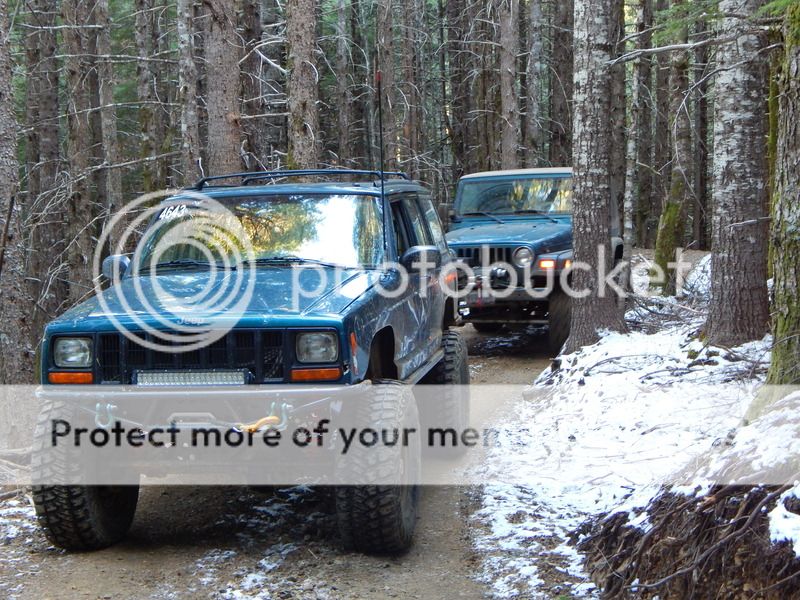
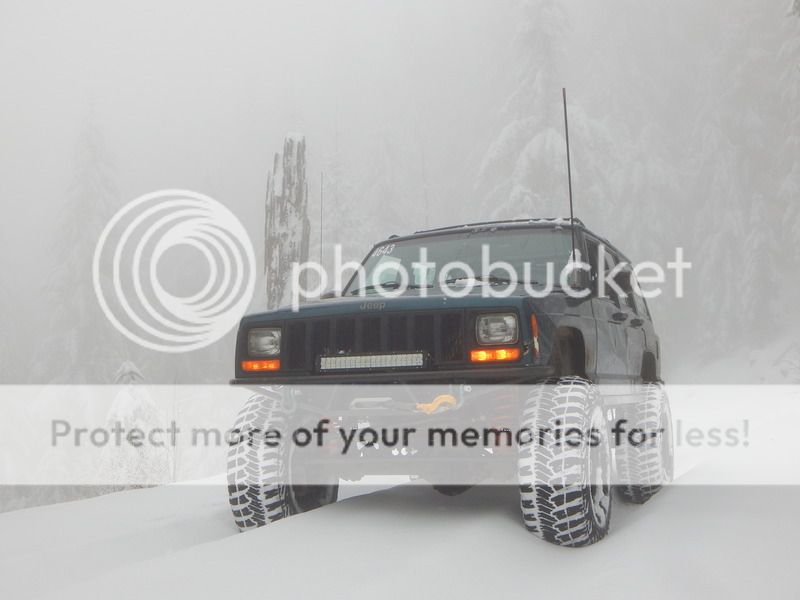
Meanwhile, snow has made a return to the Northwest after a few years of incredibly disappointing winters. Had a great run up doing some exploring on my day off.

DSCN2279.jpg


DSCN2285.jpg


DSCN2296.jpg


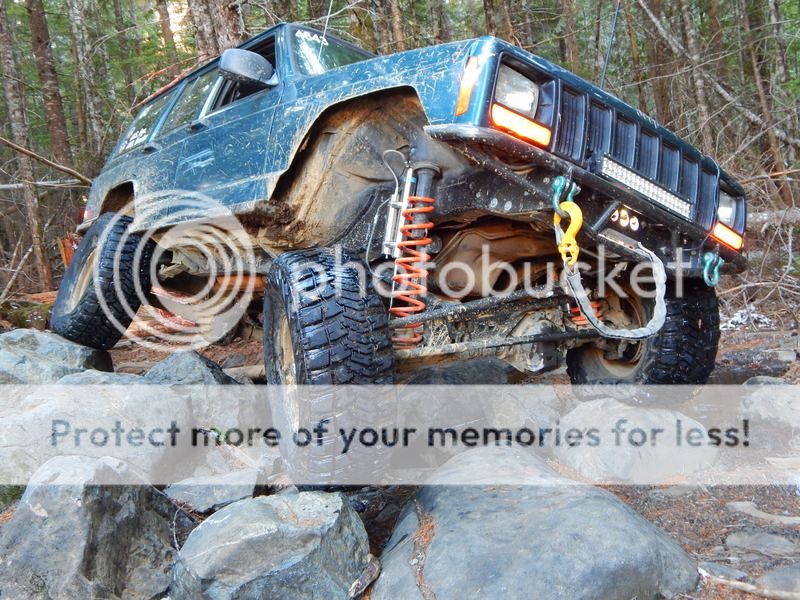
Headed out with some NWC'ers this weekend for some more snow wheeling. Had a great run until I managed to shear two of three high steer arm bolts. I strive hard to not be "that guy," and build a reliable rig, so I was pretty angry inside when this happened. (n)

Decided to get started with repairs since there's more wheeling to do. Here's Chad's handy work with some bailing wire for a McGyver fix.
3DB835A0-FA0B-4EFE-8211-481A35055166.jpg


Pulled the high steer arm, and got a look at the damage, two sheared 9/16" bolts. They broke deep enough it would have been tricky to weld a nut to them.
60D3F878-9156-497D-8DF9-E5F08EEB6582.jpg


Decided to try and use an extractor instead. First center punch the bult as close to center as possible. Chuck up a good sharp bit (start small), and start drilling.
ACDFA18A-E863-4CD6-85A8-AF24E884F95F.jpg


Upped my drill size, and used some cutting oil.
BEAA5FF5-9AD6-49FE-8761-61D3661B2217.jpg


Final hole size, quenched in PB-Blaster.
478315B1-18A9-47EE-AAED-EABFAEB1D7A1.jpg


I then used the torch to heat the around the bolt as much as possible without melting my ball joint and seals. Insert the extractor, and cross your fingers it comes out easily like this one did.
2F9DC4CF-03BF-406F-95FF-6FDF9E245AA1.jpg


Onto the second one.
4048655E-6F16-40DA-9150-4932157CCCDD.jpg


Add heat. This one was seized up pretty good, so I ended up applying heat directly to the bolt to heat it near red hot. Wet rag kept my ball joint happy.
055353CA-0613-4B40-8CEA-B1A2156F98E8.jpg


Out she comes.
A85B8251-13F9-41AD-B890-C539F292C9B5.jpg


I have a hunch these might have been fractured for awhile looking at the pieces. What pains me the most is out of all the bolts on my Jeep, these are the only ones I've never tried to re-torque mostly because I didn't want to break their torque. After a good launch up a small hill in the snow, and a landing biased on the passenger side, I believe that's what put these over the edge.

While getting this back together will get me wheeling again, it won't give me a peace of mind. I'm leaning toward picking up a Reid knuckle for the passenger side, which is machined and tapped for four bolts instead of the typical three. Couple this with hydro assist, which will take some of the stress off the draglink, and I think that'll be the recipe for a trouble free setup that can take a pounding.
 
Last edited:
That looks like a ford knuckle cut for studs. That is not safe to run anyway.

Correct, it's a stock ford knuckle that was machined and tapped.

I know the go to swap on these are the Chevy knuckles because they have more surface area to machine. You can see how the front most bolt hole is on the edge of the knuckle, which isn't ideal.
6C55BAE4-DEFC-4FBB-ACF5-3298CBE68504.jpg


I'd consider swapping to Chevy knuckles, but I already have alloy outers and all the parts for the Ford outer hub assembly.
 
Back
Top