TORXreport:
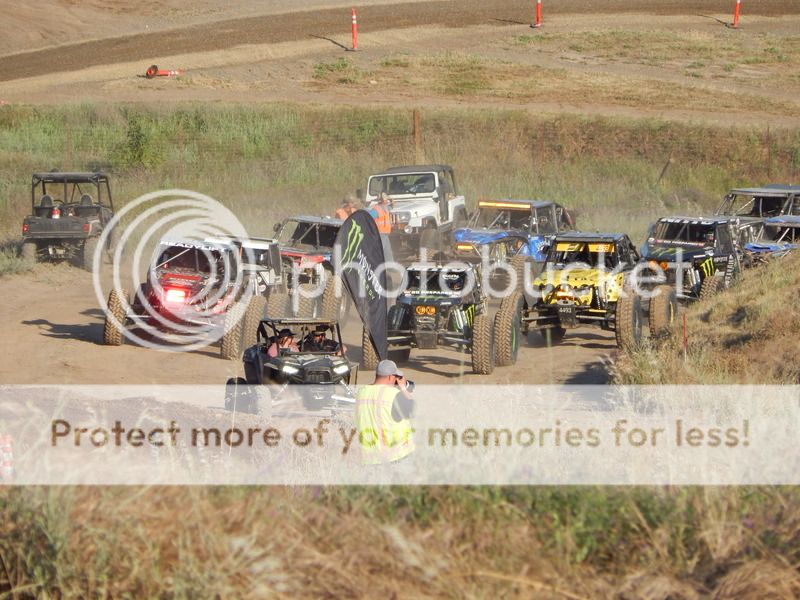
Oregon Trophy Challenge 2015
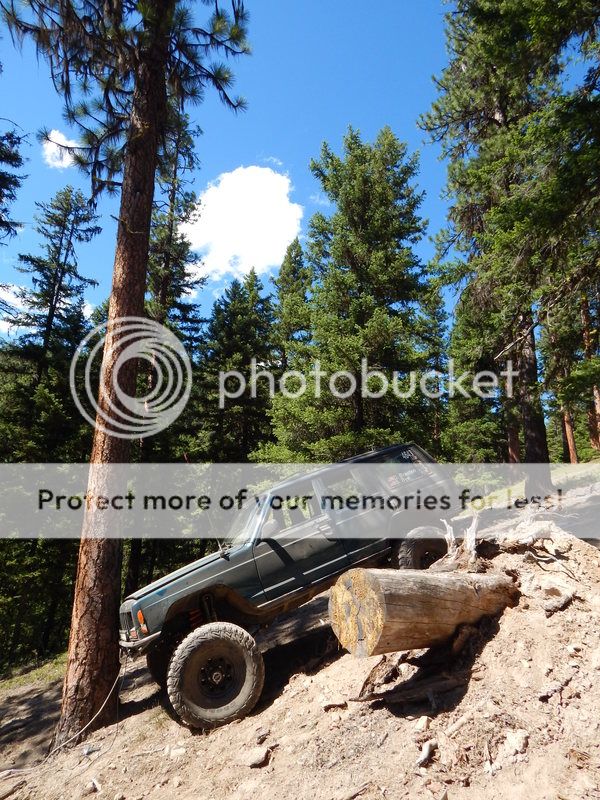
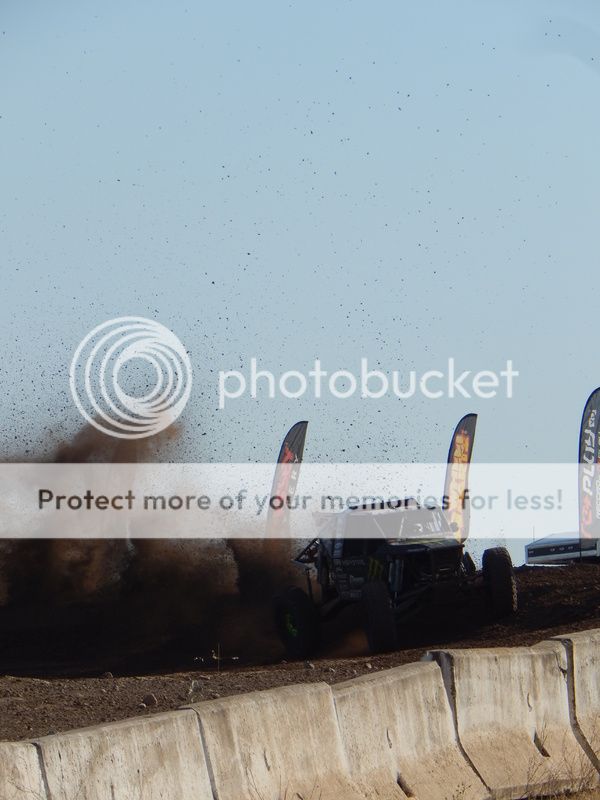
The Nail Salon proved itself at OTC this year. In 24 hours it racked up over 200 miles of trail and gravel road bombing. Conquered Airplane Hill (twice), Waterfall (up), Waterfall (down), Can Opener, Little Rubicon, Upper Crushers, and Lower Crushers. Aside from putting a hub back together wrong a few days prior (whoops), it really didn't need any wrenches turned on it during the event.
One issue Scott and I found out about was a heat issue on the passenger side floor board over the exhaust. Since the boat-sides were added, I ditched the factory carpet on both sides. We learned this carpet actually insulates the cab from the radiant heat, and without it the floor becomes a furnace. Enough to actually start to smolder the floor mats, and smoke us out of the cab a few times. At one point I was just dumping water on the floor as we didn't have time to stop.
I figured I had better address this with NWF just around the corner. Since reinstalling the carpet wasn't an option, I began to search for a way to help eliminate some of the radiant heat coming off the floor. I found a product made by Thermo Tec, which is an adhesive heat shielding. I picked up 15 sq/ft off Amazon, and got to work applying it over the passenger side floor board.
I applied it half way up the trans tunnel to about center of the uni-frame. I cut the pieces to shape, and then let them warm up in the sun to maximize the adhesion. This stuff is crazy sticky! Any seams I sealed up with an aluminum backed tape.
I ran it basically over where the exhaust is ran, from the front firewall all the way to the rear seat bottom. I don't believe the hole for my upper was the main culprit, as much as the radiant heat from the exhaust was. So for now the upper still hangs out in the cab.
I planned to build a heat shield over the muffler too, until I saw it was about a 1/4" below the floor and 10% of it was smashed in. Apparently I massaged my exhaust at some point (Can Opener). Not wanting to mess with tweaking my exhaust back down (it's been self clearanced), I decided we'll just give the heat shielding a try. If I can cut down on half the radiant heat, it'll be tolerable. In the meantime, I added another rule for my passengers.
Haven't had time to drive the Jeep yet, but NWF will definitely put it through it's paces.
Got the itch for a little fab project, and decided to build a mount for my hi-lift. While I'm not a huge fan of hi-lifts ( they're sketch), they are useful in some situations. I decided to mimick the last mount I made for JeepForceOne (now in Nick's ride). Start with framing in the base with 1/2" angle, build side plates, add speed holes.
For the top mount, I cut out a base plate out of .134" to help support the load. Then I found some 7/16" ID tube, which I drilled out to 1/2". Welded this to the base plate, and then welded some 1/2" all thread into the tube. A bolt welded to the plate would have worked, but the tube actually serves as a spacer for the mount.
Weld the top mount into place, and reinstall the trim piece.
Weld the bottom bracket in place, add paint. I left it primed for now since I still have yet to decide how I'm going to finish off the floor in this jalopy.
Found a big-ass wing nut in the warehouse. While it's not a custom TORXfab wing nut, I did color match it to the Jeep. The jack sits in the base very securely, and the jack comes out quickly with just one wing nut.
For the most part the Nail Salon is ready for Naches. Few more day's and we'll be wheeling!
")


 brought home first place again for two years in a row.