• Welcome to the new NAXJA Forum! If your password does not work, please use "Forgot your password?" link on the log-in page. Please feel free to reach out to [email protected] if we can provide any assistance.

The Nail Salon

Well Northwest Fest was a complete blast. My goal was to wheel as much as possible, and the Nail Salon took it like a champ.

Read my trip report, HERE.

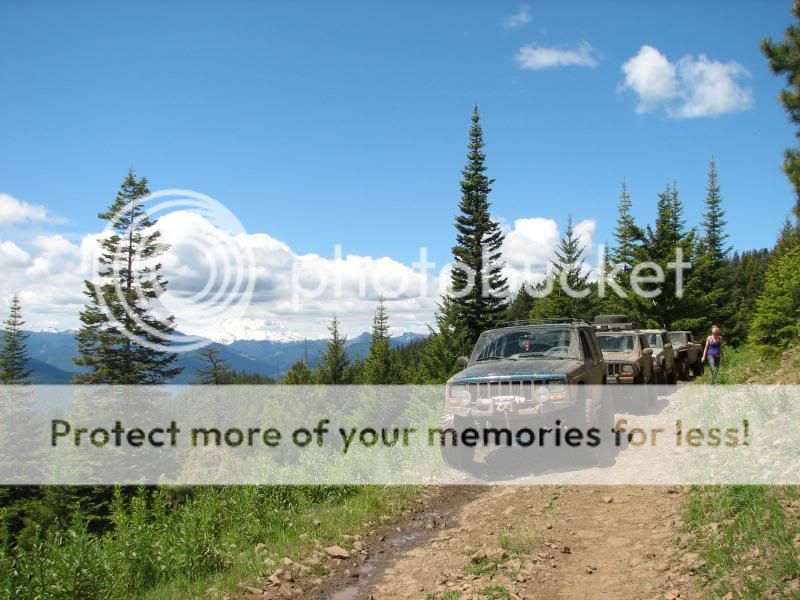
Leading the group up Kaner Flats on Friday.
IMG_0214.jpg


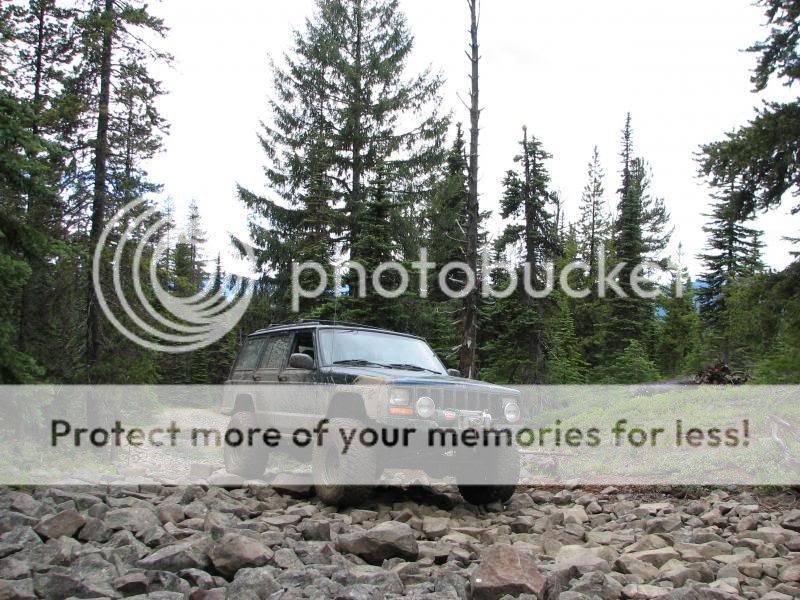
Regrouping on the way out during Friday's run.
IMG_0262.jpg


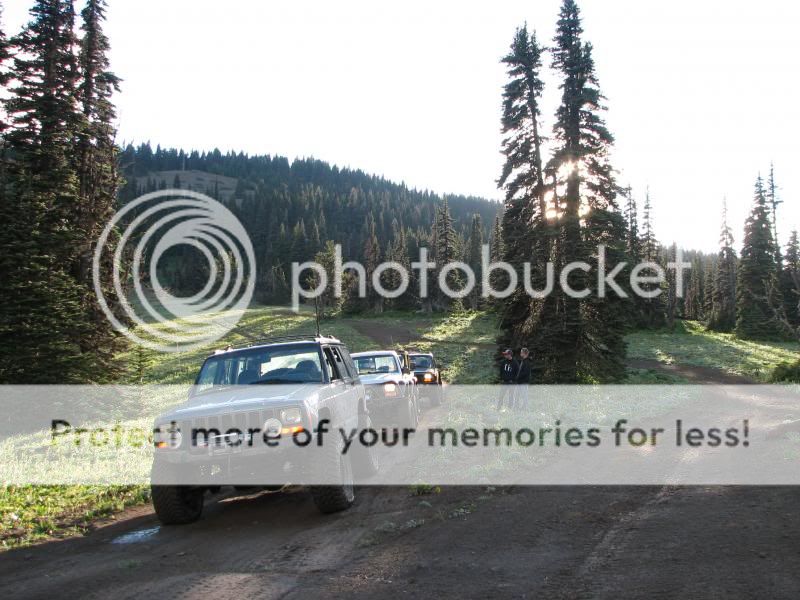
Leading the group down Lilly Pond, Saturday.
IMG_0266.jpg


I didn't get any action pics of myself, but two big highlights this year were crawling up the crack at Funny Rocks, and a quick paced run up Aardvark Hill Saturday night.

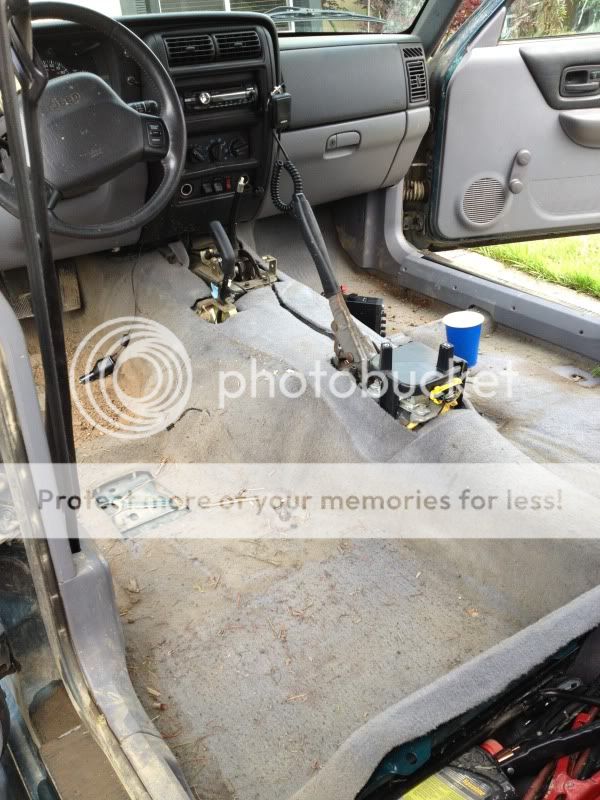
However, Naches always comes with a price though. Thursday, a few of us decided to do a night run up Kaner Flats. Long story short I chose poorly and sunk the Nail Salon in one of the bottomless holes near Aardvark Hill.
DC15485C-0BE9-4B08-8A41-DF63E74F561D-2030-000001CB3CBF0D36.jpg


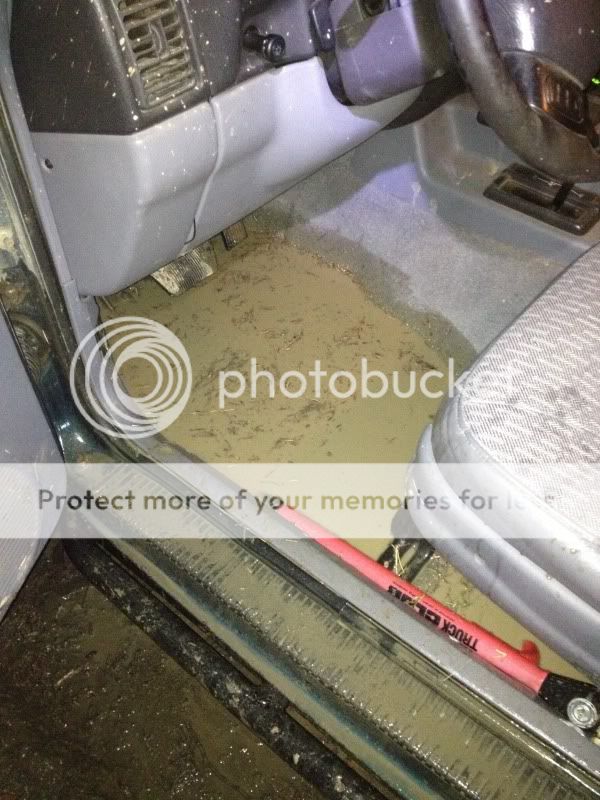
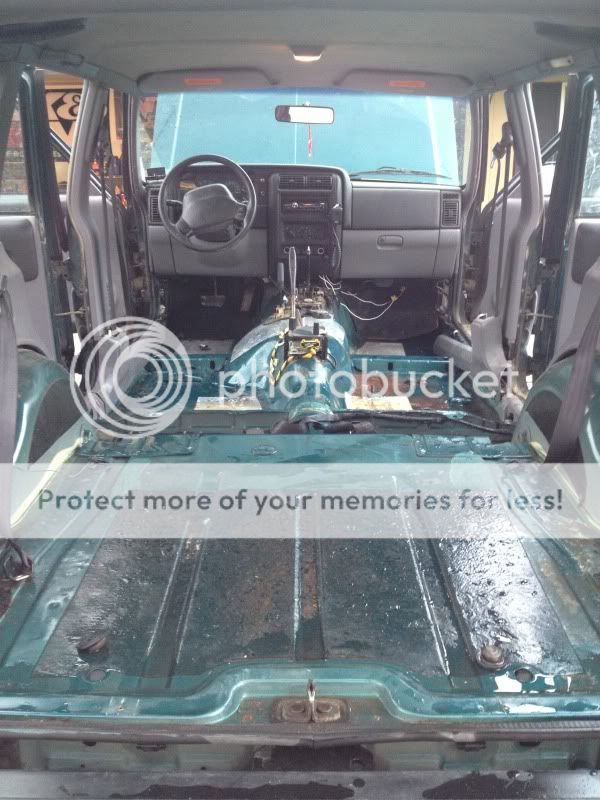
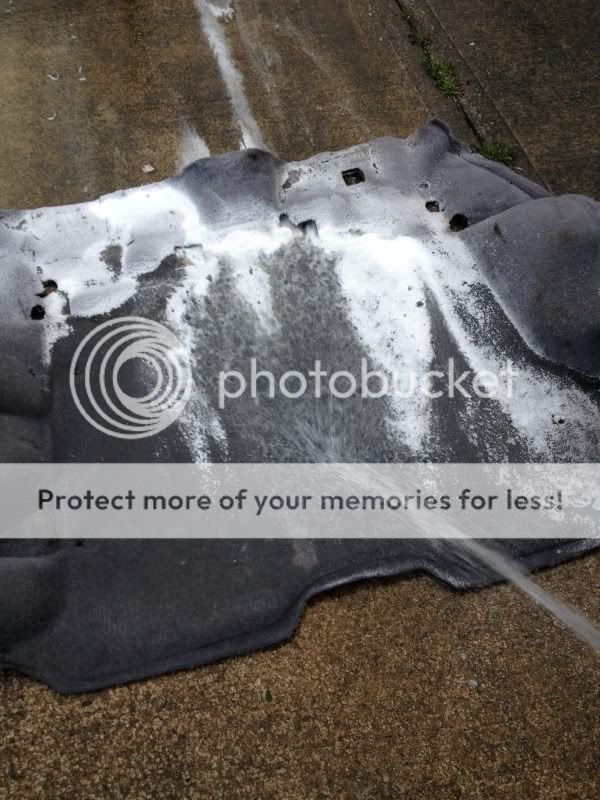
Luckily the worst damage from the submarine act was some soggy carpet. My alternator came back to life after drying out, and pretty much all my fluids checked out. I hate mud.
 
Last edited:
Saturday at NWF, my Jeep all the sudden wouldn't crank from the ignition. Luckily, Mnkboy was riding with me and volunteered to be my starter for the day by jumping the starter solenoid terminals. We both figured it was a dirty NSS from the sunken Jeep episode.

Monday I finally got around to tearing into the Jeep, more specifically the Neutral Safety Switch (NSS). It's located on the passenger side of the tranny, and is held on with a 12mm bolt. Some gentle prying, and it will come off. The NSS basically provides a ground for the starter relay when in park and neutral. If it's dirty or out of adjustment, the Jeep won't start.
761D2830-743D-4219-A232-015CF73B7695-2559-000002B2312C9C24.jpg


Six Phillips screws hold the case halves together.
91F19B95-D1CD-42AE-B1DB-82FB6B272208-2559-000002B225D418D9.jpg


I used some electrical cleaner to clean out the old grease, some sand paper to polish up the contacts, and then applied a thin coat of die-electric grease.
118447E2-10D1-47B4-9C6C-F56704060A60-2559-000002B21E462942.jpg


The switch's mounting is adjustable. You may need to adjust it to be able to start the Jeep in park, neutral, and have your reverse lights function. I used a multimeter to test continuity to make sure I had it adjusted right.

However, after cleaning and adjusting the NSS, the Jeep still wouldn't crank. I swapped starter relays in the PDC, with no luck. I figured the only other culprit had to be the ignition switch. A quick run to NAPA, and I had a new one.
730F7EFD-DD0C-49F8-B7C8-257FD339D042-3094-00000396D8E24256.jpg


The ignition switch is located behind the key lock cylinder. I feared getting to it would be a problem but it was a quick 15 minute job.
9DADFEFE-C39E-4916-A3C1-8A75809B5A0C-3094-00000396D265C34F.jpg


However, even after installing a new ignition switch I still couldn't get the Jeep to crank with the key. So fearing the worst, a wiring issue, I began troubleshooting at the relay. I jumped the power connectors and determined they all checked out. The only other issue could be ground related and that's when I found out the ground terminal had fallen into the PDC. Problem solved.
51AB7979-05F3-4888-B1A3-2275A3735DB9-3094-00000396E2DDFCCB.jpg


With the starting issue crossed off the list, I buzzed down to the local coin wash, and hosed off all the caked on Naches mud.
2225B053-8BF7-4B50-949E-2715C7A09E79-3686-00000491279CF5E0.jpg


After getting the exterior free of mud, it was time to deal with the swamp inside. Gutted the interior.
F3CBB74A-F30E-4AAC-A66D-DB3091D4F6B8-3686-000004913C16218B.jpg


As wrong as it felt, I then hosed out the interior, and pulled the drain plugs. I was displeased to find some rust on the passenger side above the exhaust. I had the same problem on the last Jeep, and was hoping not to have to deal with it again. I'll deal with that later.
691E410D-1DF6-47CE-810A-04E11A756347-3686-0000049146E42560.jpg


I rinsed the embedded silt out of the carpet and insulation. Applied a dusting of Tide detergent, scrubbed it with a push broom, and then rinsed clean.
28C0226C-8F88-4D1D-B96B-E14054398871-3686-00000491588F5C7D.jpg


I'll detail the rest of the interior when I begin reassembly. I'll be curious if the Nail Salon smell is still going to be lurking after.
 
yummy!
 
Hope you put some Dielectric grease in that switch to keep it working easy.
Good luck with getting that carpet and thick mat to dry .
That rust is from your exhaust heat against the floor burning the paint off , .use some sheet metal to form a shield between the exhaust system and the floor. That helps alot to keep your floors cooler also.

:chef: Air-bake cookie sheet... one of the better investments i made on mine. Zero heat transfer through the floor after installing it.
 
Hope you put some Dielectric grease in that switch to keep it working easy.
Good luck with getting that carpet and thick mat to dry .
That rust is from your exhaust heat against the floor burning the paint off , .use some sheet metal to form a shield between the exhaust system and the floor. That helps alot to keep your floors cooler also.

Huh didnt even know that, I had some surface rust there as well and I just stripped it all off and laid down some primer. I'll have to pull the carpet and see if its still the same :-/
 
Nice right up Dustin, but really!!! when a jeep doesn't start its ALWAYS the CPS. Everybody knows that. Ok I pulled wet carpet from my rig a couple times. Found it dries the best if you can hang it up. The sound fiber insulation stuff will never dry, and before it does dry it will stink really bad. So they make this stick on stuff ( comes in a roll ) that works way better. Floor rust over the muffler...... cut & replace, use a cookie sheet has a heat barrier. When I install mine i'll send you some pictures.
 
We're gonna have some nice hot weather this weekend....with some good air circulation and direct sunlight, that thing will be dry by Monday or Tues for sure!
How's it look by the way? The tide and scrubbing work pretty good?
 
The last time I did this to one of my Cherokees. I pulled the carpet and hung it on the wall outside my shop. Soaked it down with some liquid detergent watered down in a weed sprayer. Then I hosed the hell out of it with my pressure washer set on med. worked great, got all the stains out and dried in a few days. It was about 80/90 out when I did it.

I'm going to do the same with my current Cherokee as soon as I get tags on the Wrangler.
 
Hope you put some Dielectric grease in that switch to keep it working easy.
Yes.
Good luck with getting that carpet and thick mat to dry.
Surprisingly after just letting it air out last night and today, I'd say it's 80% dry. I have it hung up off the ground so air circulation is good. Tomorrow is suppose to be warmer so I'm hoping to get re-installed after work.
That rust is from your exhaust heat against the floor burning the paint off , .use some sheet metal to form a shield between the exhaust system and the floor. That helps alot to keep your floors cooler also.
I'd say it's a combo of heat and moisture. I had the same issue on the last rig. The 97+ should have a factory heat shield above the muffler/cat, but I guess mine left the assembly line without one. :dunno:

How's it look by the way? The tide and scrubbing work pretty good?
It worked really well. It took awhile to rinse all the silt/small particles out. The tide seemed to freshen up the color, and help with the mud stains. It's still not like the day I bought it (immaculate), but I'm pleased with the results. I'm amazed though after the amount of rinsing and scrubbing I did, I'm still finding sand from Sandlake in it.
 
I did the unexpected drivers side mirror delete mod at Northwest Fest. I was fine with not having mirrors on JeepForceOne, but the late model mirrors on the Nail Salon are actually really nice to have.

So I stopped by 205 Auto Salvage after being reffered to them by NW99XJ. $36 later with the "XJ Talk Show" discount, they had the mirror pulled for me. I thought that was an extremely fair price for an OEM electric mirror I didn't have to mess with pulling. I'd recommend them to anyone with a late model XJ looking for parts.

Installation was straight forward. Pop the door panel off, unscrew the inside trim piece for the backside of the mirror (phillips screw on the bottom). Then unbolt the three torx bolts to remove the old mirror or at least what was left of it. Bolt on the new mirror, and then connect the power connector.
230346AE-ACD4-4E4F-8762-EDF9B3D62B70-4129-0000054EDB9ABCA9.jpg
 
Glad things worked out Dustin!
I bet its nice having the Nail Salon symmetrical again!
 
He was standing on it...when it broke off..... I heard there was some sort of a demonstration in balancing techniques being done, and all was fine, till he went for the dismount.... that poor mirror just couldn't take the force....
Of course there's no way to substantiate any of this....
:)
 
Your missing the point fold them in before you break them. Then it's even cheaper than bike mirror, because you won't have to replace anything. :)
 
Where we were folding them they still would have been torn off
I think the group lost like 6 mirrors and one lost the window glass too
 
Back
Top