kndrewa
NAXJA Forum User
- Location
- Vancouver British Columbia
yeah, well said!

Whew! Finally! I've spent that last three days at work reading your build thread when I had time. Your work is amazing, and your fab skills are crazy good!! Sorry if I don't know, but do you own your own business or what do you do? I have a question about your sliders. I saw you bolted them straight to the unibody frame rails, but did you go all the way through? Or just bolt in from the outside? Also, where do you live if you don't mind me asking? I have family in yacolt so I'm familiar with that area and I live in Gresham by josh. Hopefully we'll get to wheel together soon! Once again, you have awesome skills and maybe sometime you could pass some knowledge my way?

What was Phase2 again? :laugh:Looking good. So Phase 2 of the build is officially on hold?


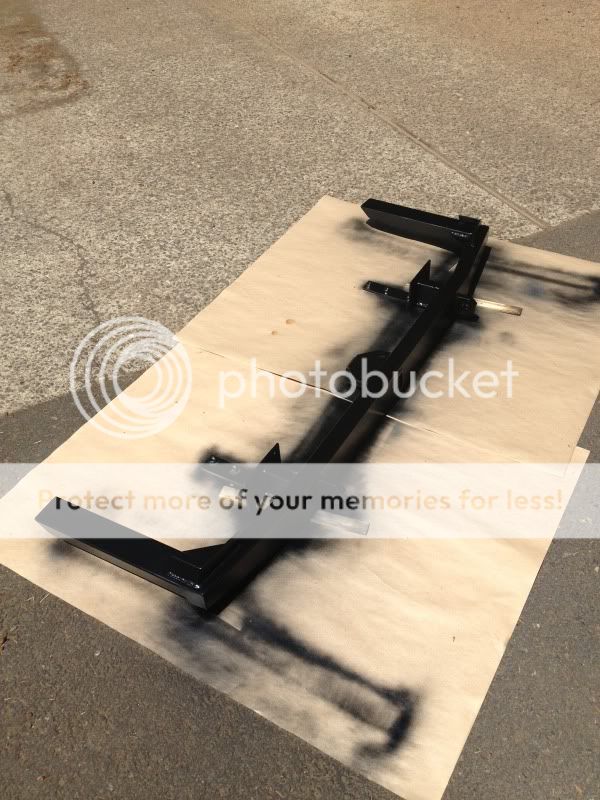
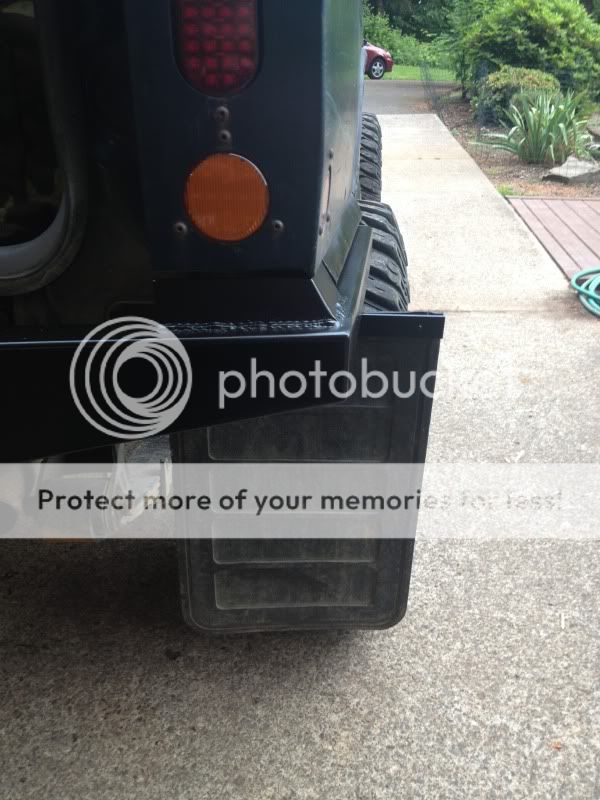
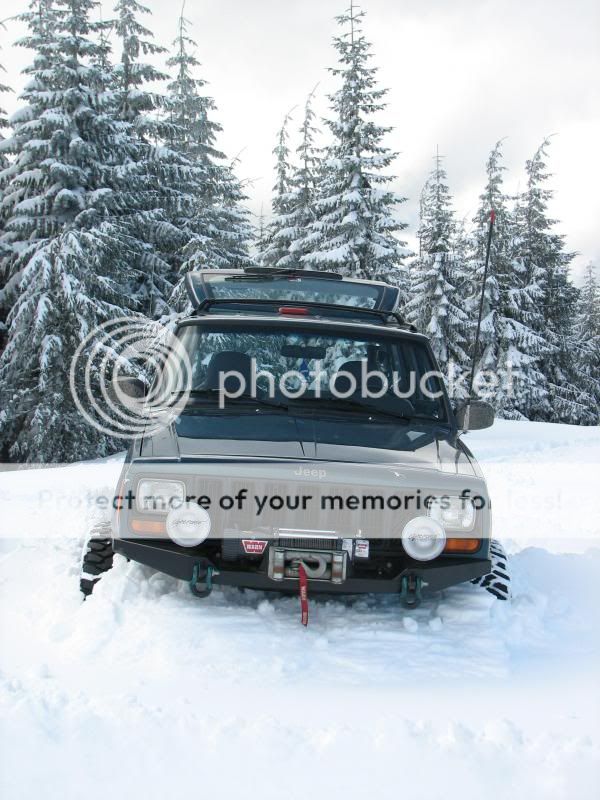
I debated on adding a tire carrier into the design, but in the end I didn't want a massive tire hanging off my bumper full time. There's plenty of times on the trail where I'm having to back up to where my hatch is inches away from a tree. This would be difficult with a tire on the outside. Also, I couldn't bring myself to lose the rear visibility. I'll end up building a tire carrier/cargo rack for the inside at some point.Nice lookin bumper, I plan on building something very similar with tire carrier.
That's why I document my build. I understand a lot of people don't have the means to build their own stuff, but I take pride in being able to say I built this and that on my Jeep. $100 in material and a few days labor sure beats forking out $800 on a bumper from the Quadratec catalog.I appreciate the time spent to document the Fabrication process.. This thread has opened my eyes to alot of small things that i can save a dime on! My first attempt will be the Torxfab DIY Shackle relocation brackets.. Quite a Niffty idea!
I had a feeling this question would come up.Damn fine job Dustin, as per usual.
Question.......
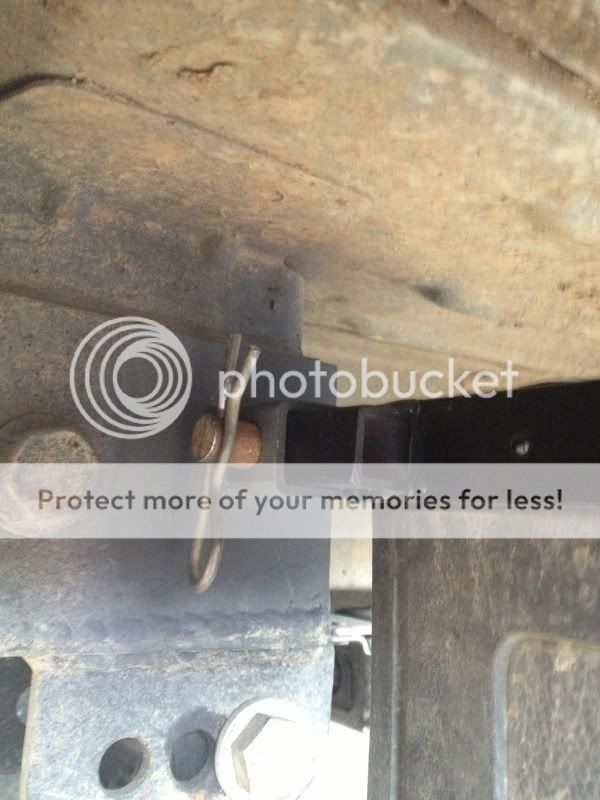
Are the side (quarter) protection bars tied into the frame rail/unibody at all?
Or is their only mounting point back at the bumper?
I have planned to do something very similar to my existing bumper, but at the end of the quarter guards, make a lateral tie-in to the frame/unibody
(similar to how alot of rock rails mount to the frame/unibody)
I say this because my train of thought is...... if I were to come down and smack that, there may be a good deal of force wanting to push that bar upwards, and if the only point its tied into anything is at the bumper, it may have a harder time bending up into the rear quarter panel if there was another tie in point.
What are your thoughts on this?

Well I DID Jinx you on your winch plate, when I questioned you using 3/16"...... lol.I debated on adding a leg off the slider that ties into the frame, and it certainly would have helped stiffen them up, but in the end I was lazy and decided against it. I ran a similar design on JeepForceOnce, and the sliders took more side impacts off trees than vertical drops onto rocks. The departure angle on them is pretty high clearance, so they shouldn't get used too much.
Watch me prove myself wrong though.