- Home
- Forums
- NAXJA Unibody Jeep Technical Forums
- Jeep Cherokee XJ (1984 - 2001)
- Modified Tech Discussion
You are using an out of date browser. It may not display this or other websites correctly.
You should upgrade or use an alternative browser.
You should upgrade or use an alternative browser.
Team NAXJA/Petty Cash Racing stock class KOH XJ build
- Thread starter Goatman
- Start date
- Location
- Port Orchard, WA
FYI - they make an upgraded front output rear 'cap' that is stronger than this one. Seems lots of people were breaking them. I think Advance Adapters makes them now after a few companies made them.
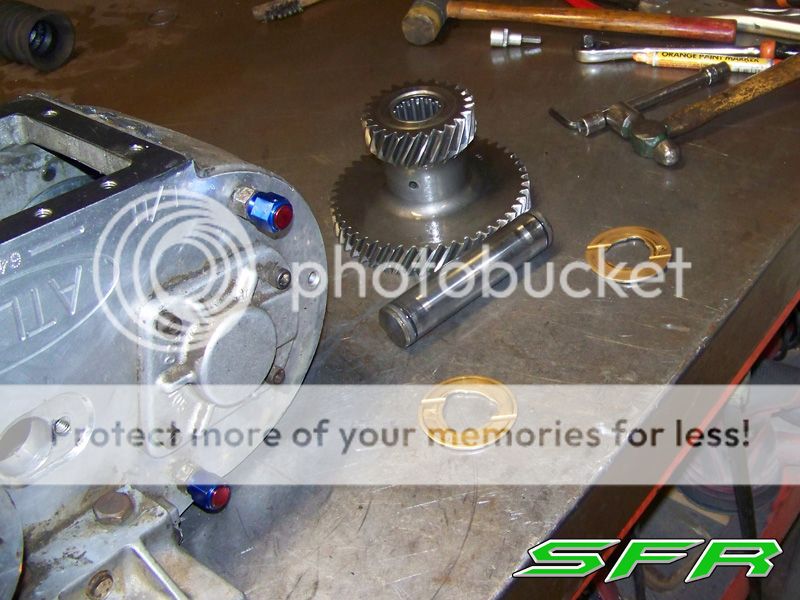
Kraqa on Pirate made a few as well -
http://www.pirate4x4.com/forum/35180050-post28.html
Kraqa on Pirate made a few as well -
http://www.pirate4x4.com/forum/35180050-post28.html
- Location
- Hammertown, USA
Not a lot of pictures from this weekend, i ended up getting sick and going home early.
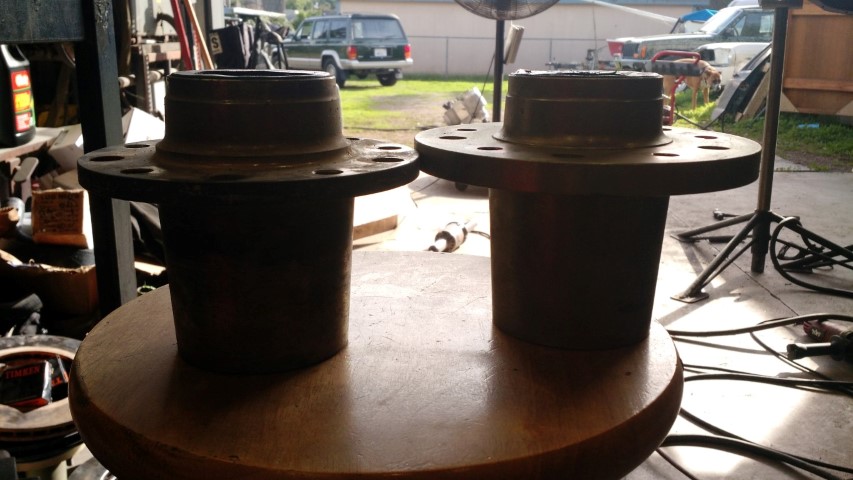
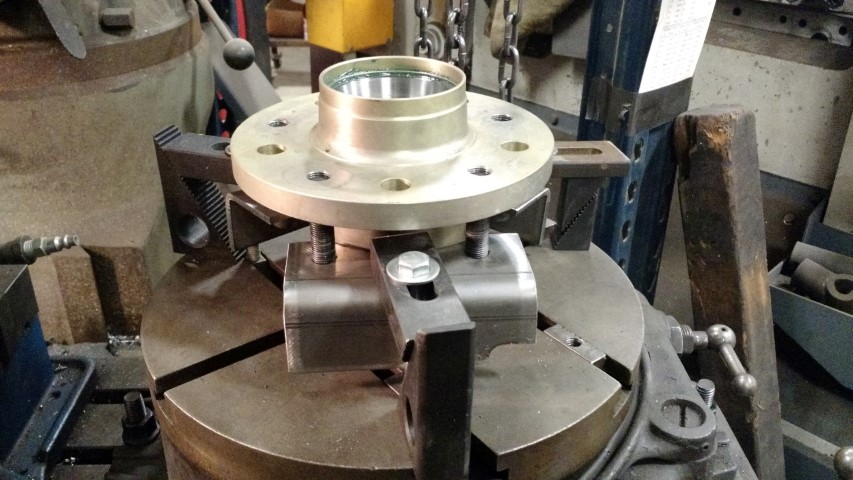
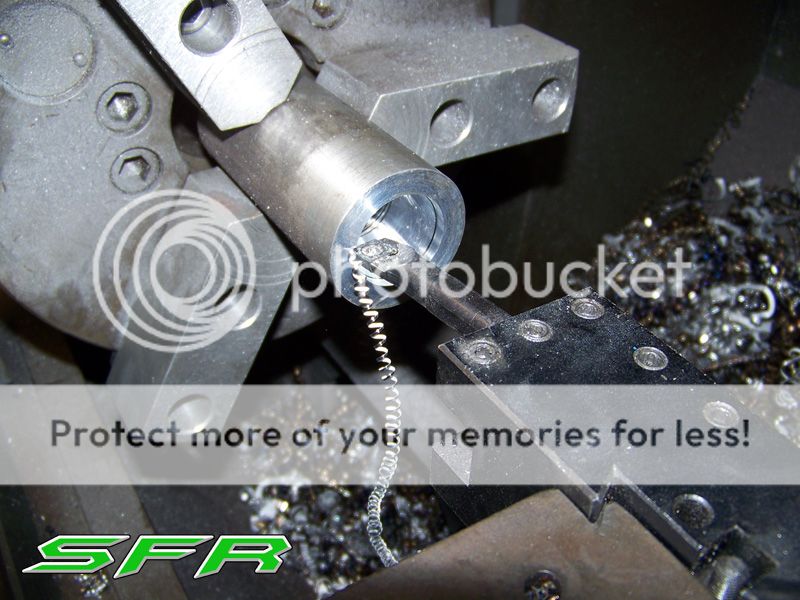
We managed to get our hands on new hubs for the warn kit. It seems that in the 15-20 years since ours were made, the design changed. Probably no big deal for most applications, but we run them with the rotor on the wrong side, and it didn't work for us.
In order to machine it, Dallas first had to make some tooling.
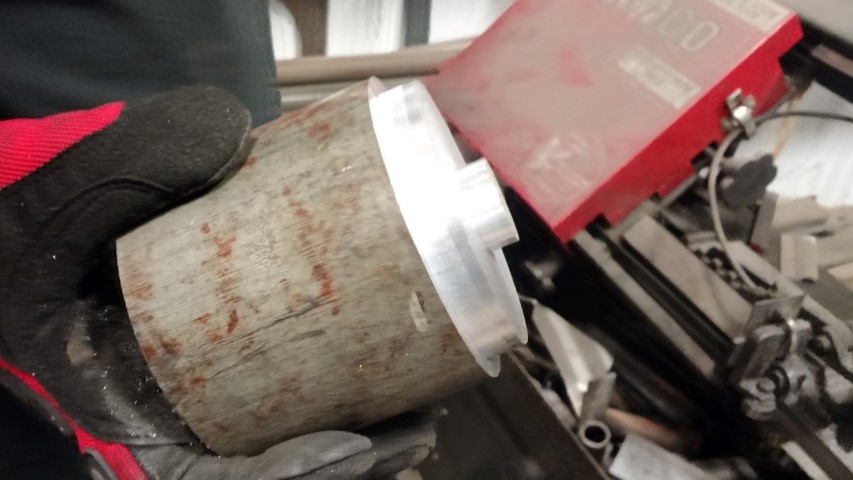
You may not be able to tell here, but those are CNC cut special made tabs for holding it down, bent on the iron worker.
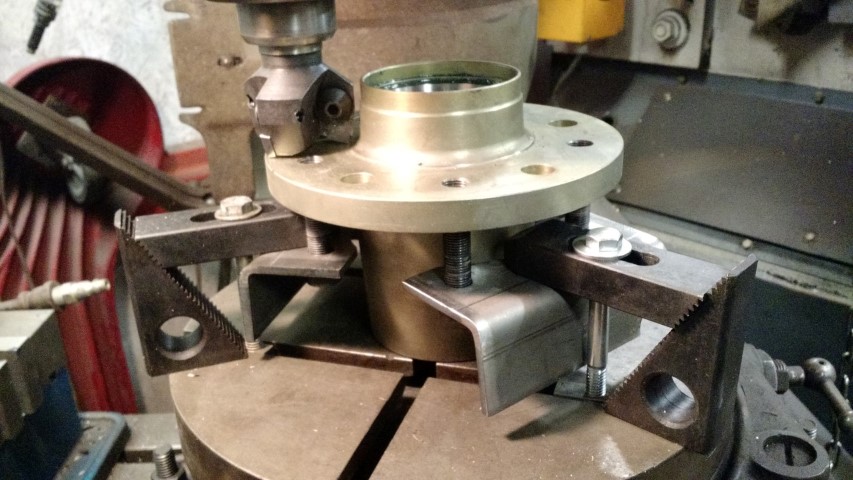
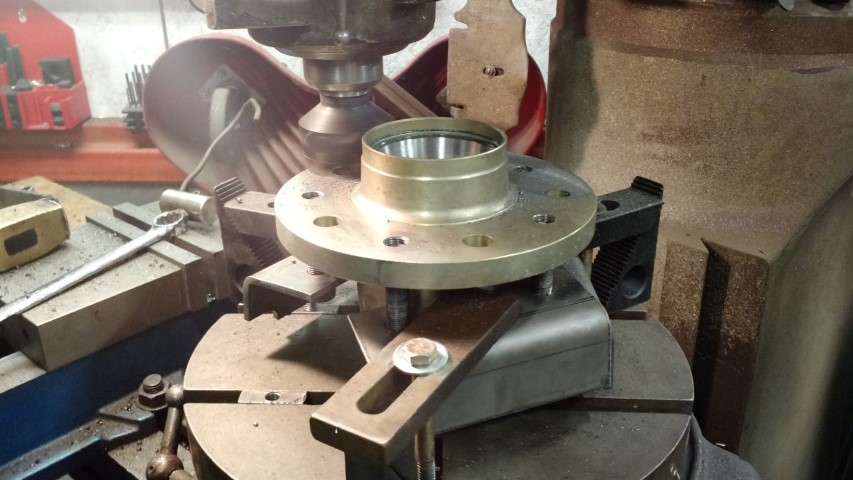
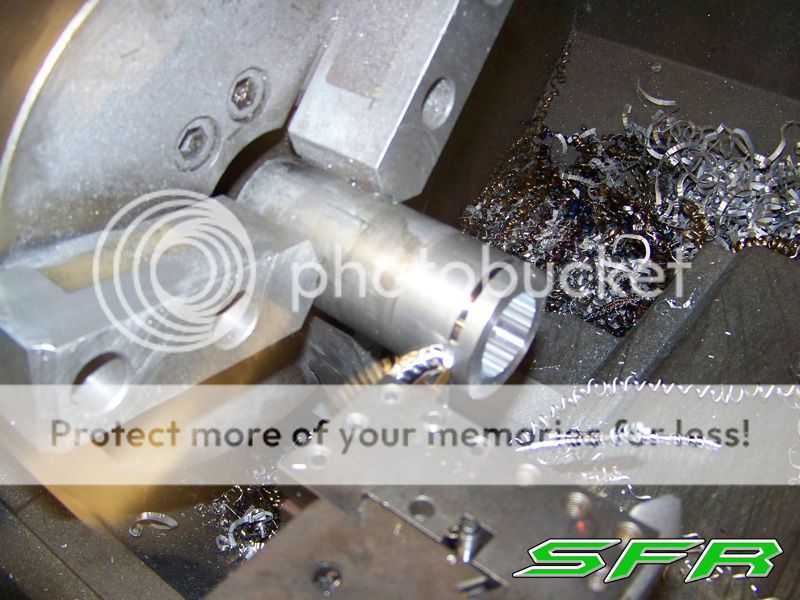
.188 of chips later and we have triplets.
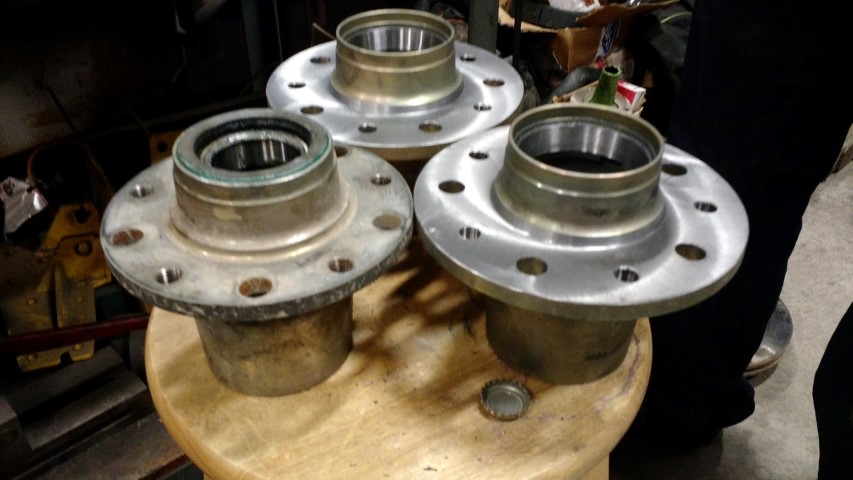
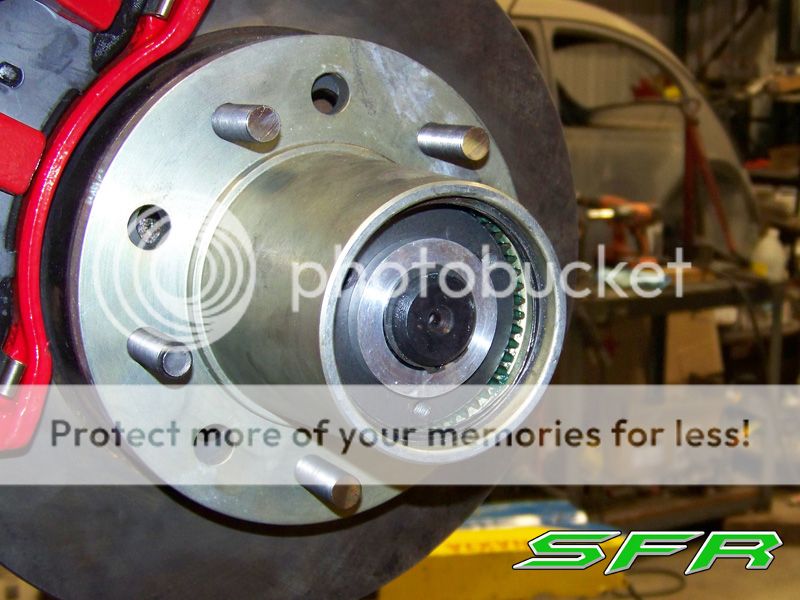
New centric rotors, black magic pads, stoptech calipers, and all new internals.
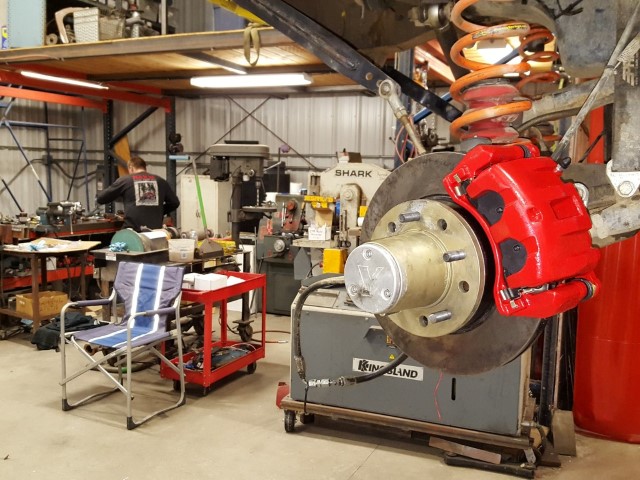
I think we need some sexy new drive flanges to go with it.
We managed to get our hands on new hubs for the warn kit. It seems that in the 15-20 years since ours were made, the design changed. Probably no big deal for most applications, but we run them with the rotor on the wrong side, and it didn't work for us.
In order to machine it, Dallas first had to make some tooling.
You may not be able to tell here, but those are CNC cut special made tabs for holding it down, bent on the iron worker.
.188 of chips later and we have triplets.
New centric rotors, black magic pads, stoptech calipers, and all new internals.
I think we need some sexy new drive flanges to go with it.
Last edited:
RedHeep
NAXJA #1499
- Location
- Landenberg, PA
Centric rotors, race proven.
Still running the spindle lock kit?
Still running the spindle lock kit?
- Location
- Hammertown, USA
Centric rotors, race proven.
Still running the spindle lock kit?
Still running stage 8's yes. On a second set now because a helper impacted one off without removing the lock ring.
")
Absolutely love them. Talked to Stage 8 at SEMA about making ring gear bolt locks for the dana 60, they are interested.. They are doing them for the 9" now.
RedHeep
NAXJA #1499
- Location
- Landenberg, PA
They don't work well when you do that.
When Cal went to assemble those hubs I noticed that the stub axles had a ton of in-out play in them. Nearly half an inch! I've never seen that much in that spot. Thinking about it though, the way the drive flange caps go on it ends up pulling the axle all the way into the hub, which normally would be fine. With his setup however there are a couple differences. First, by pulling the drive flange that far out, to pull the axle that far out, you're actually pulling it past the end of the splines in the hub a little bit, giving only partial engagement. Hasn't been a problem so far, but more engagement is always better. The other thing I realized is that in a normal WJ swap setup you run a 1/4" spacer between the knuckle and hub in order to center the U-joint between the ball joints. Cal is running a 1/2" spacer, so by pulling the axle all the way in he's actually going past the centerline.
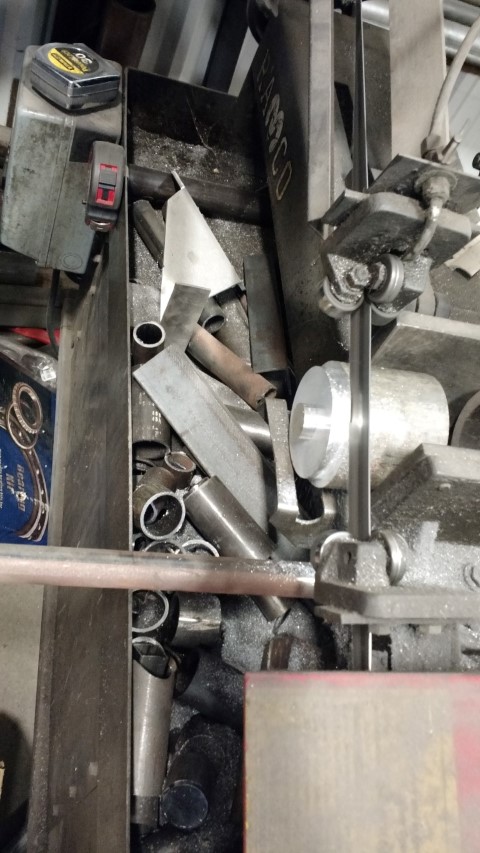
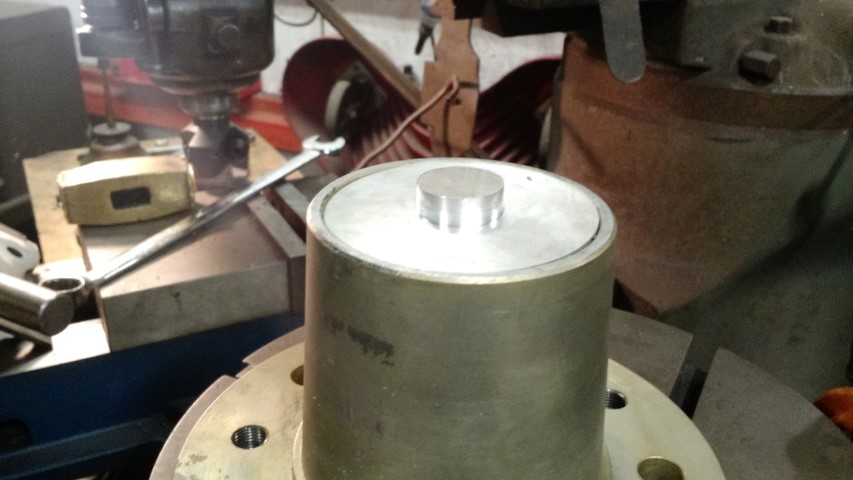
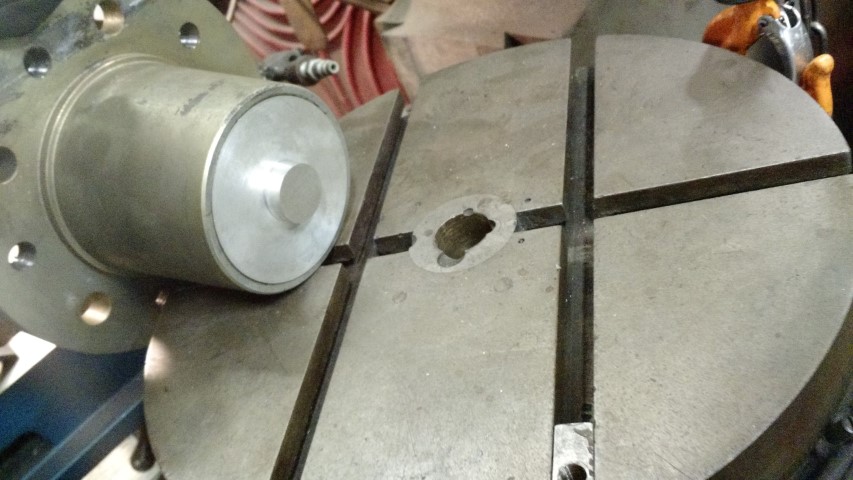
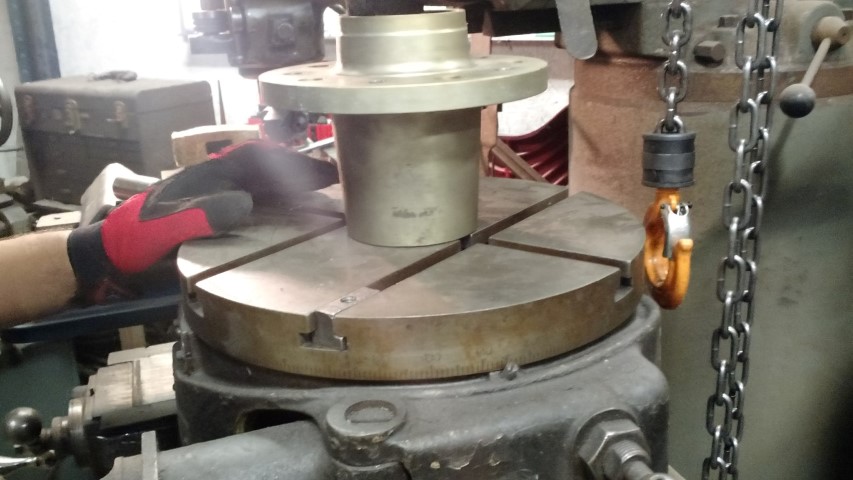
So here's the fix. Simple piece of 2" aluminum carved into a 1/4" spacer. Keeps the drive flange where it should be, as well as the u-joint.
So here's the fix. Simple piece of 2" aluminum carved into a 1/4" spacer. Keeps the drive flange where it should be, as well as the u-joint.
Cal used to carry an aluminum floor jack in the car, and the mounting system was........well really there wasn't one. This year we decided to shed some weight and go with something better, a big scissor jack. It will lift a full 24" high, and is raised using the same 3/4" socket as the lugnuts. Using a cordless impact it's quite fast and easy. I just added a base plate and a new top piece that will cradle the axle.
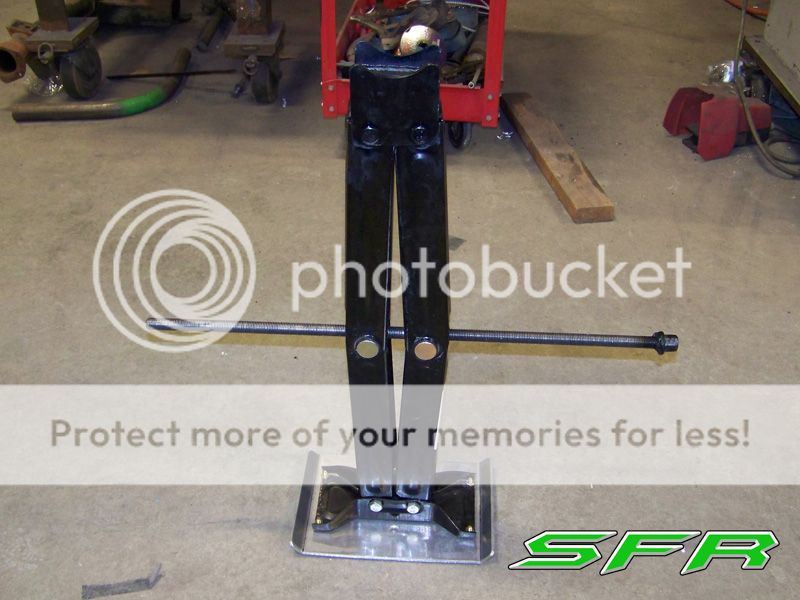
That was easy enough, now to mount it. I hate having to strap things down, so I decided to use the jacks own motion to our advantage. Welded a simple peg onto the roll cage, and a plate with a couple pins for the base.

Just set the base of the jack onto the pins and open it up onto the cage, tighten it up, and done.

That was easy enough, now to mount it. I hate having to strap things down, so I decided to use the jacks own motion to our advantage. Welded a simple peg onto the roll cage, and a plate with a couple pins for the base.
Just set the base of the jack onto the pins and open it up onto the cage, tighten it up, and done.
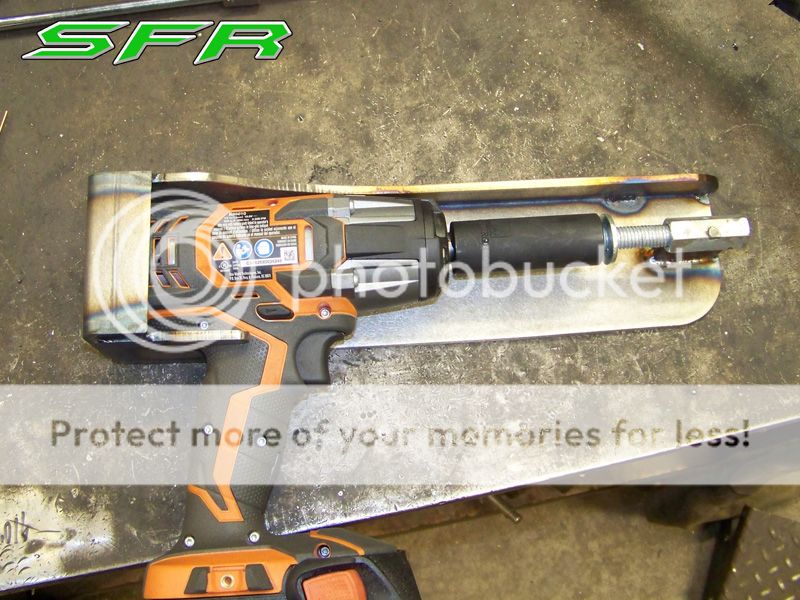
Next up was the impact gun that we'll be using to run the jack, and to remove lug nuts in event of a flat. So here's what I made for that.
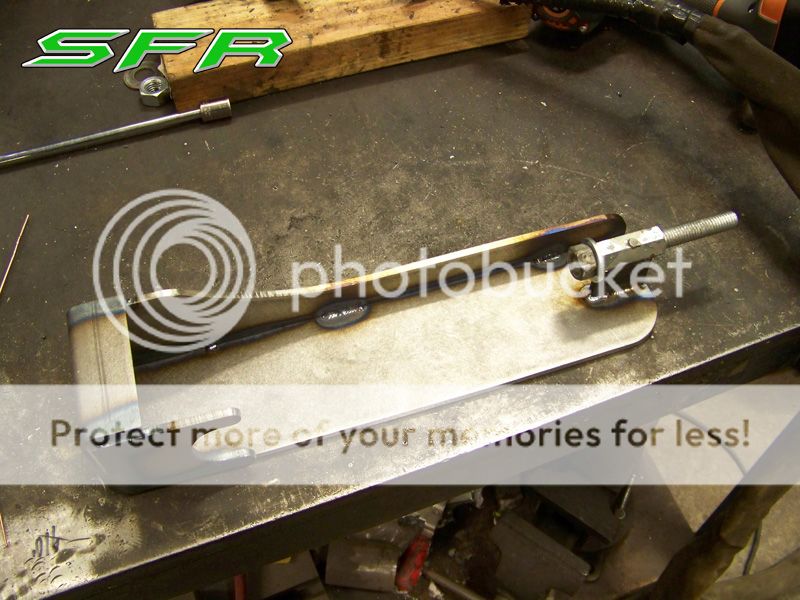
Once again I went with the theme of using the tool to hold itself in place. You slide the back of the gun into the cup, put it in reverse and run the threaded stud into the socket until everything clamps in place. To remove, you just put the tool in forward and run the stud back down.
Once again I went with the theme of using the tool to hold itself in place. You slide the back of the gun into the cup, put it in reverse and run the threaded stud into the socket until everything clamps in place. To remove, you just put the tool in forward and run the stud back down.
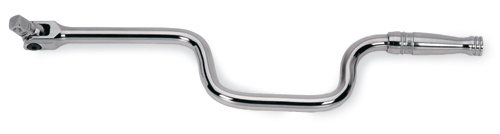
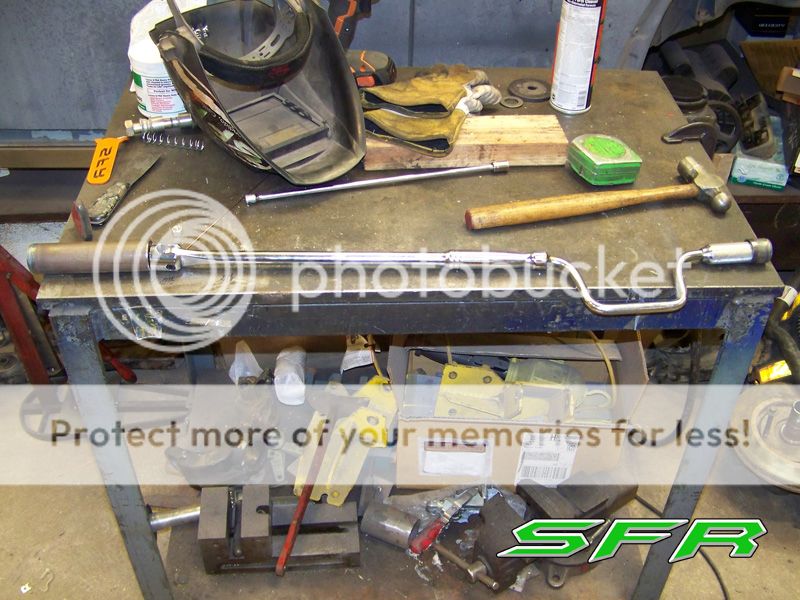
It would be silly of us to rely on just that electric impact, because batteries die and power tools can quit on you, so I wanted a manual backup. A simple breaker bar would do, but Cal had been talking about this fancy snap-on speed breaker he has. Basically a speed handle with a wobble at the end that lets you flip it sideways and use as a breaker bar, then straighten out and spin quickly. Those are a little spendy though, and I didn't want something too fancy riding in the race car, so I decided to combine a cheap harbor freight breaker bar and an old speed handle I already had.
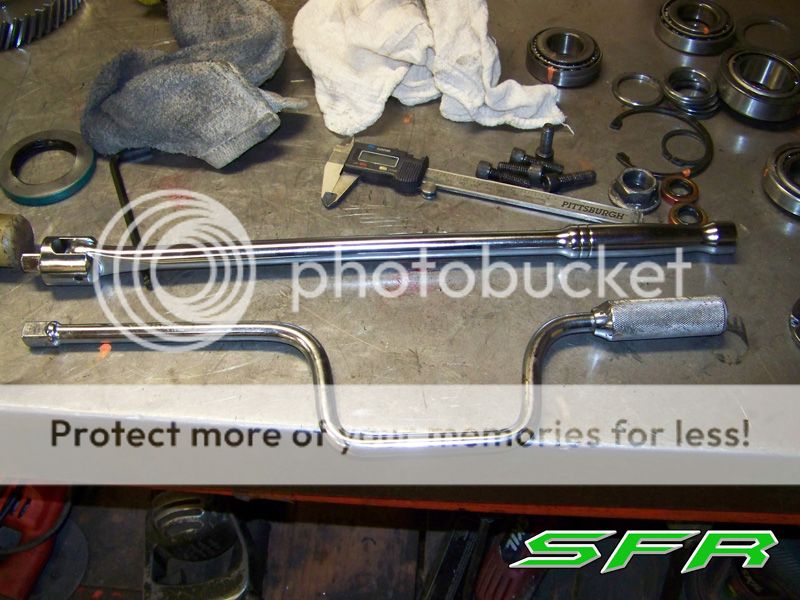
Cut the end off the speed handle, and drill out the end of the breaker bar...
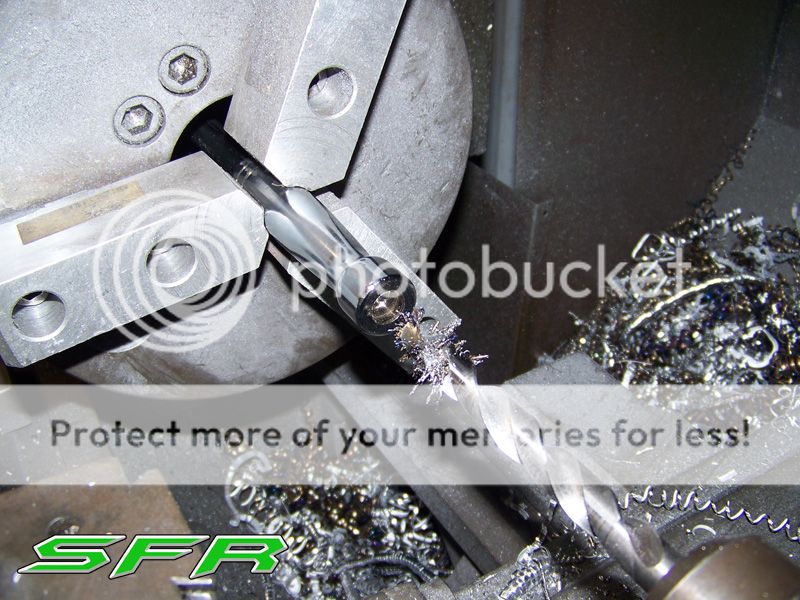
Then a little welding and you're done. One long ass breaker bar, with integrated speed handle.
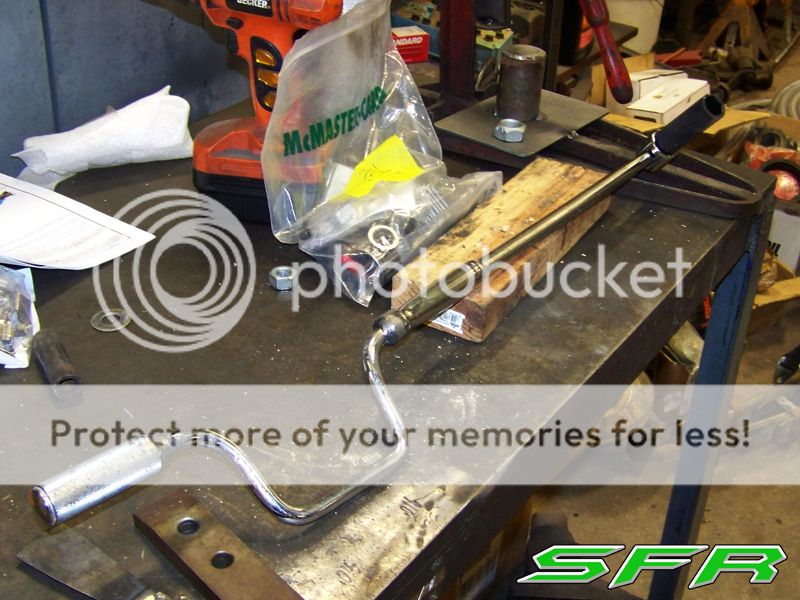
Cut the end off the speed handle, and drill out the end of the breaker bar...
Then a little welding and you're done. One long ass breaker bar, with integrated speed handle.
foxwar71
NAXJA Forum User
- Location
- Foxboro, MA
I definitely wanna steal that impact and jack mount idea, genius!!
- Location
- In a strange land
Where is the fancy mount for that breaker bar?
My expectations have been raised...
Nice work.
My expectations have been raised...
Nice work.
- Location
- Hammertown, USA
Where is the fancy mount for that breaker bar?
My expectations have been raised...
It's in tomorrows post.
- Location
- Torrance, CA
Funny this should come up tonight. I was just using my old speedwrench not five minutes before I read this. Those are tough to find these days because nobody knows what they are.
The old trick still work
The old trick still work
- Location
- San Diego
I have broken 2 of those HF breaker bars. do yourself a favor and get something a little bit nicer.
- Location
- Hammertown, USA
Still running stage 8's yes. On a second set now because a helper impacted one off without removing the lock ring.
Absolutely love them. Talked to Stage 8 at SEMA about making ring gear bolt locks for the dana 60, they are interested.. They are doing them for the 9" now.
I have broken 2 of those HF breaker bars. do yourself a favor and get something a little bit nicer.
I have a nice snap on SN4B we can use (which is how the conversation started), but Dallas felt like it is too expensive of a tool to throw in the car. A discussion we may have again still, but I'll leave it his decision.
blondejoncherokee
NAXJA Member
- Location
- sacramento
so why did you guys tear the atlas apart ?
RedHeep
NAXJA #1499
- Location
- Landenberg, PA
Speed handles are a common tool in the aircraft industry. Not as uncommon as you might think.
I routinely pop the pin or shatter the Chinese breaker bars.
I routinely pop the pin or shatter the Chinese breaker bars.
I have broken 2 of those HF breaker bars. do yourself a favor and get something a little bit nicer.
Curious what you were doing when they broke. This is purely for changing tires, so I'm honestly not that worried.
Speed handles are a common tool in the aircraft industry. Not as uncommon as you might think.
Speed handles are common, speed breakers not as much.
ok so here's the mount for the speed bar.
Started with an assortment of tubing, custom sized washers, bolt, spring, etc.

Weld some bits together
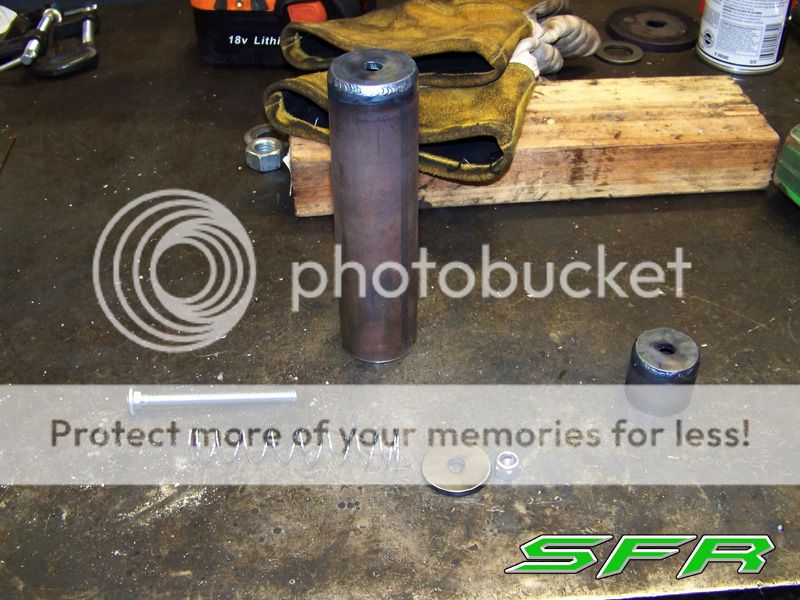
At this point you slide the spring down inside the big tube, run the bolt down the center and use a washer and nut to retain it inside, giving you a spring loaded socket for the end of the breaker bar.
You then weld that socket onto the roll cage, and the other little handle retainer socket the appropriate distance apart to give you a tensioned grip on the tool. To remove, simply push into the spring loaded end, and swing out of the mount.
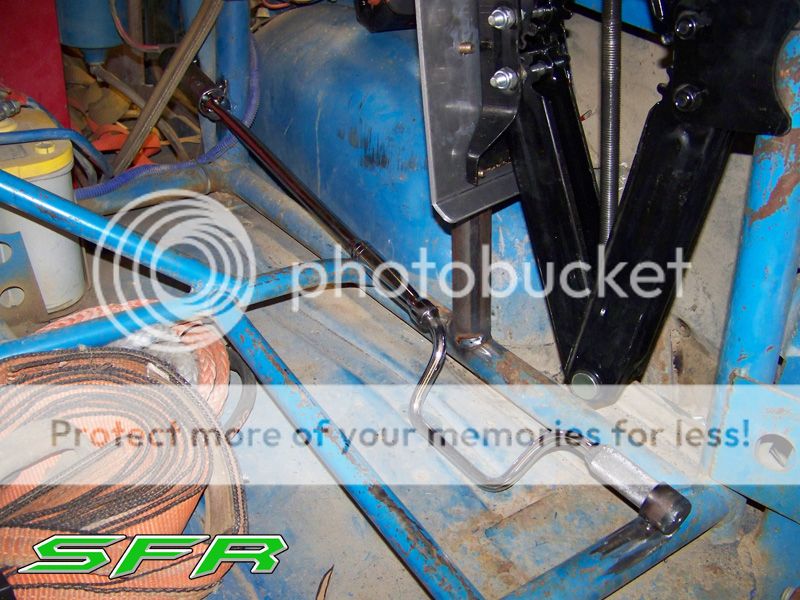
So there's all the tire changing tools all neatly mounted and easy to access next to the spare tire.

Started with an assortment of tubing, custom sized washers, bolt, spring, etc.
Weld some bits together
At this point you slide the spring down inside the big tube, run the bolt down the center and use a washer and nut to retain it inside, giving you a spring loaded socket for the end of the breaker bar.
You then weld that socket onto the roll cage, and the other little handle retainer socket the appropriate distance apart to give you a tensioned grip on the tool. To remove, simply push into the spring loaded end, and swing out of the mount.
So there's all the tire changing tools all neatly mounted and easy to access next to the spare tire.
Similar threads
- Replies
- 0
- Views
- 745
- Replies
- 0
- Views
- 503
- Replies
- 23
- Views
- 1K