ZJ Fuel Tank Swap
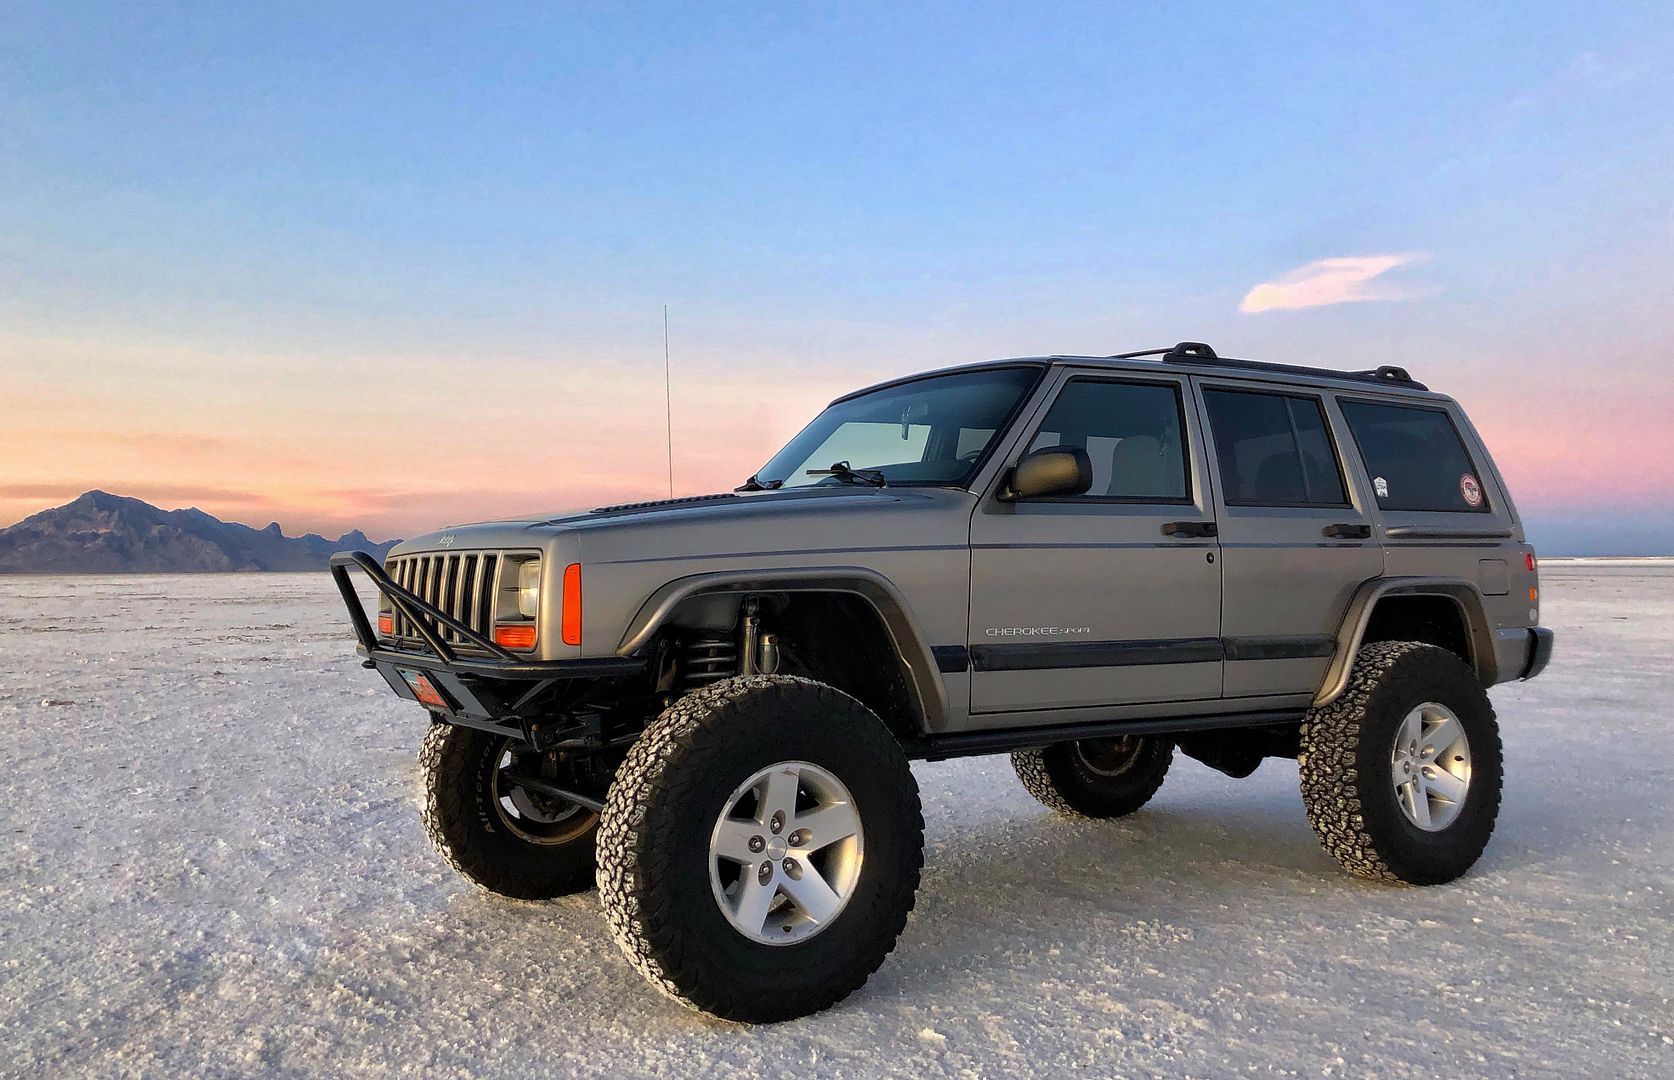
Prior to running the Rubicon Trail in Aug 2020, I decided that mitigating the risk of a 220k mile fuel pump failure while on this trip was in order. I'd also longed for more range with my XJ and knowing that a ZJ tank swap would net me at least 5 more gallons, I decided to swap out the stock XJ tank during the fuel pump replacement process.
Dropping the tank, it appears that I brought home a bit of the San Rafael Swell from the rainy 2018 Loose Screws Tour. One of the many reasons why I'm no fan of mud.
While the tank was out, I scrubbed the floor pan and laid down a coat of Rustoleum Black.
I sourced a donor fuel tank from a 1995 ZJ
I soaked the tank interior with hot water and Dawn soap, then scrubbed it to remove any residue. Rinsed out with clean water and placed in the sun to dry.
The 1/2” copper components that I sourced from Home Depot to extend the filler vent to increase fill capacity. As the tank tapers at the corners, I extended the 1/2” tubing so that the vent tube would be positioned behind the sending unit, at the highest point in the tank, to gain the most capacity.
Inside tank view of the fuel filler (L) and vent tube (R)
I determined that a 5/8” drill bit would remove enough material from the tank vent nipple to allow the 1/2” copper extension to fit snuggly inside.
After drilling the vent nipple out to 5/8”, I tapered the inner lip of the nipple to allow the copper tube to slip in more easily.
This shows the position of the 1/2”copper vent extension tube when it is installed, only the tube will be rotated so that the bend points towards the top of the tank, leaving a 3/8” air gap for fuel expansion when full.
I warmed the plastic tank nipple with a heat gun to make it more flexible and to aid insertion of the copper tube from inside the tank. Ended up encouraging the copper tube with a dead blow hammer to get it all the way into the plastic vent nipple, which was a very snug fit. Once the tube was installed, I rotated the copper elbow to an upright position from inside the tank.
With a 4.6L stroker build in the works, I sourced a high performance AEM fuel pump, which is a direct fit into the 2000 XJ sending unit and provides a flow rate that will keep the stroker happy.
Top to bottom:
Fuel pump filter which fits inside the sending unit
Outer fuel filter
Fuel pressure regulator
220k mile, 20yr old fuel filter
Diaphragm assembly that sits below the fuel pump filter inside the sending unit
Diaphragm assembly all cleaned up and in position, ready for new fuel pump and inner filter install.
Inner fuel filter fitted to the AEM fuel pump
Fuel pump and inner filter installed inside sending unit. The filter snaps into place on top of the diaphragm washer and you need to press around the sides of the filter to ensure a flush fit. Then slide the spacer over the fuel pump body to keep it centered in the sending unit housing.
Top-New outer fuel filter
Bottom-Old outer filter
With the fuel pump, inner filter and regulator installed, I powered up the sending unit to verify pump cycling and gauge accuracy before installing it into the ZJ tank.
Continued.......


