- Location
- Wasatch Range
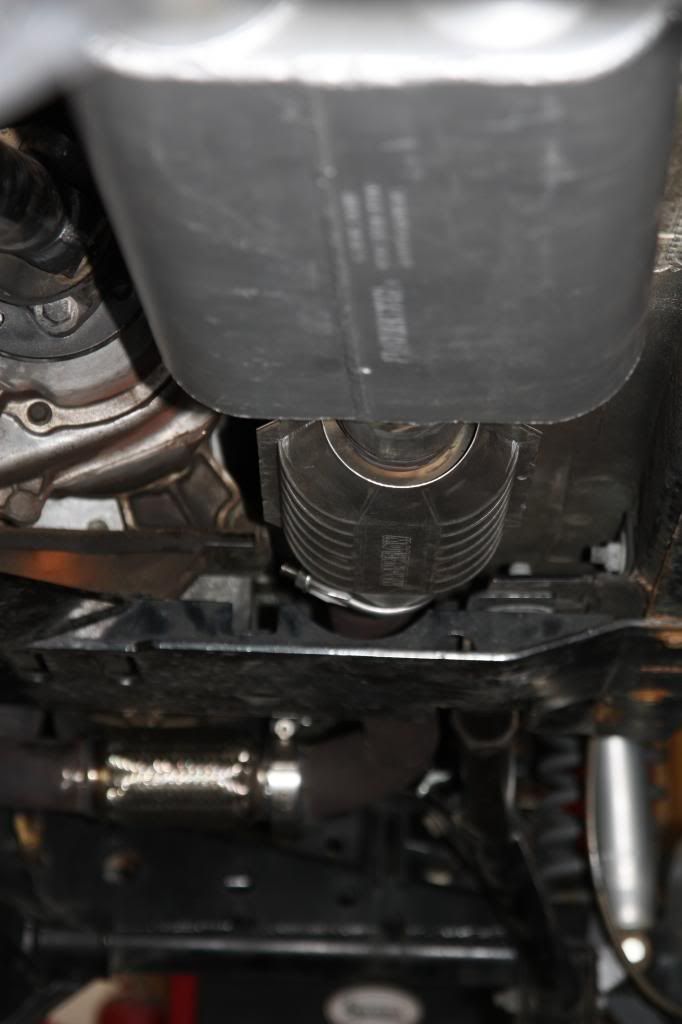
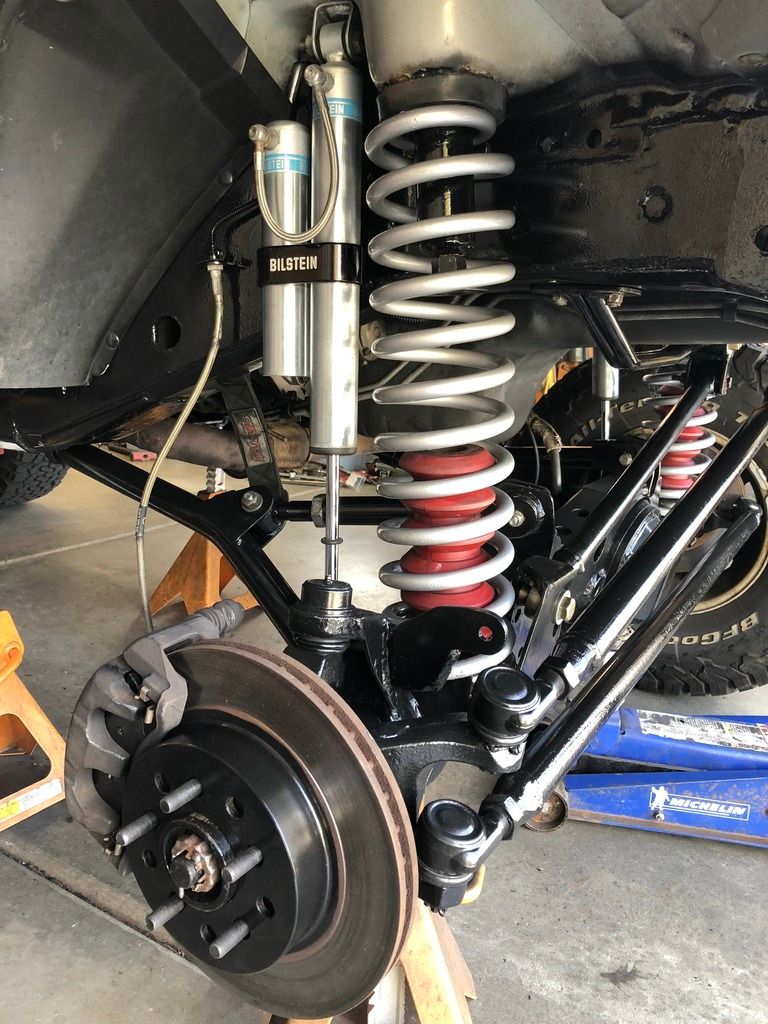
I've spent a lot of time on other projects over the past few year and the Jeep projects have been left on the back burner, but I do have some updates to share.
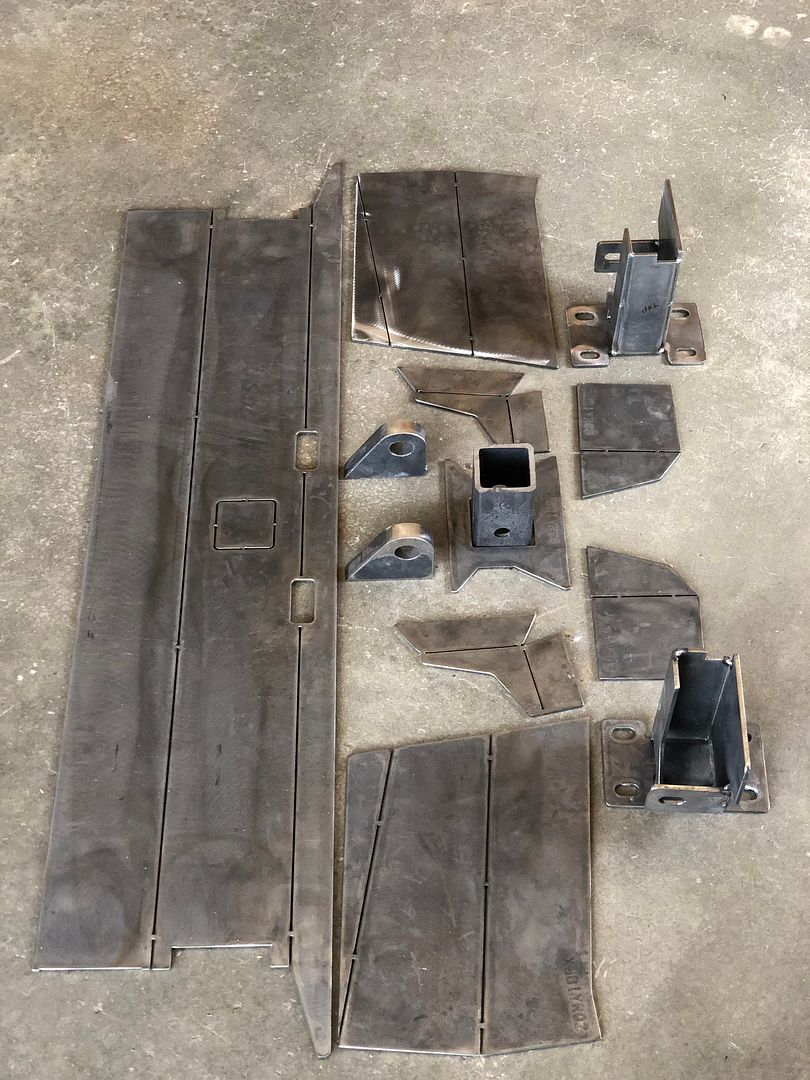
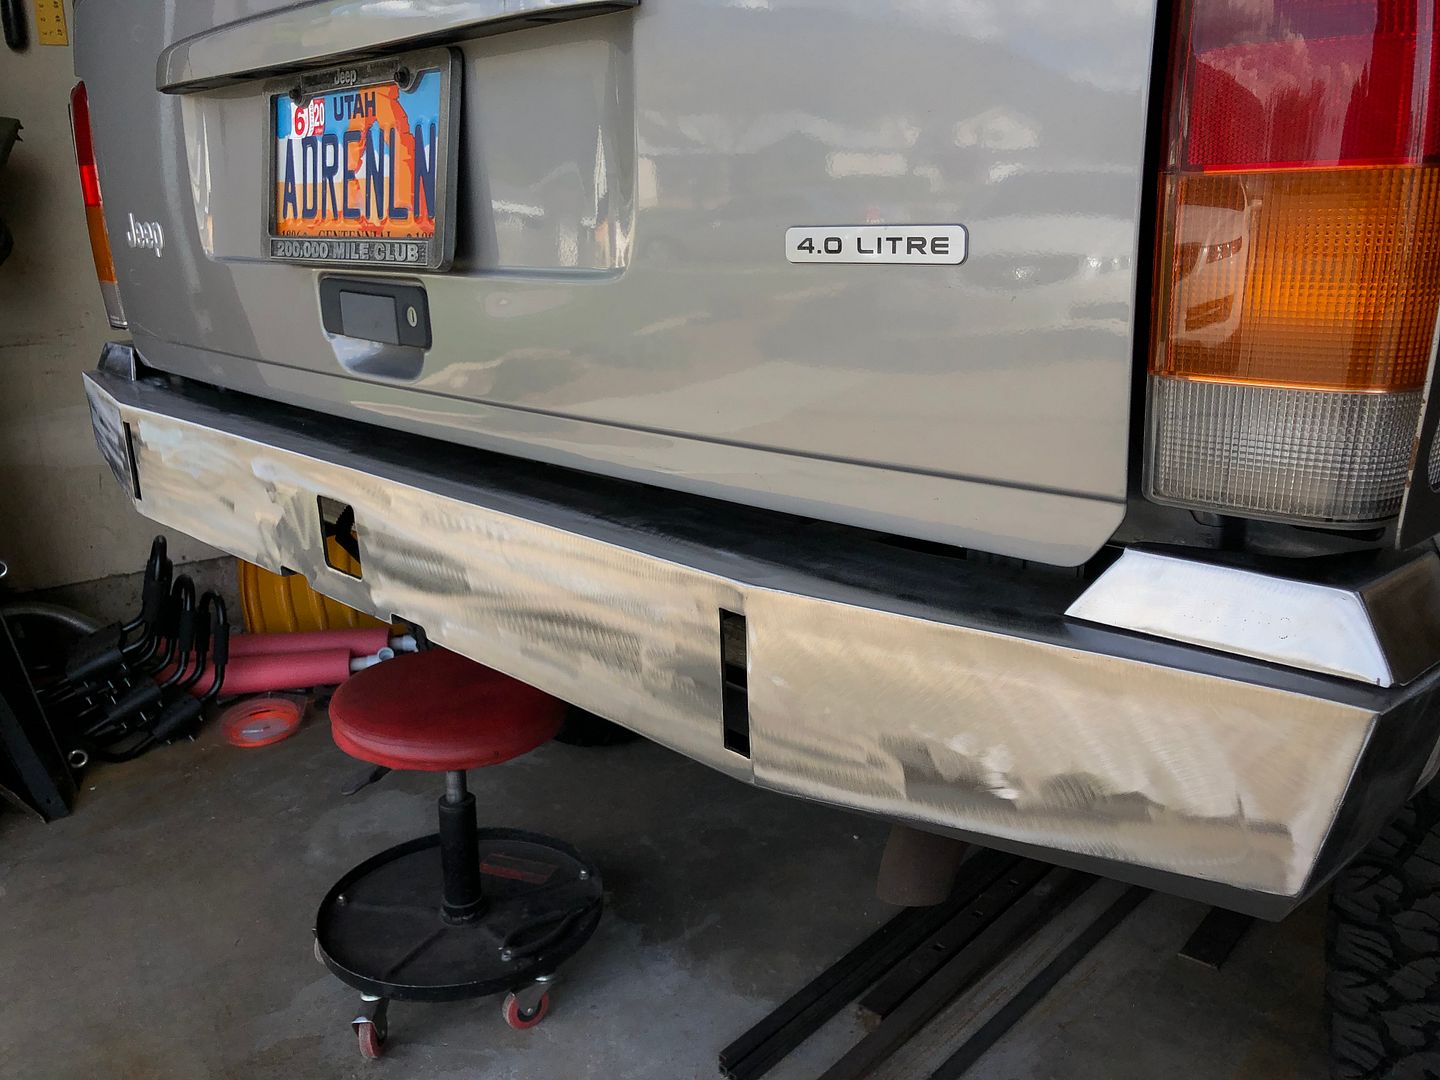
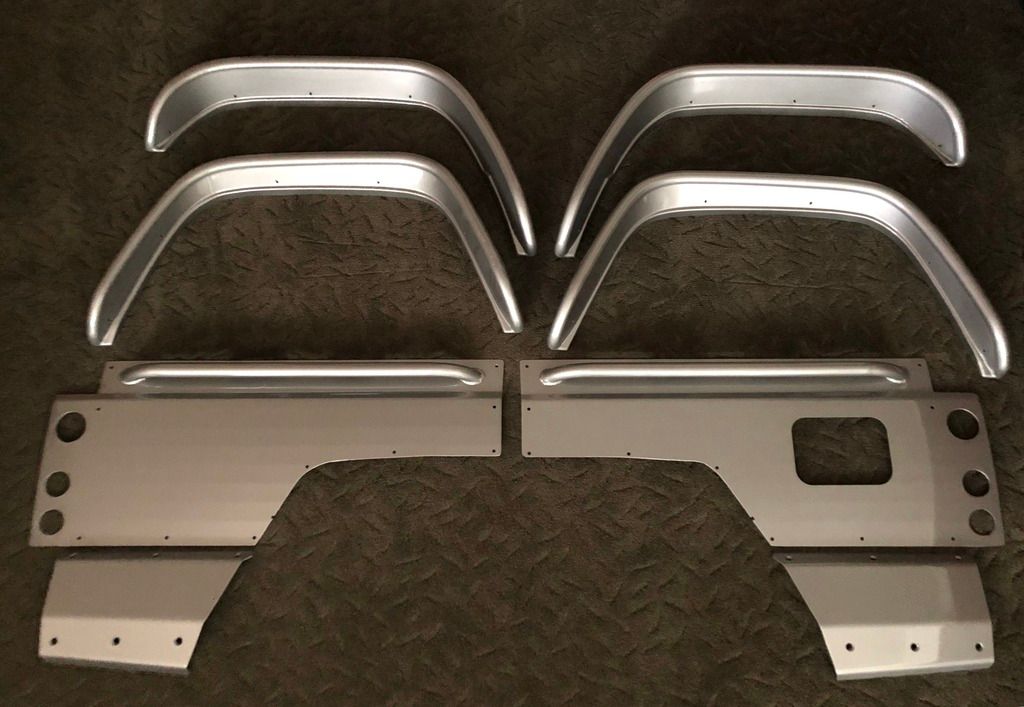
The JCR Rear Quarter Armor that I purchased.....several years ago, had been sitting in the corner of my garage, collecting dust. It was high time to finish this project.
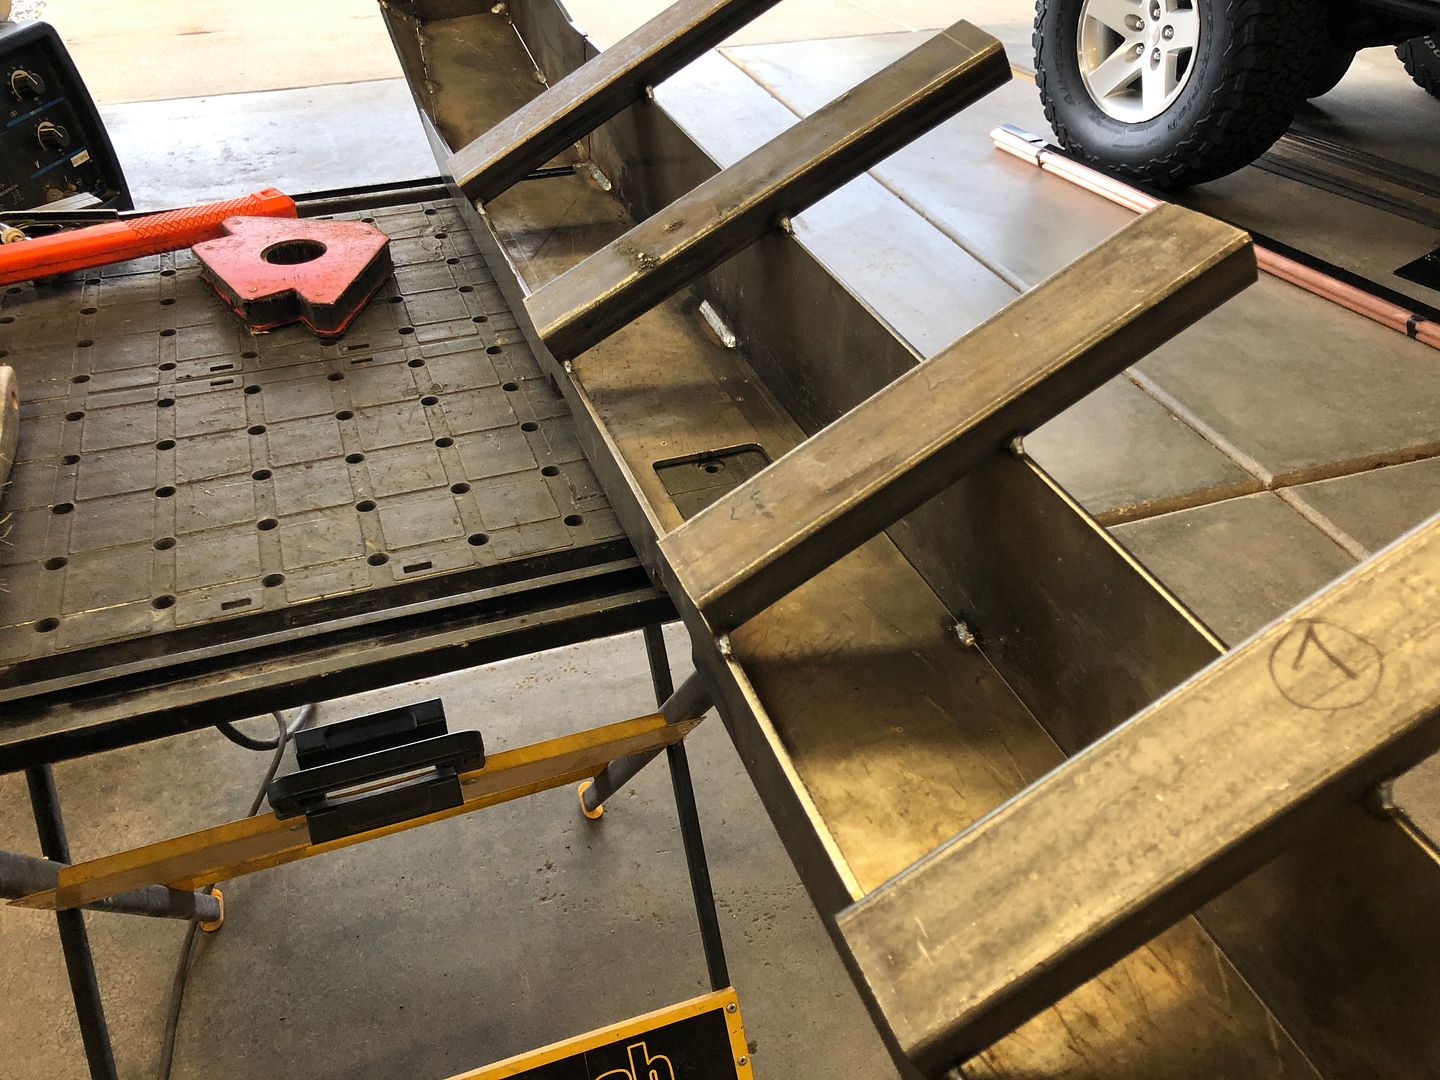
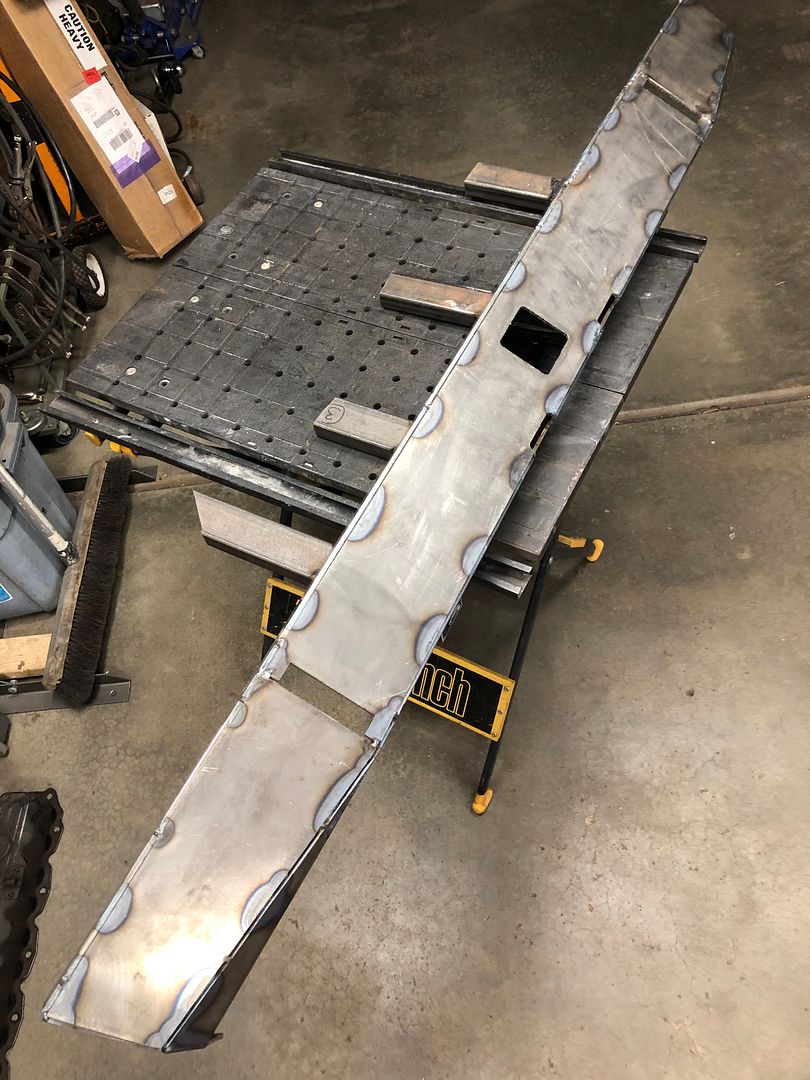
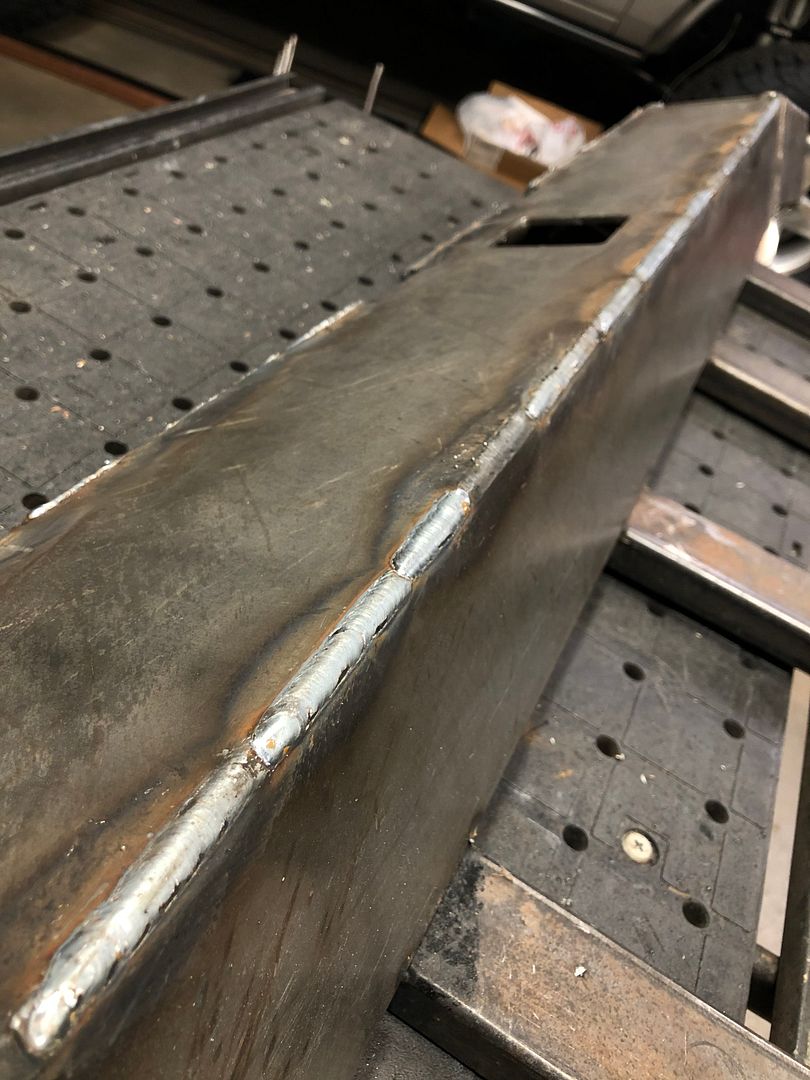
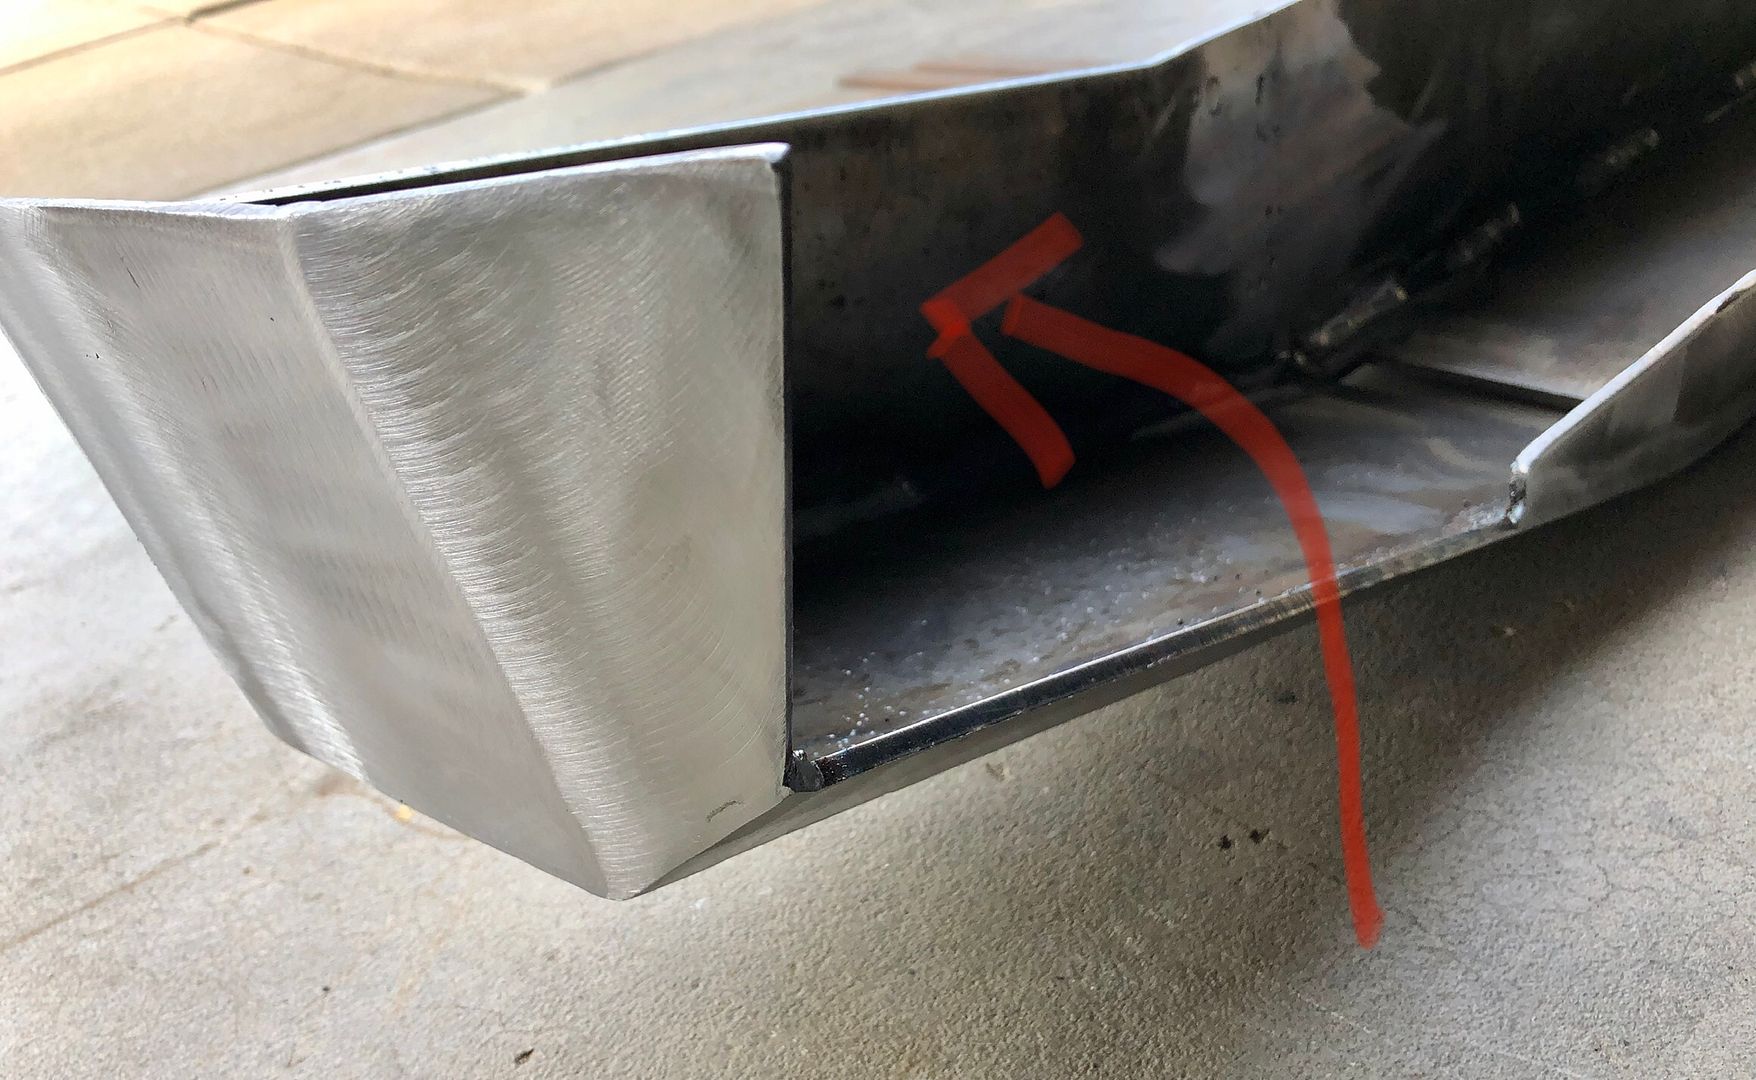
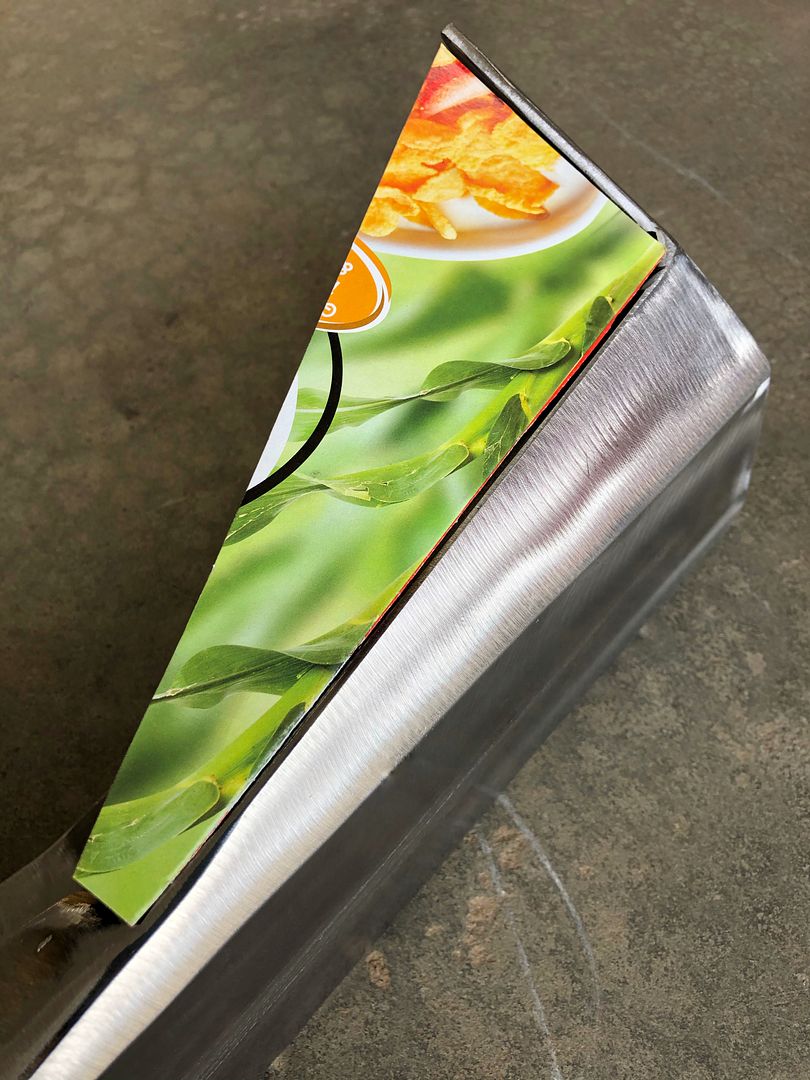
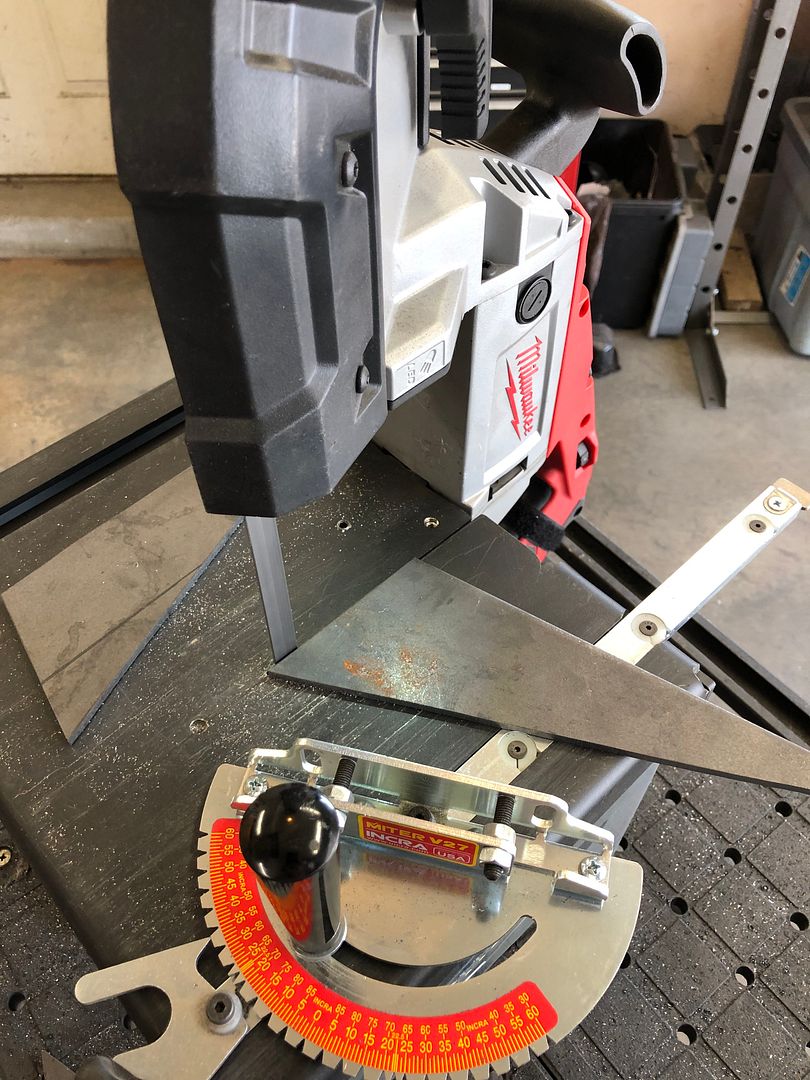
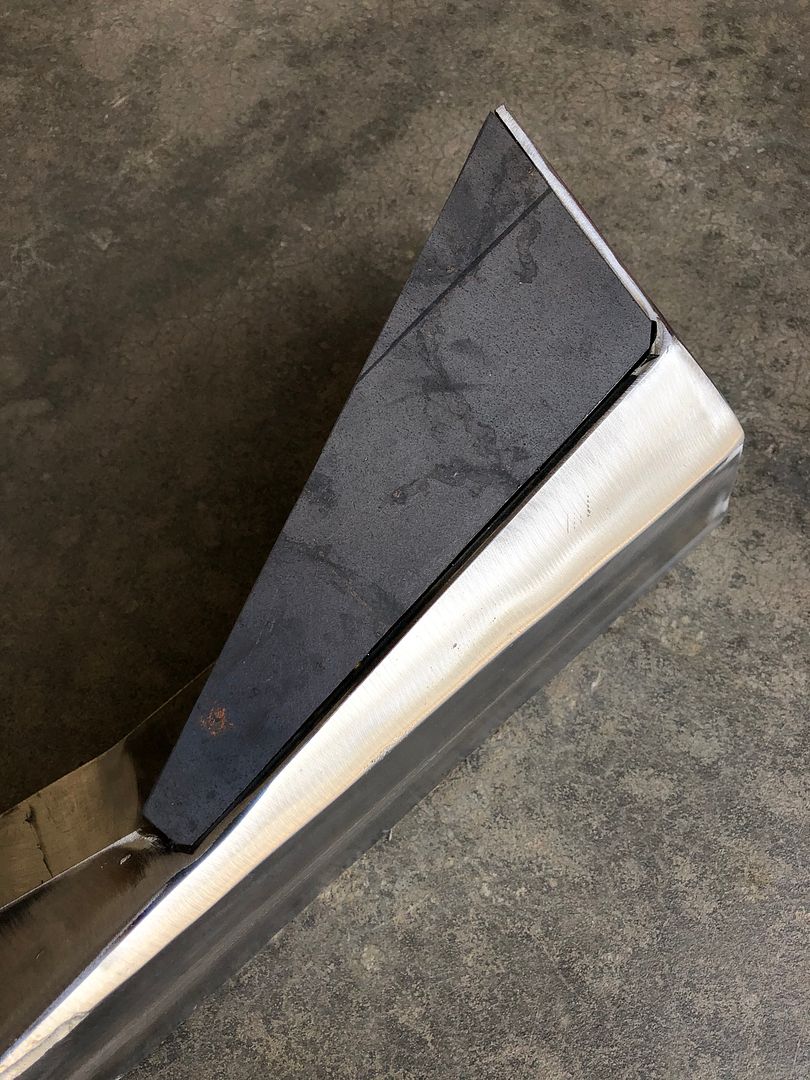
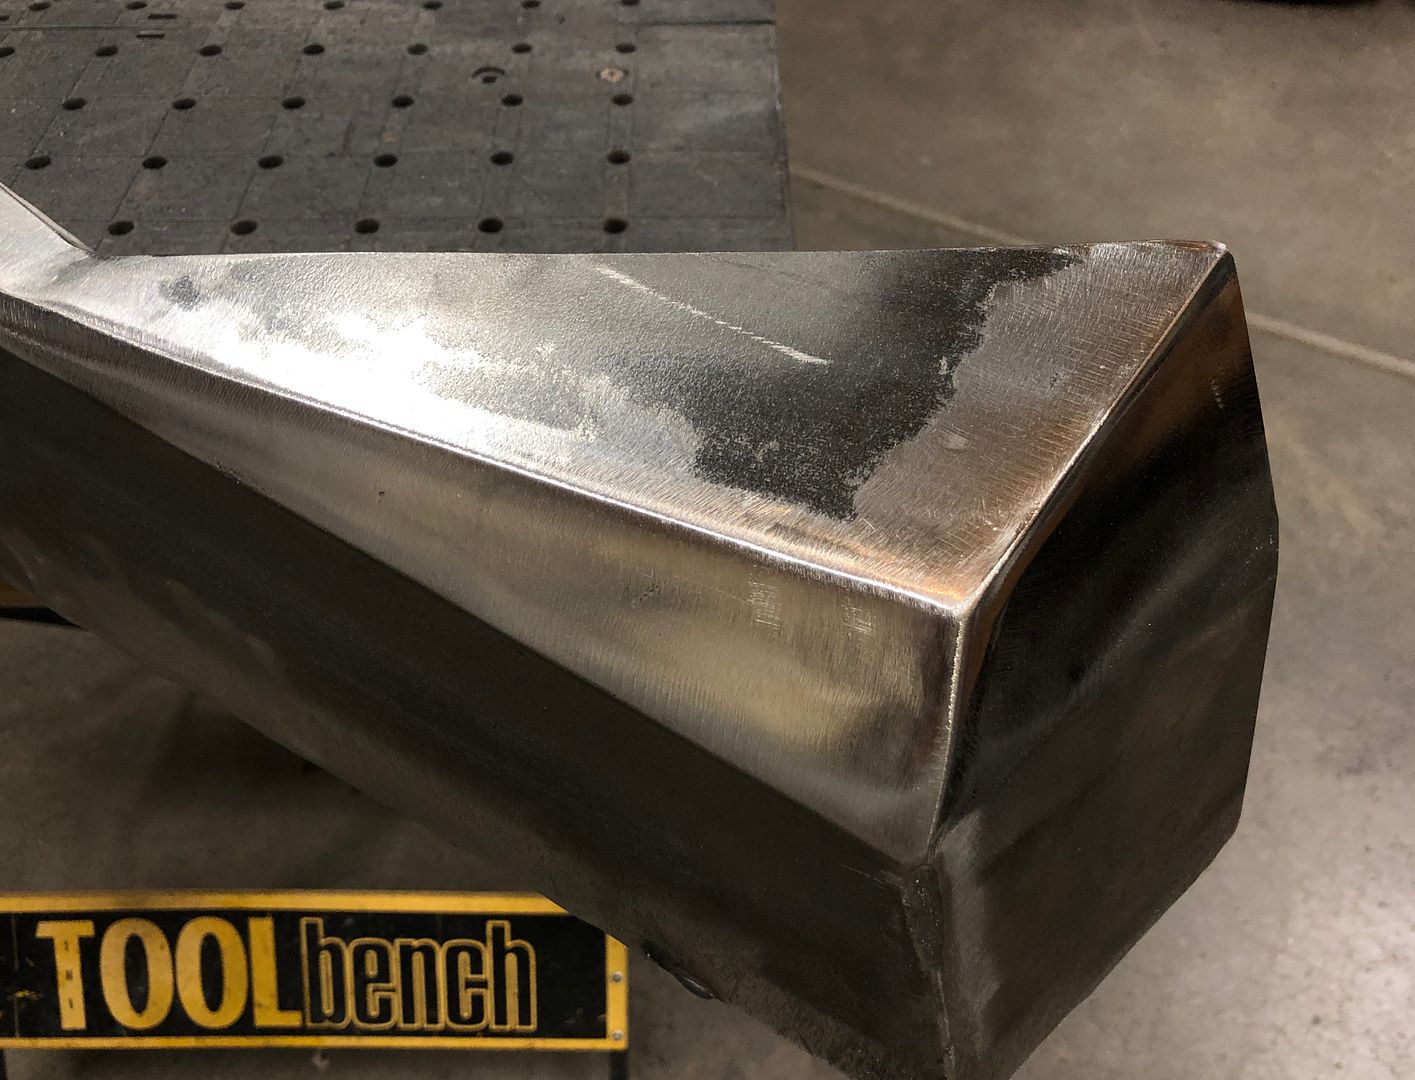
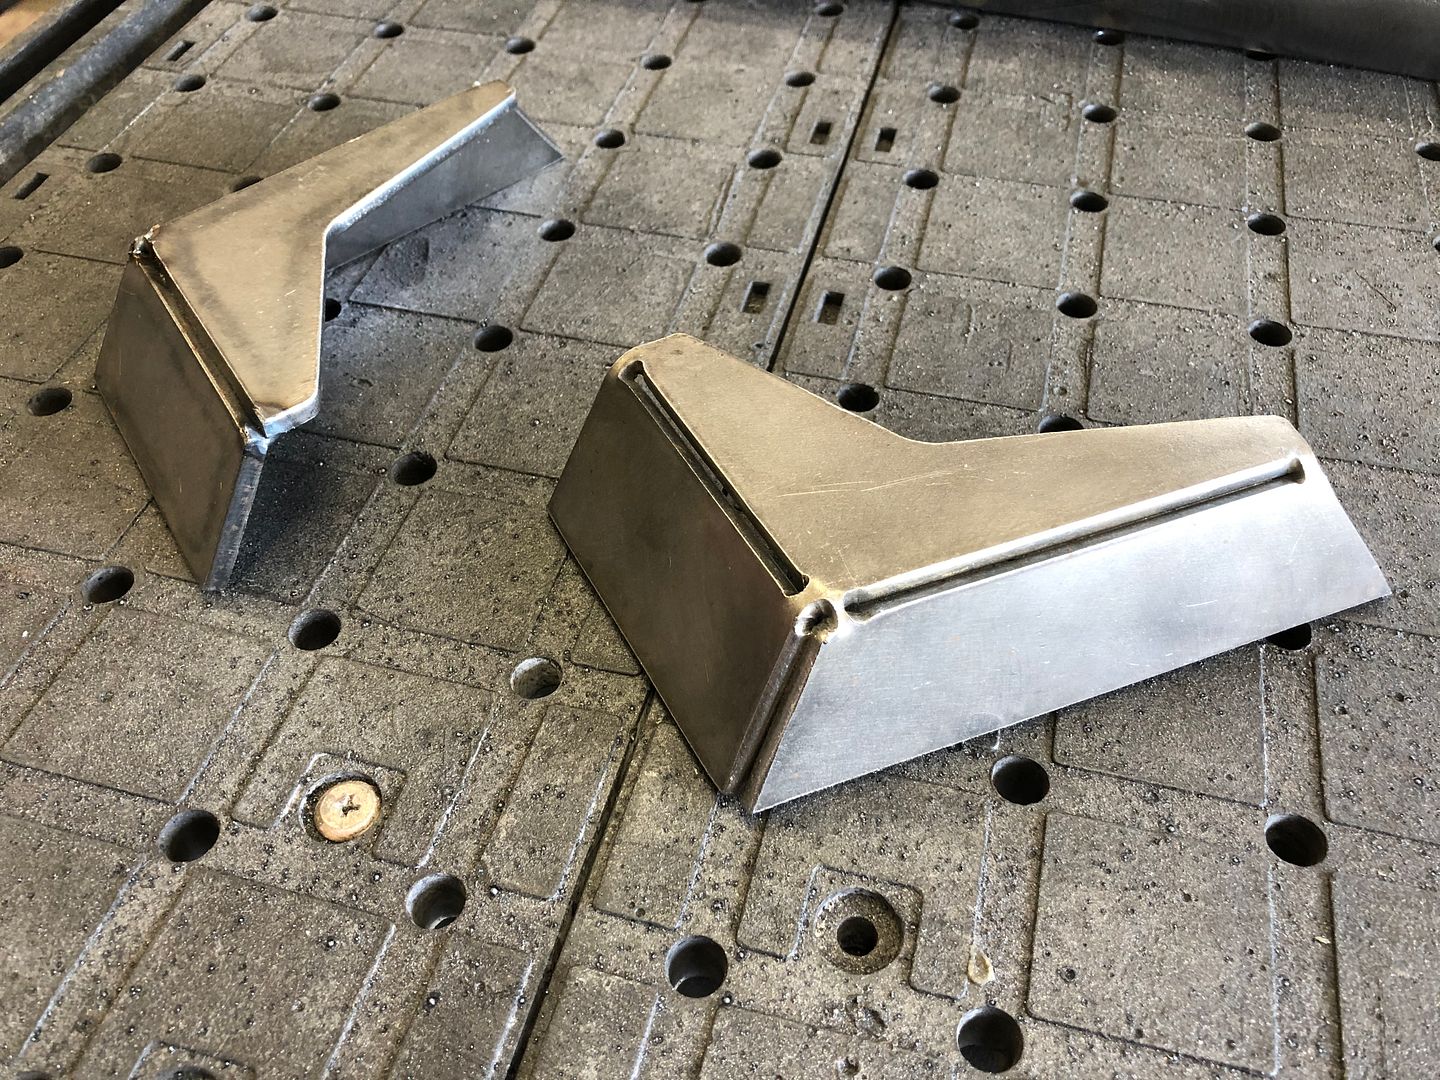
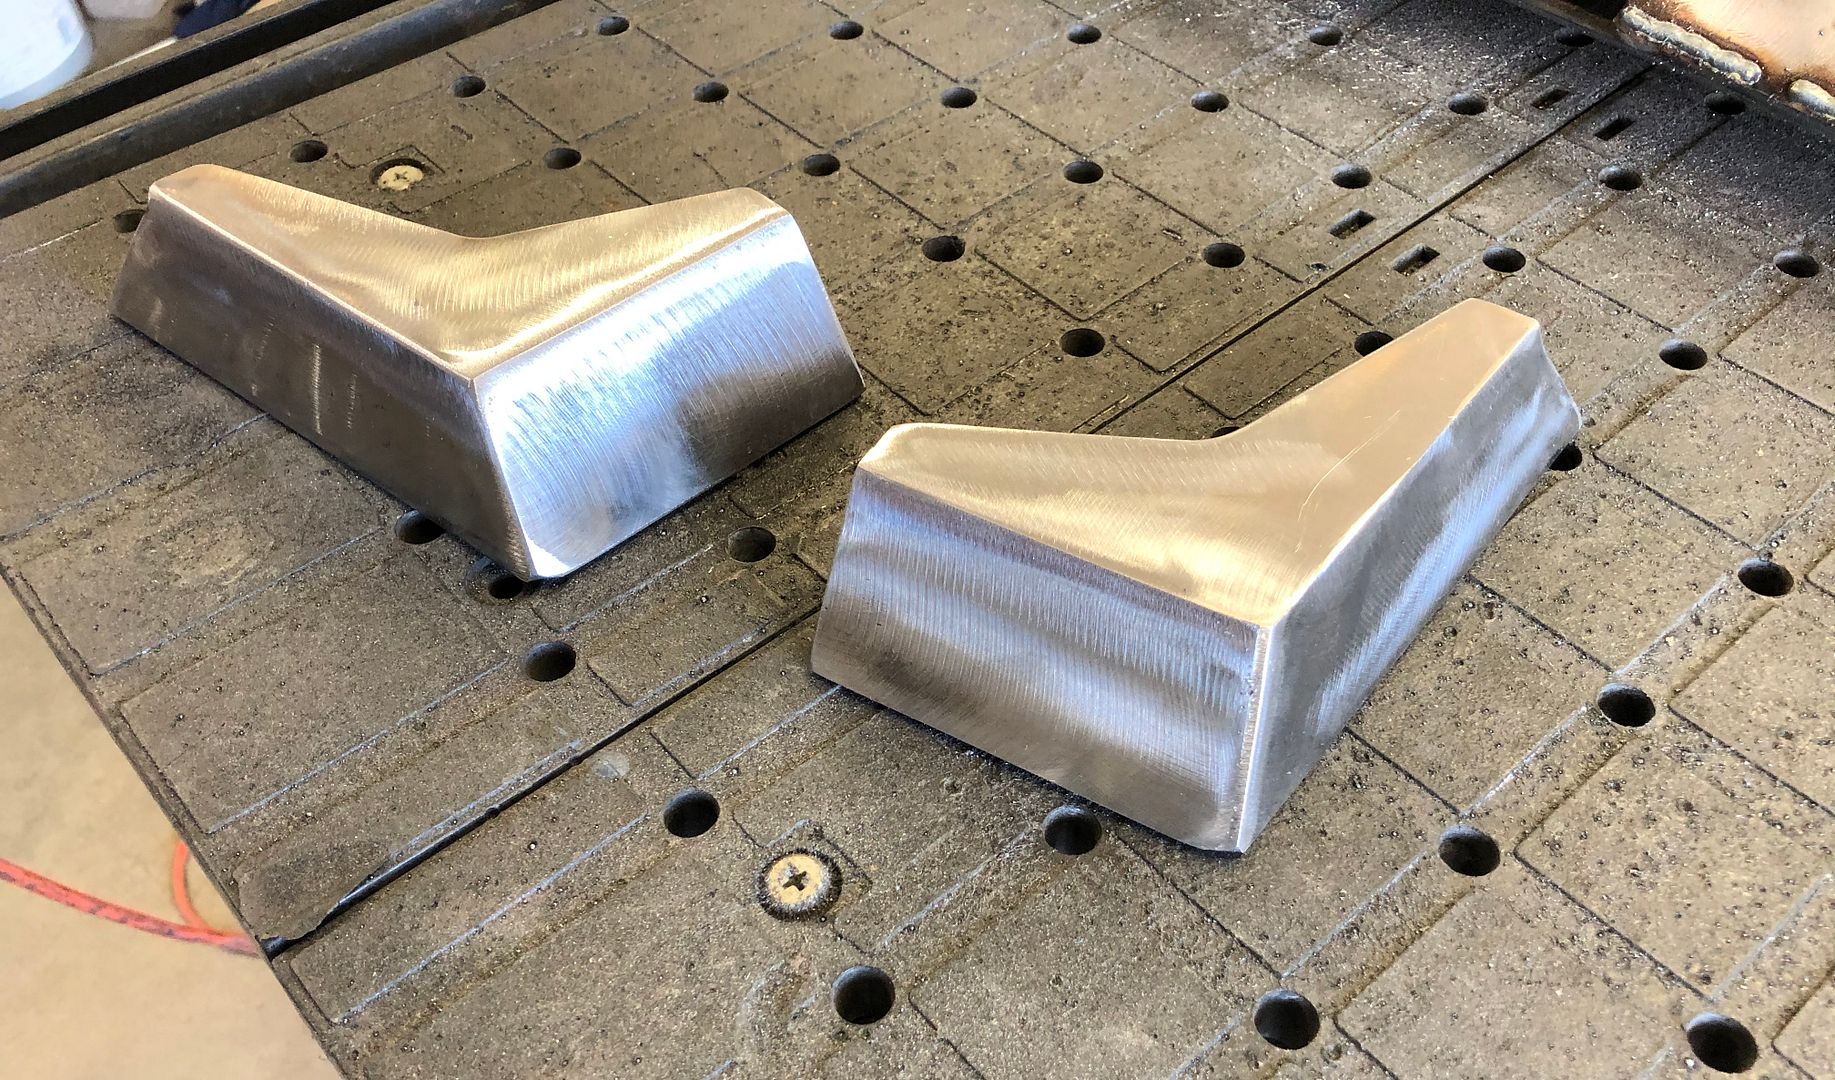
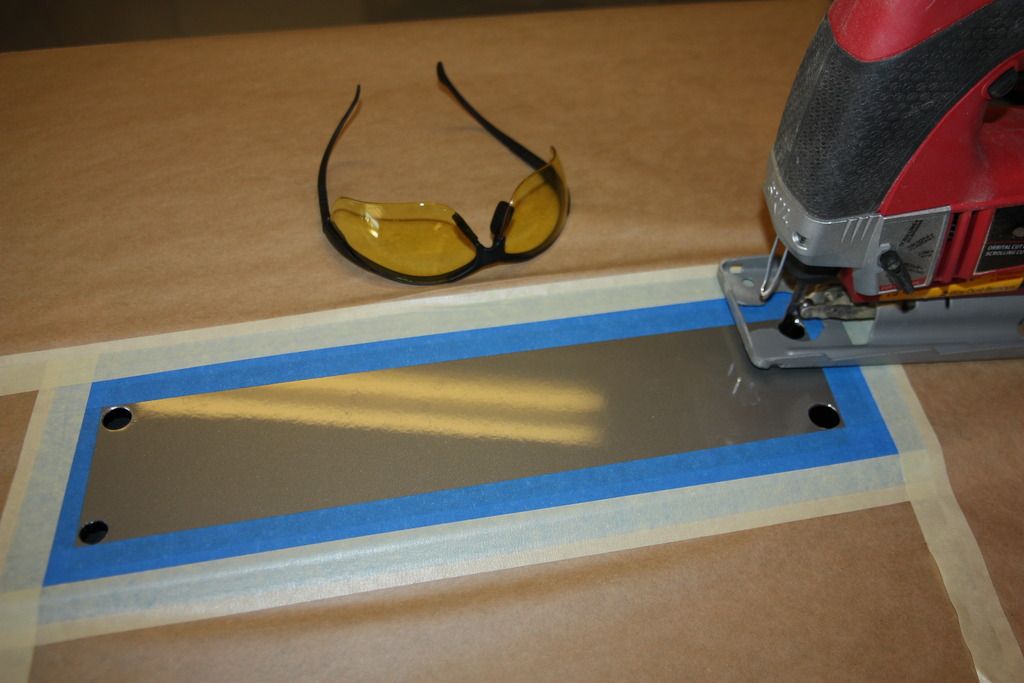
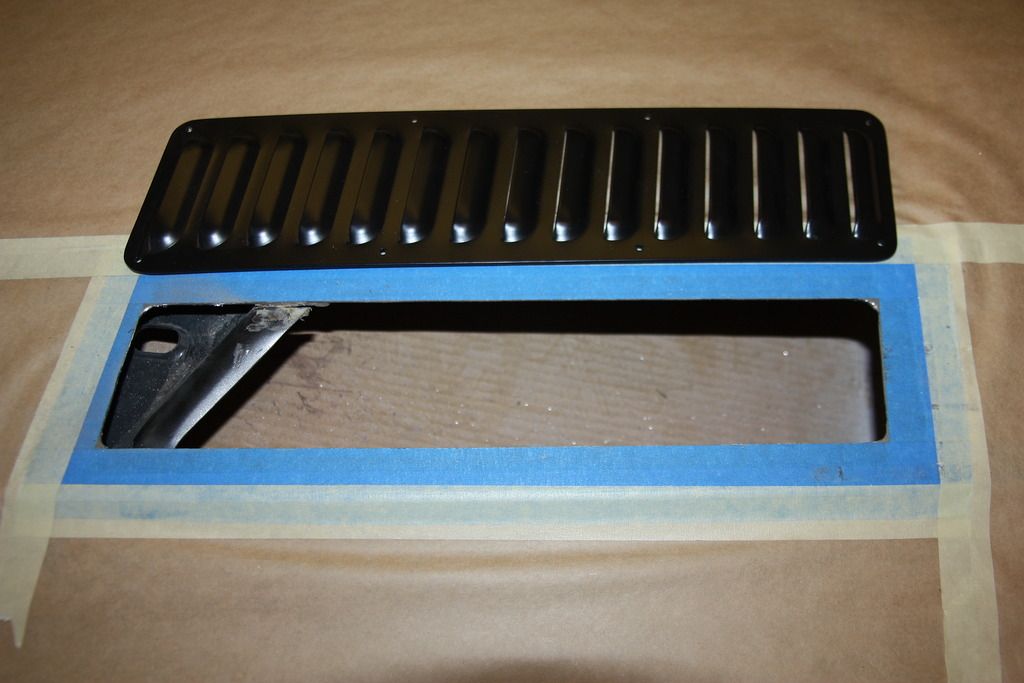
Due to the fitment issues of the units that I received, the Upper Quarter Armor with integrated taillight boxes did not fit without contacting the hatch, so I resolved to remove the box section and I used a hole saw to port the armor, which would allow the stock taillights to adhere to DOT-specs, yet still provide protection to the stock taillight housings.
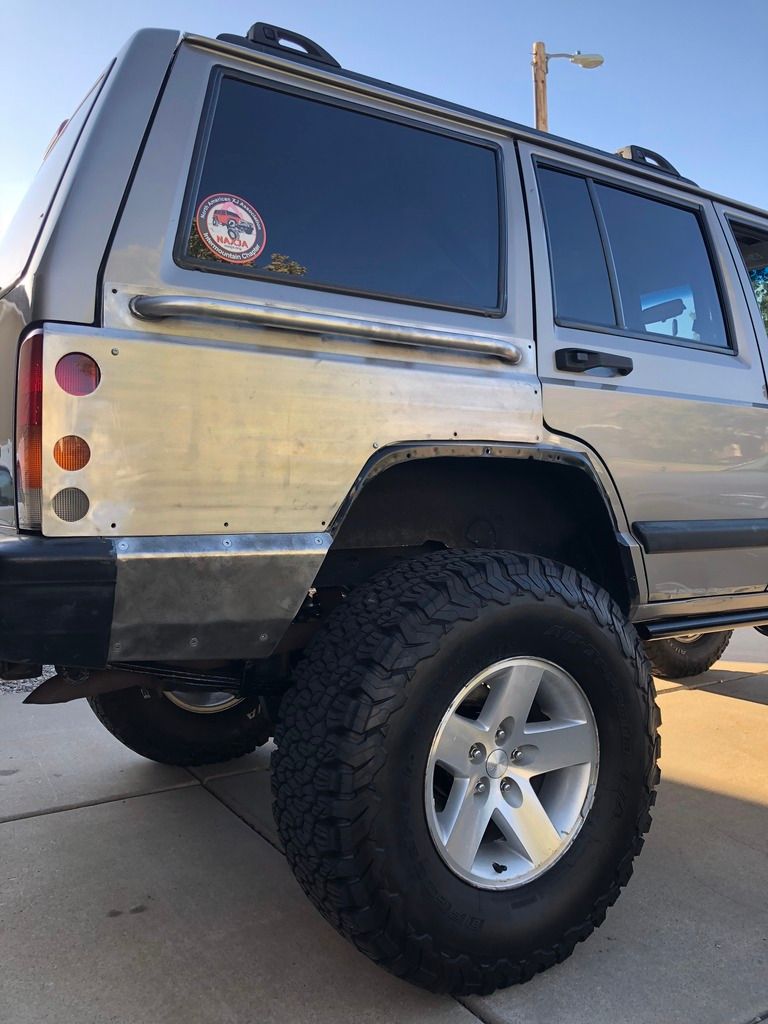
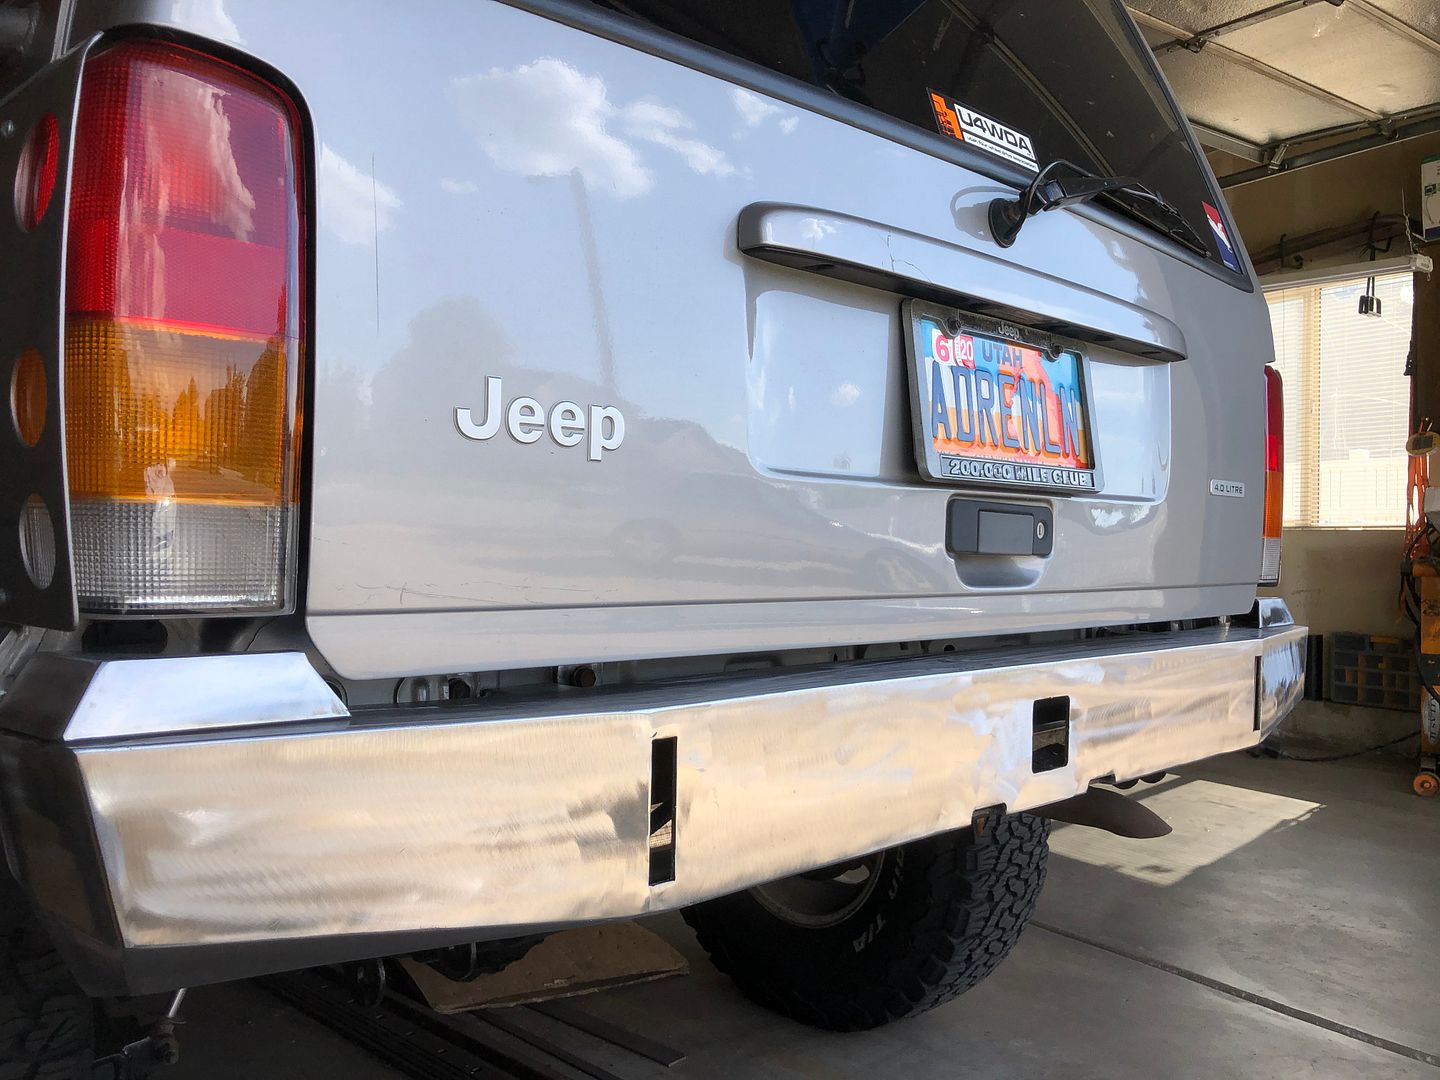
Once the armor fitment was dialed in, I sent them off to the body shop for a coat of PS5 Silverstone Metallic paint to match the body. I also had the shop repaint my Bushwacker Flat Flares, which had seen a bit of trail scuffing since their install.
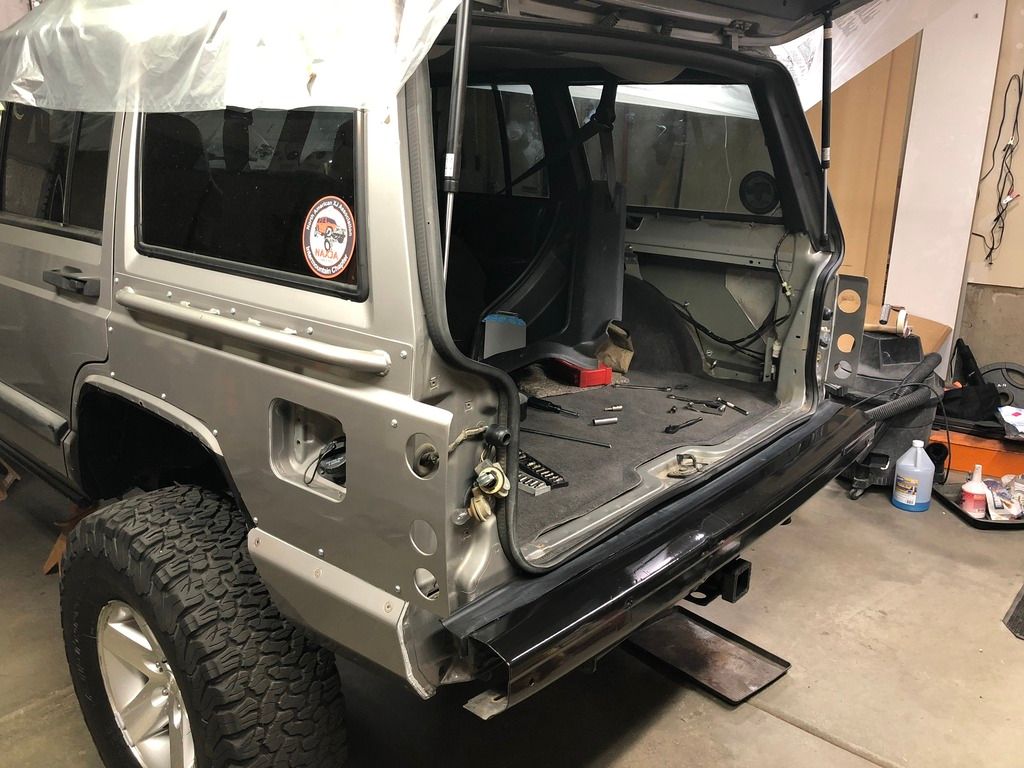
For those of you who have installed this armor or similar, installing the passenger side is simple when compared to the driver side, as the fuel filler housing and bracing requires some Gumby-like arms to reach some of the bolt points.
I applied urethane body panel adhesive to the top and vertical edges of the body-facing side of this armor during final install, so as to keep water and dust from entering through the top and sides, but still allow for drainage of moisture out the bottom, if it happens to get between the armor and the body.
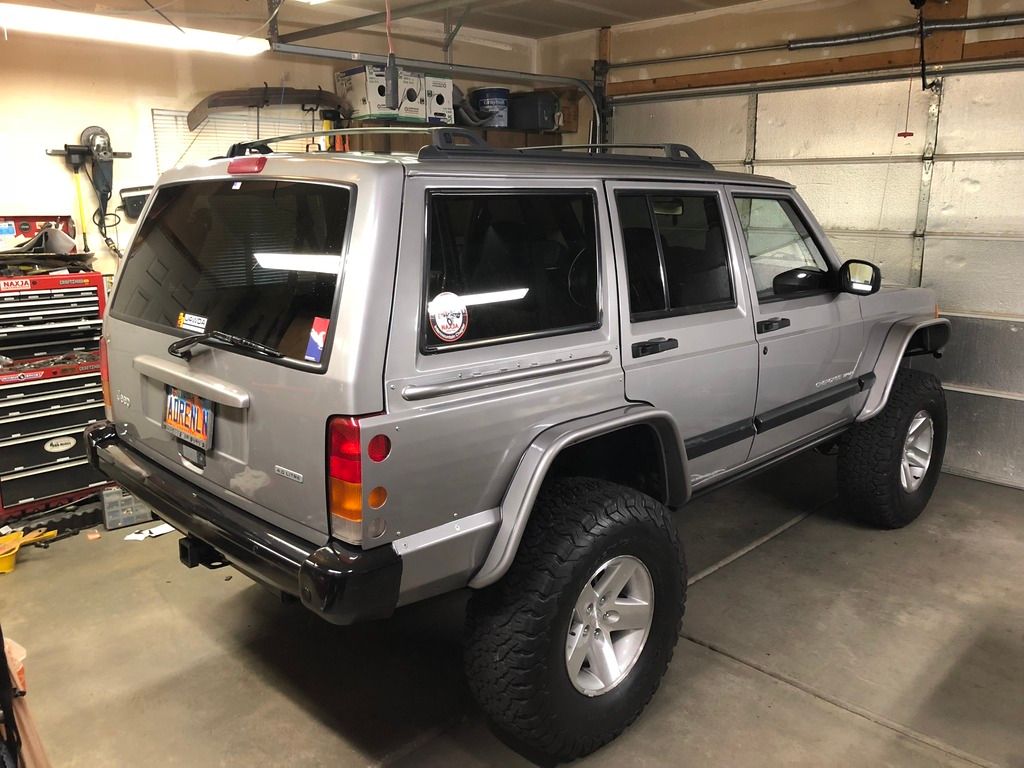
Finished product, with flares reinstalled.
More to come.........
The JCR Rear Quarter Armor that I purchased.....several years ago, had been sitting in the corner of my garage, collecting dust. It was high time to finish this project.
Due to the fitment issues of the units that I received, the Upper Quarter Armor with integrated taillight boxes did not fit without contacting the hatch, so I resolved to remove the box section and I used a hole saw to port the armor, which would allow the stock taillights to adhere to DOT-specs, yet still provide protection to the stock taillight housings.
Once the armor fitment was dialed in, I sent them off to the body shop for a coat of PS5 Silverstone Metallic paint to match the body. I also had the shop repaint my Bushwacker Flat Flares, which had seen a bit of trail scuffing since their install.
For those of you who have installed this armor or similar, installing the passenger side is simple when compared to the driver side, as the fuel filler housing and bracing requires some Gumby-like arms to reach some of the bolt points.
I applied urethane body panel adhesive to the top and vertical edges of the body-facing side of this armor during final install, so as to keep water and dust from entering through the top and sides, but still allow for drainage of moisture out the bottom, if it happens to get between the armor and the body.
Finished product, with flares reinstalled.
More to come.........
Last edited:

")