jonesinxj
NAXJA Forum User
- Location
- Granite Falls, WA
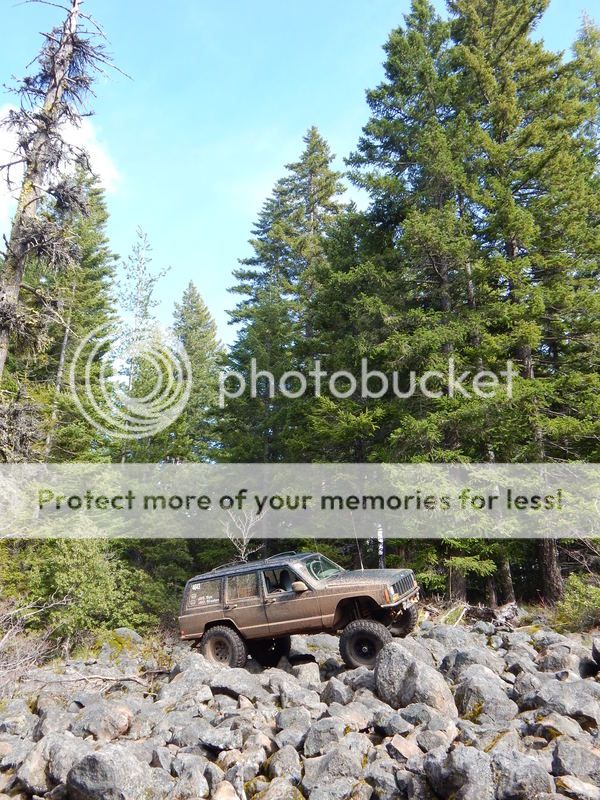
Dustin, how do you like the PAC coils? Needing to upgrade and have been kicking around these coil purchase for awhile
I'm really liking them. The spring rate is pretty stiff (250#), but it handles the trails really well running at a quick pace. I prefer a stiffer setup, so this was exactly what I was going for. I was also glad to see they netted their advertised lift height. PAC makes a great product. These will definitely be the last set of coils I buy for the Nail Salon.Dustin, how do you like the PAC coils? Needing to upgrade and have been kicking around these coil purchase for awhile
")


 sponsor Olympus Offroad about their 20" Ultra Series model, which emits a mere 14,400 lumens. Daniel was quick to respond with a hell of a deal on an open box (demo) model, which was in near perfect shape. Deal!


Appreciate the offer, Caleb. I've been nerding out pretty heavily on the different ways to go about cutting out the rockers. Took advantage of the weather today, and decided to just dive into it. It's just metal right? Take it an add it as you please.Would you like to come look at mine to see what you have to cut and get some ideas?


X2!!Dammit Dustin
You are seriously making me consider putting my axles under my XJ and attending NWFest


