OBXJ
NAXJA Forum User
- Location
- Raleigh, NC
So I ran across BruceB's post a few weeks back and figured it was time to add some protection to the underside of my rig.
The price is unbeatable especially for my typical use of the XJ. I swapped a few emails and phone calls with Bruce and after he answered my questions and set my comfort level I made the purchase using PayPal.
The skid arrived at my door 3 days later and I started the prepwork that day.
As you can see, the skid is packed well and included the instructions and mounting hardware. The instructions were well written and easy to understand for anyone from the average weekend wrnecher to the far more advanced fabricator.

This skid is beefy!! It arrives unpainted to allow you the option of matching your color scheme if you desire. The welds are clean and the cuts and bends are precise.

I started by laying down a layer of primer on the top and bottom.

I followed that with a couple of coats of hammered finish rustoleum and empied a partial can of clear coat to my RE lift components and gas tank skid.

I allowed the paint to dry over night and began the actual install the next day.
I began by jacking the skid up under the rig with a floor jack. I used a couple of pieces of scrap wood between the jack and skid to protect my pretty new paint.")

Once in place, I used a large C-clamp to pinch the forward end where it mounts to the t-case crossmember.

I then moved the floor jack towards the frame mount side to make sure that side was nice and tight against the frame.

Once you have the skid is aligned properly, you can start drilling the mounting holes.
I would suggest starting with the holes on the transfer case cross member. I used a smaller pilot bit to start the holes and followed up with the bit designated in the installation instructions.

When you have the three bolts installed on the transfer case cross member, you can move on to the frame side mount. I used a cordless drill with a 1/4" socket bit to drive in the self tapping bolts. I have air tools at my disposal but I elected to go this route and torque them down with a ratchet after getting the bolts started. Either way would work fine I'm sure.

and

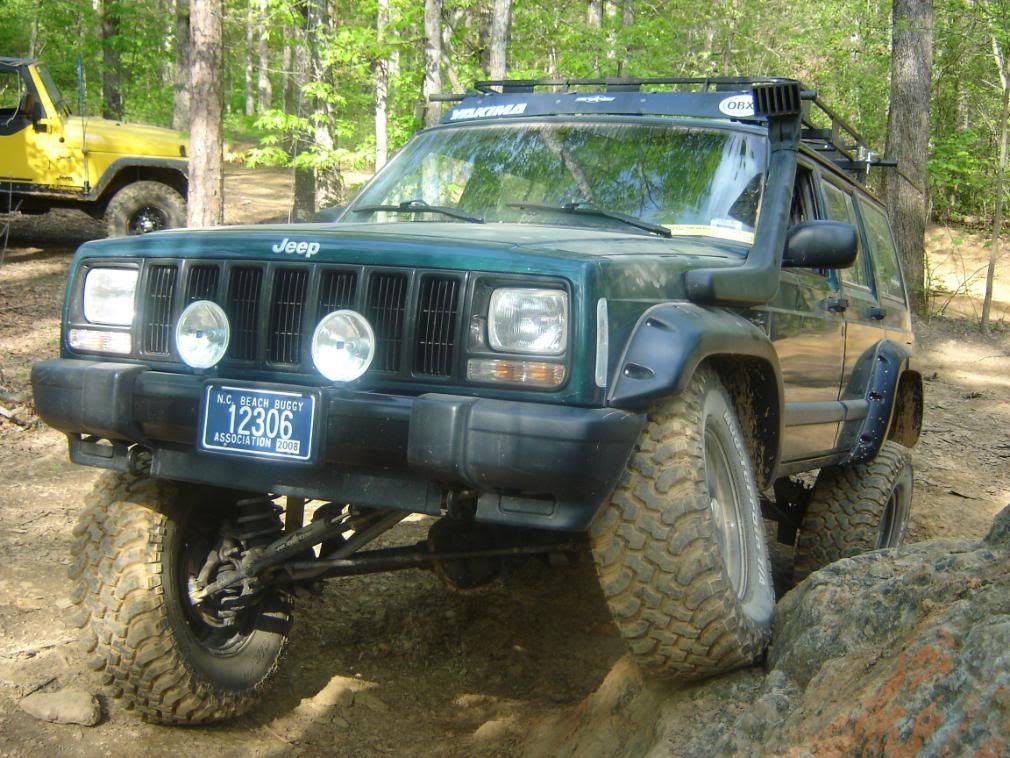
Overall, I am extremely pleased with the whole thing. I took her out this past weekend for some camping and wheeling and the thought of coming down on a rock and taking out my t-case never entered my mind.
For 85 bucks shipped, it's worth every penny and then some!
The price is unbeatable especially for my typical use of the XJ. I swapped a few emails and phone calls with Bruce and after he answered my questions and set my comfort level I made the purchase using PayPal.
The skid arrived at my door 3 days later and I started the prepwork that day.
As you can see, the skid is packed well and included the instructions and mounting hardware. The instructions were well written and easy to understand for anyone from the average weekend wrnecher to the far more advanced fabricator.
This skid is beefy!! It arrives unpainted to allow you the option of matching your color scheme if you desire. The welds are clean and the cuts and bends are precise.
I started by laying down a layer of primer on the top and bottom.
I followed that with a couple of coats of hammered finish rustoleum and empied a partial can of clear coat to my RE lift components and gas tank skid.
I allowed the paint to dry over night and began the actual install the next day.
I began by jacking the skid up under the rig with a floor jack. I used a couple of pieces of scrap wood between the jack and skid to protect my pretty new paint.
Once in place, I used a large C-clamp to pinch the forward end where it mounts to the t-case crossmember.
I then moved the floor jack towards the frame mount side to make sure that side was nice and tight against the frame.
Once you have the skid is aligned properly, you can start drilling the mounting holes.
I would suggest starting with the holes on the transfer case cross member. I used a smaller pilot bit to start the holes and followed up with the bit designated in the installation instructions.
When you have the three bolts installed on the transfer case cross member, you can move on to the frame side mount. I used a cordless drill with a 1/4" socket bit to drive in the self tapping bolts. I have air tools at my disposal but I elected to go this route and torque them down with a ratchet after getting the bolts started. Either way would work fine I'm sure.
and
Overall, I am extremely pleased with the whole thing. I took her out this past weekend for some camping and wheeling and the thought of coming down on a rock and taking out my t-case never entered my mind.
For 85 bucks shipped, it's worth every penny and then some!