Begster
NAXJA Forum User
- Location
- Cape Cod/Boston, Mass
I thought I would share for those who might be interested what I did with a lot of my summer. It isn’t a Cherokee, but it is a Jeep.
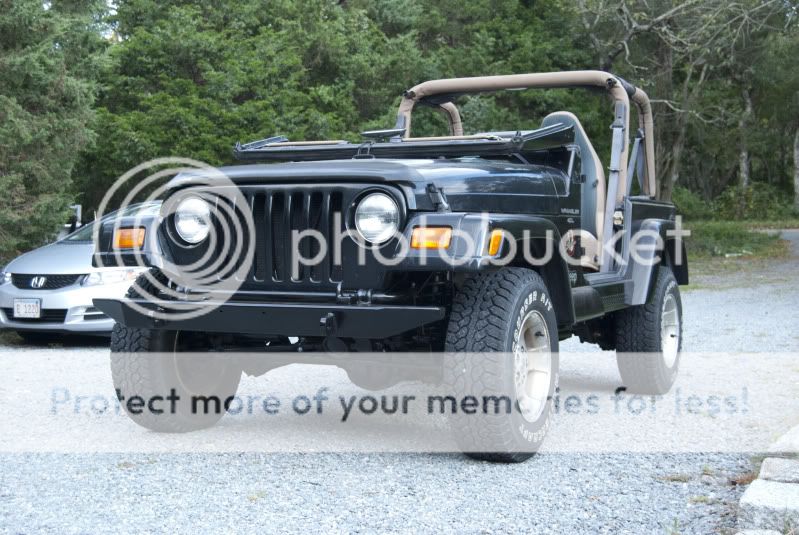
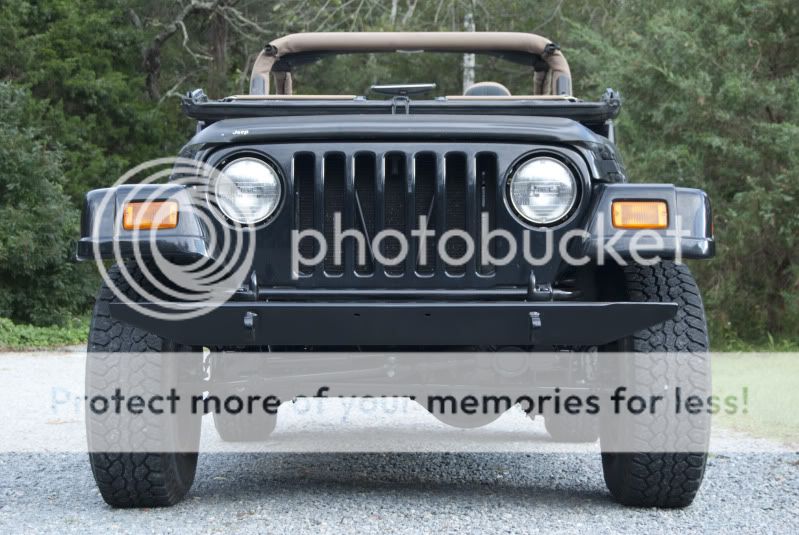
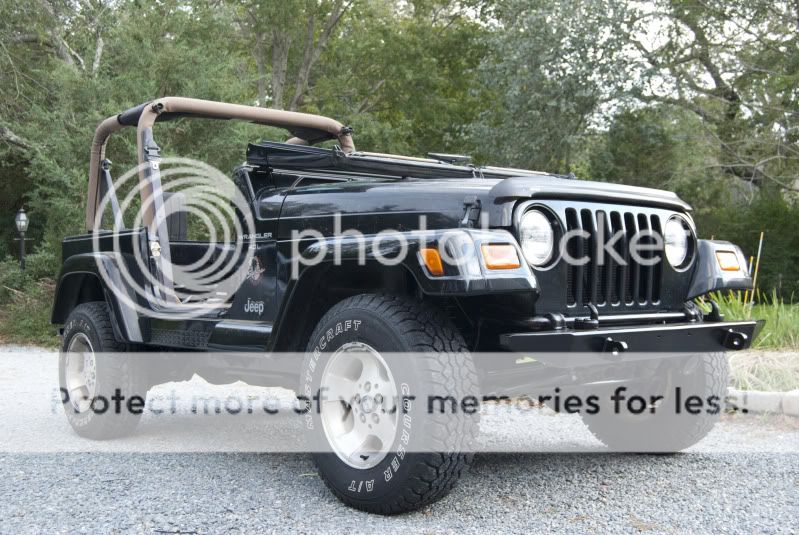
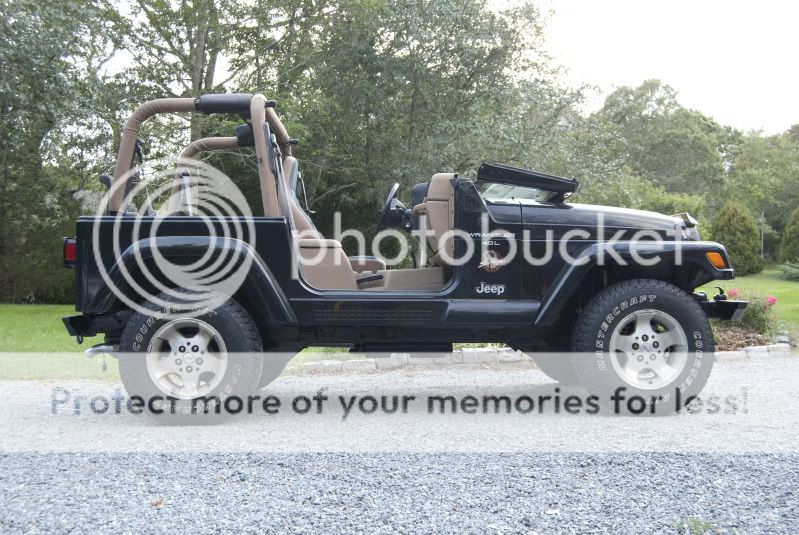
This all started with my father’s 2000 Jeep Wrangler Sahara edition. We bought it a few years ago in the summer of 2006, and it’s at roughly 91K on it now. It was a fun vehicle that my father drove around in, my family (alright my mom could care less) enjoyed in the summer and drove on the beach, and after my father got rid of his Ford Expedition, was used to tow his 19ft Carolina Skiff that he used for aquaculture .
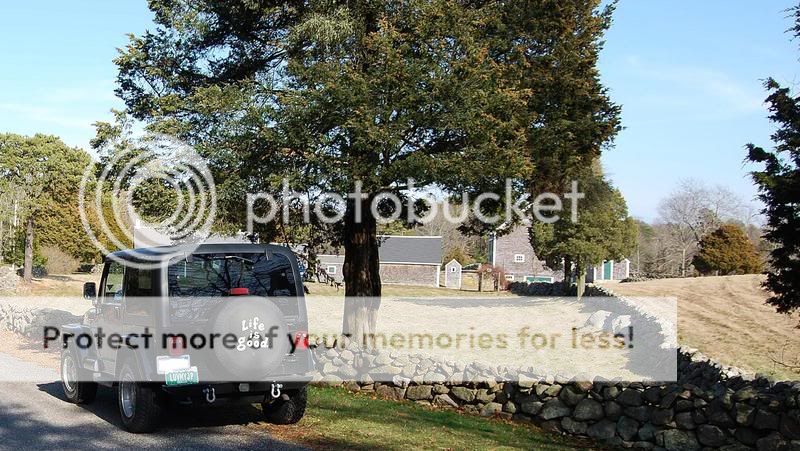
It was pretty clean, has no major issues body wise, and was fairly well of mechanically. (I really don’t have a ton of good pictures of it before)
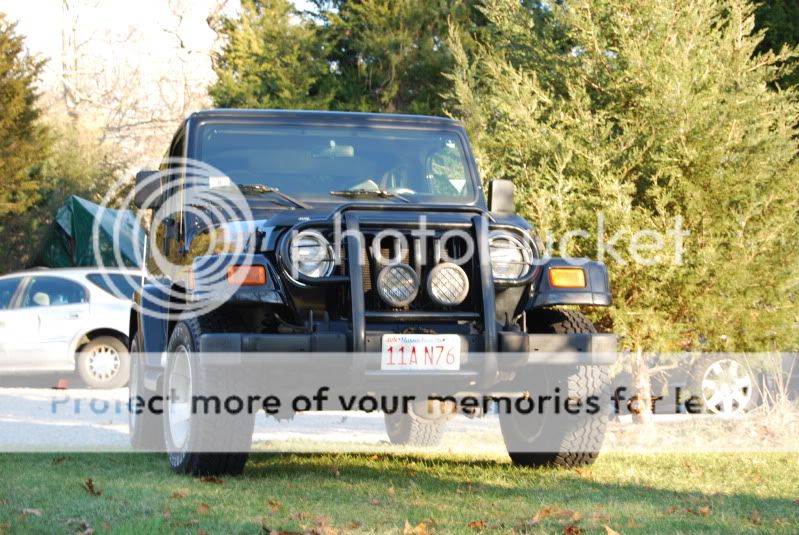
It even had the privilege of playing host to the LUVMYJP plate.
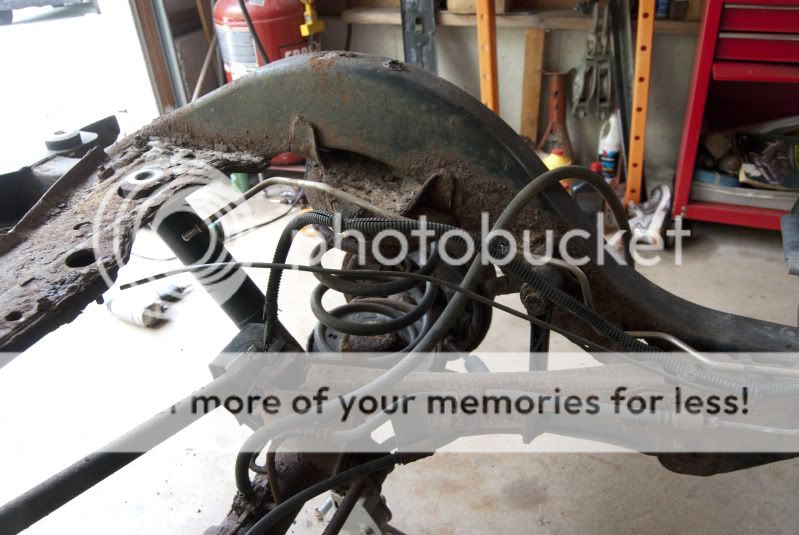
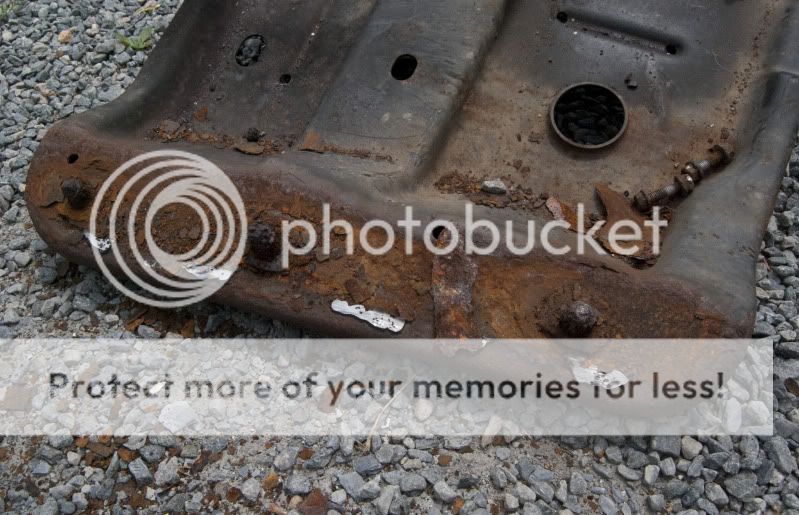
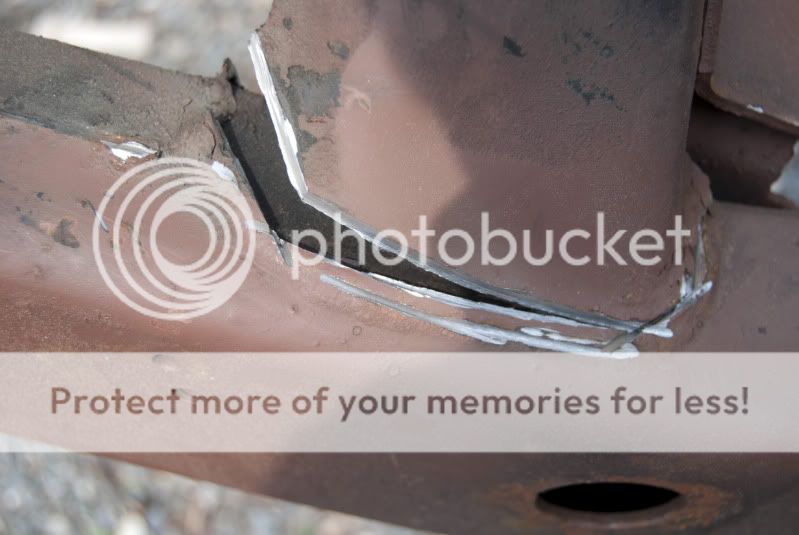
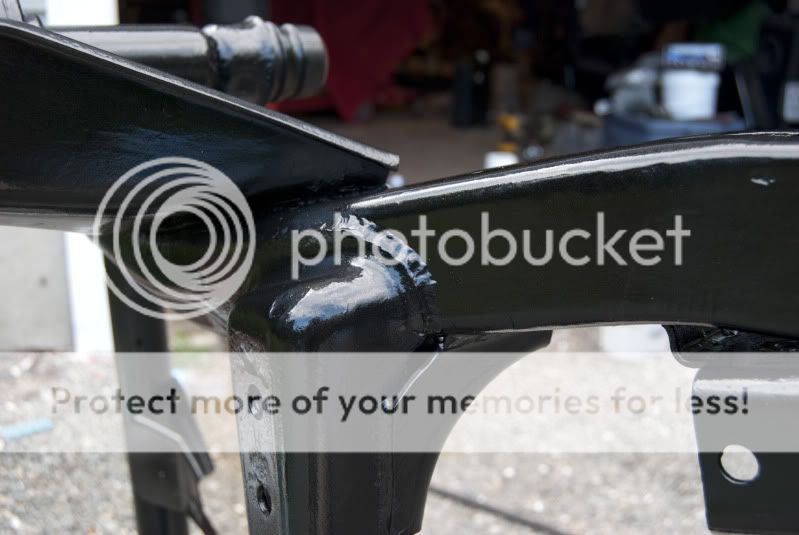
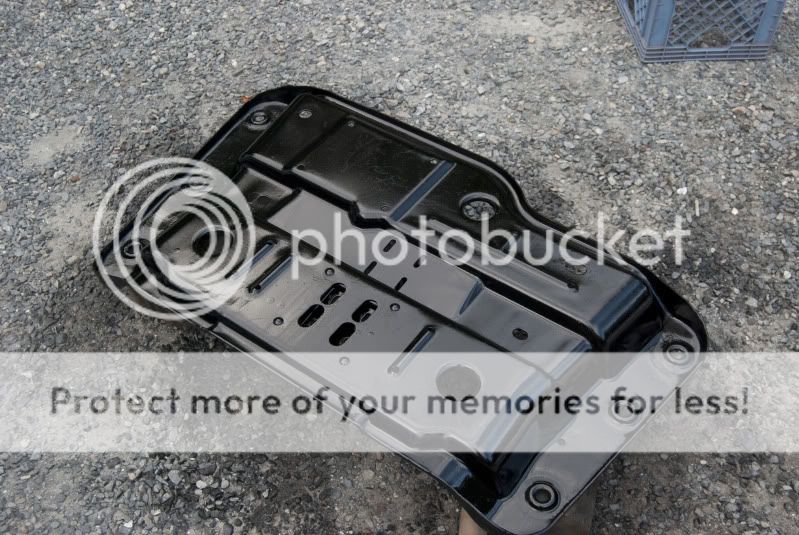
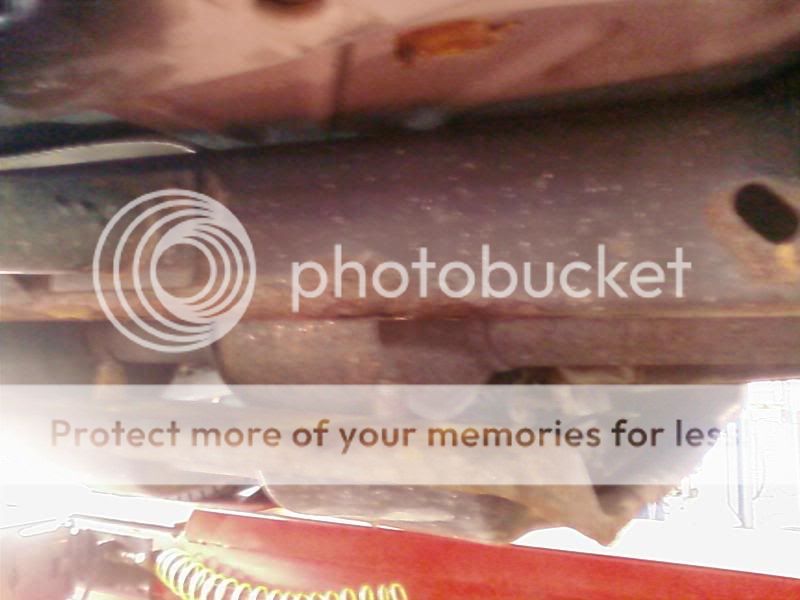
There was one day I was laying under the Jeep, and (being more mechanically knowledgeable since the day we bought it) noticed something I clearly missed when we were inspecting the car to purchase it. I started at what I saw for a minute or two, until it slowly started to realize what I was staring at, and what it could mean. I was looking at the belly pan on the drivers side, with beads of weld connecting it to the frame, and a few tack welds to keep the bolts from spinning. The nutserts had clearly rusted out.
The previous owner of the vehicle had pretty much lived out on the beach with it during the summer time when he was in possession of it. On top of the day trips out on the beach to soak up the sun and enjoy the Cape Cod summer, he had a camper that he took out quite frequently. This Jeep was used as transportation back and forth to the camper for who knows how many years. Salty sand + no frame drain holes + road salt in the winter + the fact that my dad was essentially driving it into salt water multiple times a week to launch his boat and not washing it off = Big issues.
A little beach action

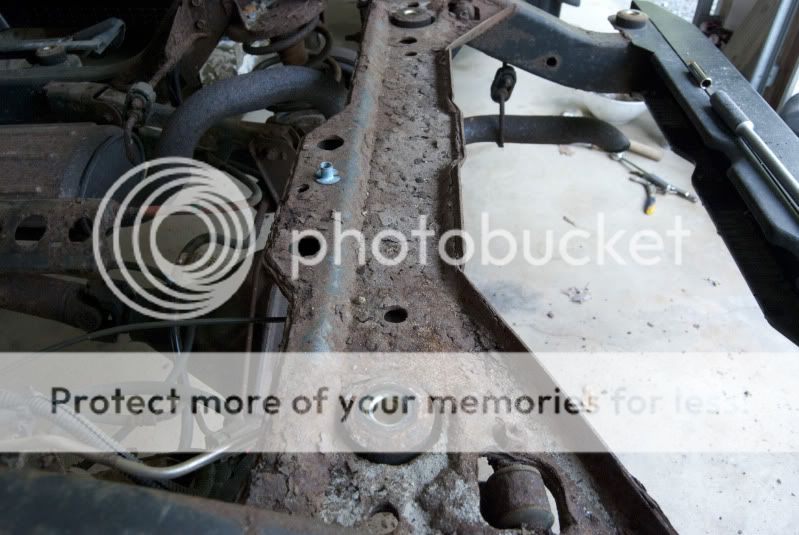
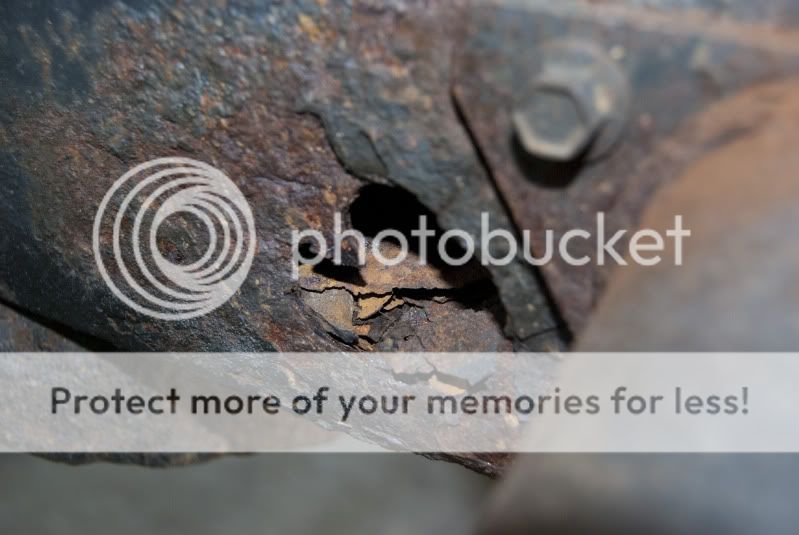
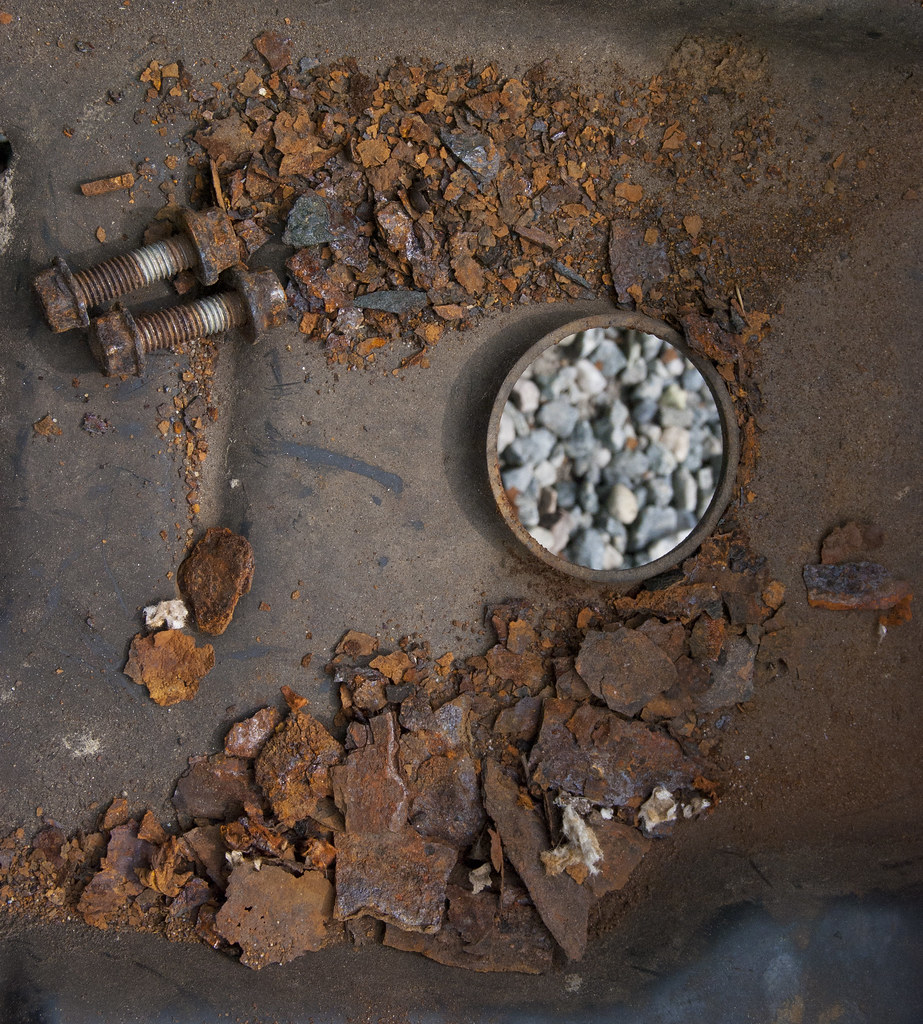
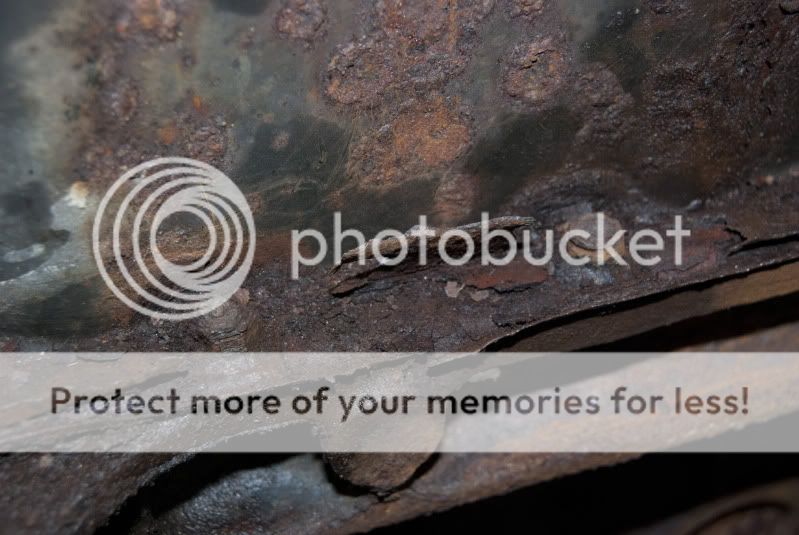
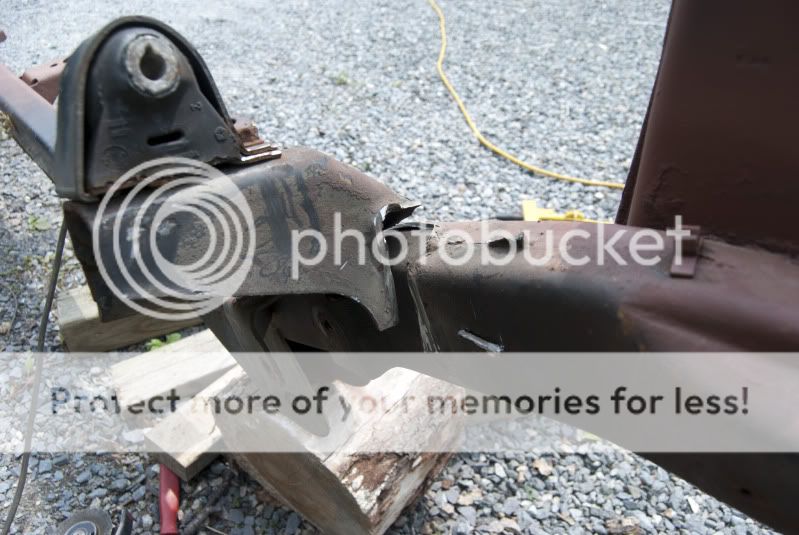
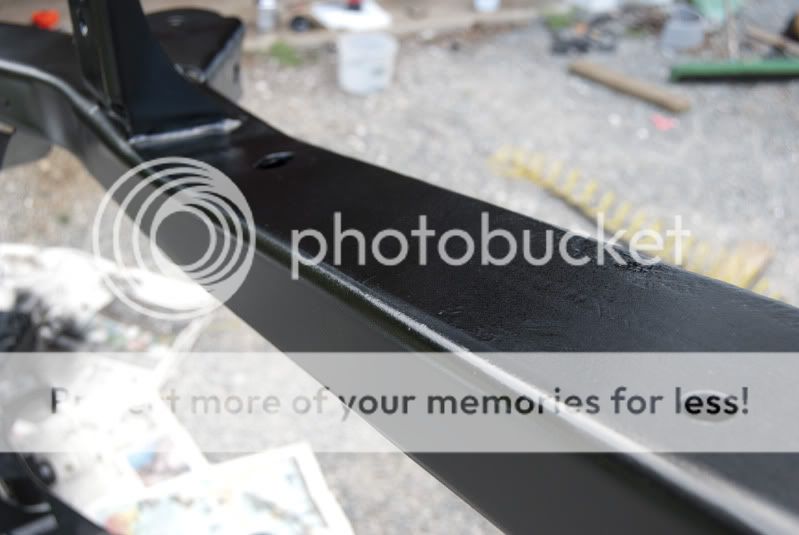
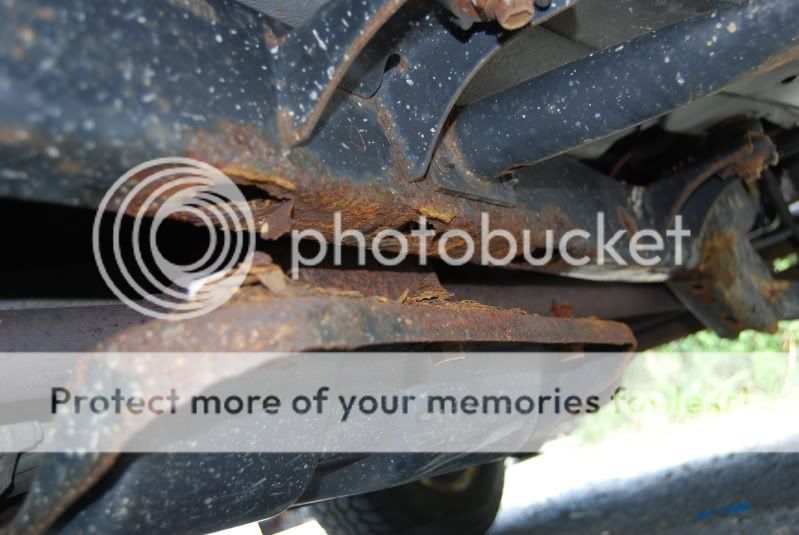
One day I noticed a little bits of rust flaking off the cutout in the frame, right in front of the drivers side rear tire. Upon picking at the scab, it soon left a bigger opening than was initially designed into the frame by the factory.
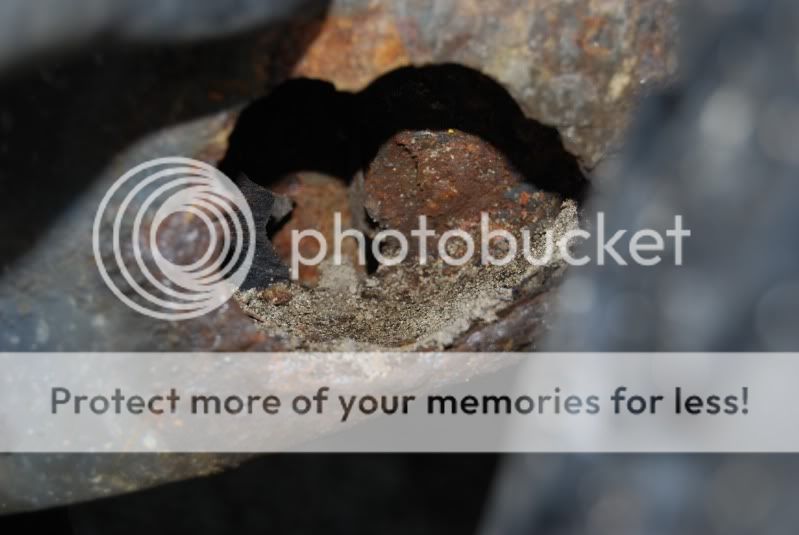
Rust started, yada yada yada, fast forward a few years, and that brings us to last summer when the rust hole got bigger, and my dad sent me this picture.
I guess this happened while he was idling at a stop sign.
So, I did the only thing I could do at that point, and permanently attach it by welding the belly pan to the frame, making it 100% never coming off.
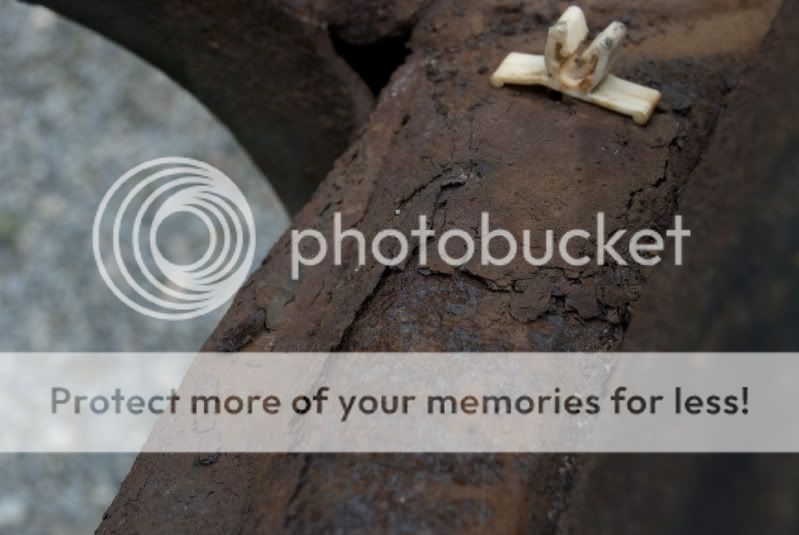
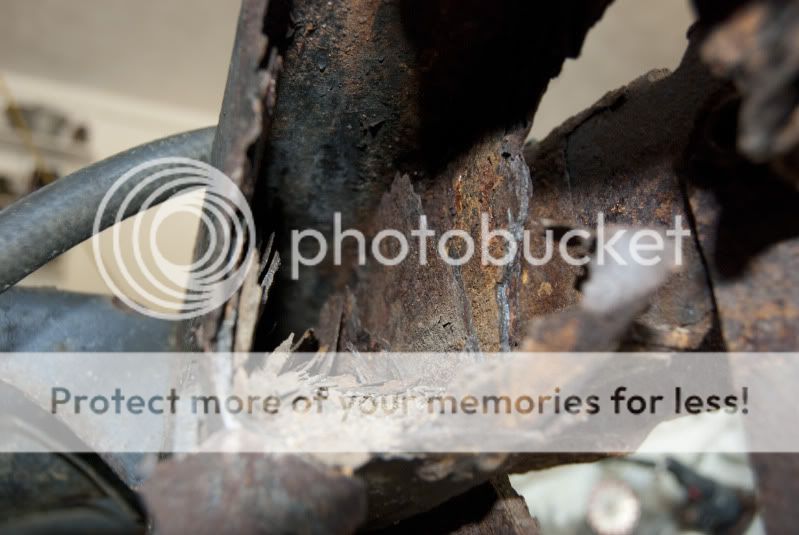
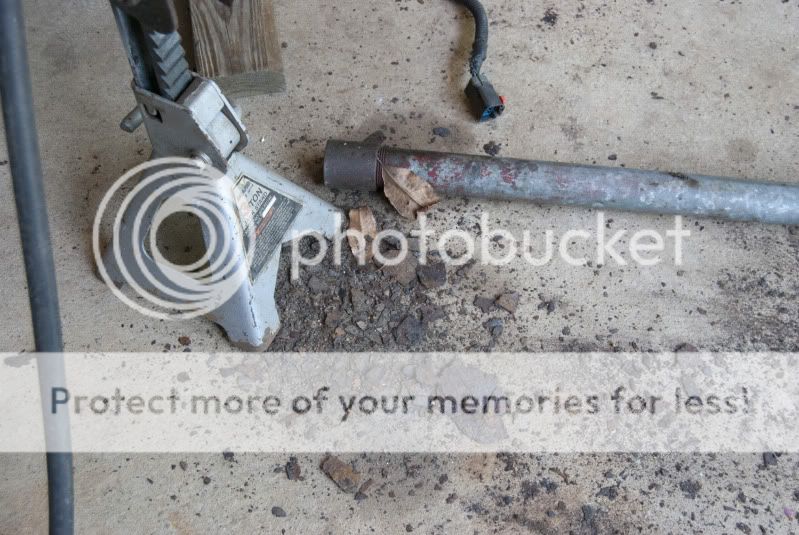
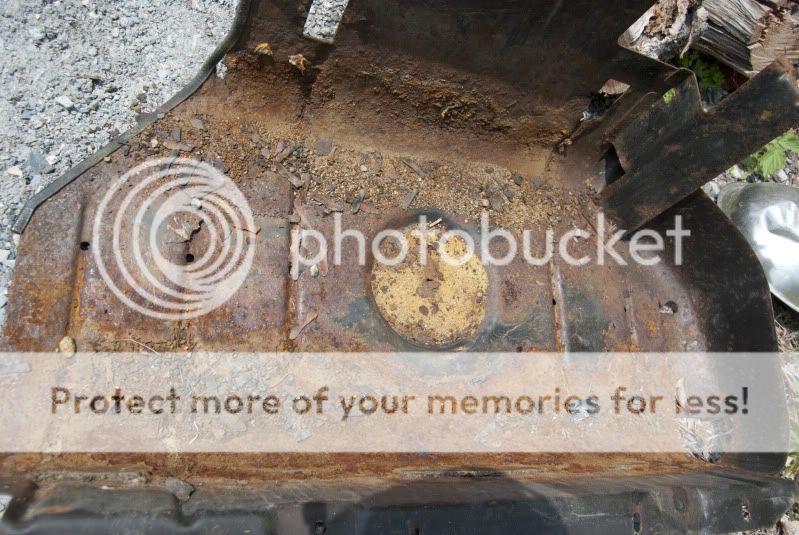
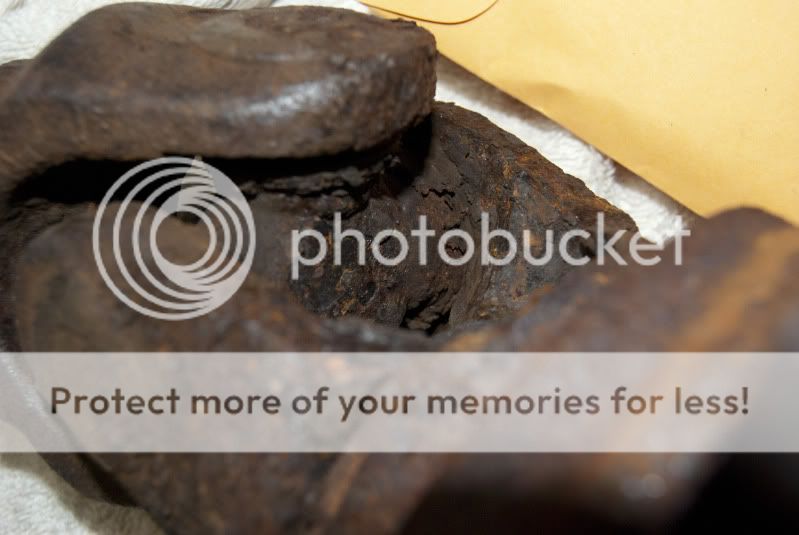
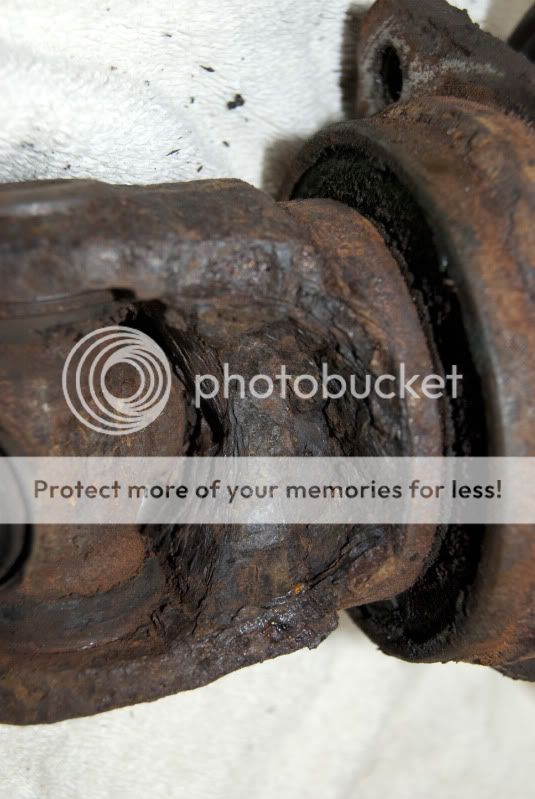
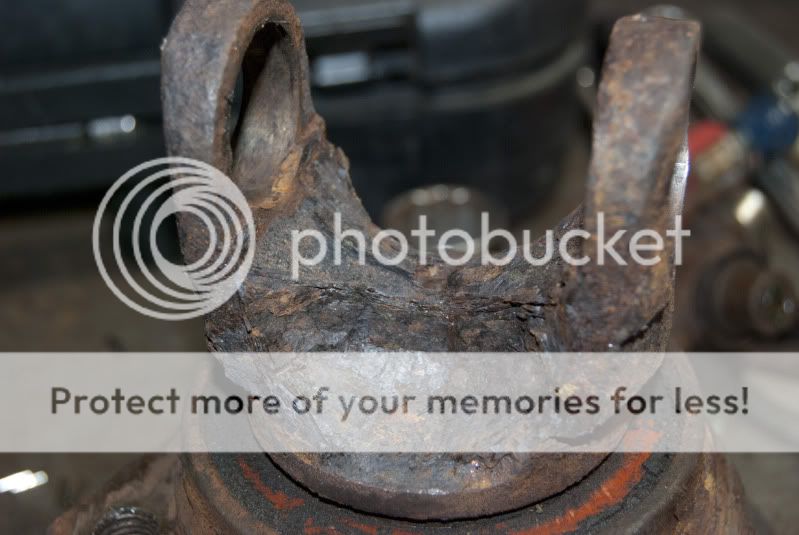
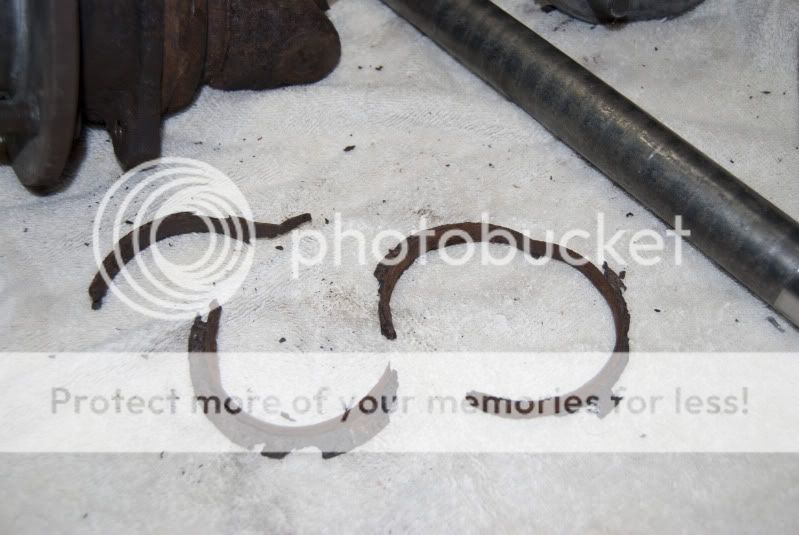
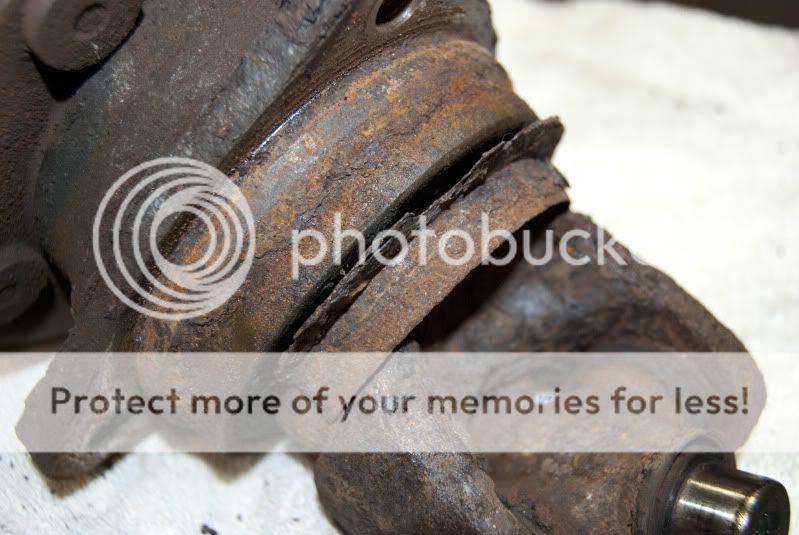
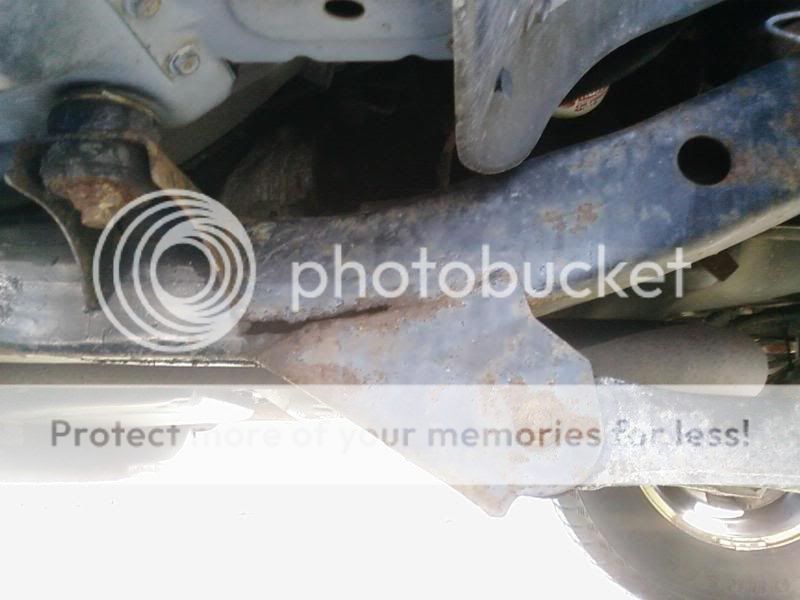
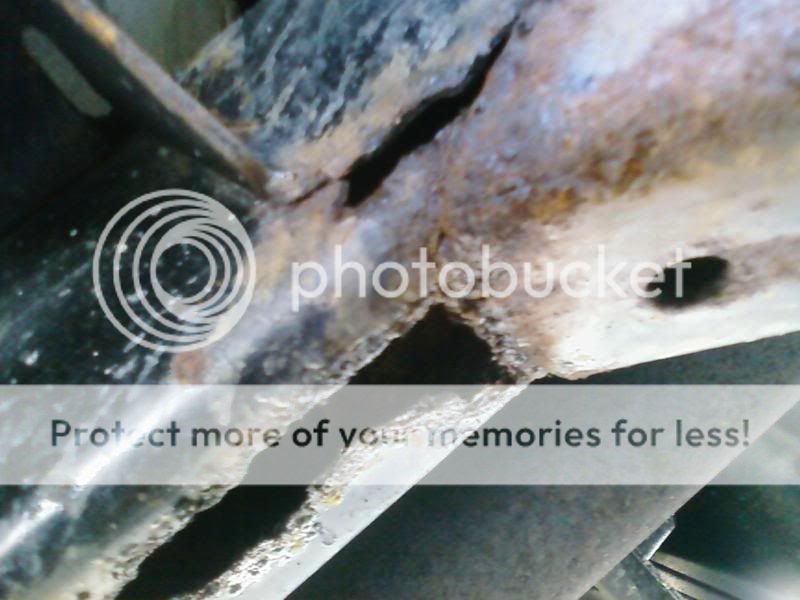
My dad kept bugging me saying “I just want you to weld a piece of plate to the outside of the frame, that is all. It will be fine.” I informed him that to weld metal to metal, there actually needs to be metal present. There was nothing but rust in the vicinity, and I told him I just wouldn’t do it, the frame was done and beyond repair. Especially since it now looked like this:
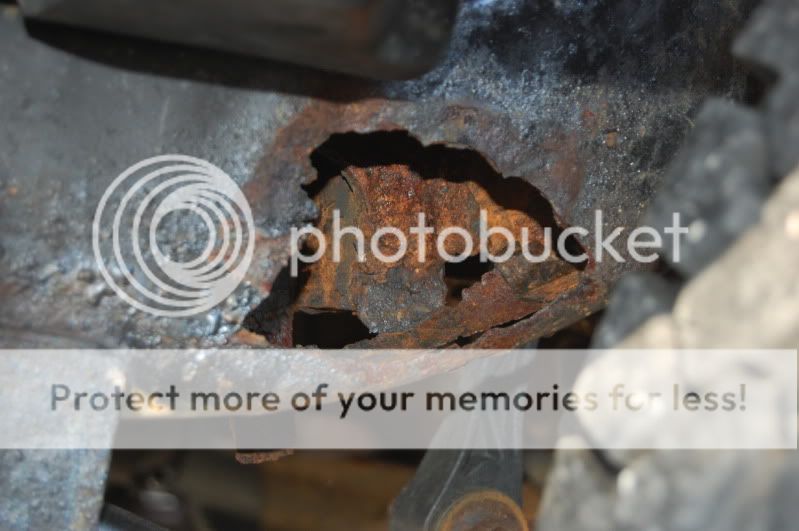
After months of me telling him this, he finally believed me when he sent me these pictures.
So, I was graduating college, was going to be taking some time to enjoy summer before looking for a job, and figured it would be the perfect (and only) time to tackle a complete frame swap. I was actually really looking forward to it, and wouldn’t let my dad sell the Jeep for next to nothing or part it out.
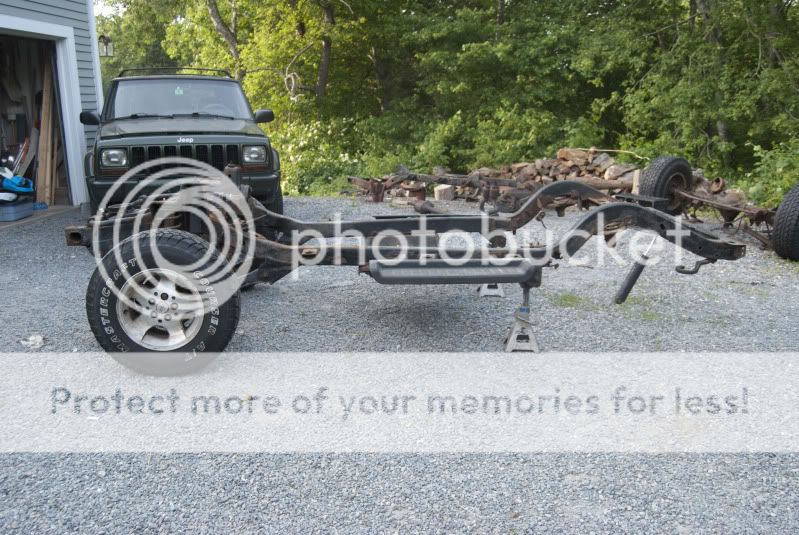
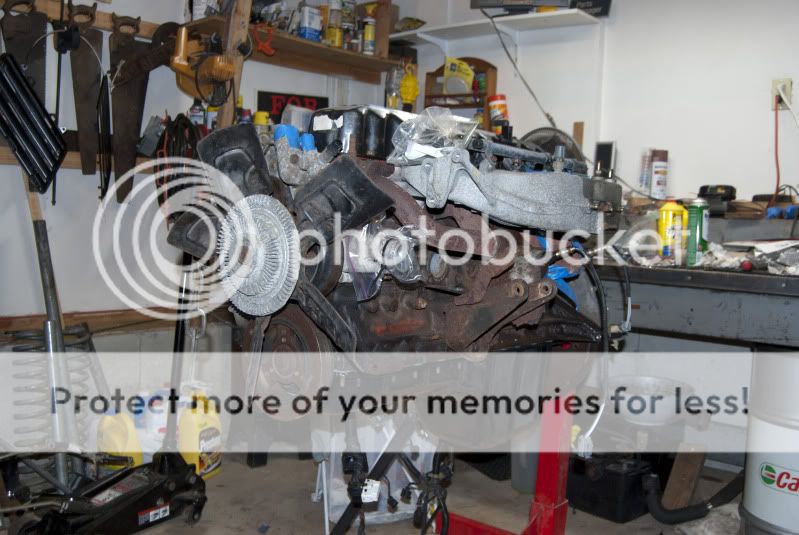
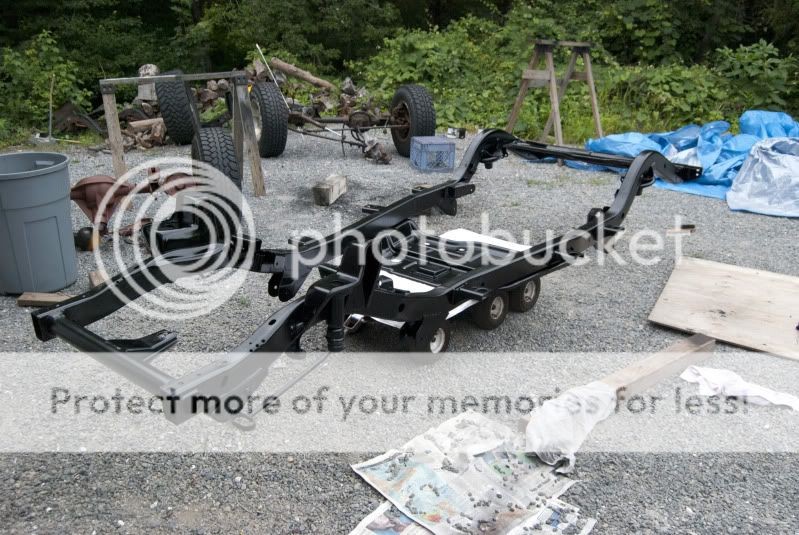
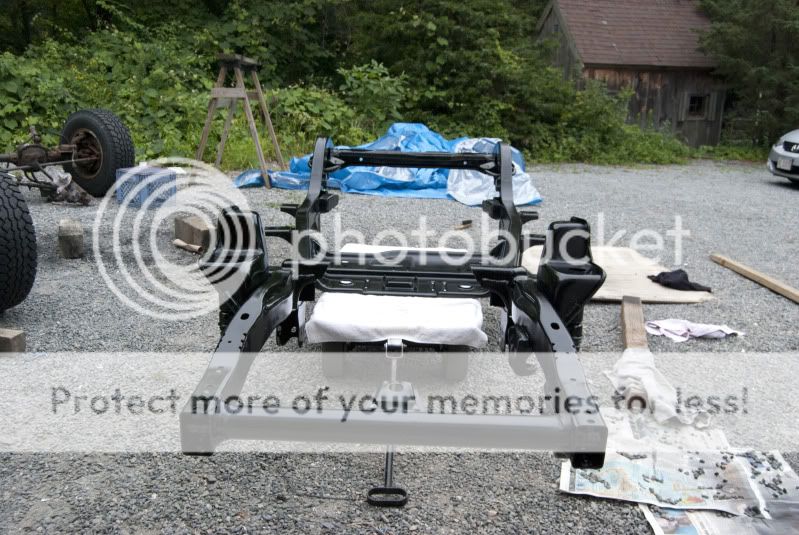
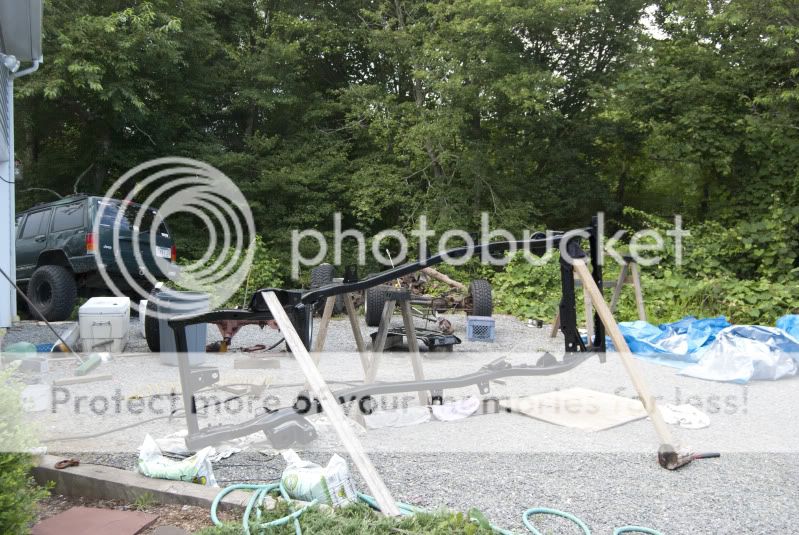
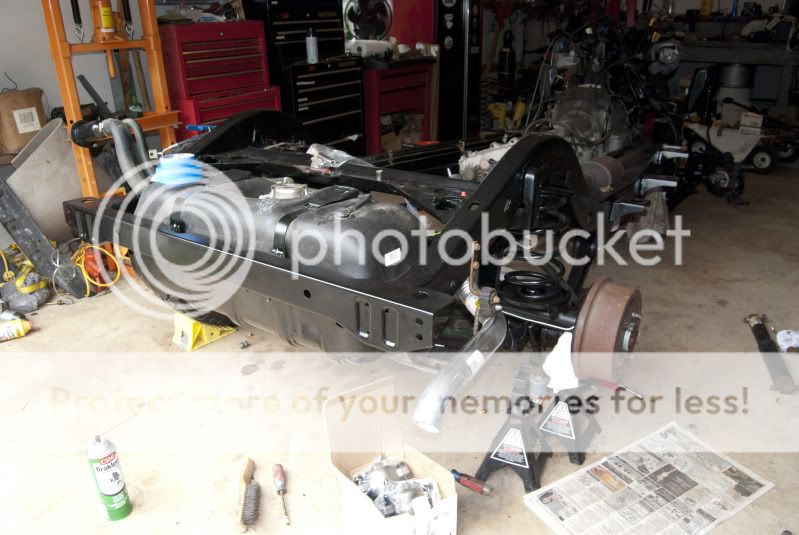
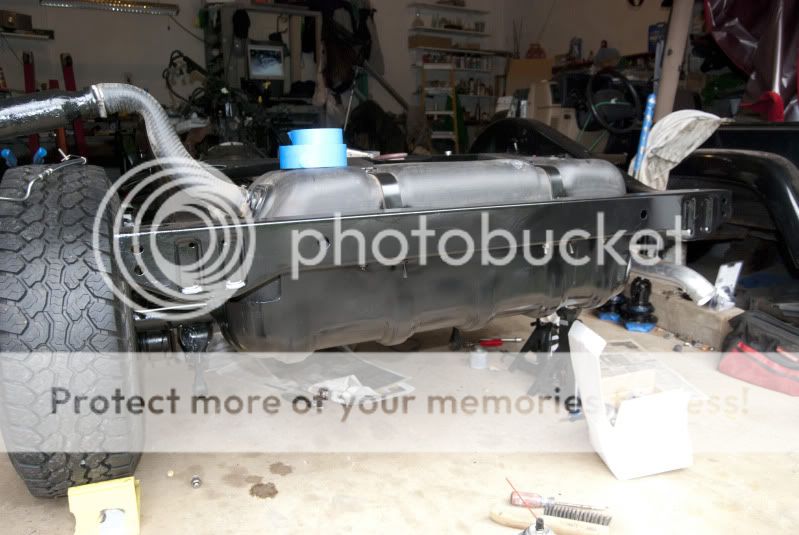
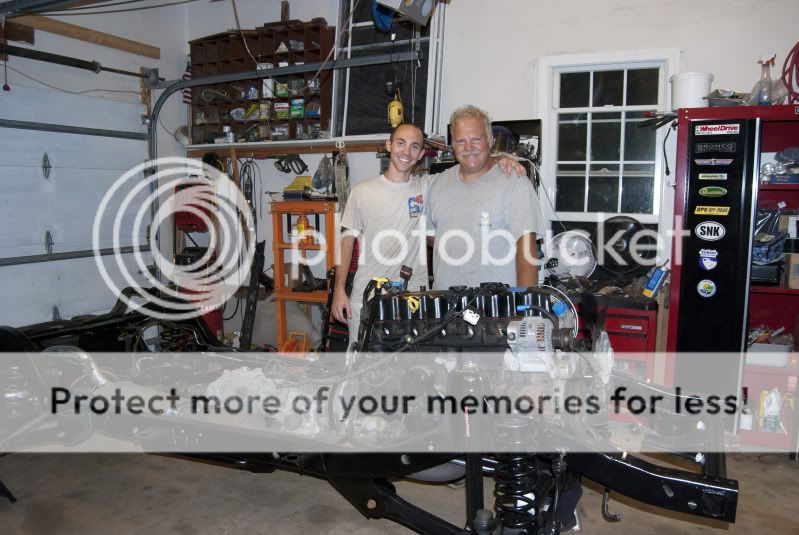
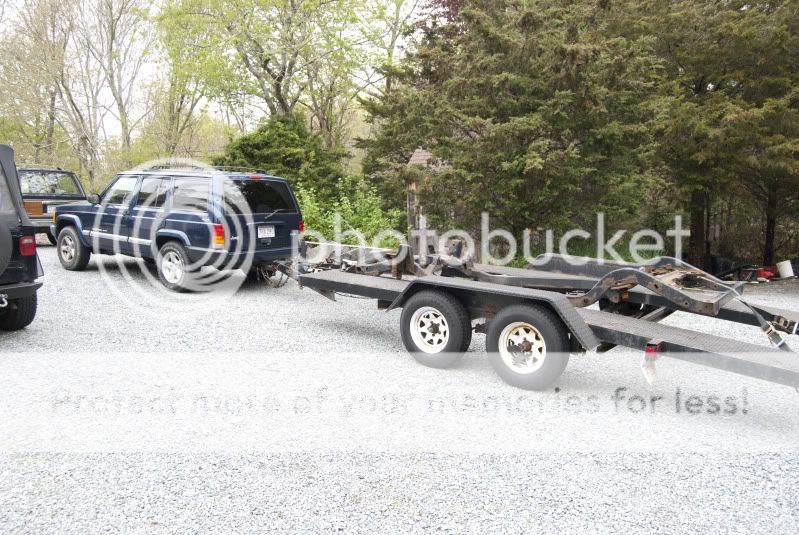
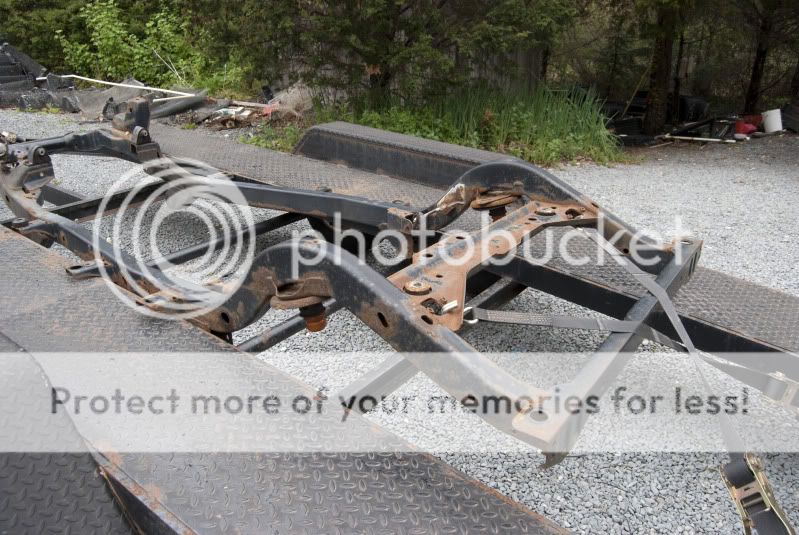
So, after not finding a good frame for quite some time (everything was either rusty, bent, crashed or $1 million dollars), I found a nice 4 cylinder frame in NH listed for $750. I borrowed Ross’s trailer, my dad’s XJ (which he got to replace the TJ), and after only $550 later, we now had a frame.
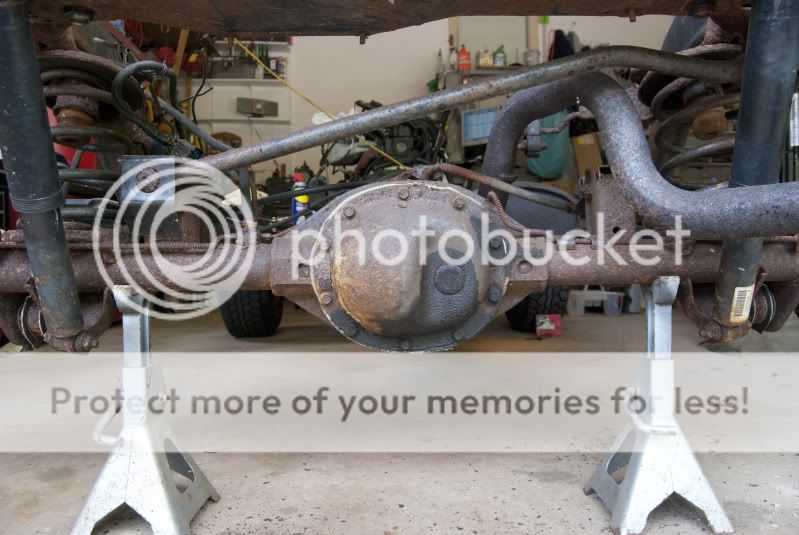
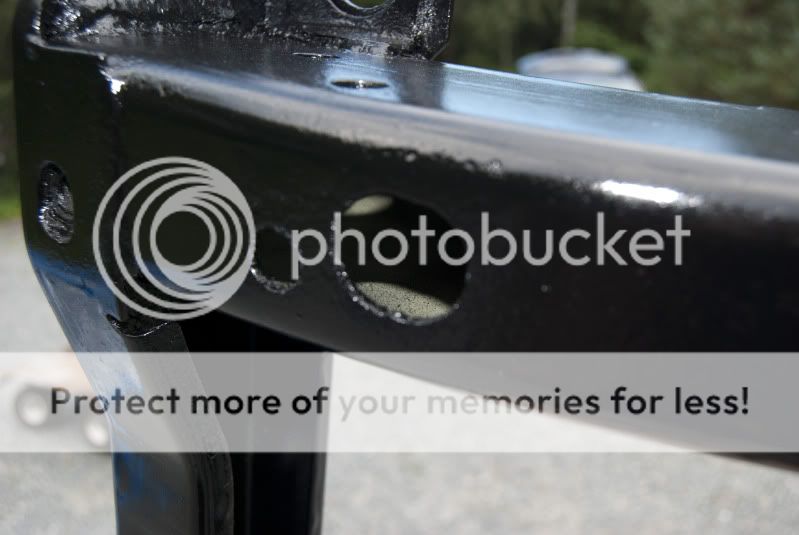
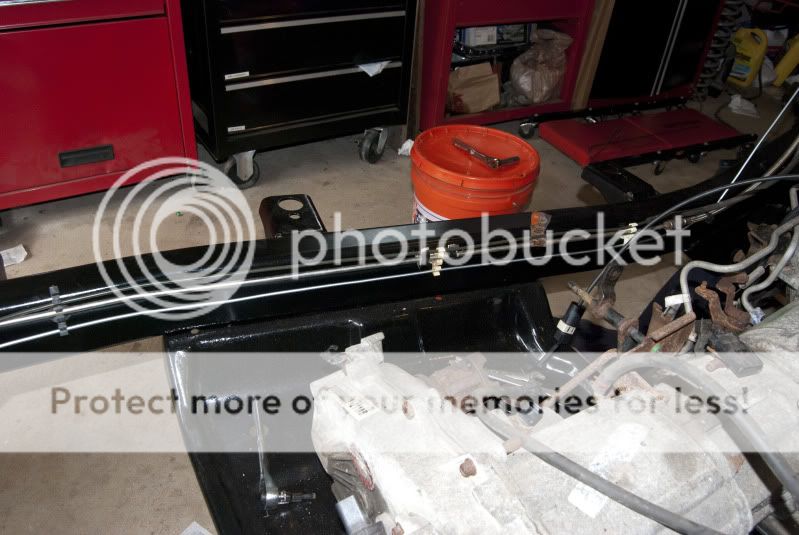
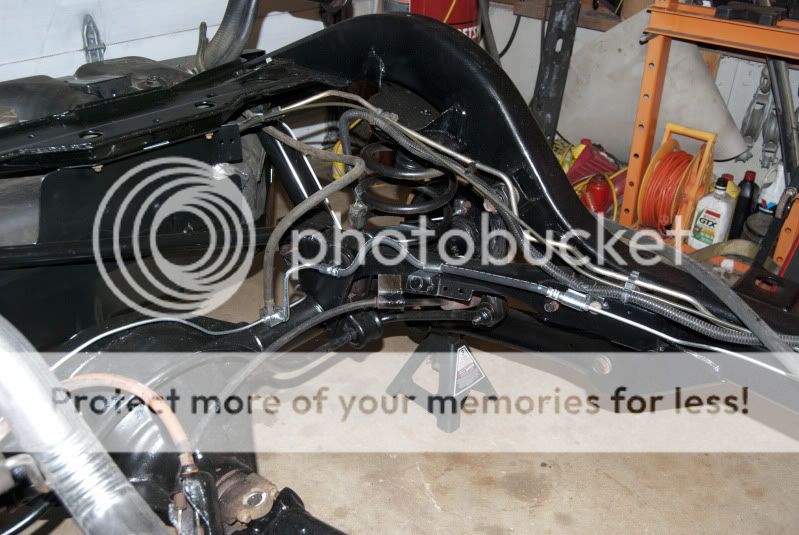
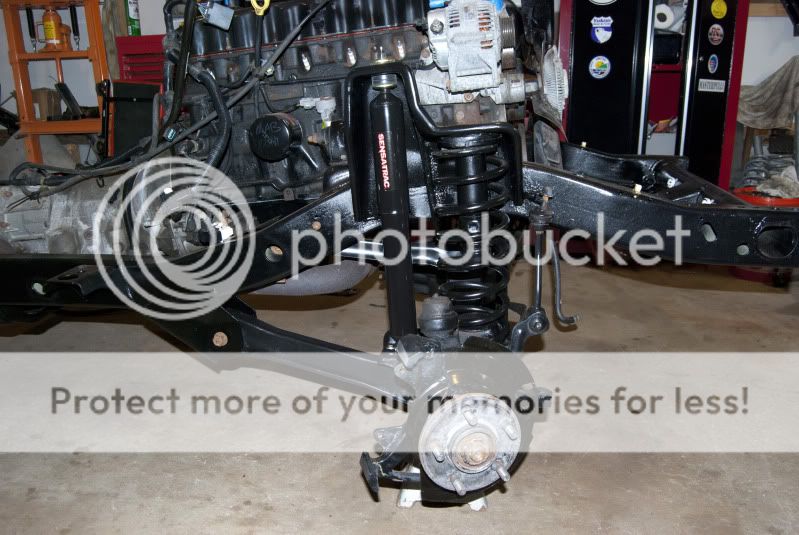
It wasn’t the most beautiful frame, but it was solid.

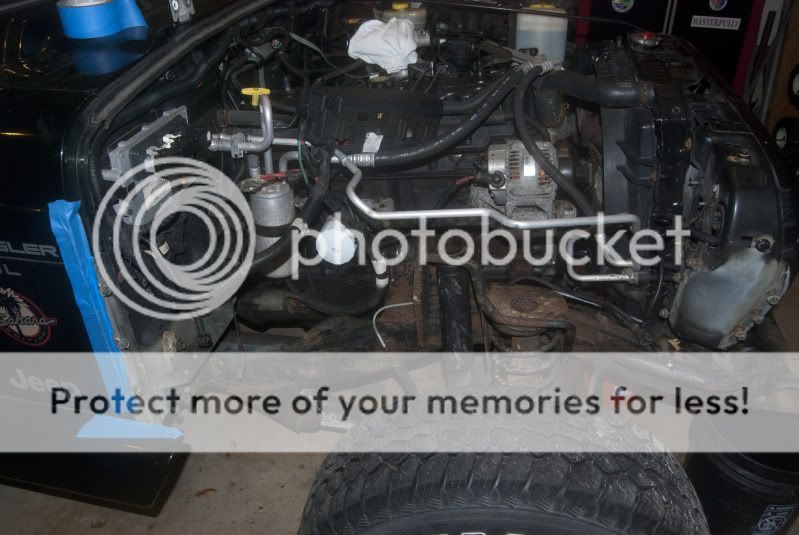
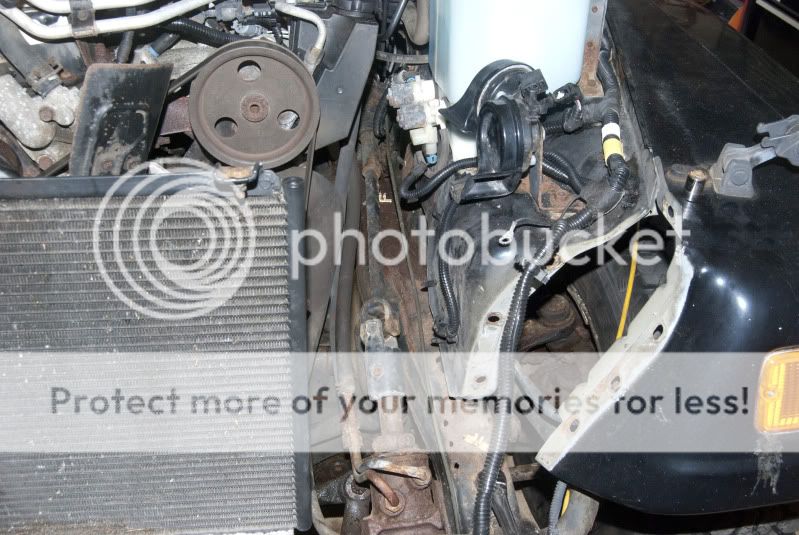
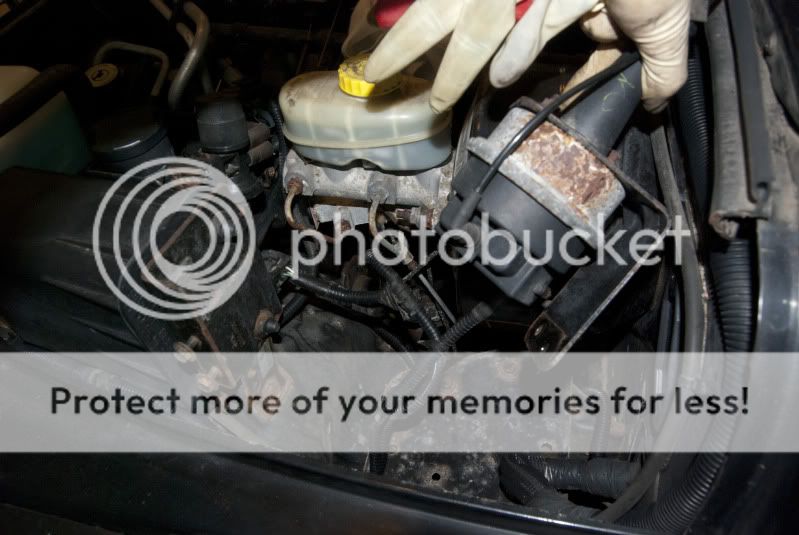
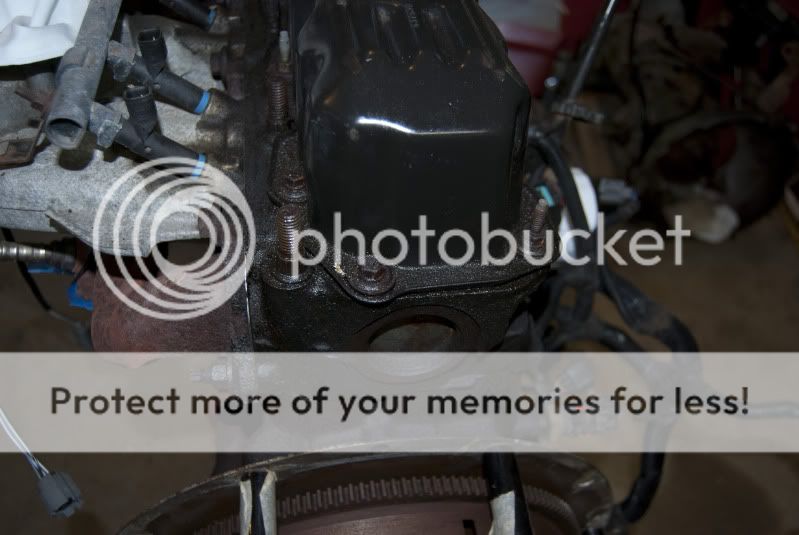
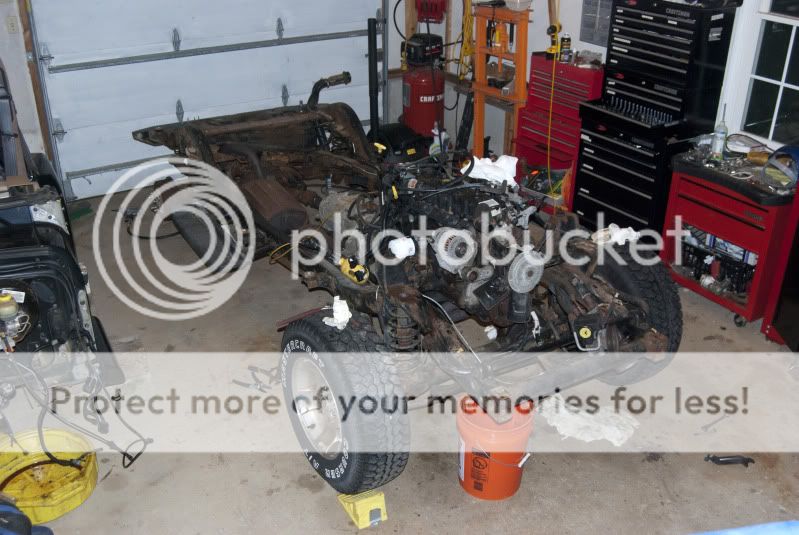
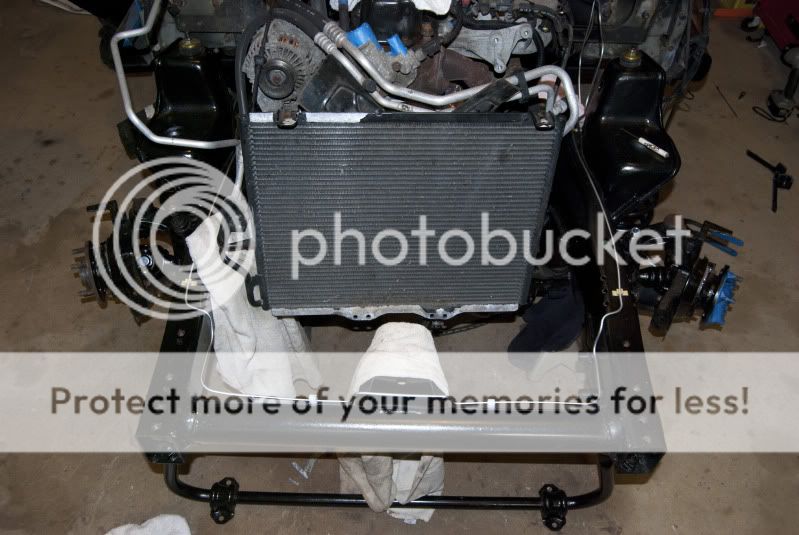
The first thing I thought of was I should probably swing by the car wash and degrease the underbody/engine compartment to make things easier. After looking underneath the Jeep and noticing there was a fair bit of oil under there (oil pan and probably rear main seal, valve cover), I’m glad I did.
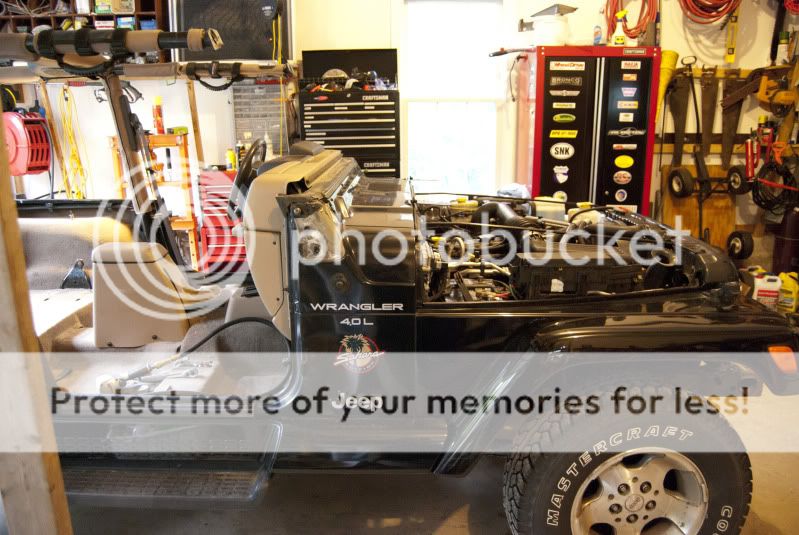
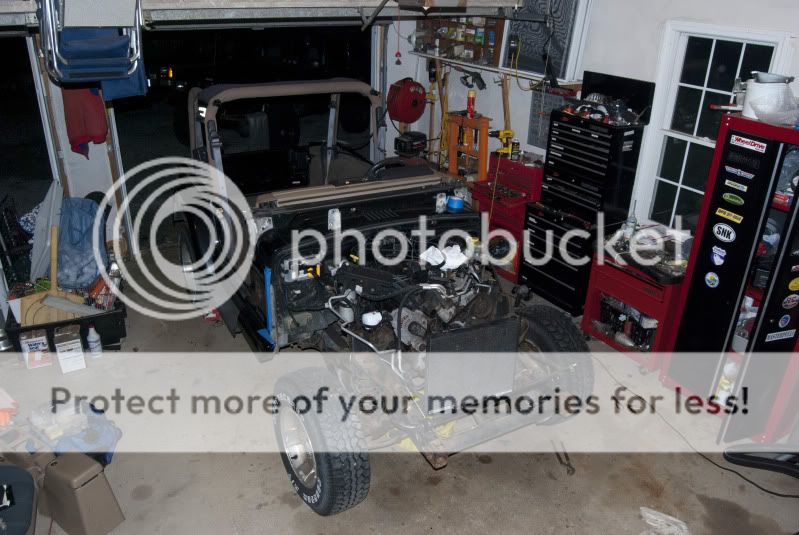
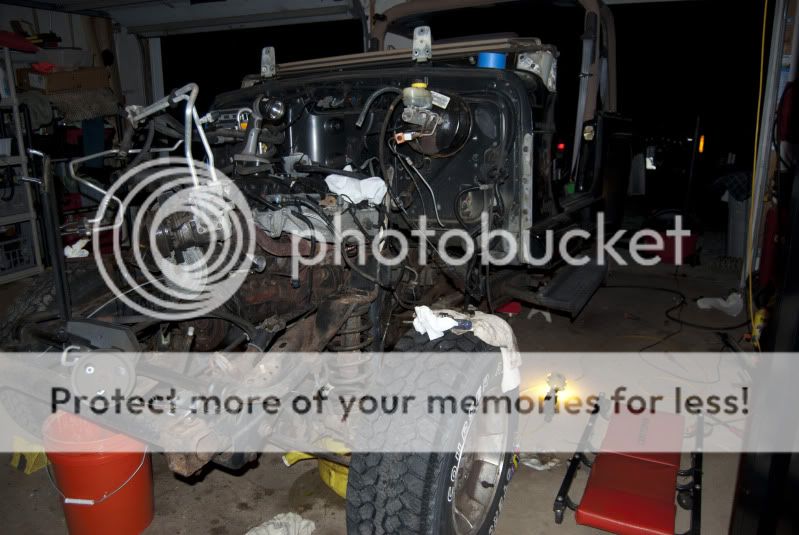
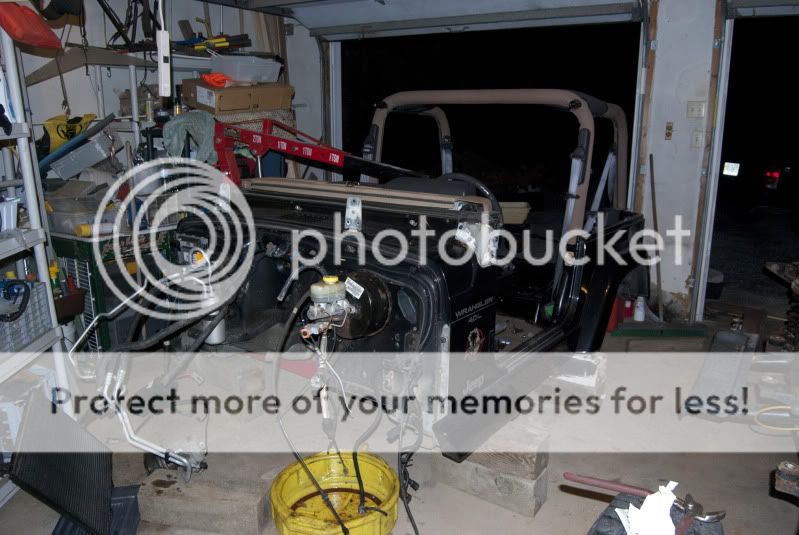
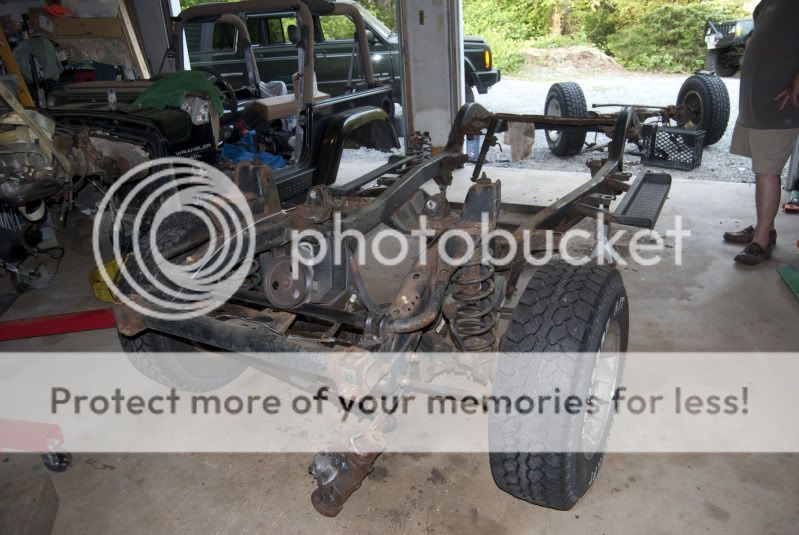
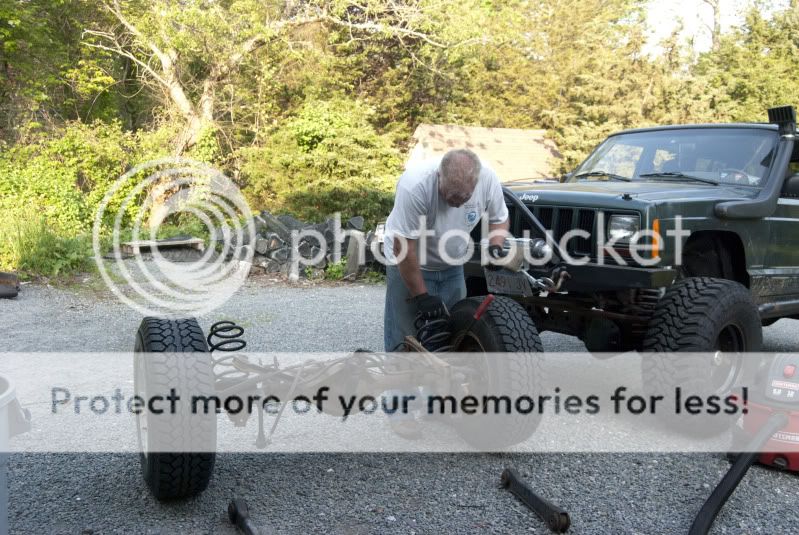
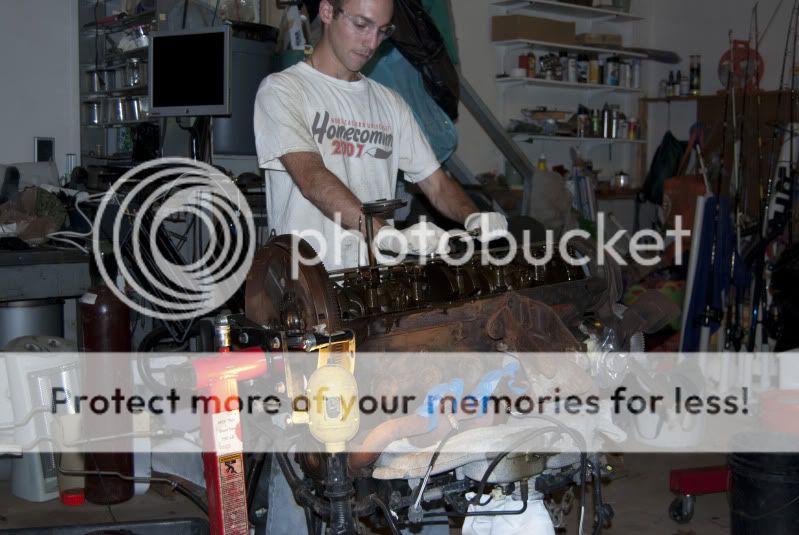
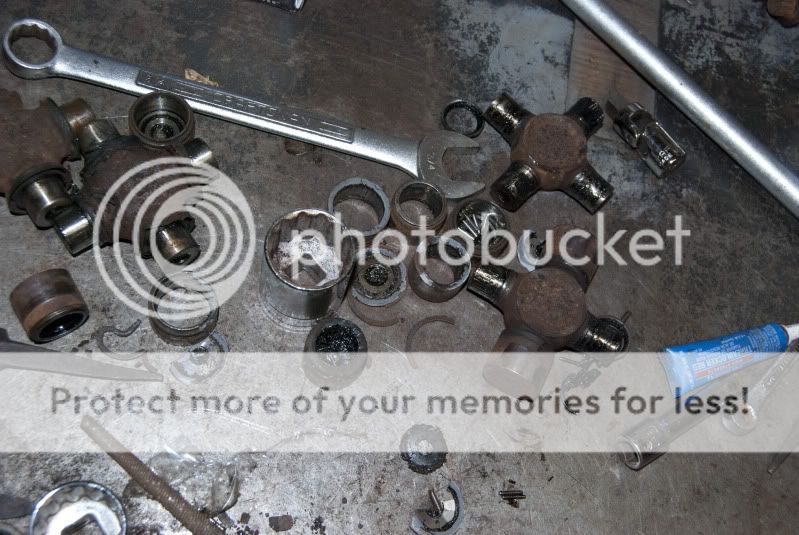
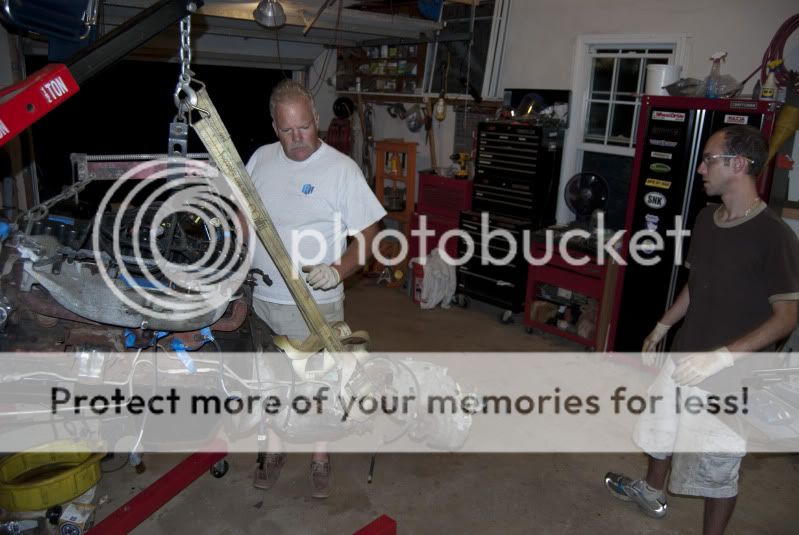
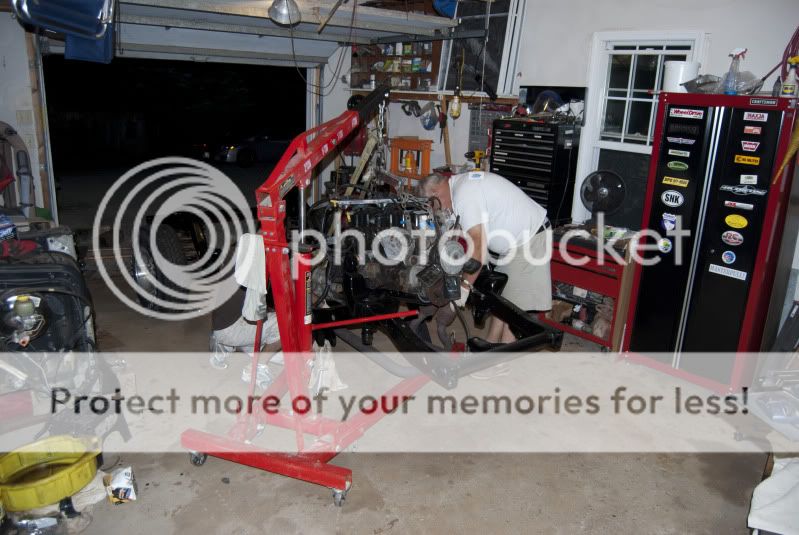
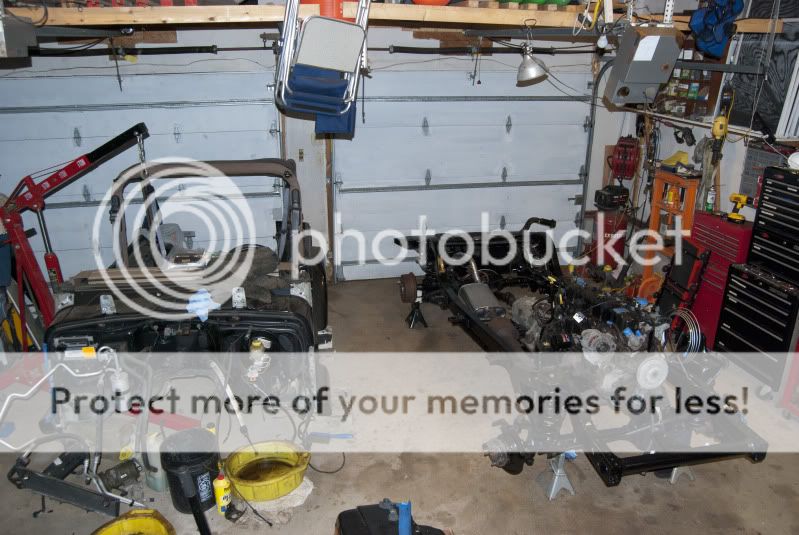
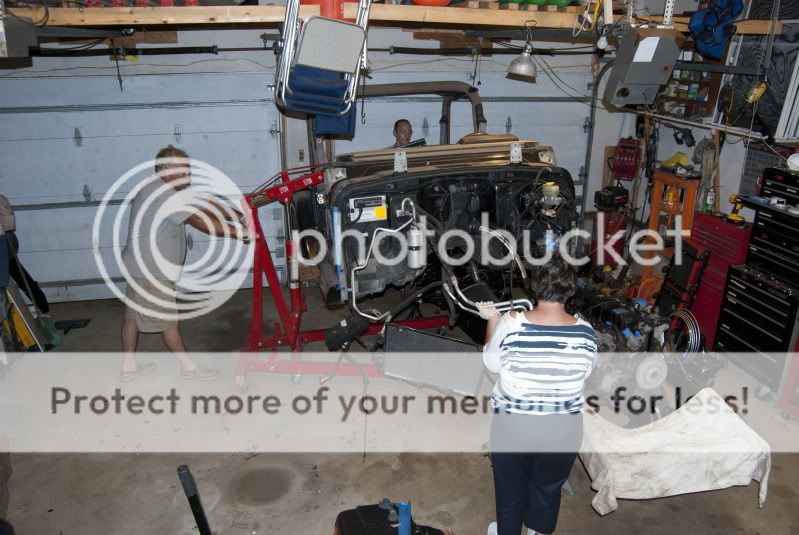
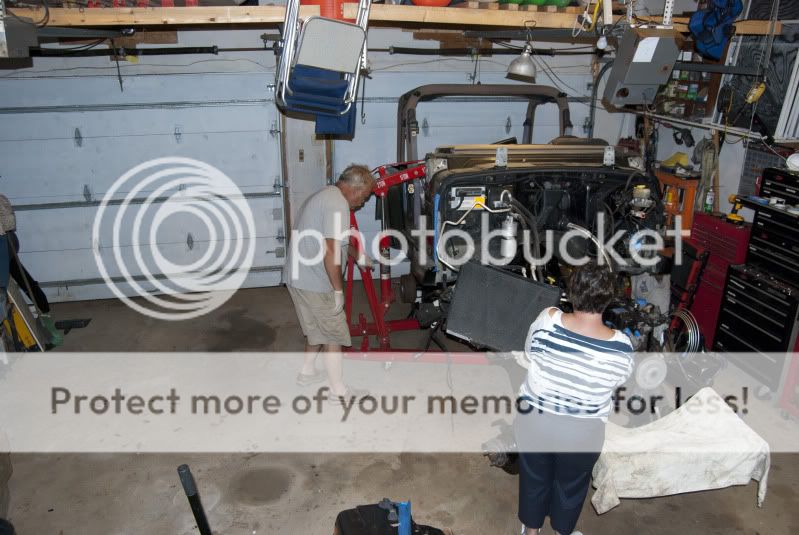
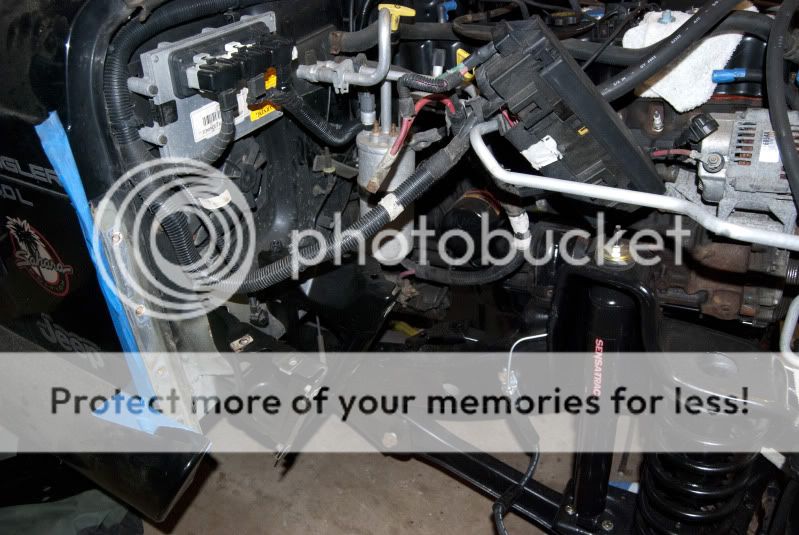
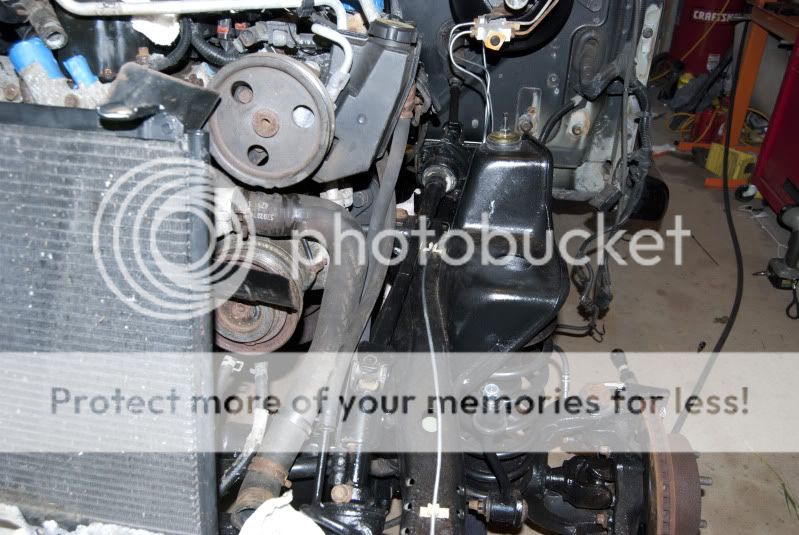
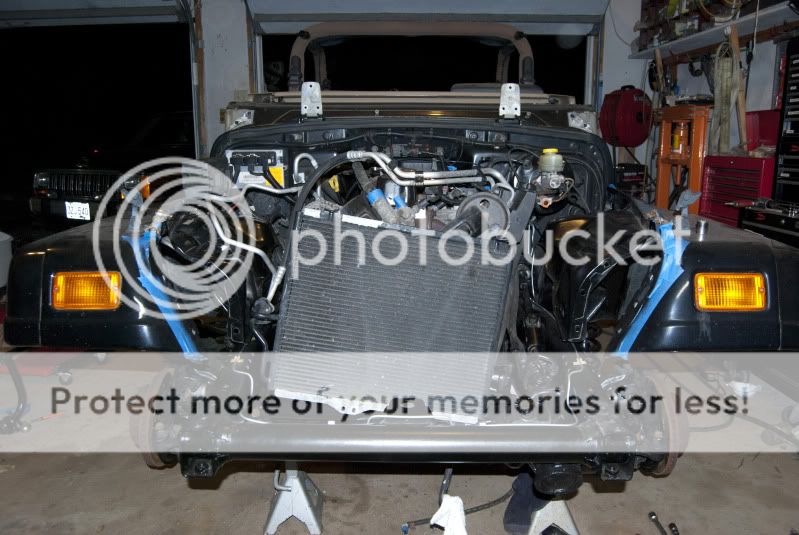
So, in went the Jeep, and out came the parts.
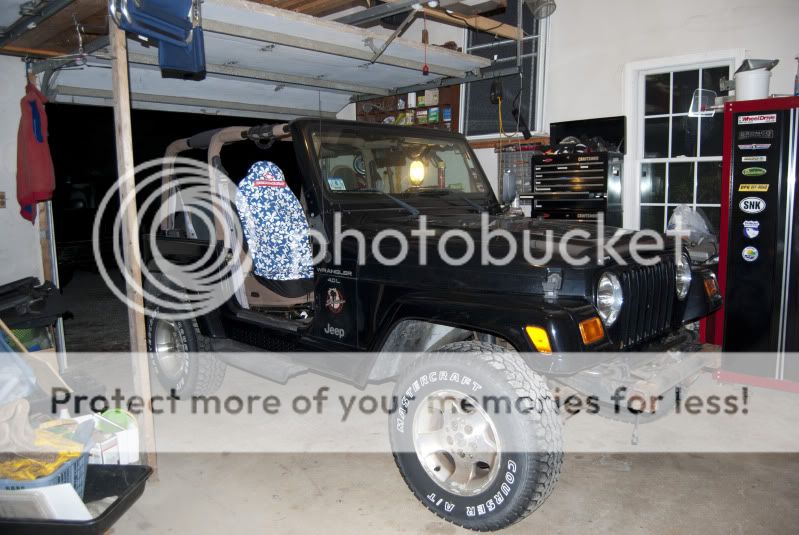
Please disregard those horrible seat covers.
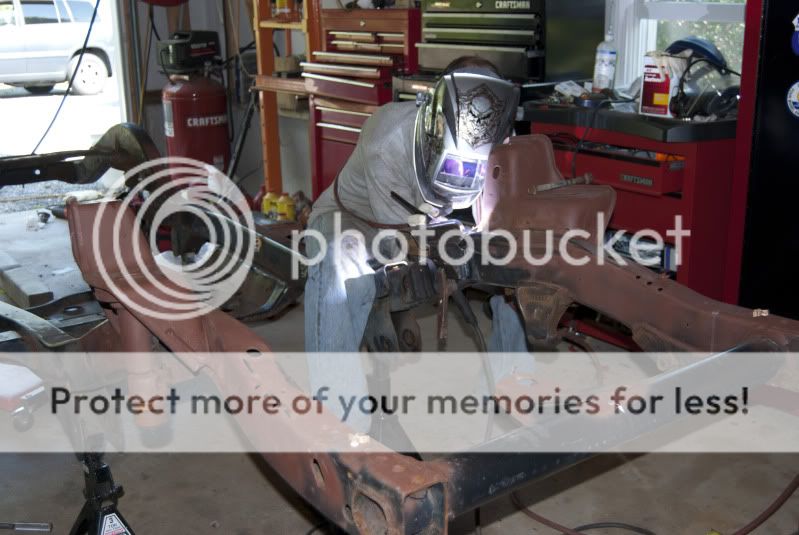
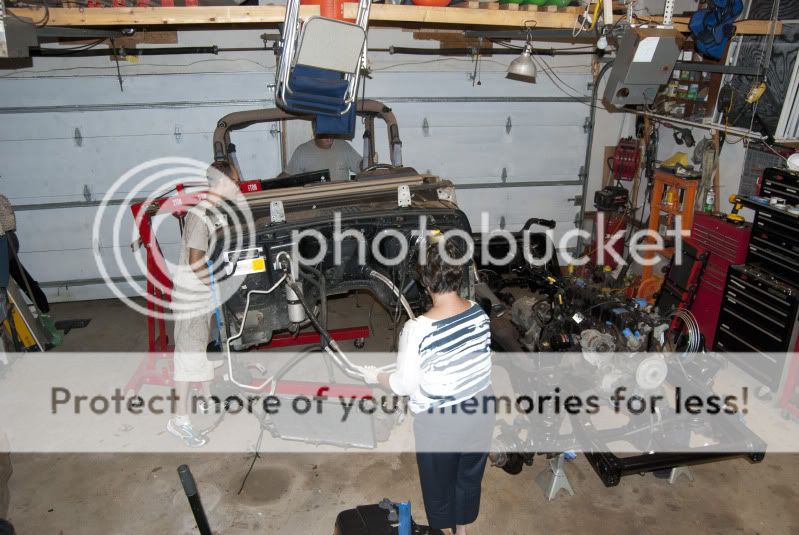
My dad, while not completely unknowledgeable with how things work (despite all the times he says he doesn’t know and gets me to do things for him), didn’t really know too much about cars. Since he was more than happy to help (as he thankfully always is when I need help on cars) with the project (I should hope so, it is his Jeep after all), I figured it was a good time to teach him.
This all started with my father’s 2000 Jeep Wrangler Sahara edition. We bought it a few years ago in the summer of 2006, and it’s at roughly 91K on it now. It was a fun vehicle that my father drove around in, my family (alright my mom could care less) enjoyed in the summer and drove on the beach, and after my father got rid of his Ford Expedition, was used to tow his 19ft Carolina Skiff that he used for aquaculture .
It was pretty clean, has no major issues body wise, and was fairly well of mechanically. (I really don’t have a ton of good pictures of it before)
It even had the privilege of playing host to the LUVMYJP plate.
There was one day I was laying under the Jeep, and (being more mechanically knowledgeable since the day we bought it) noticed something I clearly missed when we were inspecting the car to purchase it. I started at what I saw for a minute or two, until it slowly started to realize what I was staring at, and what it could mean. I was looking at the belly pan on the drivers side, with beads of weld connecting it to the frame, and a few tack welds to keep the bolts from spinning. The nutserts had clearly rusted out.
The previous owner of the vehicle had pretty much lived out on the beach with it during the summer time when he was in possession of it. On top of the day trips out on the beach to soak up the sun and enjoy the Cape Cod summer, he had a camper that he took out quite frequently. This Jeep was used as transportation back and forth to the camper for who knows how many years. Salty sand + no frame drain holes + road salt in the winter + the fact that my dad was essentially driving it into salt water multiple times a week to launch his boat and not washing it off = Big issues.
A little beach action
One day I noticed a little bits of rust flaking off the cutout in the frame, right in front of the drivers side rear tire. Upon picking at the scab, it soon left a bigger opening than was initially designed into the frame by the factory.
Rust started, yada yada yada, fast forward a few years, and that brings us to last summer when the rust hole got bigger, and my dad sent me this picture.
I guess this happened while he was idling at a stop sign.
So, I did the only thing I could do at that point, and permanently attach it by welding the belly pan to the frame, making it 100% never coming off.
My dad kept bugging me saying “I just want you to weld a piece of plate to the outside of the frame, that is all. It will be fine.” I informed him that to weld metal to metal, there actually needs to be metal present. There was nothing but rust in the vicinity, and I told him I just wouldn’t do it, the frame was done and beyond repair. Especially since it now looked like this:
After months of me telling him this, he finally believed me when he sent me these pictures.
So, I was graduating college, was going to be taking some time to enjoy summer before looking for a job, and figured it would be the perfect (and only) time to tackle a complete frame swap. I was actually really looking forward to it, and wouldn’t let my dad sell the Jeep for next to nothing or part it out.
So, after not finding a good frame for quite some time (everything was either rusty, bent, crashed or $1 million dollars), I found a nice 4 cylinder frame in NH listed for $750. I borrowed Ross’s trailer, my dad’s XJ (which he got to replace the TJ), and after only $550 later, we now had a frame.
It wasn’t the most beautiful frame, but it was solid.
The first thing I thought of was I should probably swing by the car wash and degrease the underbody/engine compartment to make things easier. After looking underneath the Jeep and noticing there was a fair bit of oil under there (oil pan and probably rear main seal, valve cover), I’m glad I did.
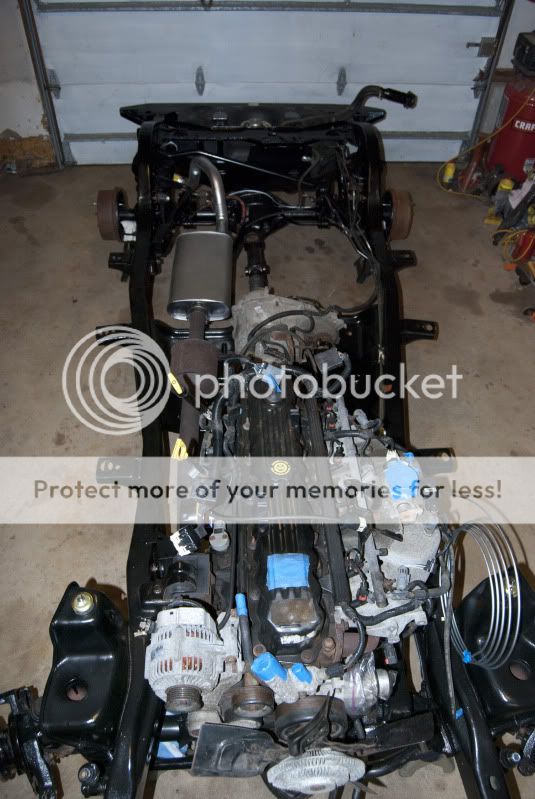
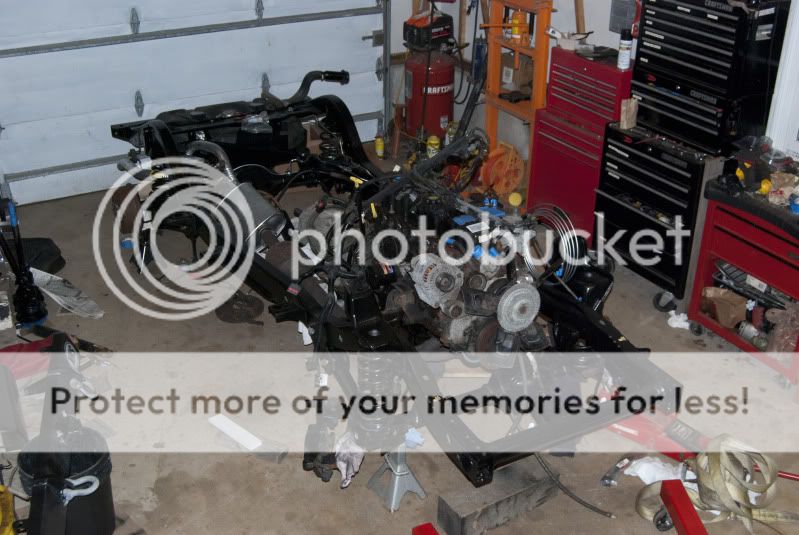
So, in went the Jeep, and out came the parts.
Please disregard those horrible seat covers.
My dad, while not completely unknowledgeable with how things work (despite all the times he says he doesn’t know and gets me to do things for him), didn’t really know too much about cars. Since he was more than happy to help (as he thankfully always is when I need help on cars) with the project (I should hope so, it is his Jeep after all), I figured it was a good time to teach him.