Dewidge
NAXJA Forum User
- Location
- Lakewood, Co
I've always considered doing that flip. Looks good!

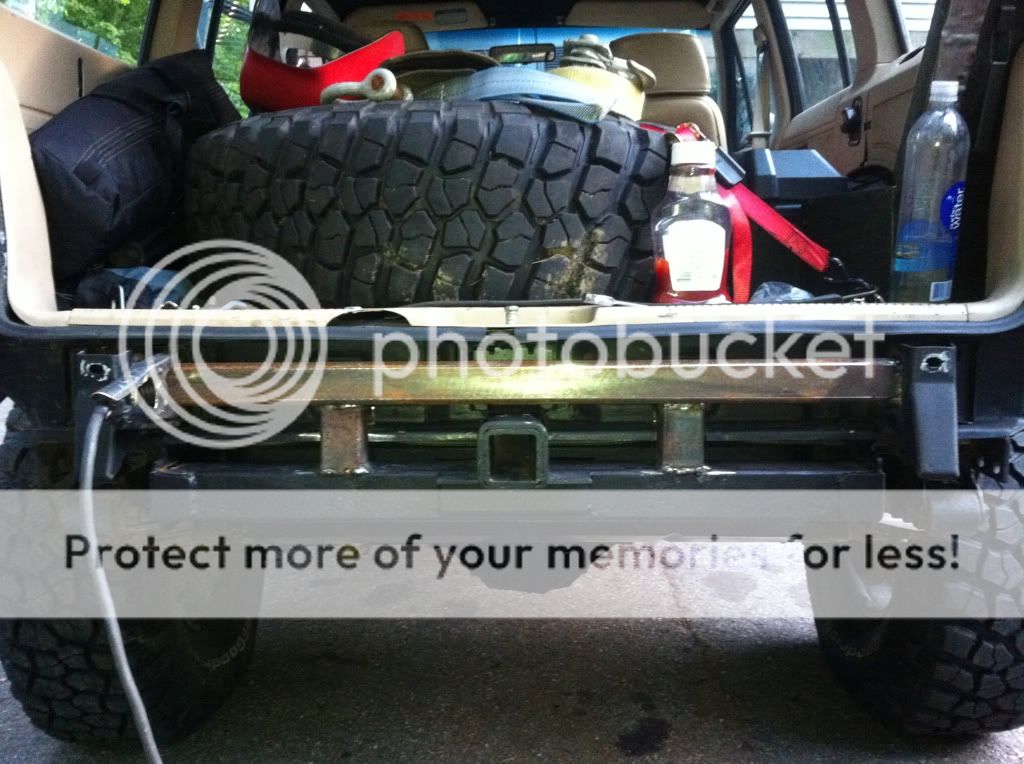
\Also didn't like how the new hitch was so far down on the back of the Jeep so I did a simple flip and cut the bumper some.


I like that tow hitch flip idea. Going to have to integrate that into my Detours tailbone as well.
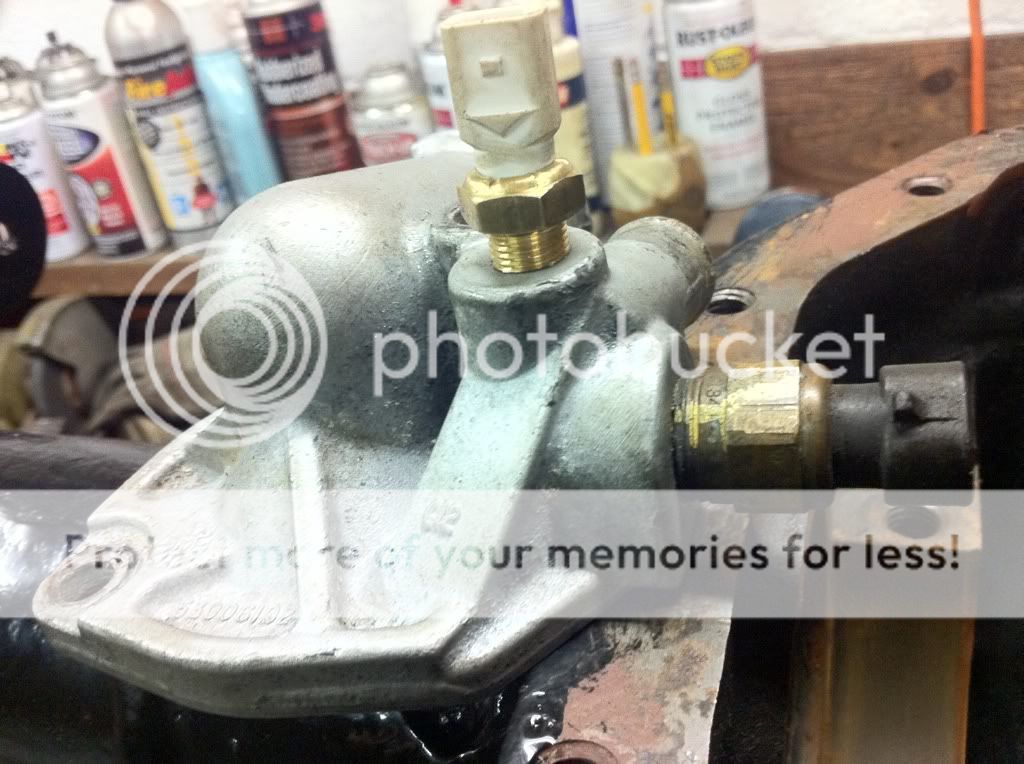
Nice to see someone running hydro assist on a D30. I've got all the parts in my garage to do it, just haven't started anything yet. I have a feeling I'm going to have trouble with the OTK heim steering and my Ruff Stuff cover kinda like you did. How did you solve that problem? I might just grind down some of the top part of the cover since it doesn't need to be that thick up high anyway.
Thanks guys I just wheeled it for 3 days straight and was more than happy how it performed!