• Welcome to the new NAXJA Forum! If your password does not work, please use "Forgot your password?" link on the log-in page. Please feel free to reach out to [email protected] if we can provide any assistance.

Narrowed front fascia

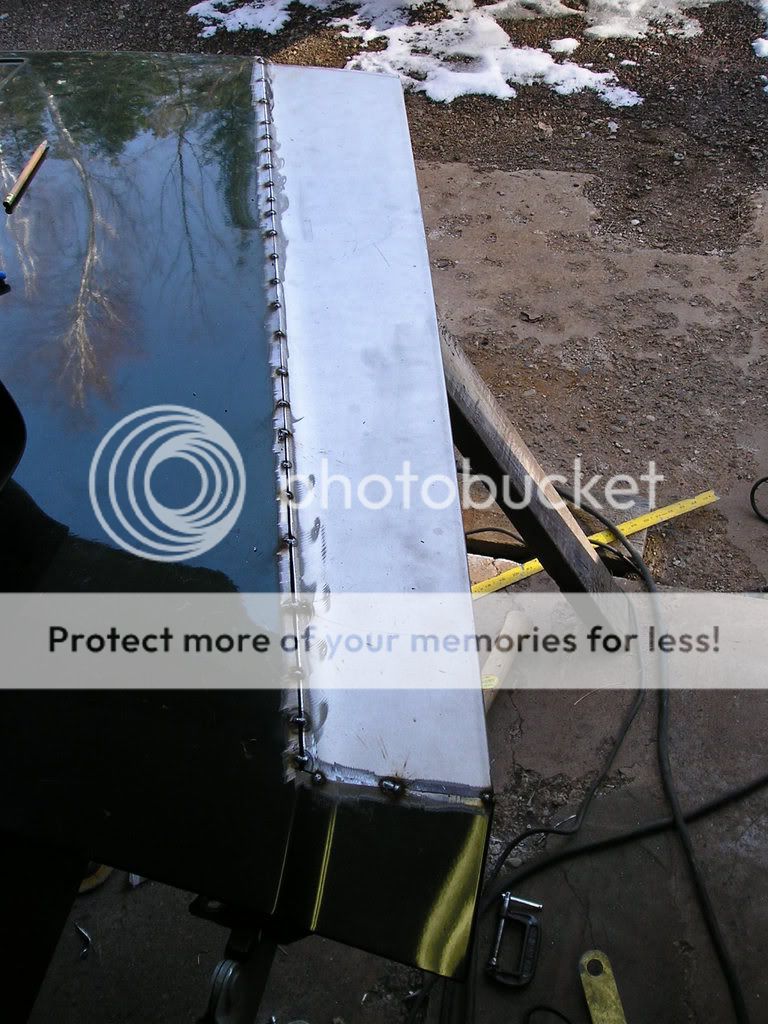
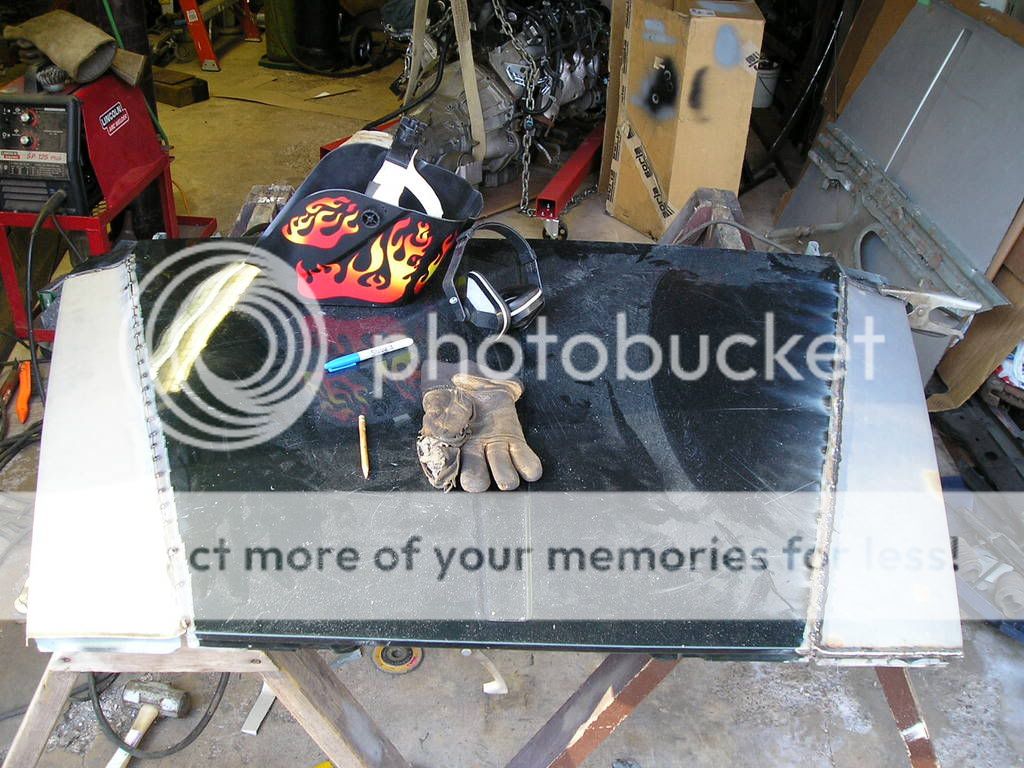
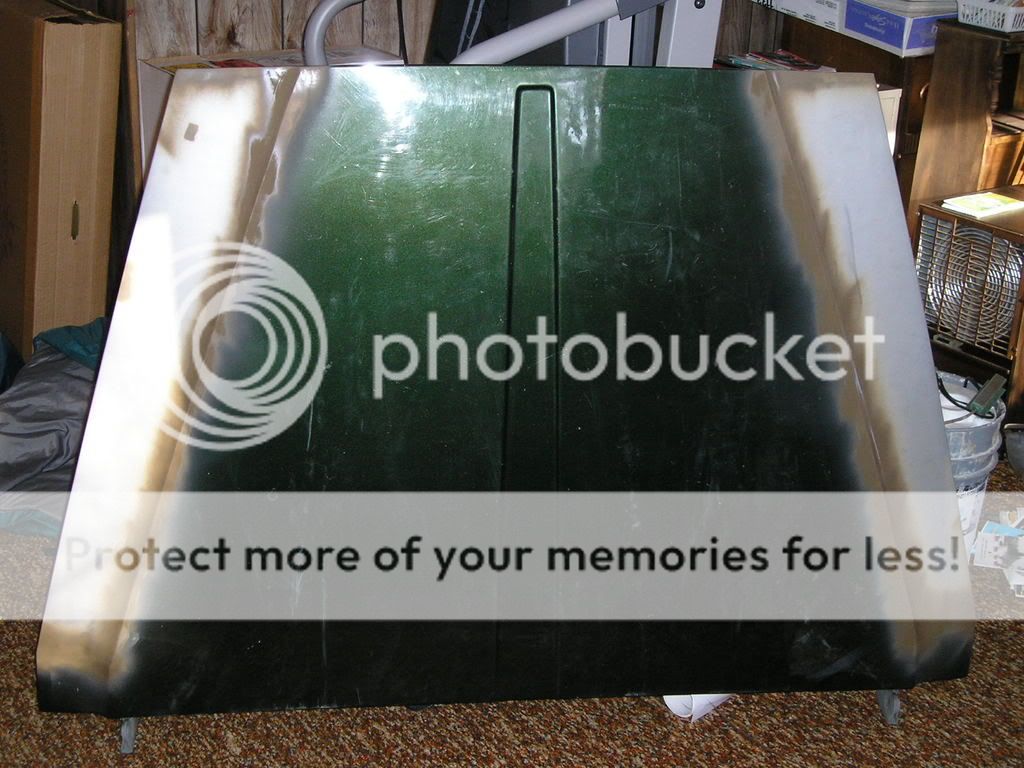
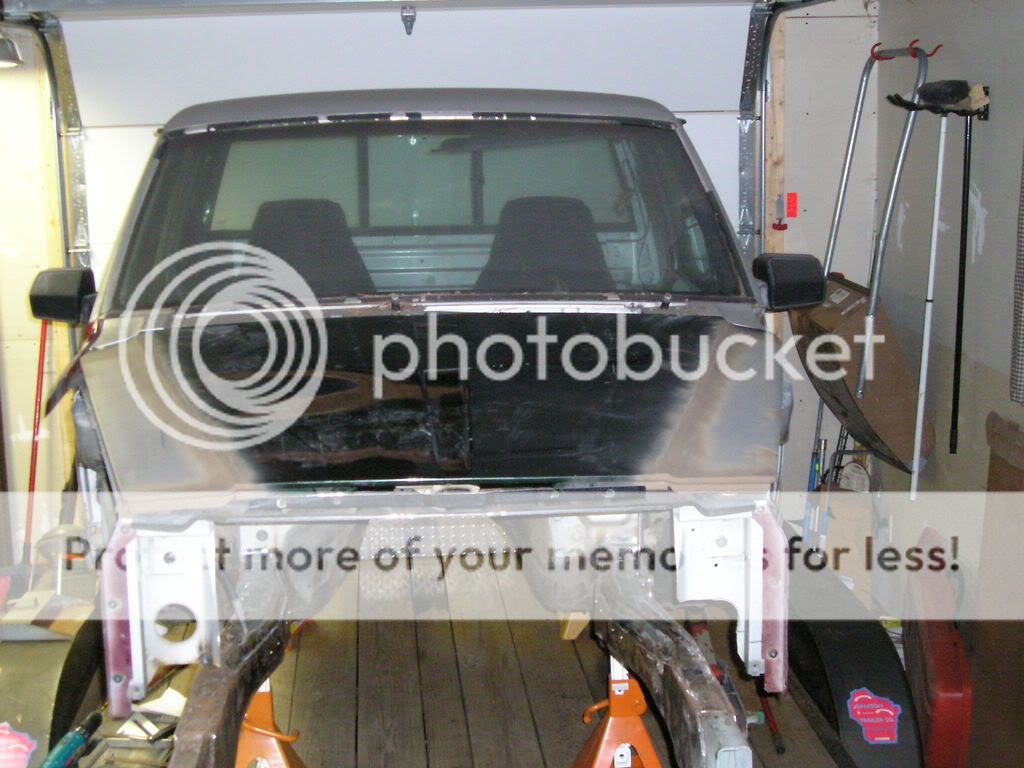
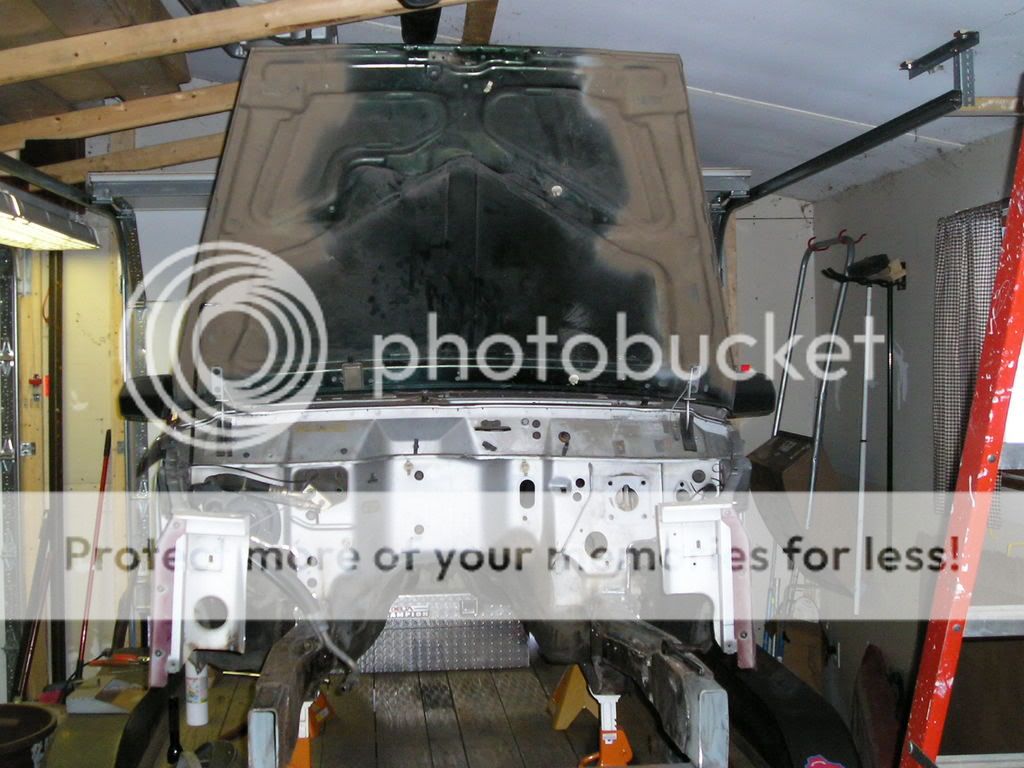
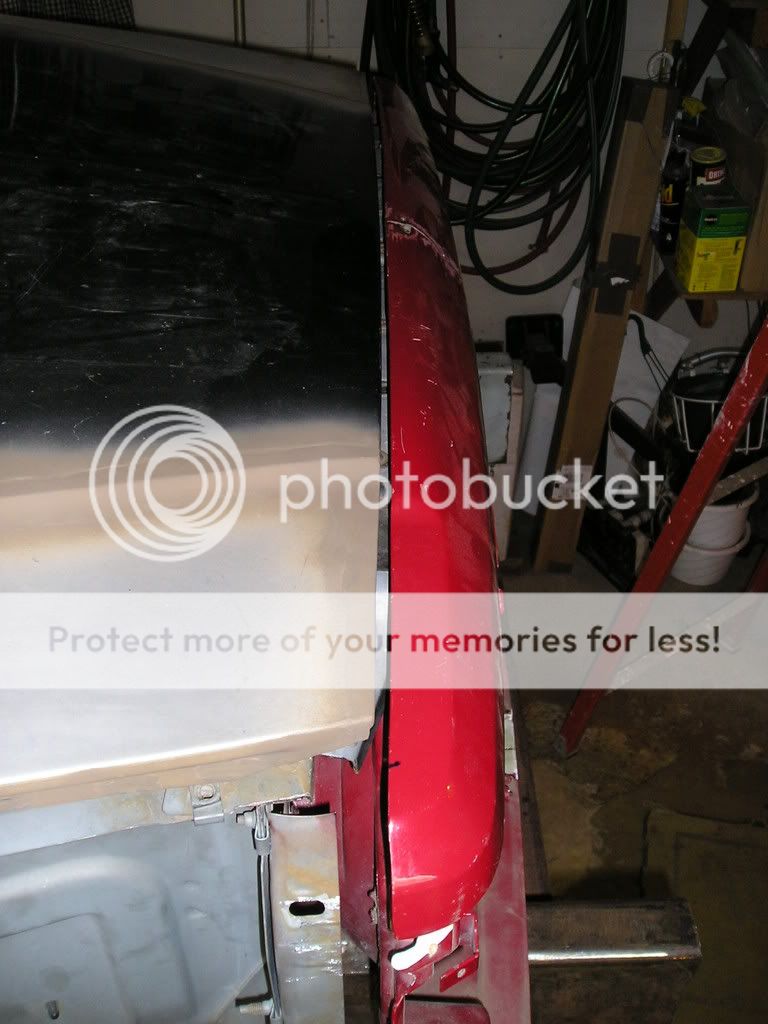
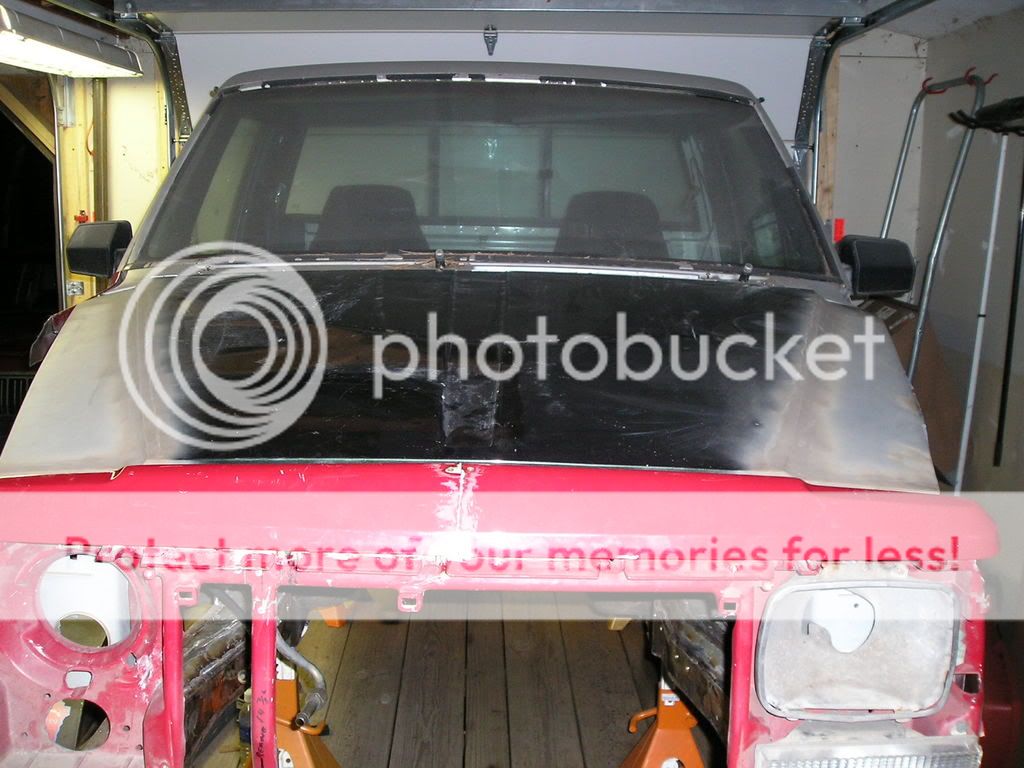
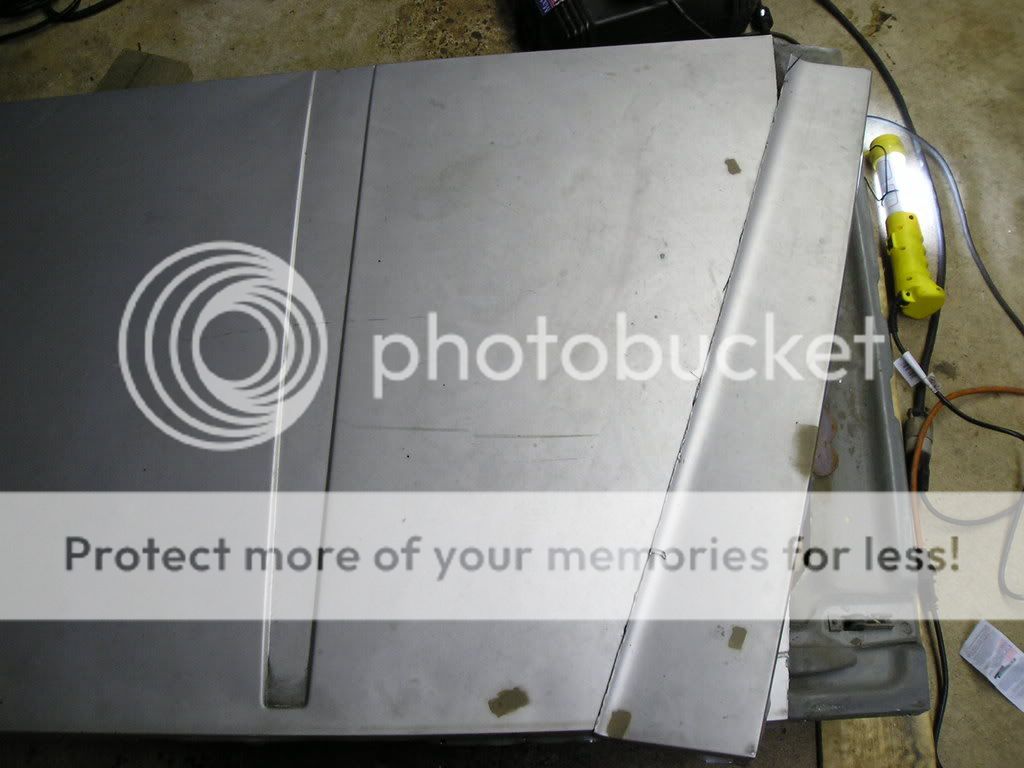
I played with hoods a little more the other night, so here are some shots.

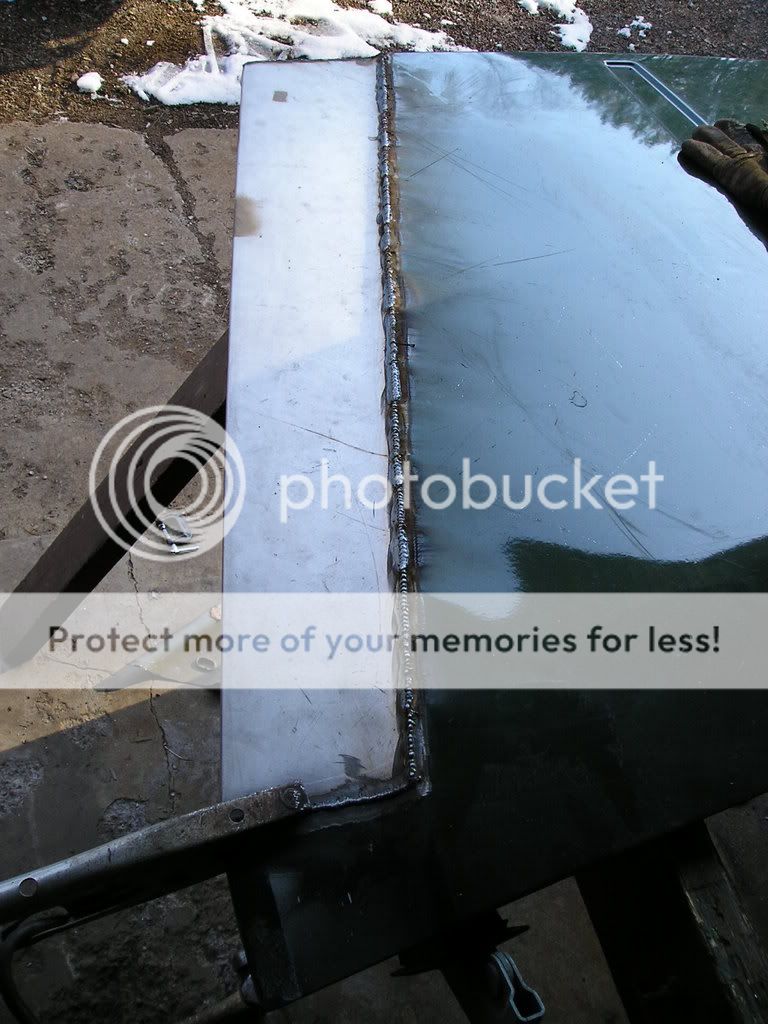
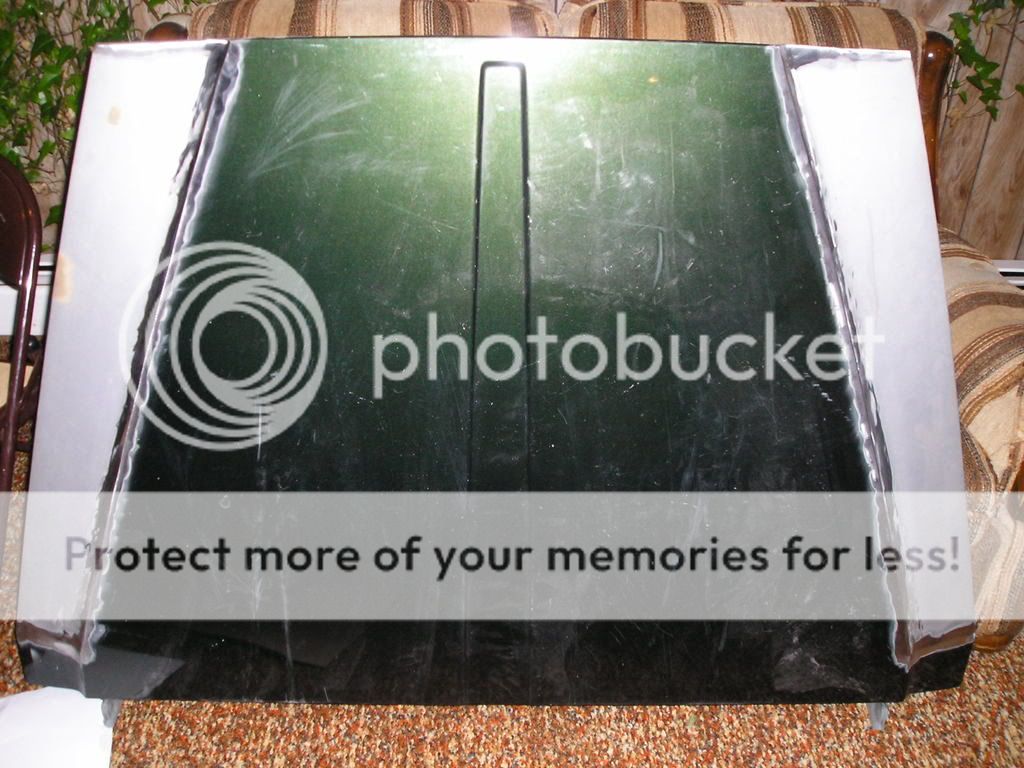
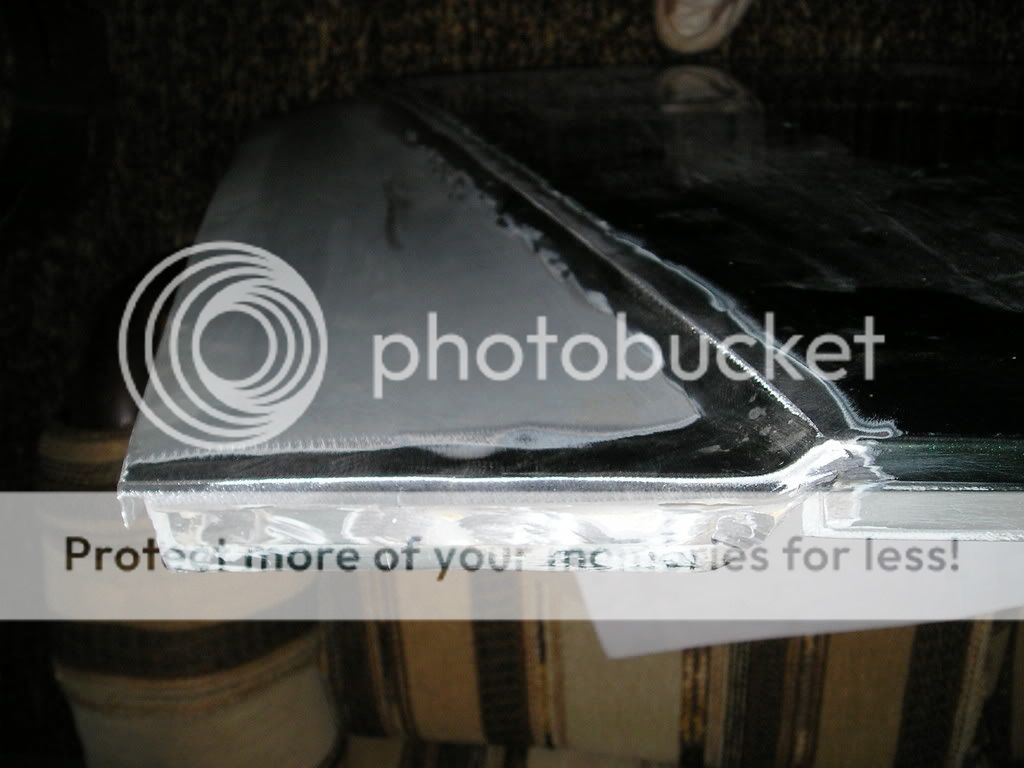
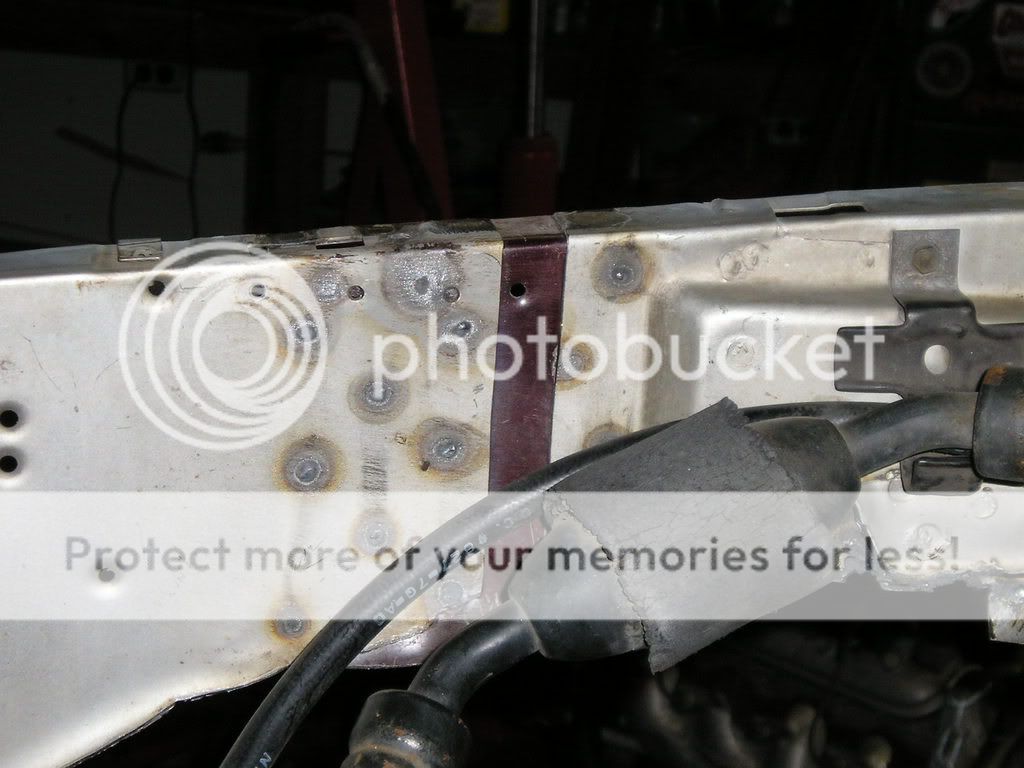
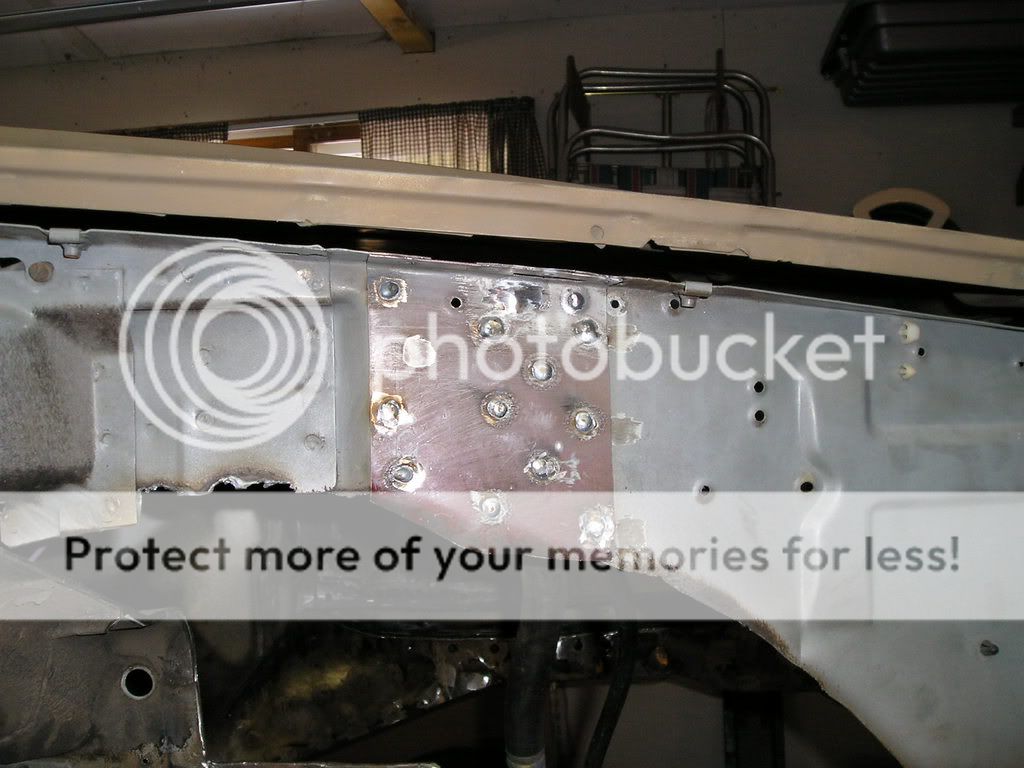
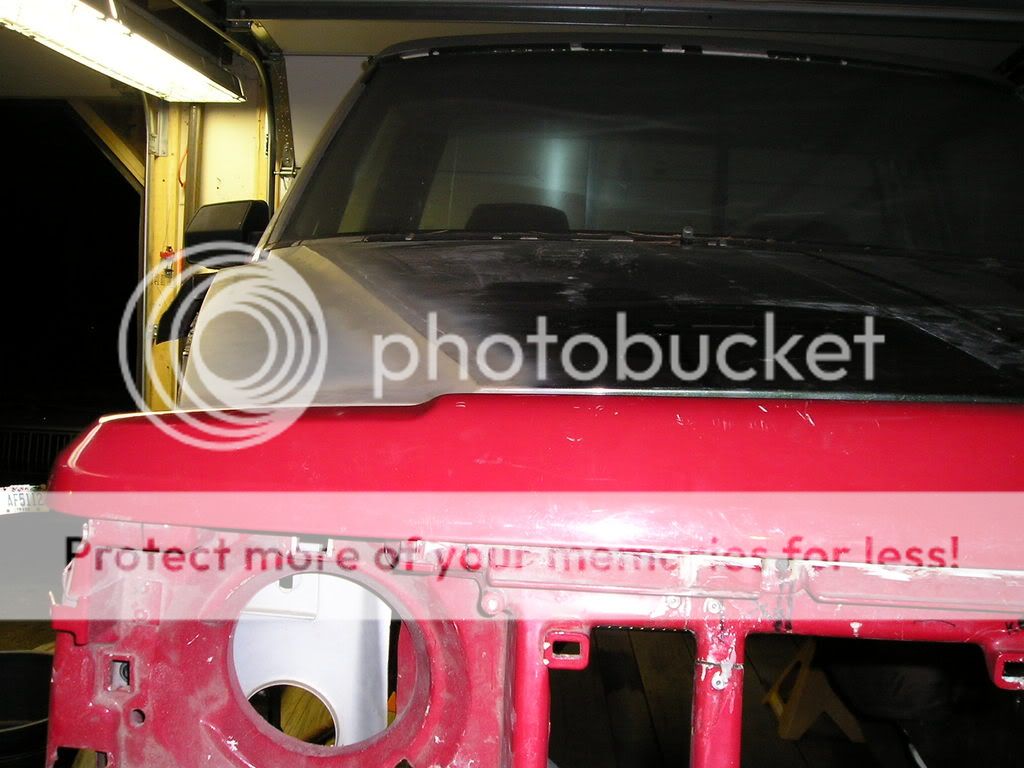
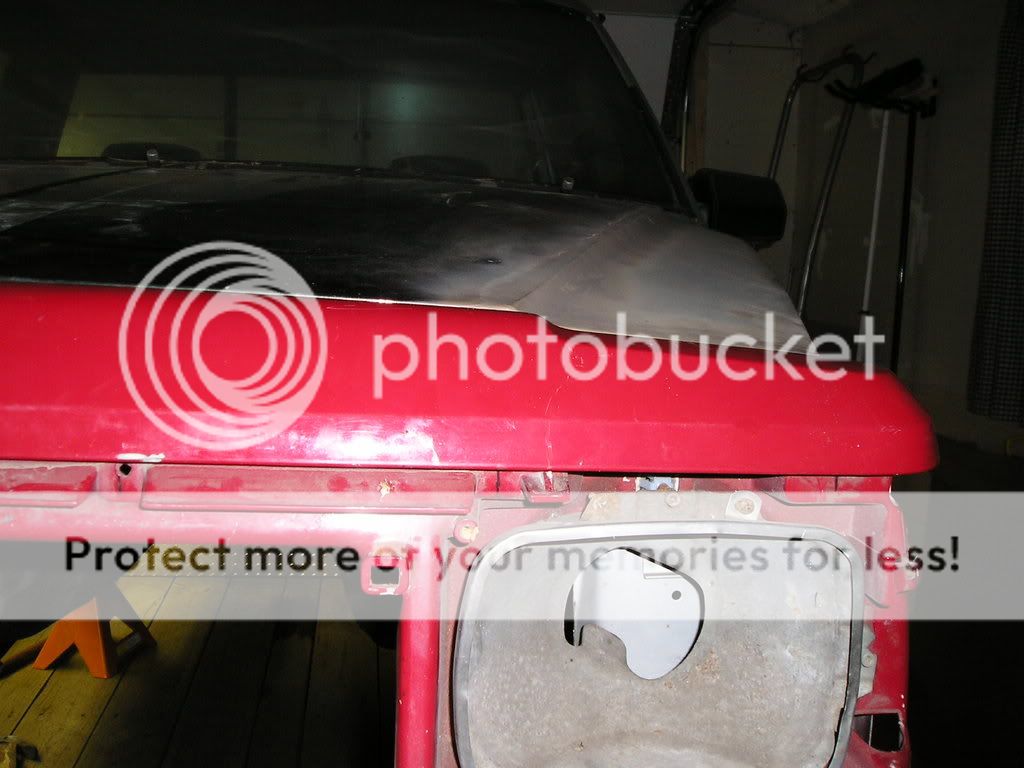
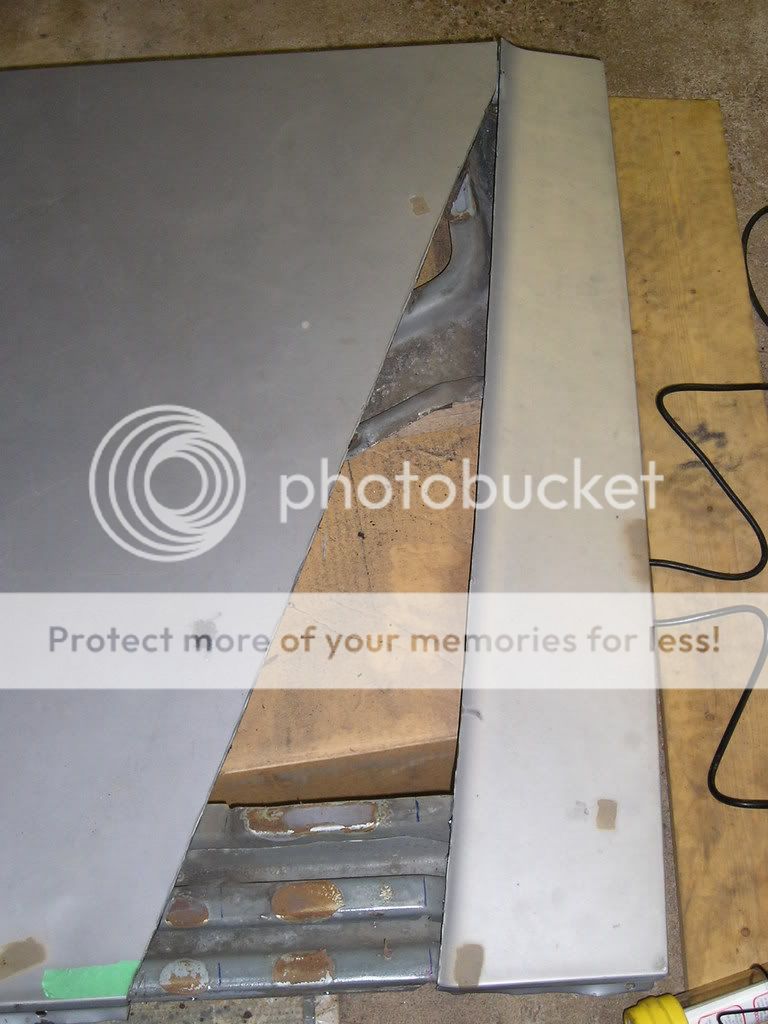
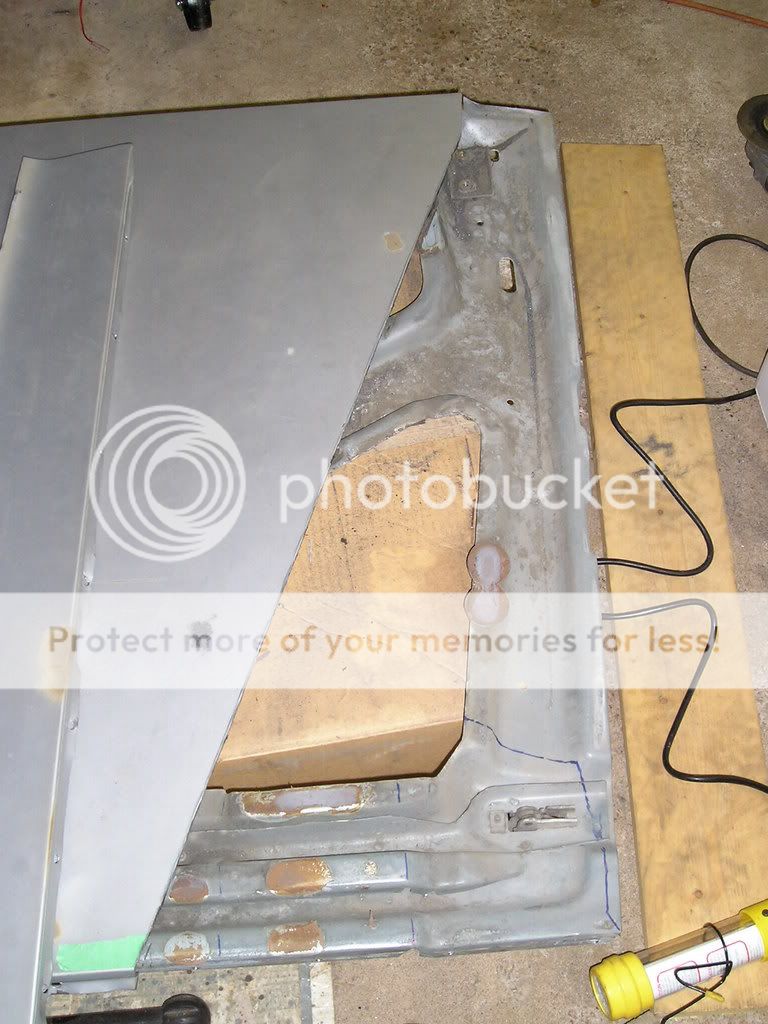
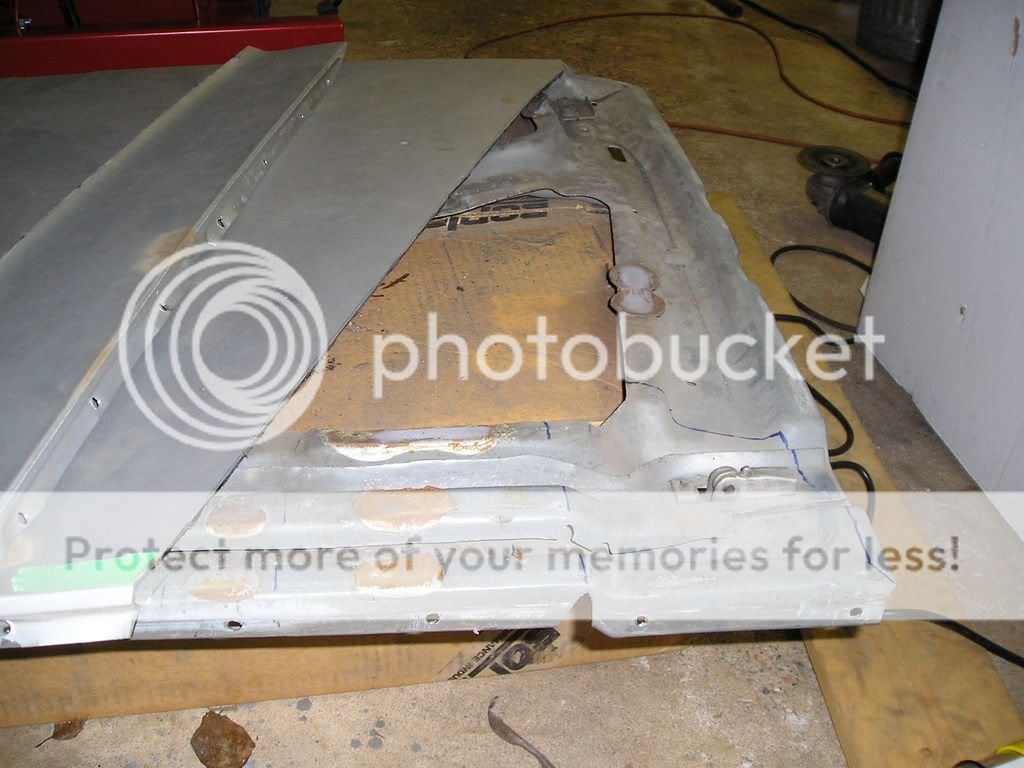
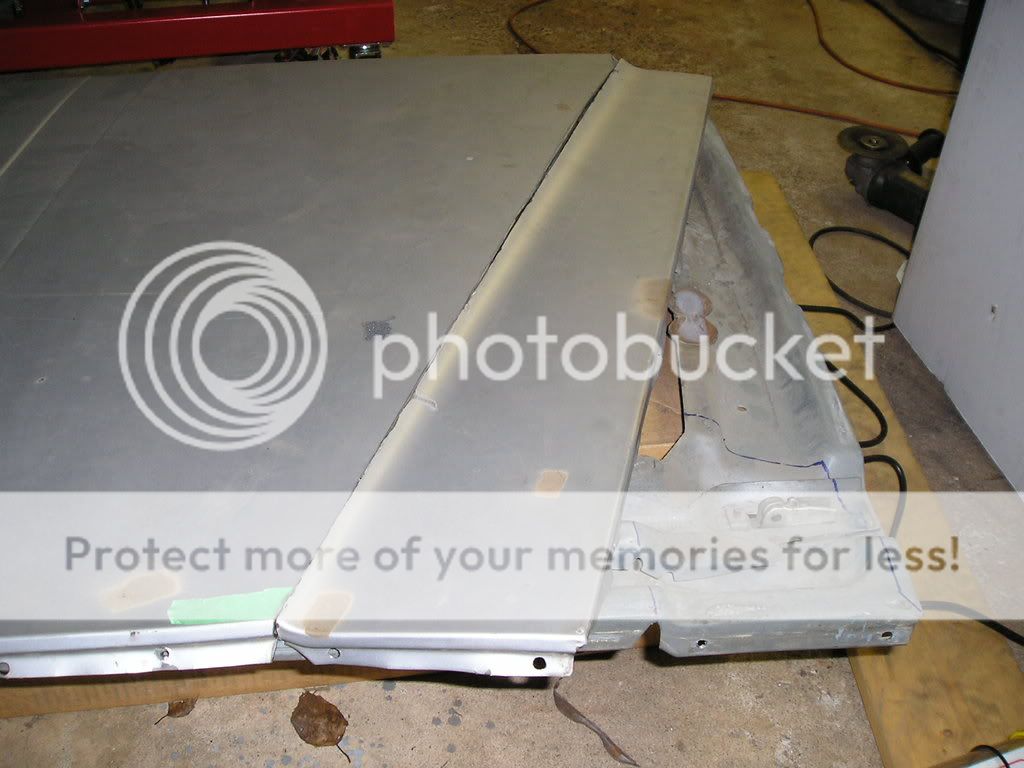
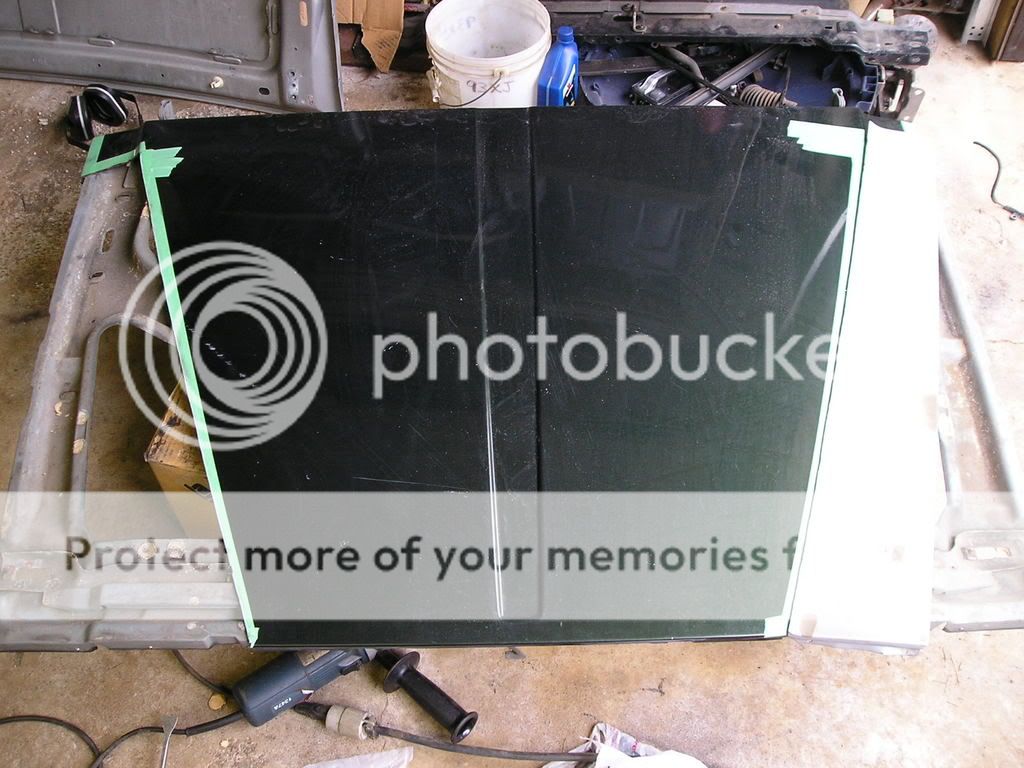
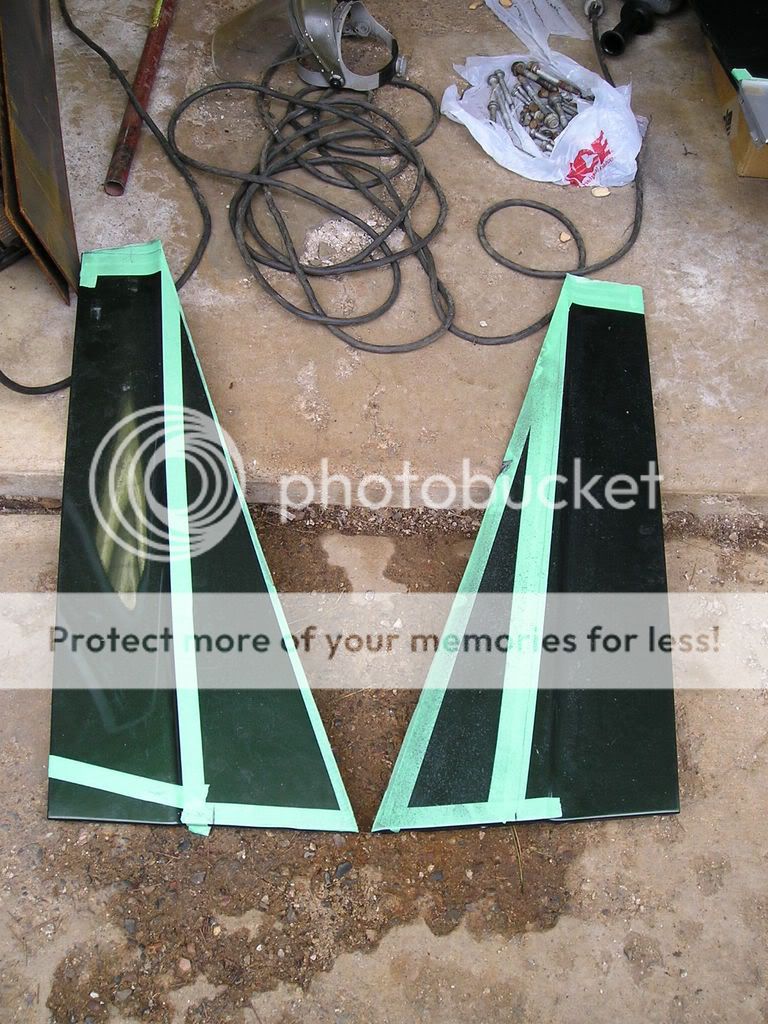
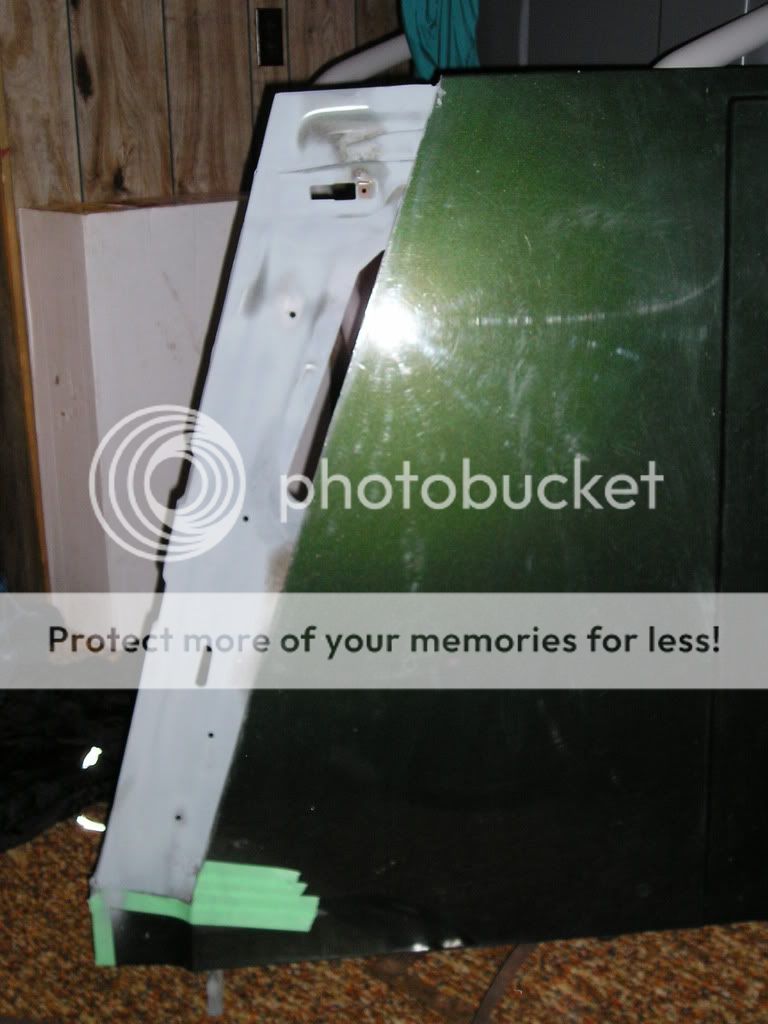
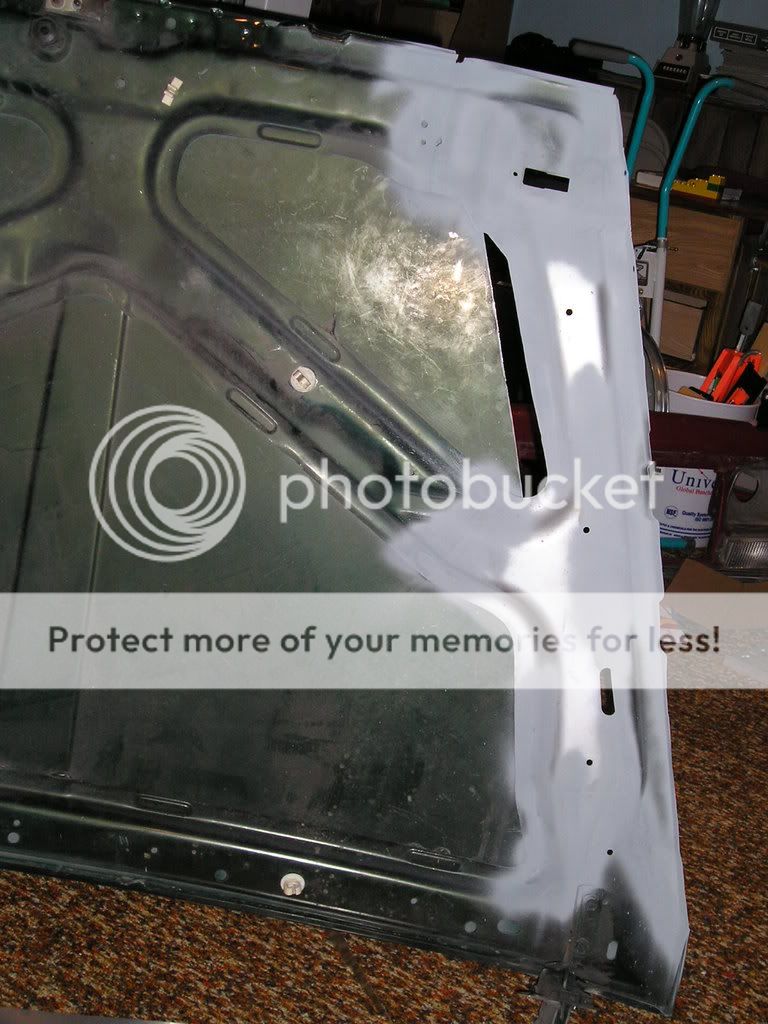
I ended up drilling out the spot welds and removed the section of hood I had cut.

P3300062.jpg


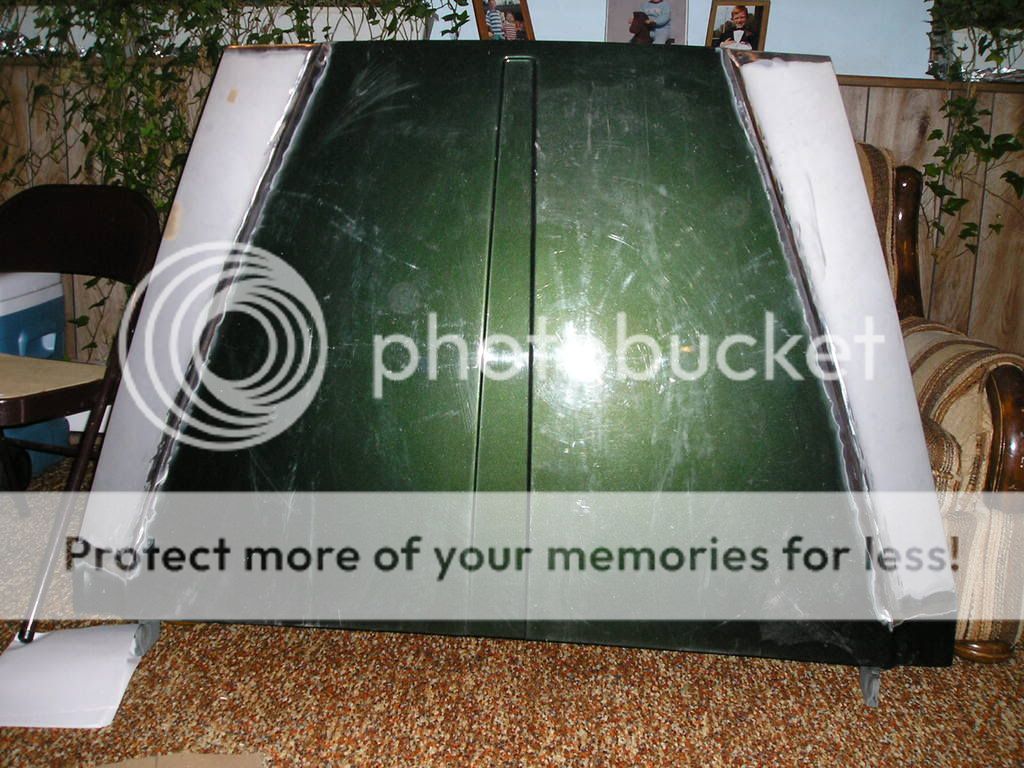
It should go something like this on the other hood:

P3300064.jpg


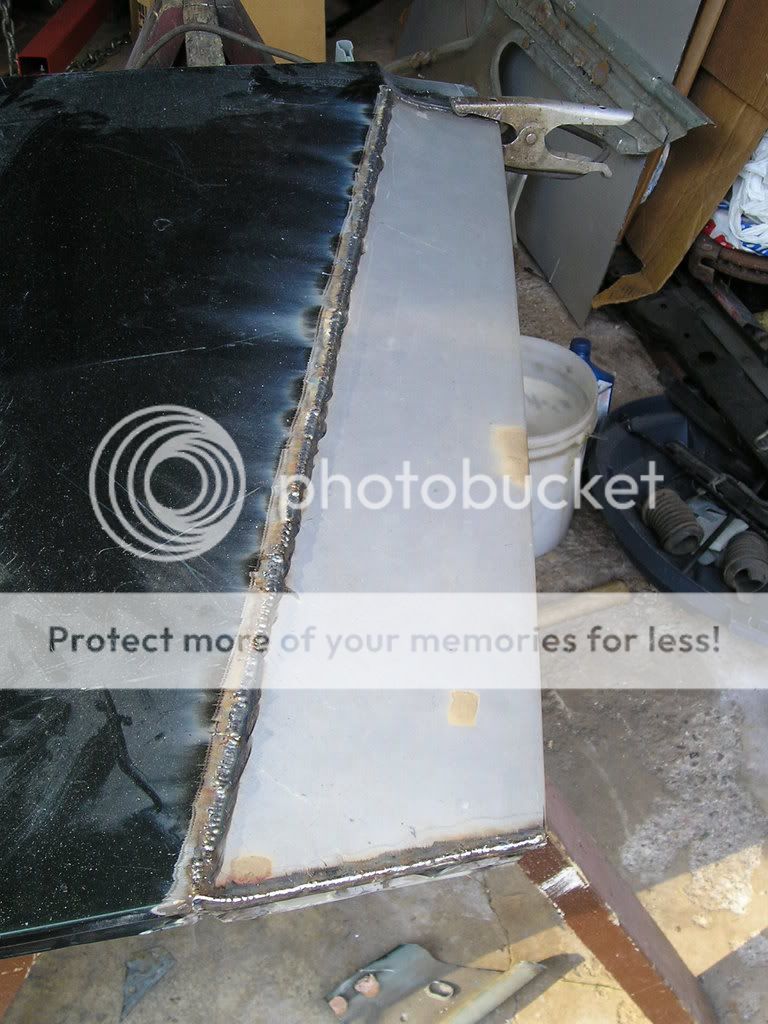
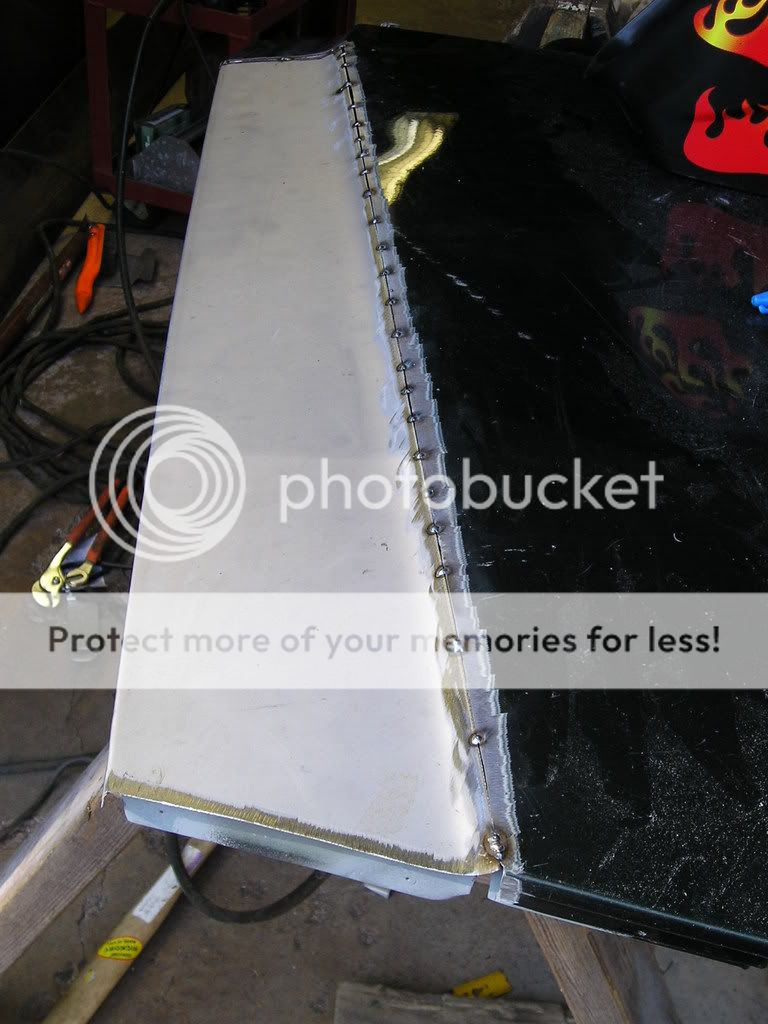
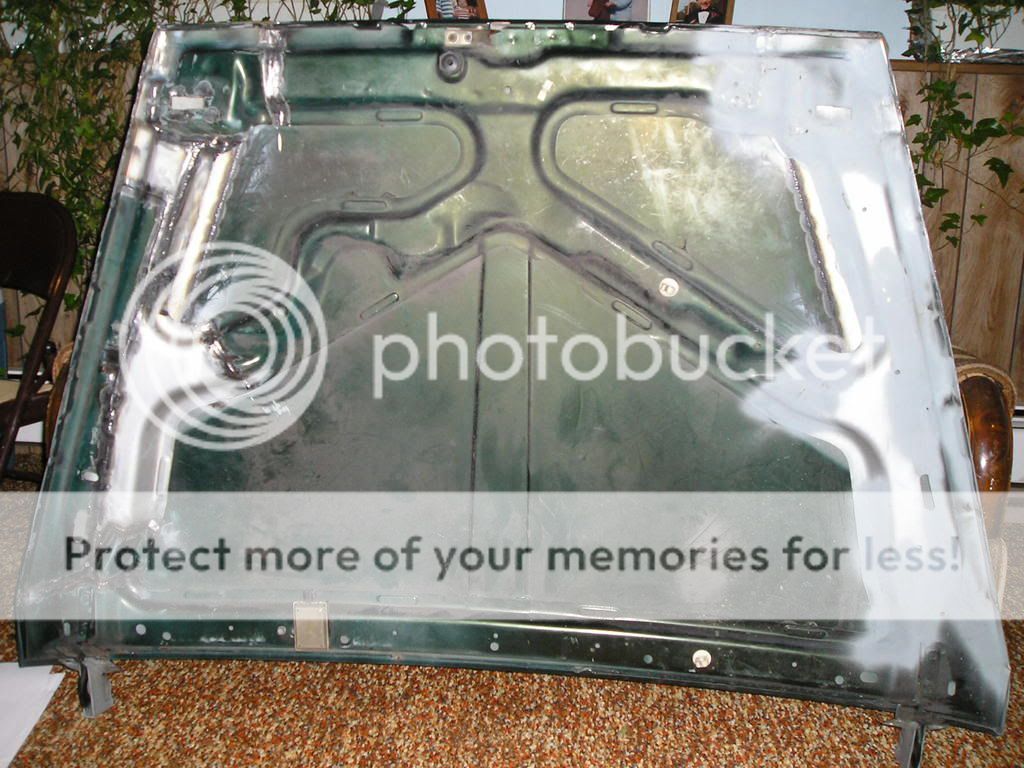
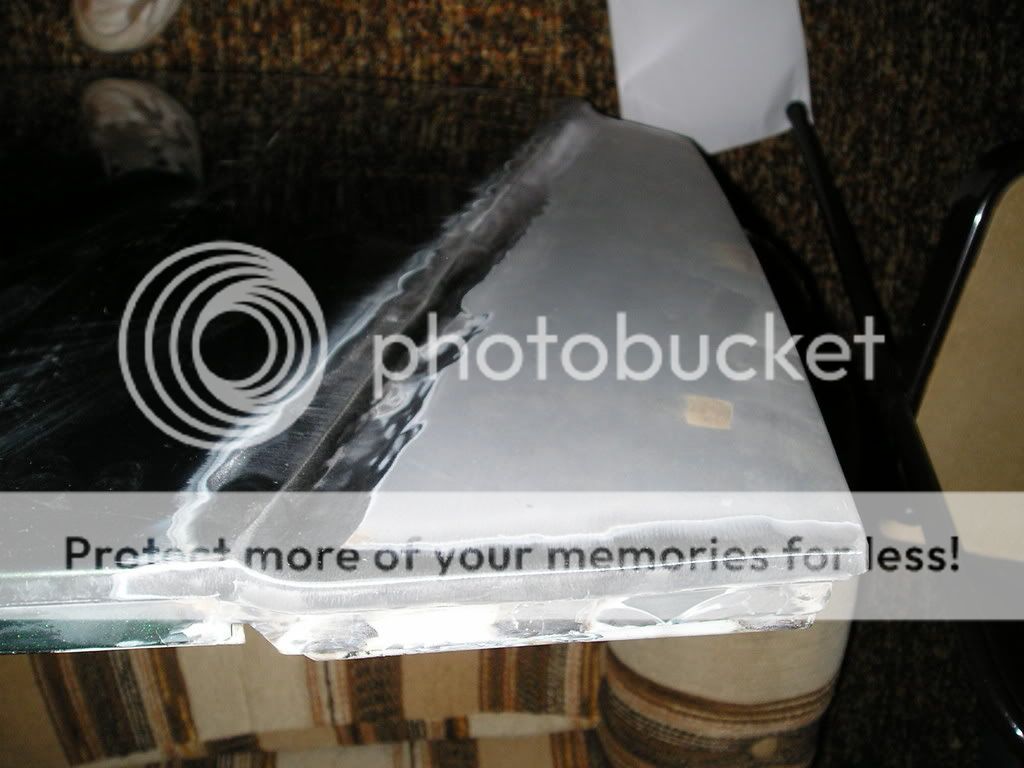
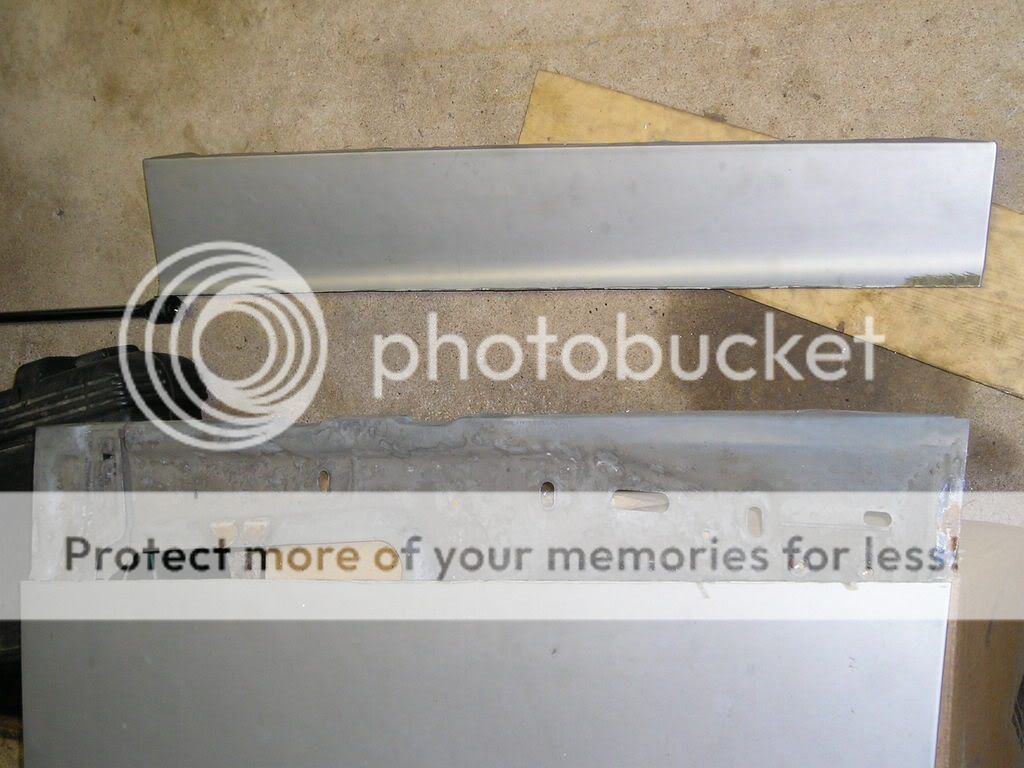
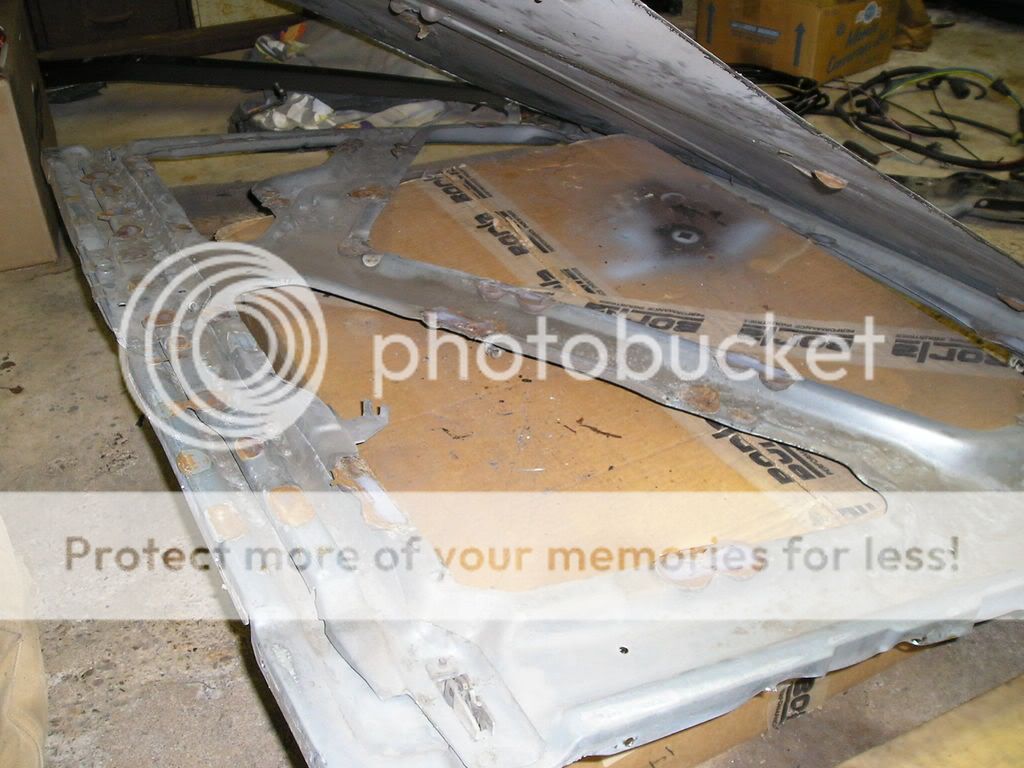
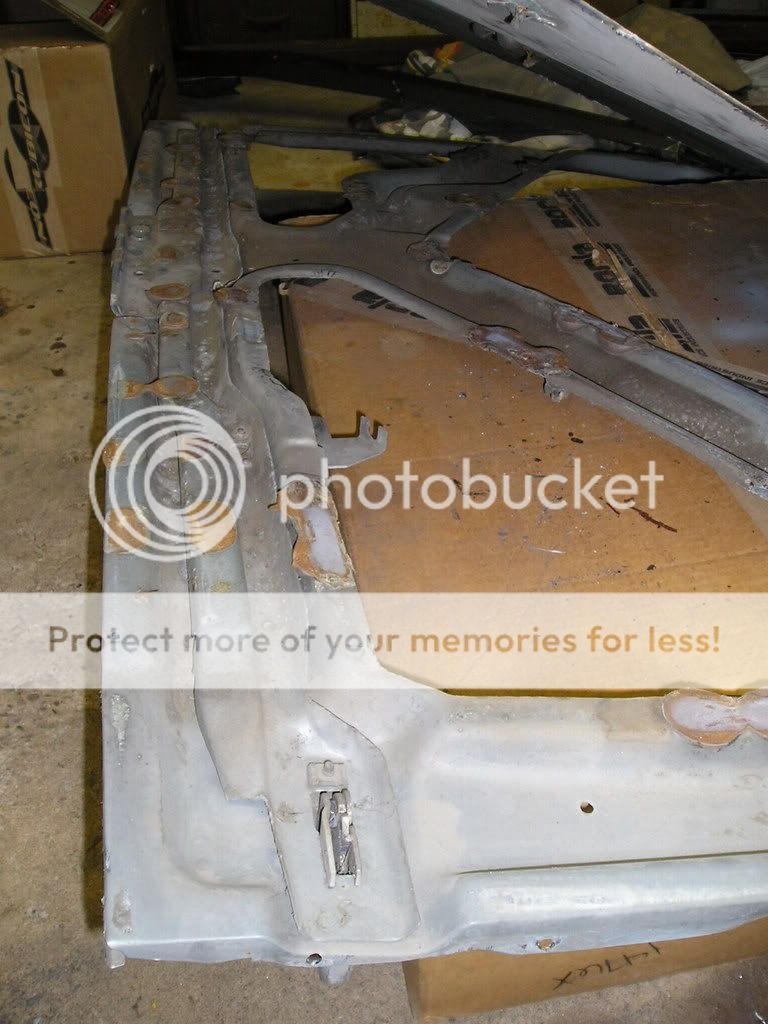
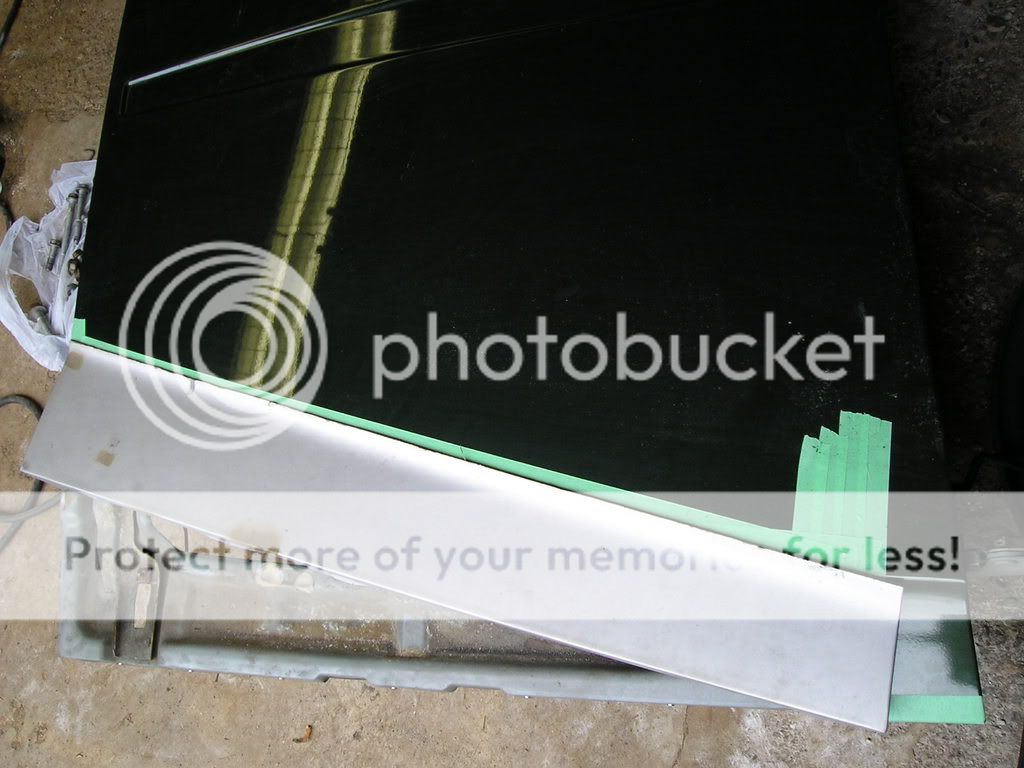
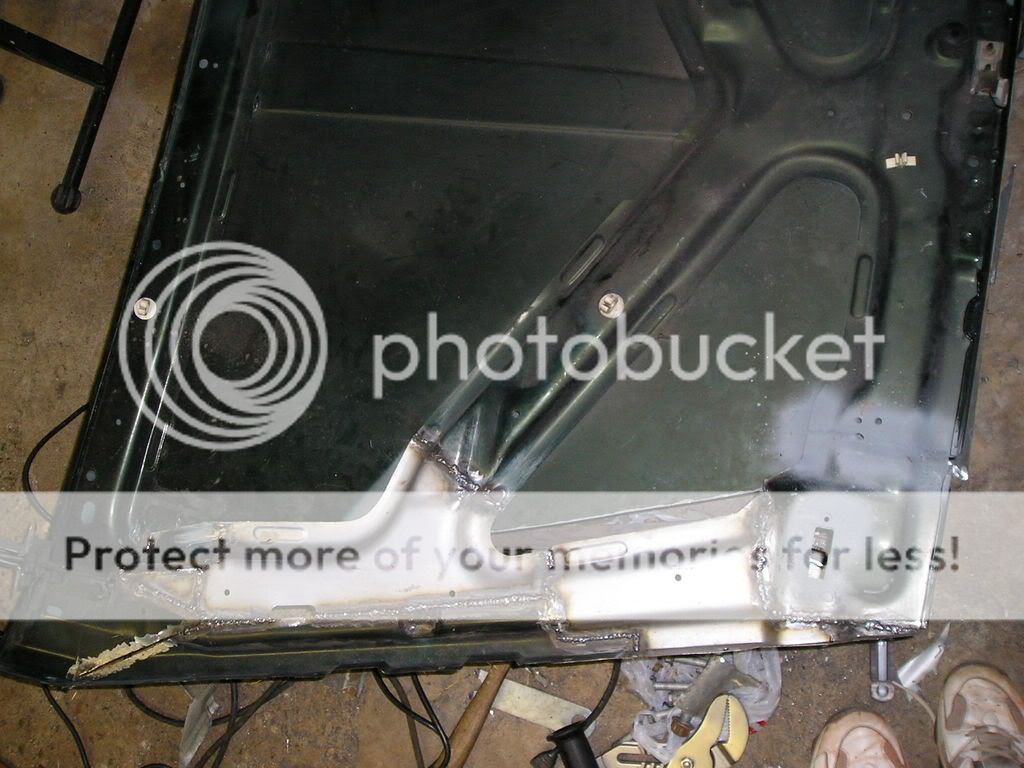
I drilled out the rest of the hood spot welds too but was having trouble getting the skin loose from the support where it was glued. I finally gave up. I did shoot a couple pics of the under hood support from above though.

P3300065.jpg


P3300066.jpg


Jeff
 
A couple more pics of hood work.

Trial cut

P4030079.jpg


Total amount needing to be removed from real hood.

P4030078.jpg


I need to narrow the support piece to fit the moved hood slice.

P4030074.jpg


Test fit

P4030076.jpg


Jeff
 
Last edited:
On to the radiator. Upon recommendation of my radiator guy I purchased a Northern radiator. http://www.northernfactory.com/HP/detail.asp?part=209606 I measured the space I had which was 28 3/16" wide x 19" or so high. So, I got a 28x19 radiator. However once I got it, I measured total width and height at 27 1/8" x 19 5/8" with a cooling area of 22 1/2" x 18 1/4" for a total of 410 square inches. xjbubba on here did a similar swap and he feels that cooling area for a v8 should be at least the cubes of the engine plus 50. So, my 5.3 is 323cu in plus 50 equals at least 373 sq in. According to xjbubba I should be good to go. Also, my radiator guy says this should cool the 5.3 easily. It's tanks are formed aluminum 3" thick. The fill neck is machined billet aluminum. The cores are two rows of 1" tubes. The cooling fin area is 2 1/4" thick. Cost was damn near $300!

P4010070.jpg


P4010069.jpg


P4010067.jpg


P4010068.jpg


Jeff
 
the lower hose outlet needs to come out straight from the rad. When you get everything in place give me a shout and i will give you the part number i used for the lower hose. The upper hose we used a stailess steel flixible hose to make all the goofy bend from the motor to the rad. You also need to add a port for the steam hose that comes from the motor under the upper hose connection.
 
Sponge Bob said:
the lower hose outlet needs to come out straight from the rad. When you get everything in place give me a shout and i will give you the part number i used for the lower hose. The upper hose we used a stailess steel flixible hose to make all the goofy bend from the motor to the rad. You also need to add a port for the steam hose that comes from the motor under the upper hose connection.

Thanks for that inf. I know it will be needed eventually. In fact, I don't really know what you mean about a steam hose. I was surprised the lower barb came out at an angle like that as well, but the radiator guy said most chevy radiators do because thats how the stock units worked. Why exactly does it need to come out straight? I suppose I'll find out soon enough as I've got the engine bolted to the tranny and should try fitting it in place soon. I may continue plating the frame rails before I drop the hulk to the floor to make getting the engine/tranny in easier though, so it could be awhile. Oh, I don't have a solid plan for mounting the radiator other than to cradle it with rubber at the top and bottom of each tank to core joint. The top will be the stock radiator support with some rubber in the right spots and the bottom will be something I fab up. Jeff
 
My Howe radiator also has the lower tube slanted inward. Good and bad! Good: it helps clear the frame--but my rad is inset in the passenger side rail, so clearance was an issue. Bad: the intake to the water pump is very close to the rad output, making it difficult to get a fair lead from the rad to the water pump; however, it was doable.
 
the steam hose that is 3/8 comes from under the throtle body out towards the pass side and needs to be routed to the driver side of rad. I will get pics for you when i can. Lower rad hose you will see when you mock it up in place.
 
Back to hood work. Here is the second hood with the wedges that I calculated needed to be cut.

P4060080.jpg


P4060082.jpg


Here is the slice of the silver hood set on the green hood as it will end up eventually.

P4060081.jpg


After a LOT of cutting, grinding, fitting and crappy welding I created Frankenhood inner support.

P4060095.jpg


P4060096.jpg


If you want more detailed pics, you'll have to look at the full album:

http://s193.photobucket.com/albums/z94/fourliter/Narrowed MJ front end/

I think Richard was right about this being an incredibly tedius process!!!!
 
Jeff, as usual, your work looks really good. You really gotta wanna keep that stock looking narrowed hood. :D


Oct is coming................. :)
 
It's done. Finally. :)

Below is the right side tacked in place.
P4130121.jpg


Below is the left side welded in place.
P4130122.jpg


Below is left side from the front.
P4130123.jpg


Below is the right side tacked in place.
P4130124.jpg


Below is the whole hood in progress.
P4130126.jpg


Below is the finished hood cleaned up with a flap wheel.
P4130127.jpg


P4130128.jpg


Below is underside.
P4130129.jpg


Below is right side front cleaned up.
P4130130.jpg


Below is left side front cleaned up.
P4130131.jpg


Below is the hood primered.
P4140132.jpg


Now for the bad part. The hood looks great, but doesn't match up with the narrowed fascia all that great. The fascia got more rounded across the top as I narrowed it the way I did. The hood is still fairly flat after narrowing the way I did. When you put them together, it's not that great of a match. It'll do though. Jeff
 
too late now but i wonder if you needed to take some out of the middle to help with the fitment of the fascia. I give you an A+ for effort Looks good.
:cheers:
 
Jeff 98XJ WI said:
It's done. Finally. :)
Below is the hood primered.
P4140132.jpg


Now for the bad part. The hood looks great, but doesn't match up with the narrowed fascia all that great. The fascia got more rounded across the top as I narrowed it the way I did. The hood is still fairly flat after narrowing the way I did. When you put them together, it's not that great of a match. It'll do though. Jeff

You could maybe ue some heat on the supports and some cold water to shink it to gain some curve. Maybe a 55 gallon drum could be used to support the hood and be able to roll it back and forth on it to gain some curve also.

Knowing you it's fitment is as good as stock but that just not good enough for you.

Keep up the good work. If you ever decide to extend the cab let me know We will be parting out a few more MJ's and XJ's. You know you want the room. I'm going to love not hitting my head on the door frame when watching the wheel and slowly dropping off an ledge. The extra 9" of room will be great.

I'm swapping in 64" Chevy springs to gain 8" of wheelbase ans redrill the spring mount to get 1" more if needed. That way the back of the cab to the centerline of the rear axle the same and the bed/box will be bobbed or end right at the end of the frame rail. That's a 9" box bob.
 
I just have to say again how great that looks. Sweet fab work.:thumbup:
 
Thanks for the kind words guys. Here's a trial fit on the Jeep. Fits fine.

P4140137.jpg


Here's where it really shines. Stock hood prop still works fine. Stock hinges work fine. I expect the stock latches to work fine too.

P4150139.jpg


Jeff
 
Below is the hood to fascia junction. You can see how the ends of the hood sit above the fascia while the center is at or below the fascia. I think I'm going to try bending the hood to match better. We'll see how that turns out. I hope I don't mess it up worse than it sits now!

P4160140.jpg


I had to extend what's left of the inner fenders 3/4" forward to place the fascia just in front of the hood for and aft.

P4160146.jpg


P4160143.jpg


P4160141.jpg


Jeff
 
Jeff 98XJ WI said:
Below is the hood to fascia junction. You can see how the ends of the hood sit above the fascia while the center is at or below the fascia. I think I'm going to try bending the hood to match better. We'll see how that turns out. I hope I don't mess it up worse than it sits now!

P4160140.jpg


Jeff

Personally I would rework the fascia to match the hood. It should be pretty easy to add and remove some fiberglass ti make it look great. The hood looks so good I would leave it and rework the fascia. When the fascia is done nobdy would notice to slight reformin need to match.

How is the fender height compared to the hood? That might make the decision on which parts needs to be worked on.
 
I would put a 4x4 peice of wood in betwwen the hood and core support and apply pressure to both sides at once to get the curve you need. It should not take much. Did you caulk the hood skin to the braces yet? If not then maybe while holding in place you can do that to hold the form and a little tack weld under the hood skin to a brace might work also.
 
Fixed!
P4180152.jpg


P4180151.jpg


P4180150.jpg


I welded 1/8" tabs to either edge of the hood, connected a chain between them and put a jack in the middle. After a couple pumps I had bent the whole front of the hood! I had to move the tabs a couple times and partially cut a couple of the seams open, but as you can see, I got it to line up pretty good! BTW, I could NOT adjust anything with my weight only. I had to use the jack.

BTW, if you notice, there is a small portion of the fascia that doesn't match the crease in the hood. That's from having to cut the hood slice that I welded in at an angle. The only way around that would have been to cut the whole edge off, trim the outer edge of the slice and weld the edge back on. I may have done that if I had thought of it ahead of time. I'm not messing with it now though! I could work on the fascia to match it up too, but I think I'm going to leave it as it is...at least for now. Jeff
 
Last edited:
Back
Top