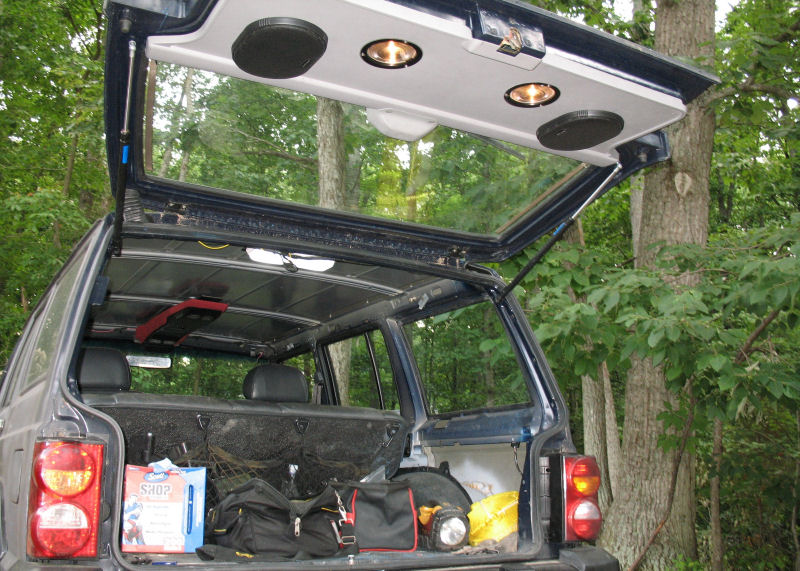
I've gotten the thing put back together. Overall it's a better beater now, since there are so many repairs and improvements that have been made. The only disappointment is the paint. Some of the fixes: the doors don't rattle and buzz any more after replacing the rivets with screws and rubber washers, the door checks and other hardware were replaced or repaired, the torn fender was repaired, the fender flares and hardware were replaced (but see below), the cracked header and hatch were replaced, most of the dents were filled, the rust holes in the quarterpanel and doors are fixed, etc.
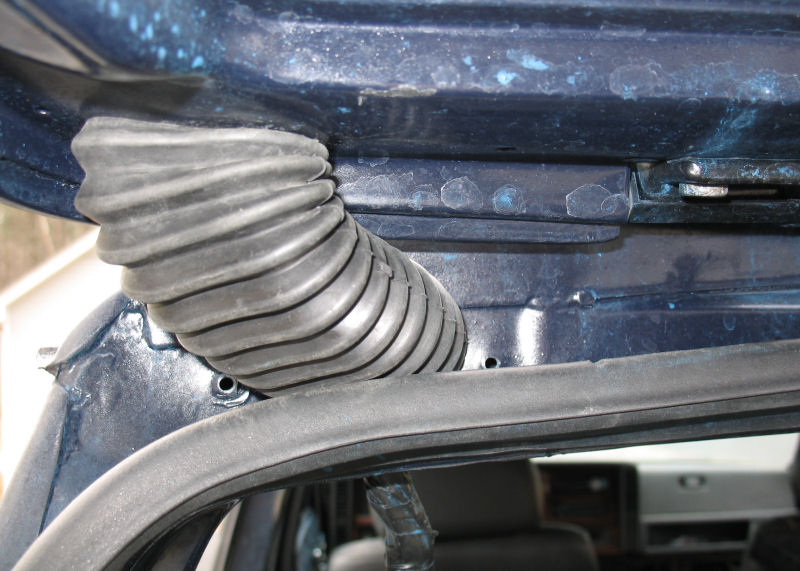
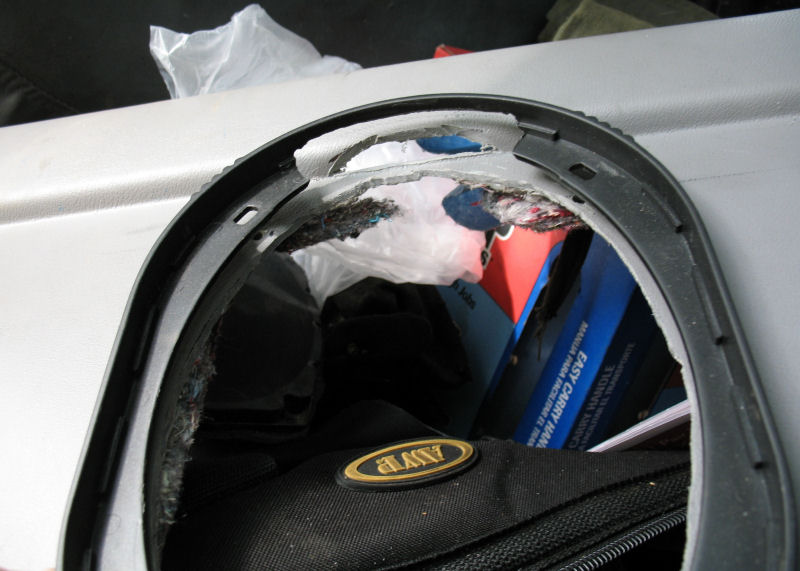
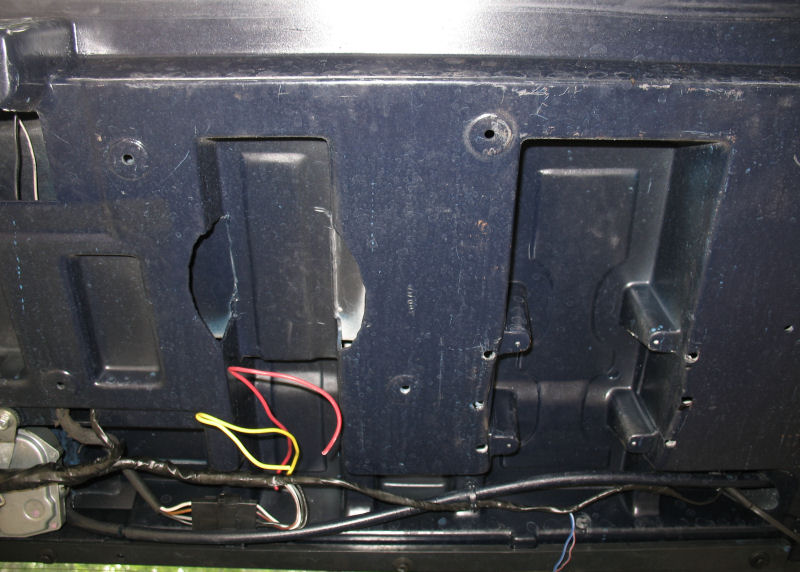
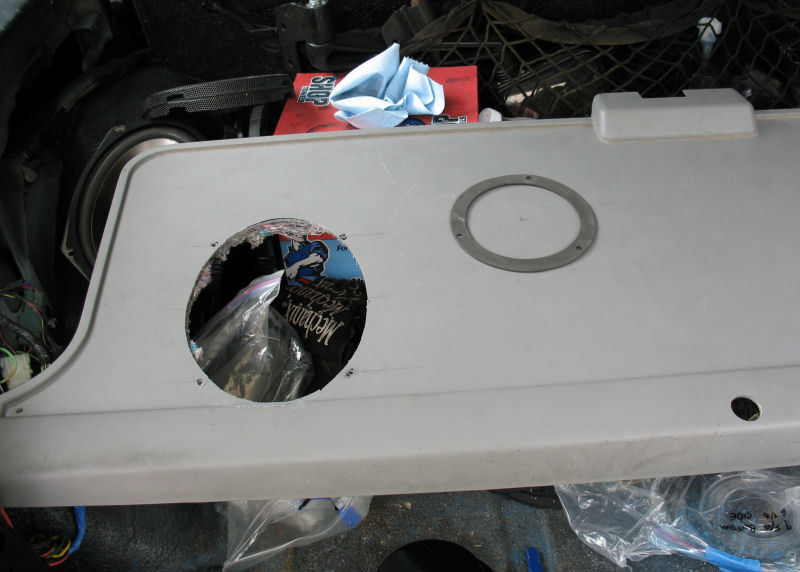
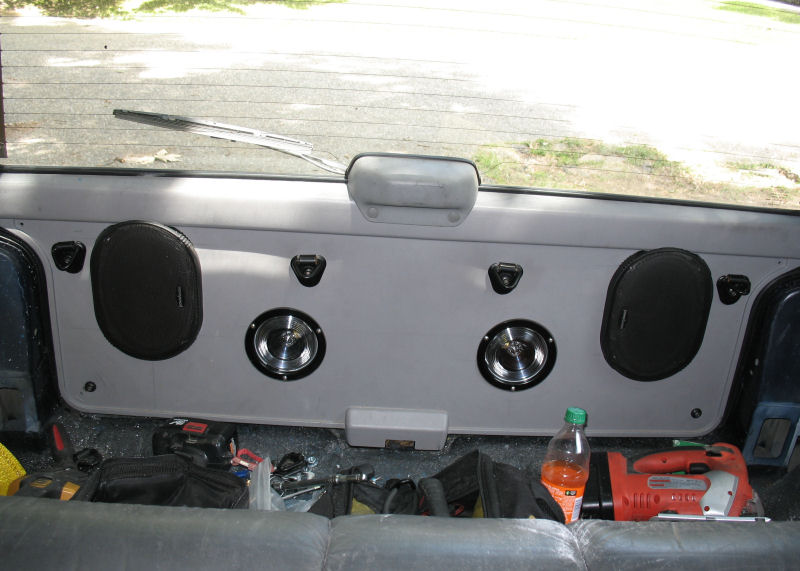
As I wrote before, I am adding a bunch of crap to the replacement hatch, and needed to run more wires. I could not reuse the stock wiring loom, so I enlarged the hole to hold a door bootie and ran the wires through that. Here are some pics of the bootie installed. Since it is in there pretty tight and the body side has the plastic trim piece over it, the thing should not leak, but we'll see how it goes after the next good rain.
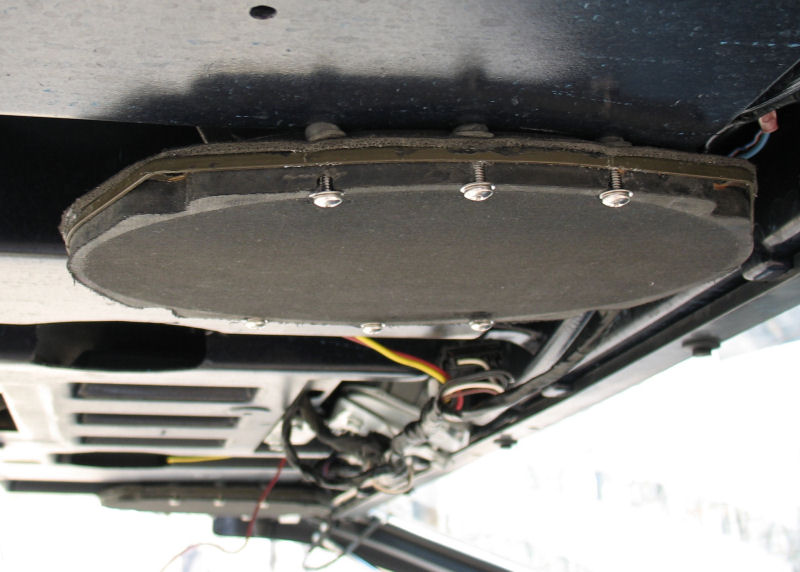
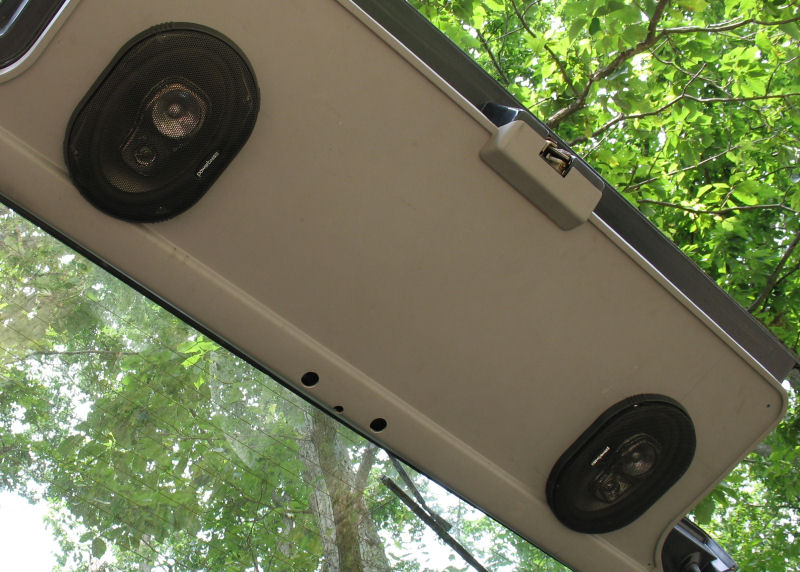
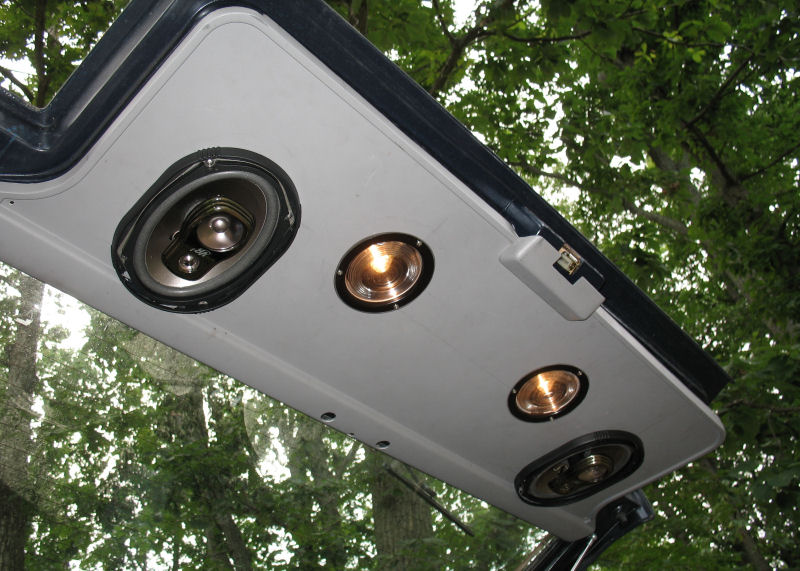
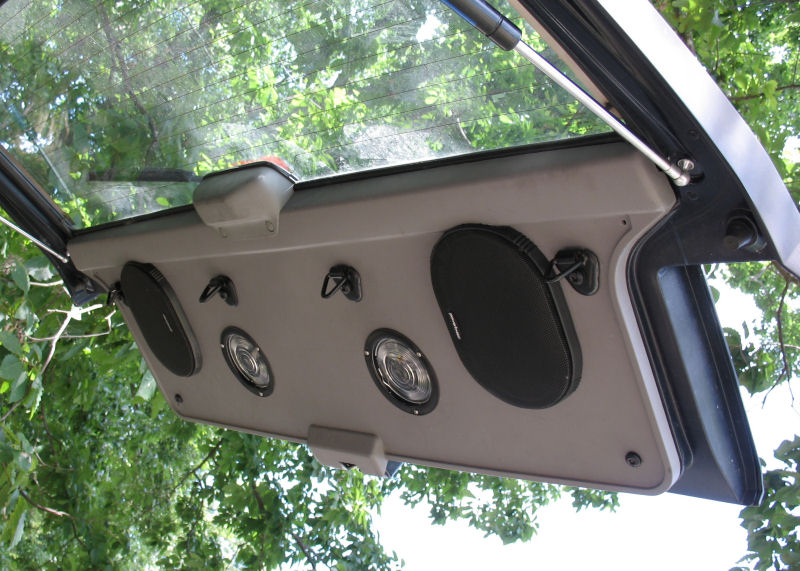
The 6x9 speakers are already installed in the hatch. Here is a side picture showing how the rubber well nuts hold against the fiberglass to secure the speaker. It works good with no buzzing. I need to cut holes in the hatch trim piece but need to do a lot more stuff there.
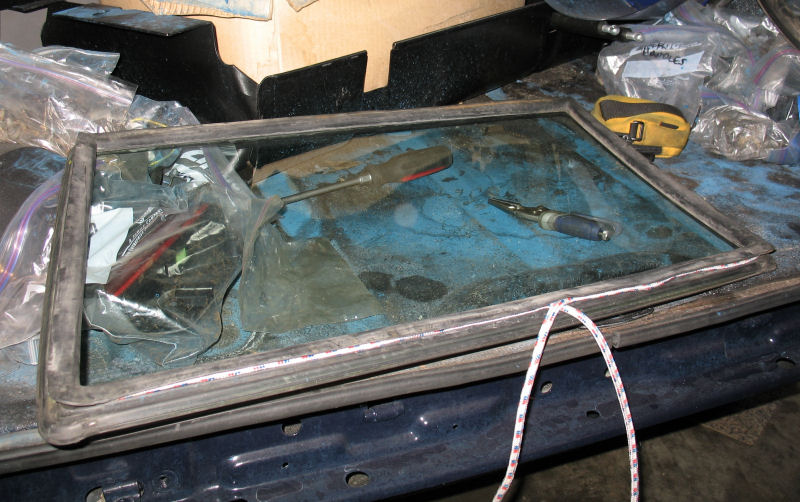
Getting the glass back in was pretty simple--just use some 1/4 inch rope around the grommet, get the bottom lip in place, and then pull the rope while somebody else pushes from the outside.
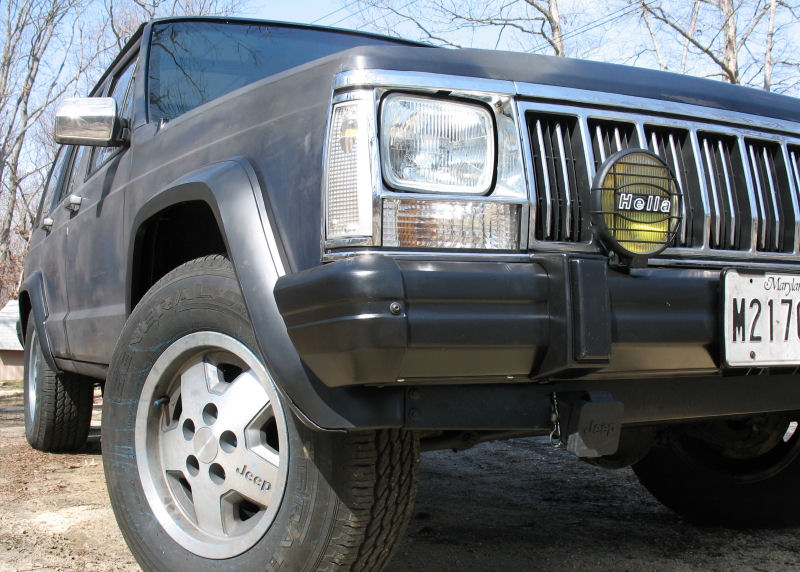
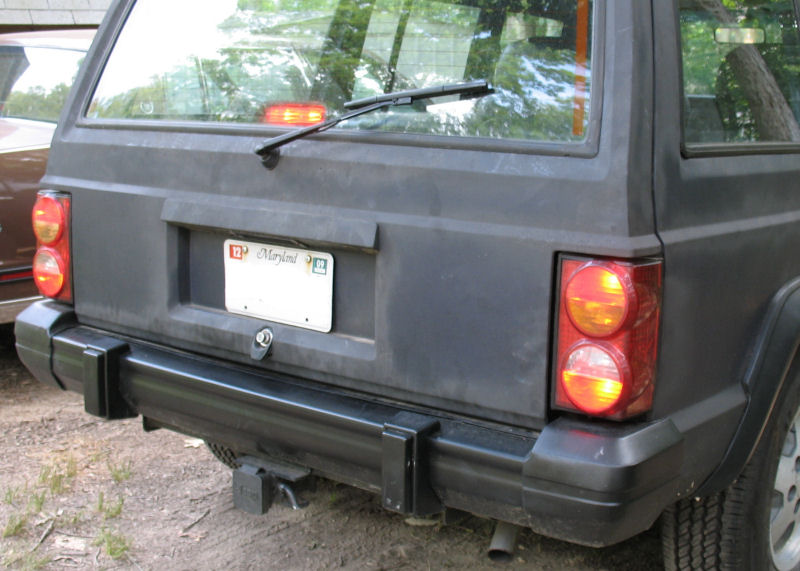
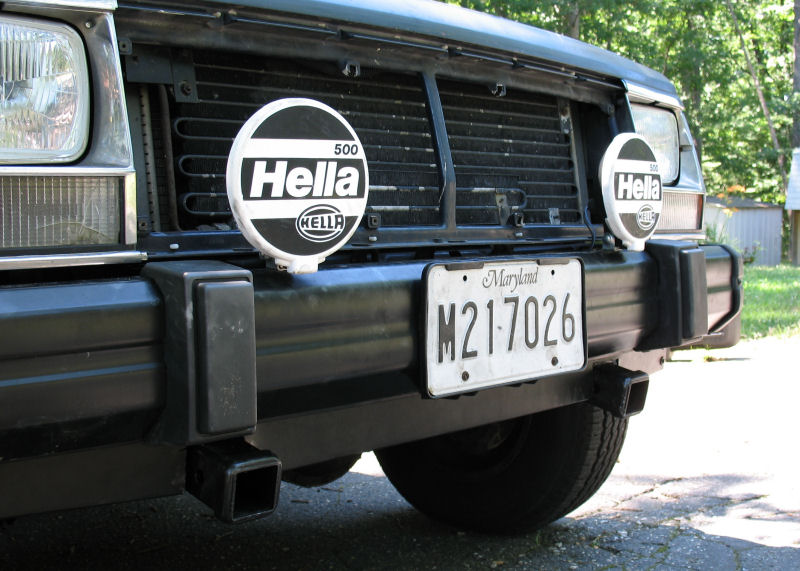
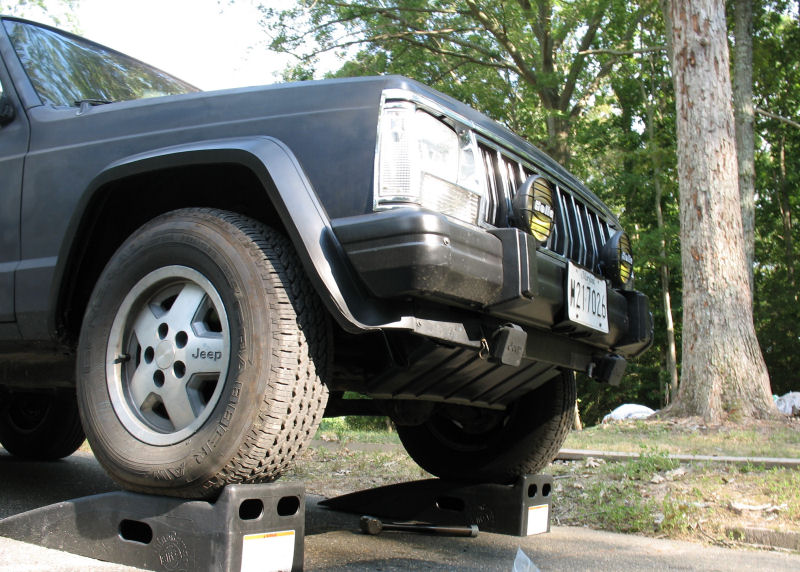
All the exterior trim including bumpers and flares was painted with Krylon Satin Black, but I wish I had used flat black instead. Also the flares are aftermarket (don't remember who) and don't really fit--the front right flare cracked when I was trying to get it lined up with the air dam and fender hole. For exterior trim, buy OEM or stay home.
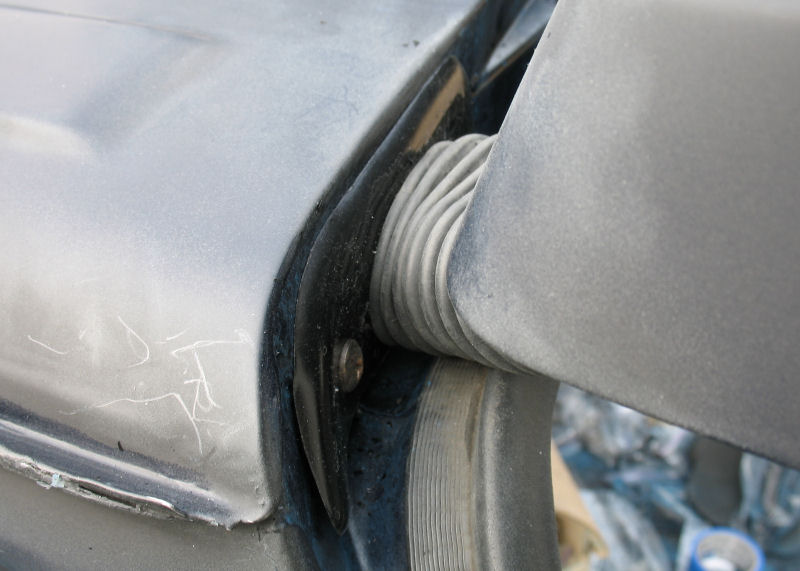
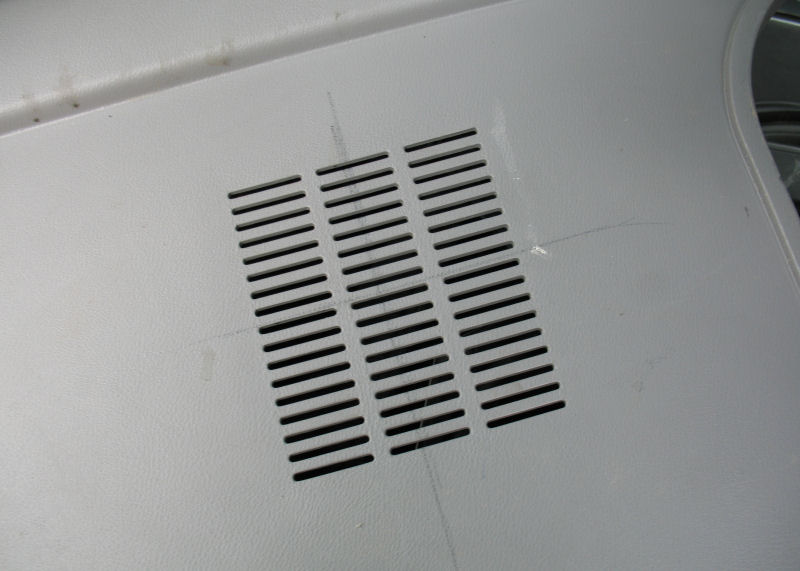
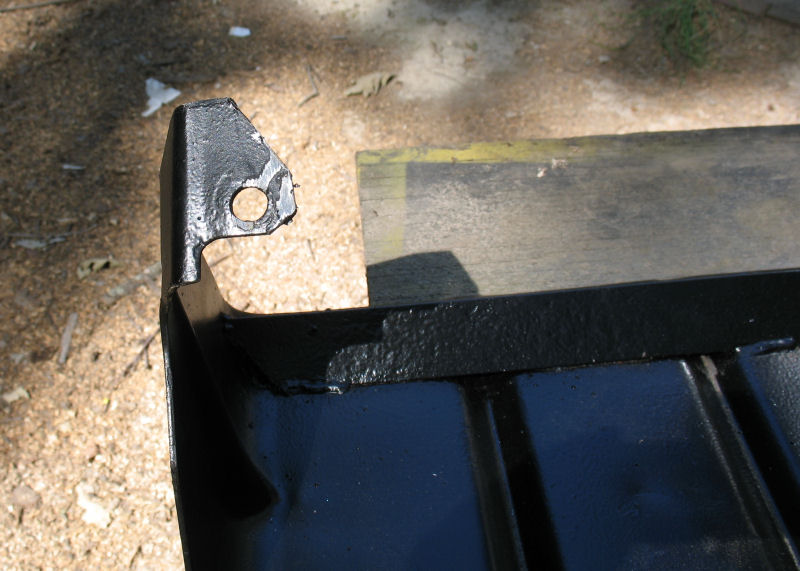
Here's a shot of the opposite corner
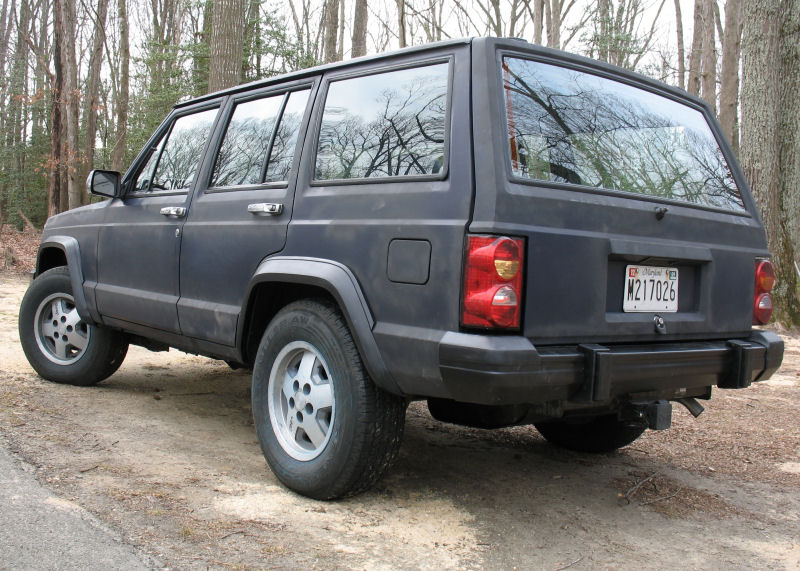
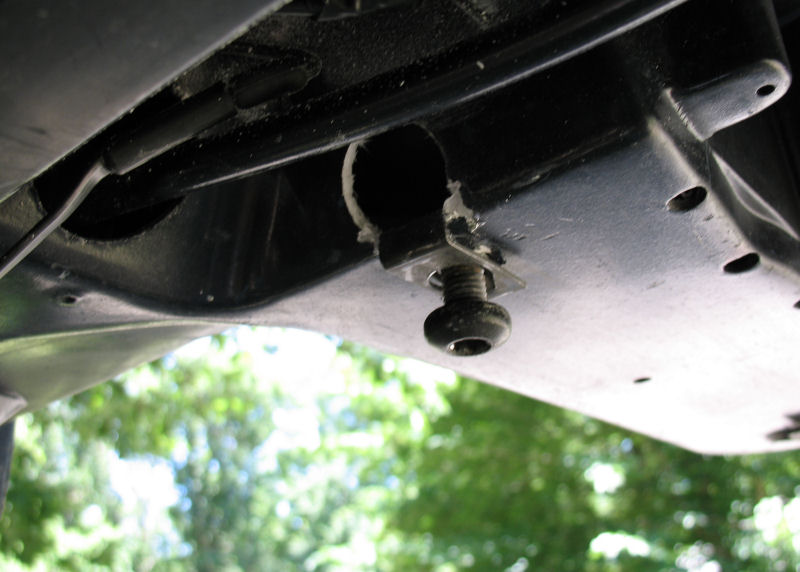
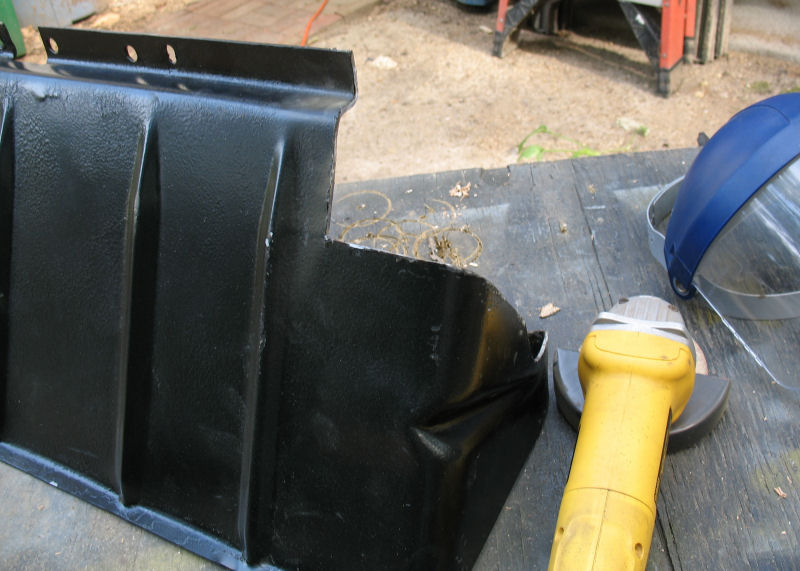
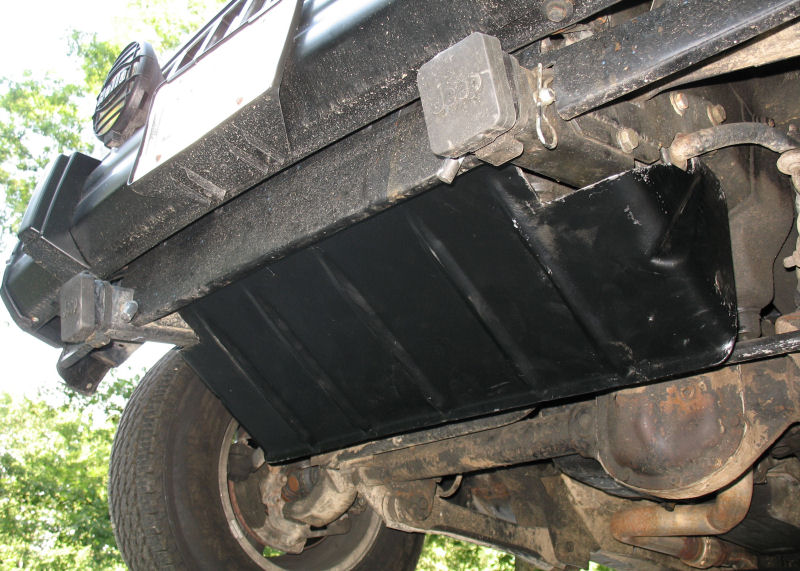
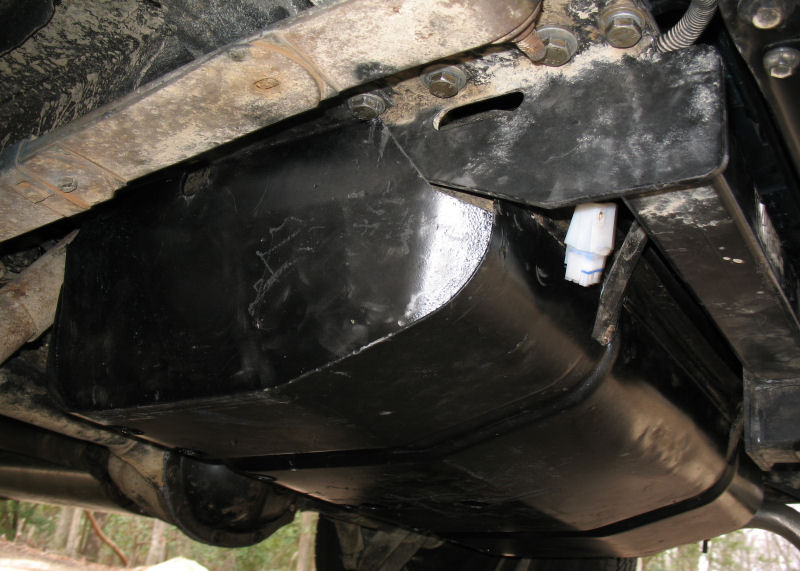
Another item on my check-off list was getting the gas skid installed, which was a surprising PITA. I tried this a bunch of different ways but eventually ended up installing it over the hitch, and using a uni-bit to drill out the holes so that the holes would line up. The 3/16" plate that I had added to the inside does not seem to have been a problem, and the fitment issues had more to do with front-to-back instead of depth. I also installed another of the AMP Mate-N-Lok disconnects on the hitch wires so that I will not need to keep the receptacle installed all the time (I knocked it around pretty good on the last wheeling trip), and you can see the white plug hanging down by the hitch there.
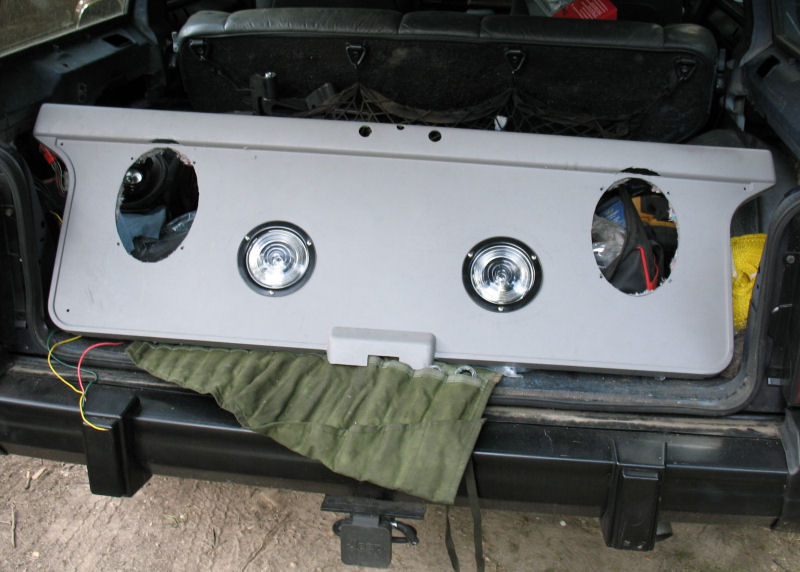
I have a big list of things that I have to do now that I've gotten some of the prerequisites out of the way--wire up the hatch work lights and third brake light, reroute air intake to the cowl, etc--which I plan to work on over the next few weeks. I still have not decided on a paint strategy. I am pretty sure that the problem is with the Rustoleum Automotive Primer which is for urethane instead of enamel, so I will either need to sand into the primer to be able to lay down urethane, or sand down into the primer to lay an enamel primer over it. I won't be doing anything in that area for a while though.