bmikes
NAXJA Forum User
- Location
- portland or
Dang, I think I understand now. Thanks guys, I appreciate the detailed explanations!
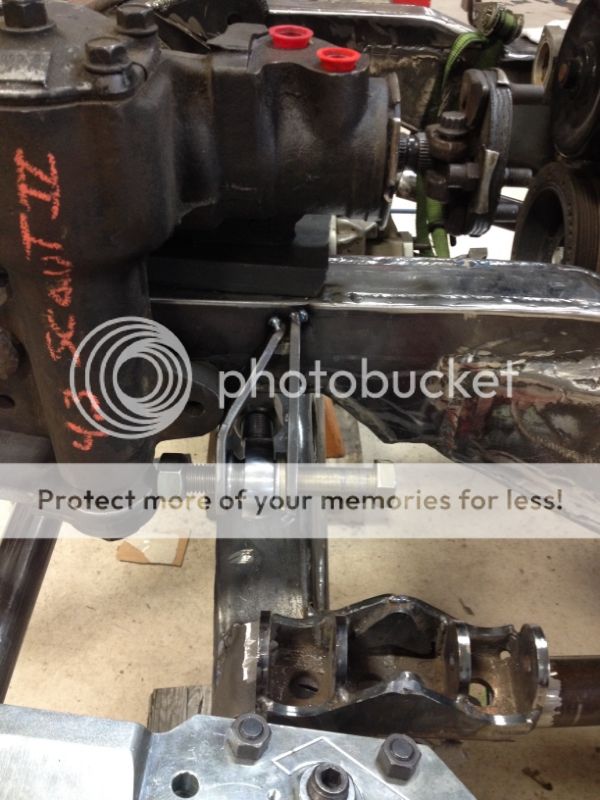
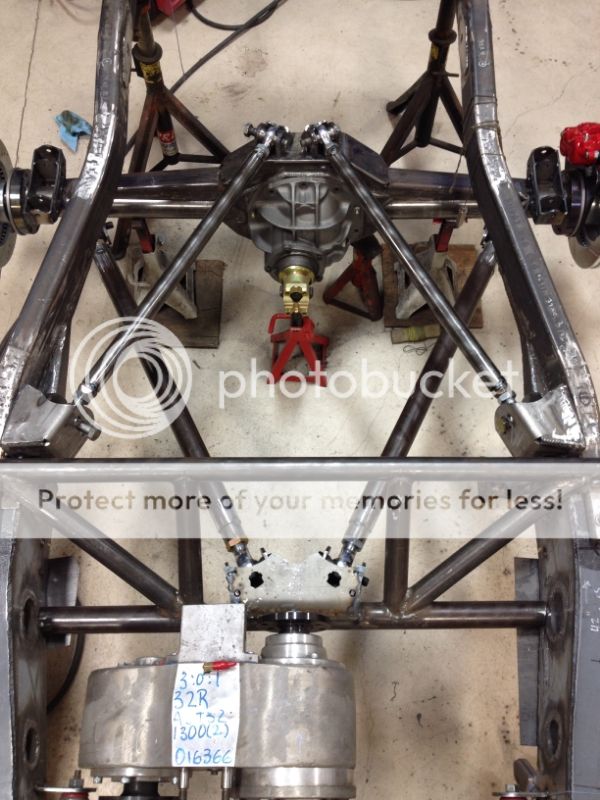
one could run a 4 link+ panhard with no bind if the links are parallel and not triangulated.
one could run a 4 link+ panhard with no bind if the links are parallel and not triangulated.
not with heim joints.
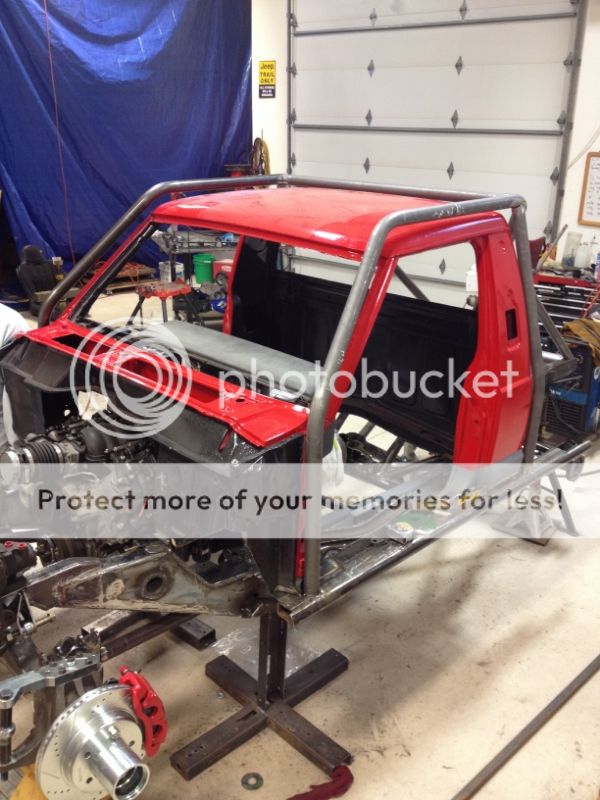
Good luck getting this finished. Looks good guys.
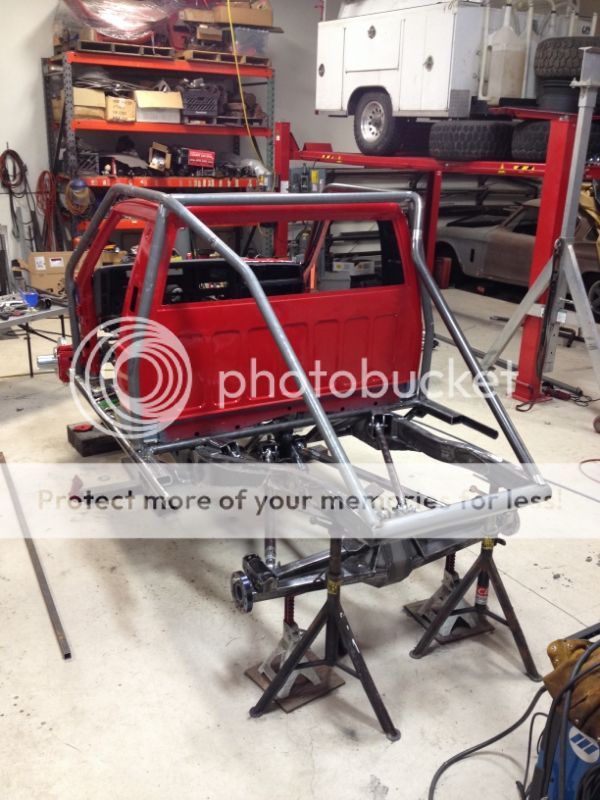
Thanks, Dave. Congrats on the KOH finish! It was nice meeting you and your team. We'll help pit for you guys anytime.The MJ build is epic, cant wait to see this. Hopefully I will see it at EJS if we make the dirt riot race.

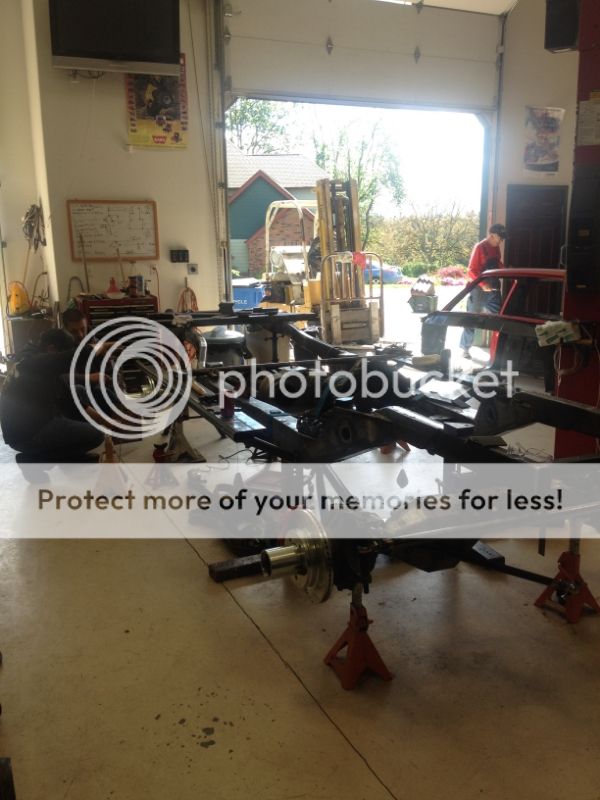
:greensmokWe're trying. Start working on it again Saturday.


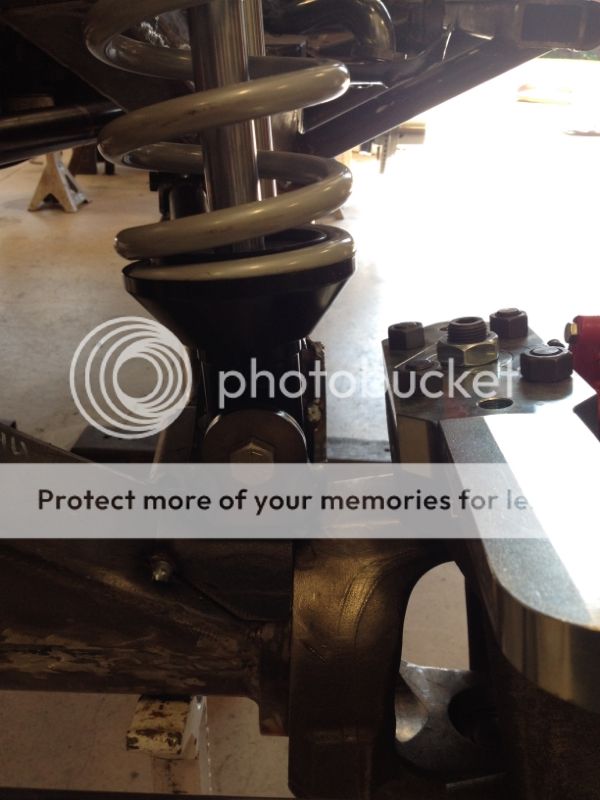
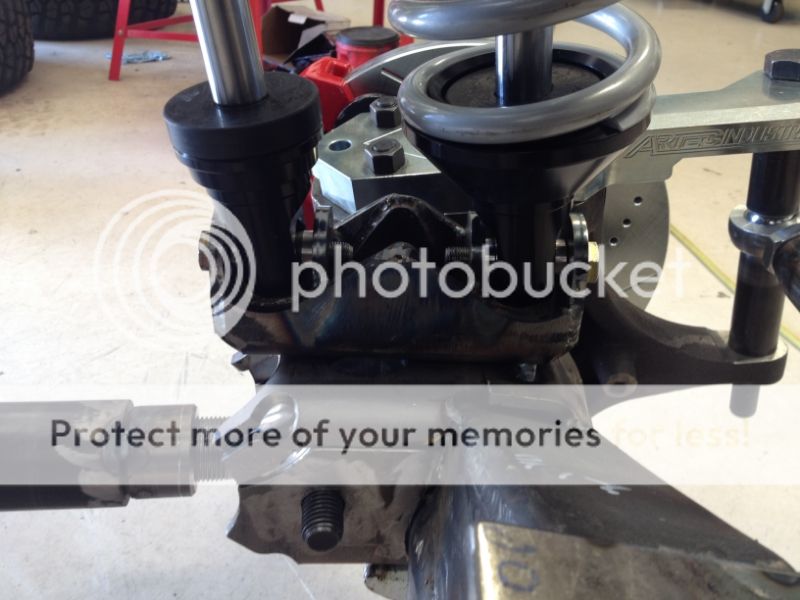
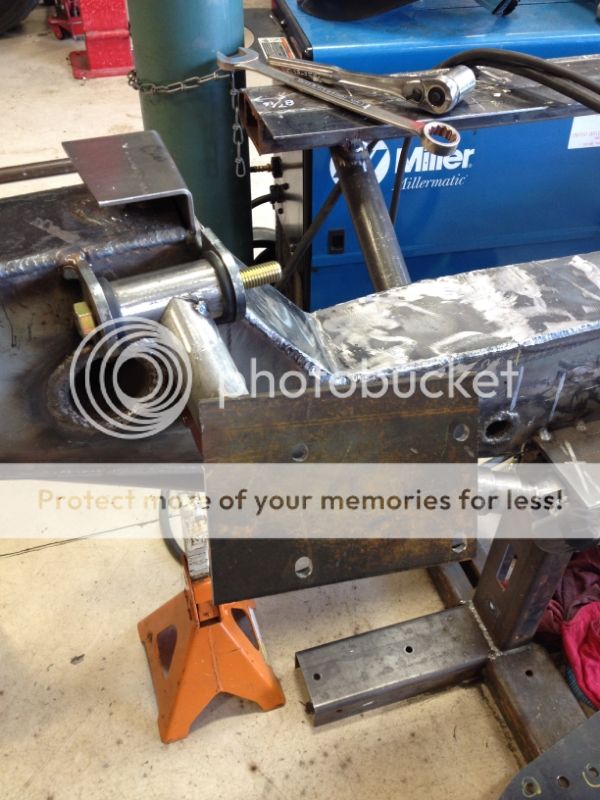
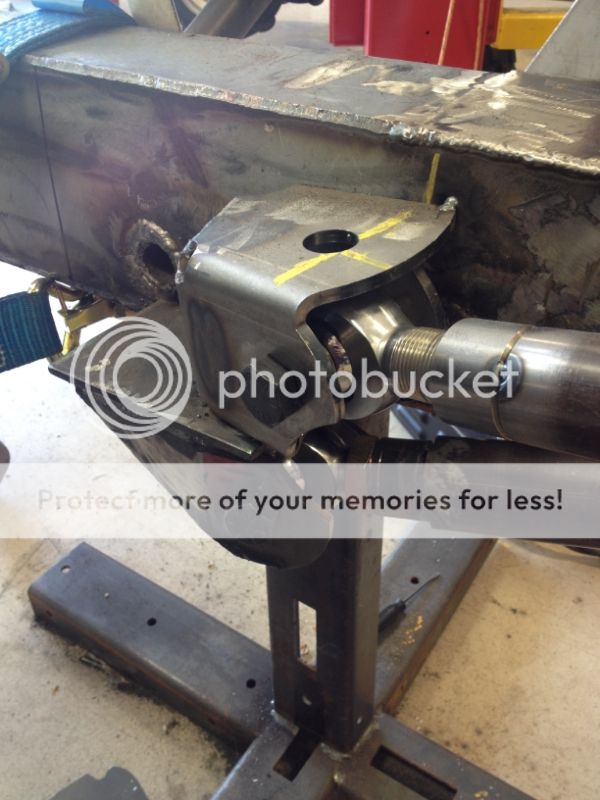

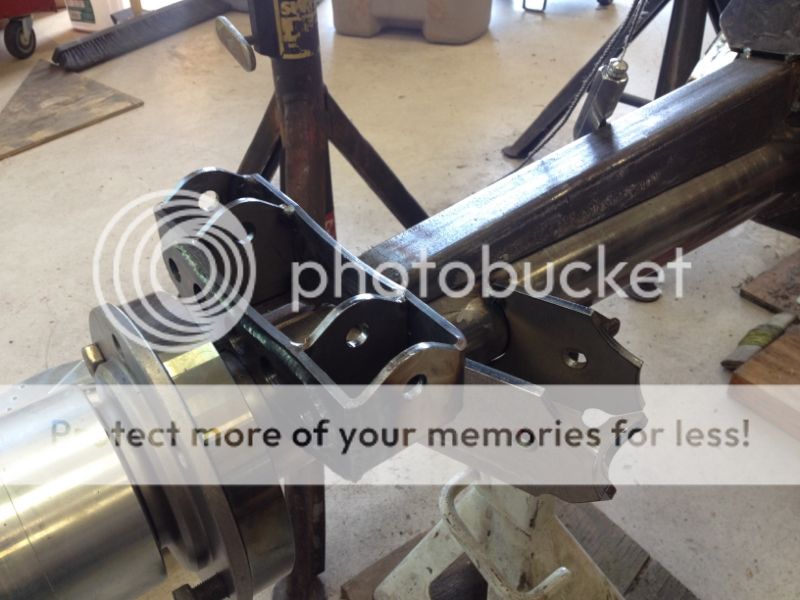
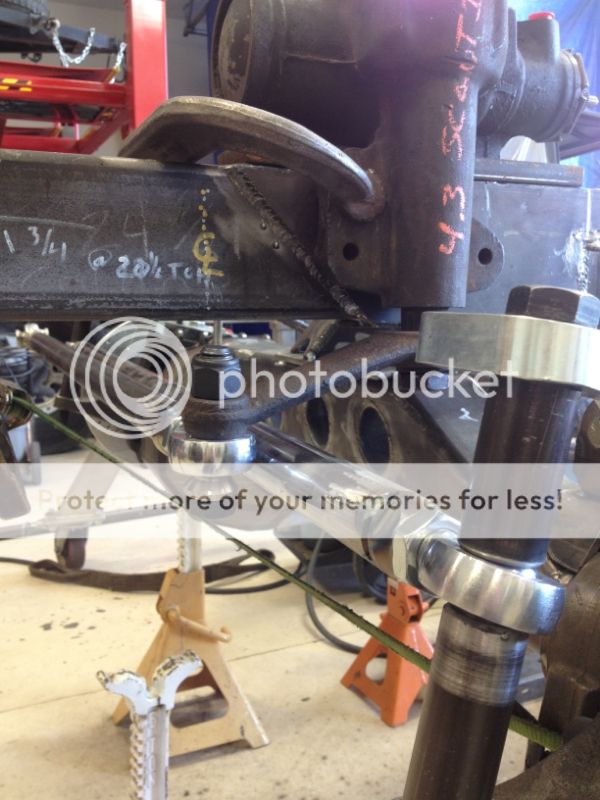
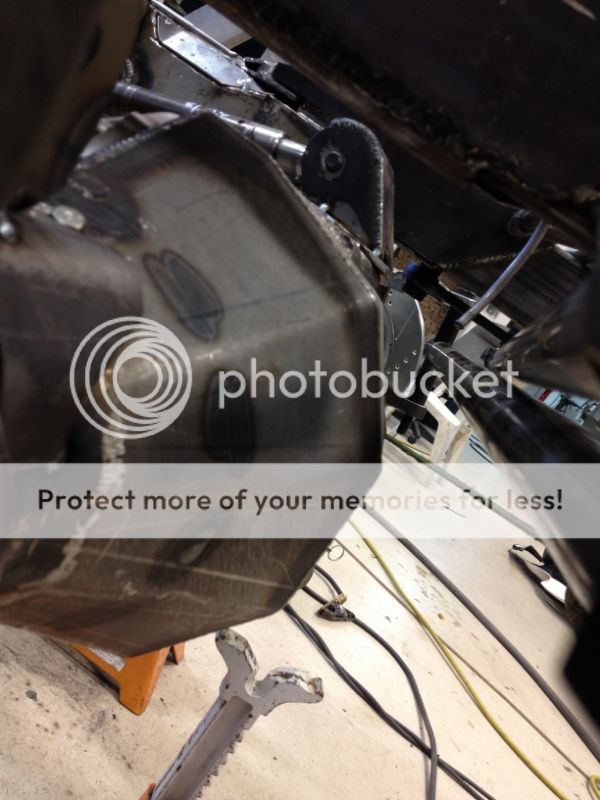
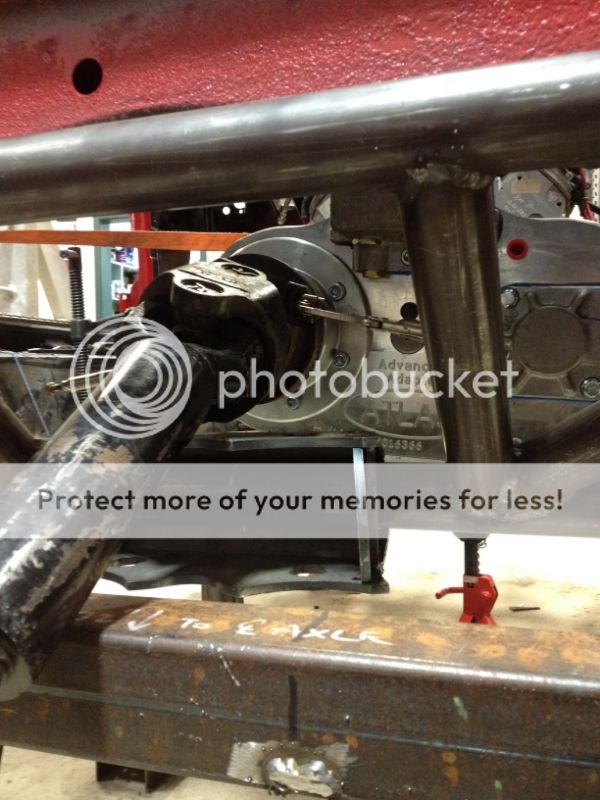

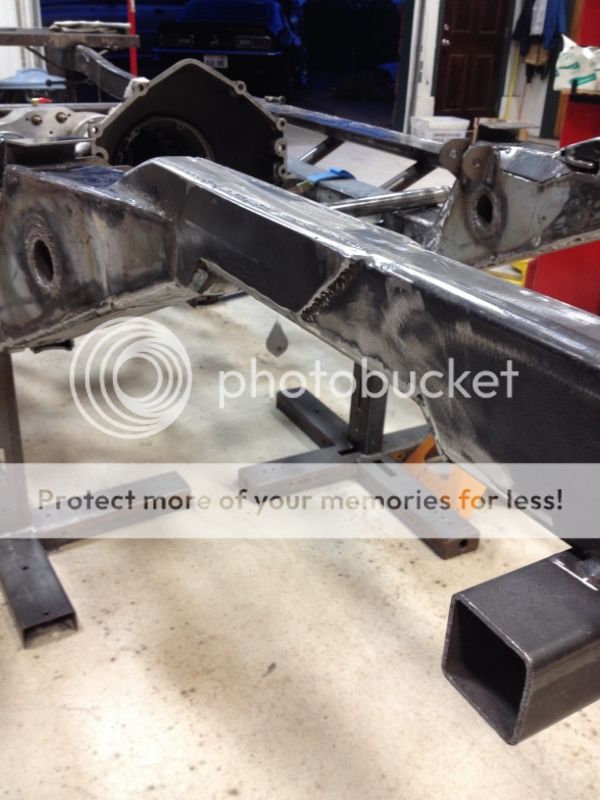

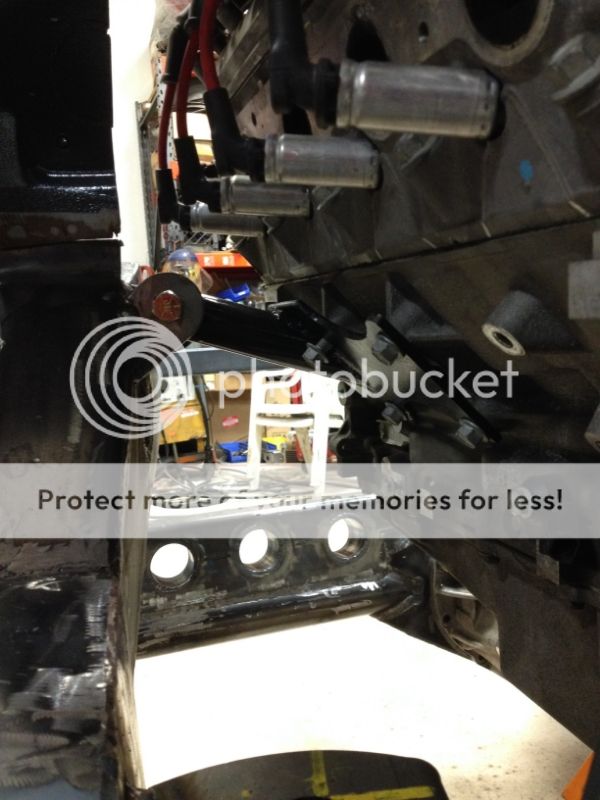
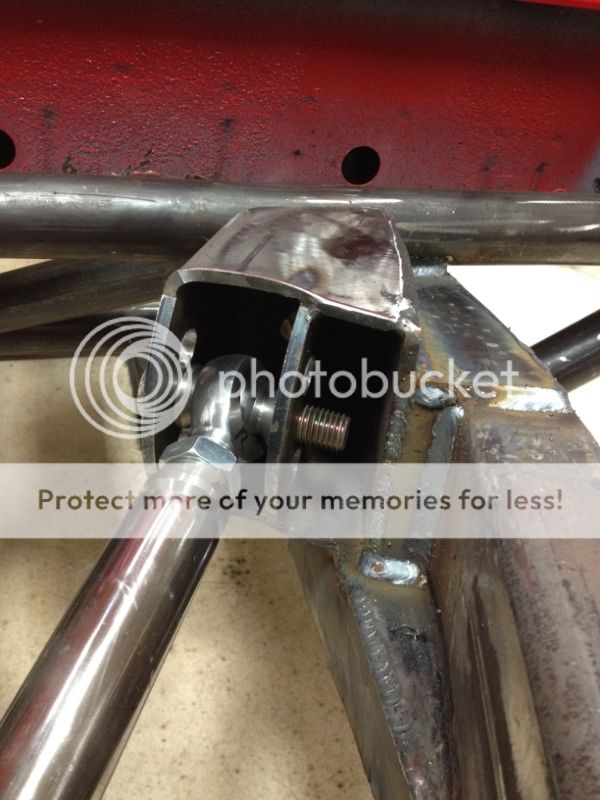
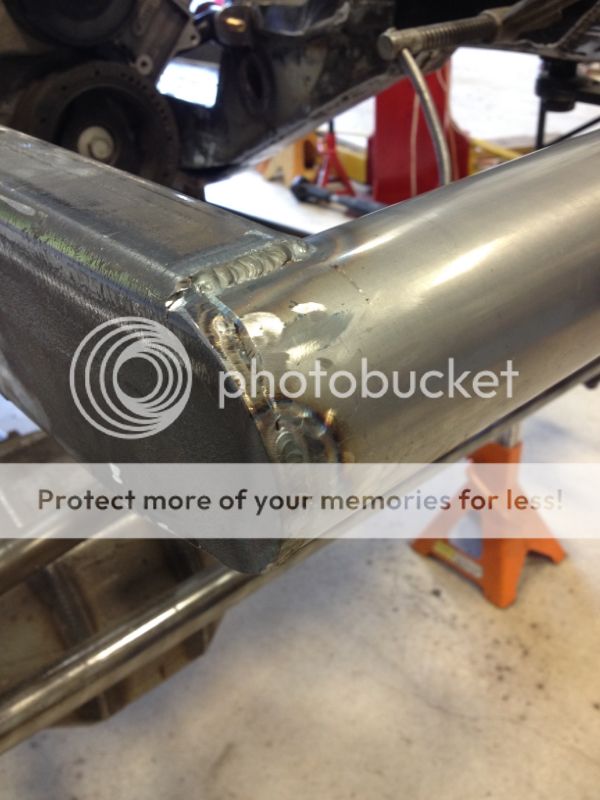
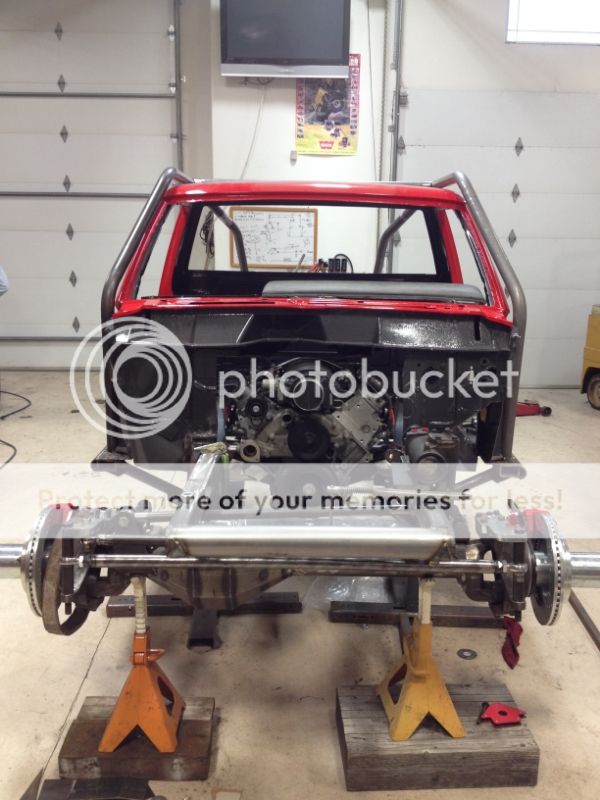
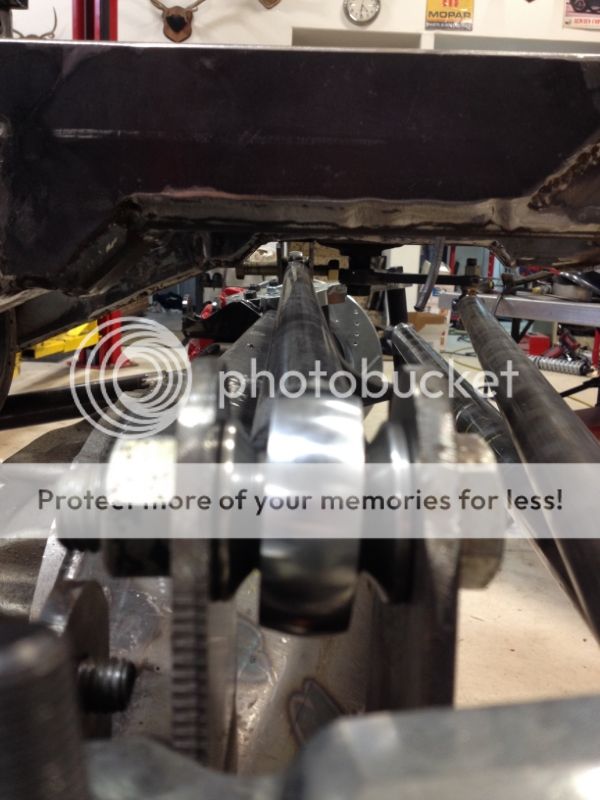
Yup, if you look back a few pics you can see our clearance at ride height. Surprisingly we found that the cardon joint doesn't dip down much throughout the range of travel. It's pretty consistent. The driveshaft will be a standard double cardon with 1350's I believe.there is enough room in there to run the rear DS above the LCA Body side mount, how much droop do you anticipate the rear suspension having, and will there be a cardon or H block in the rear ds??
That shiz looks tight. in more than one way! GJ guys
Bronze.