NW99XJ
NAXJA Forum User
- Location
- Gresham, Or.
Thats amazing.
The center of balance on this thing is going to be incredible.
The center of balance on this thing is going to be incredible.


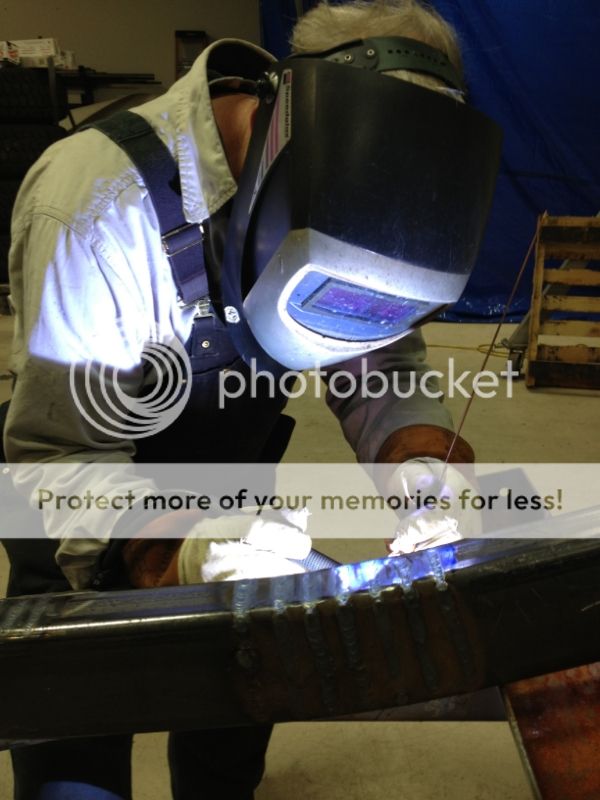
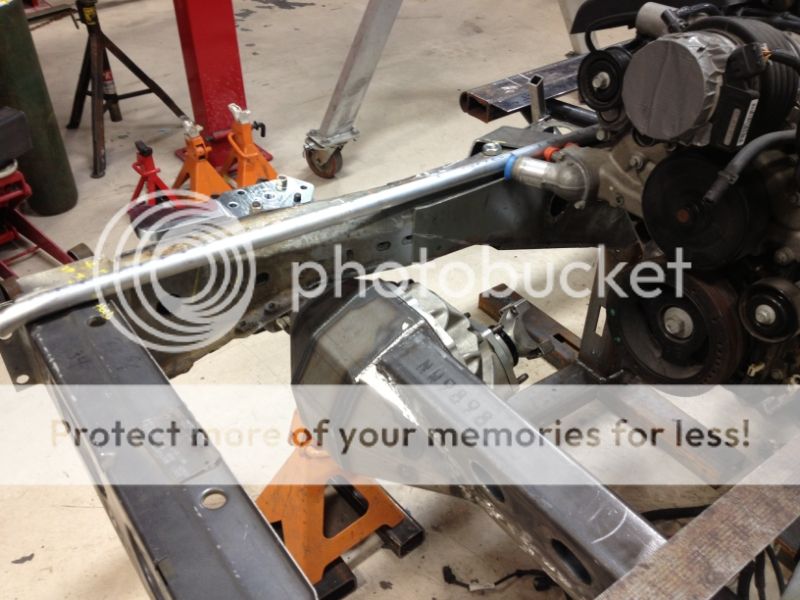
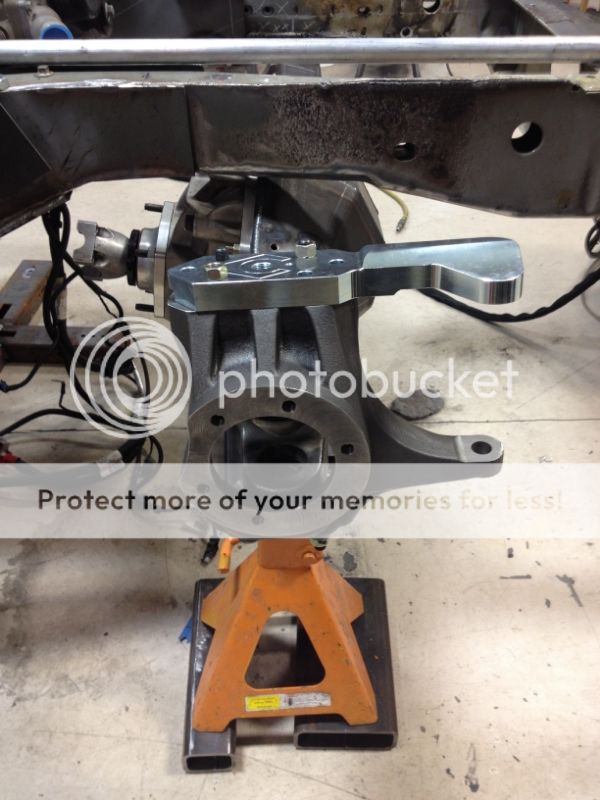
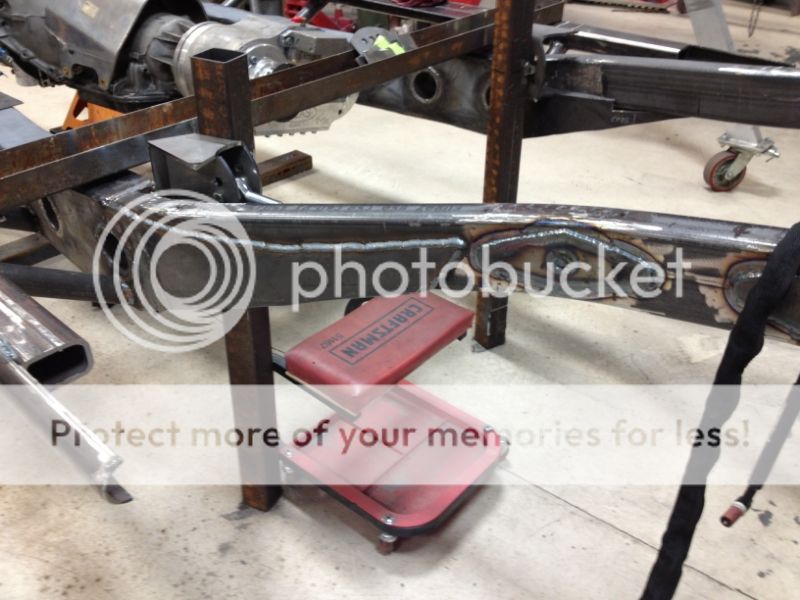
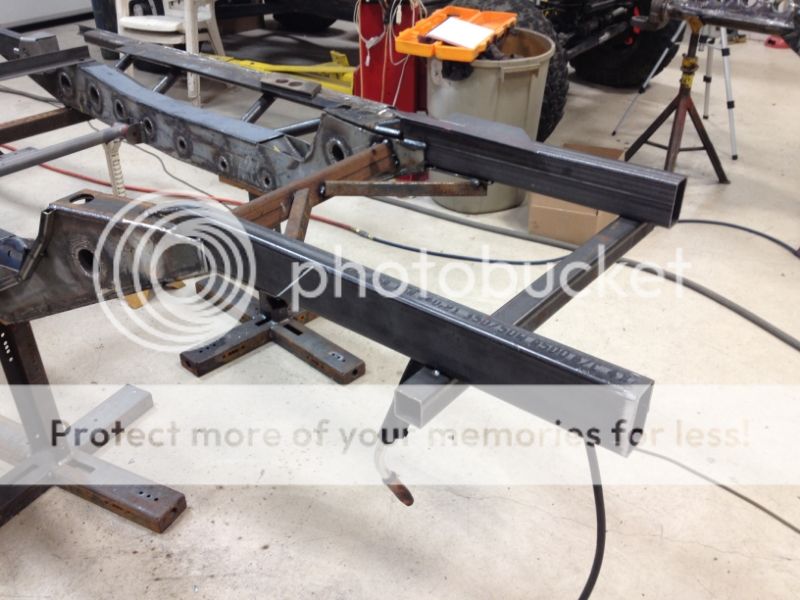
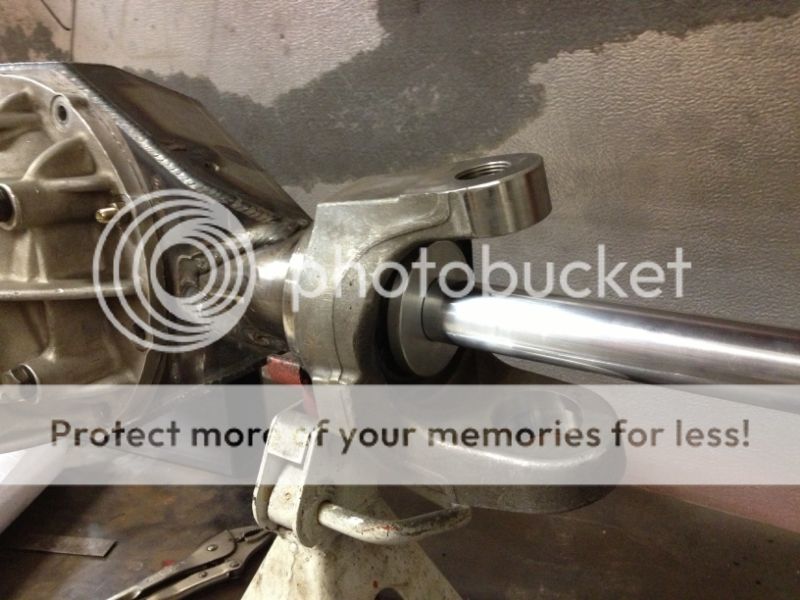
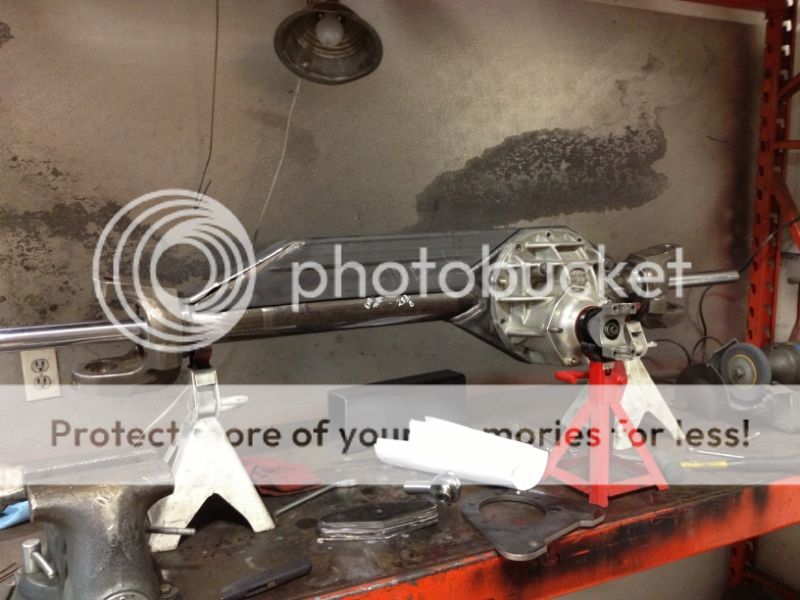
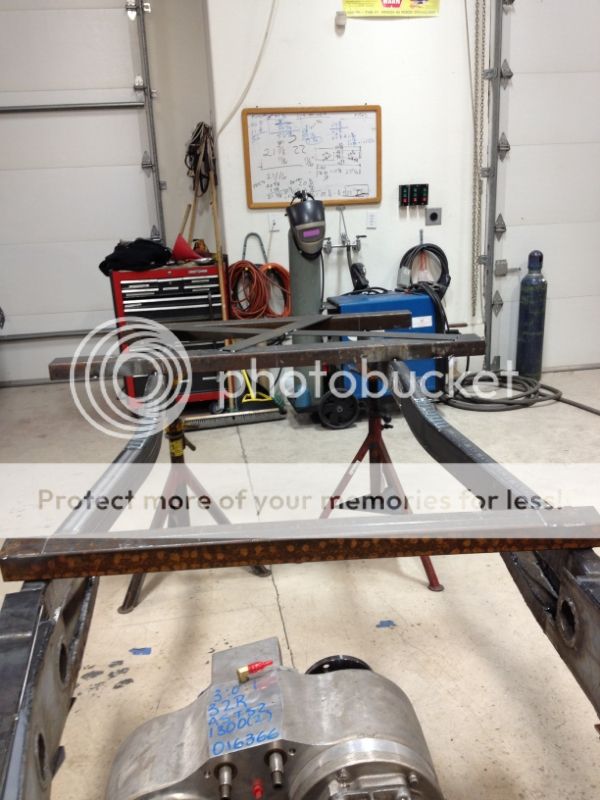
Alignment bar for the front axle, what is that? A round bar that slides in the axle to keep it from warping?
Like John said, it's a machined solid bar that is used to keep the axle true while being welded on.Alignment bar for the front axle, what is that? A round bar that slides in the axle to keep it from warping?
Dont suppose you guys have any pictures of the Unibody delete mod? Are the frame rails just held onto the body with some spot welds and the glue stuff Jeep used?
Will these be put into production for an off the shelf body lift?
Also curious how the body will be mated back to the frame. Welded on? Bolted on?
What are your plans for the cage?
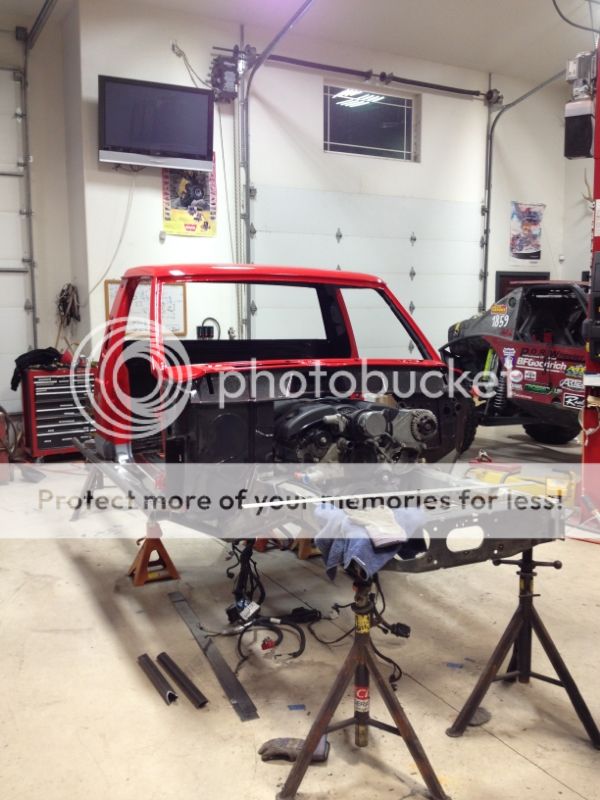
Final thought, the seats look a little high, and you might have issues passing tech with your heads that close to the roof. Factor in a helmet and you are right on the roof. I seem to recall 2'' of space being required between the cage/roof and the helmet?
Dont suppose you guys have any pictures of the Unibody delete mod? Are the frame rails just held onto the body with some spot welds and the glue stuff Jeep used?
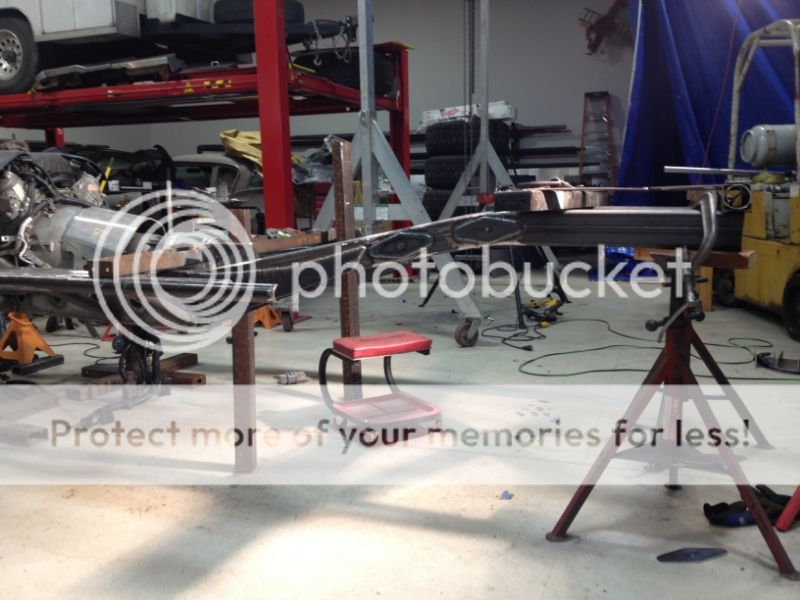
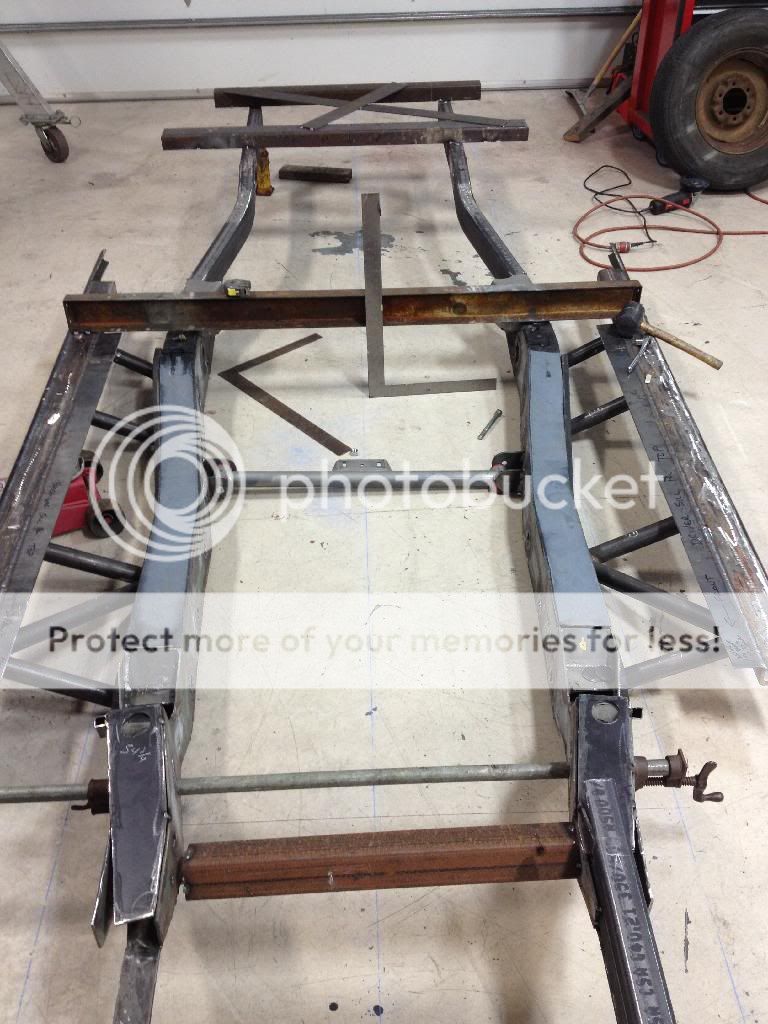
I don't have any pictures from the process, but like Joey mentioned above we just sliced parallel with the factory uniframe rails. The cab still has the thin strip of spot welds still on the bottom. Joey and I burned off a ton of the seam sealer that the factory used to glue everything together. I think we both have lung cancer now because of it.
Will these be put into production for an off the shelf body lift? What's funny is I think we tossed around the idea of doing a small body (cab) lift a few times for clearance purposes, but always found a way around having to actually do it.
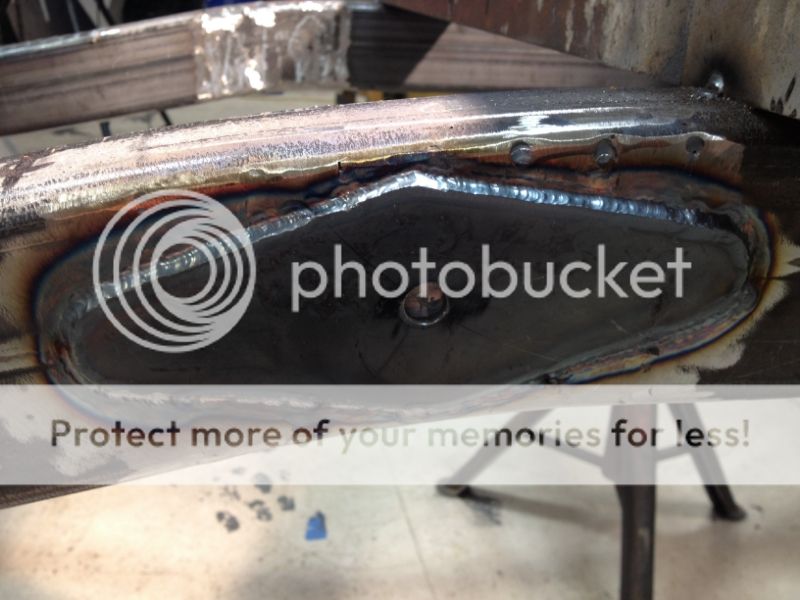
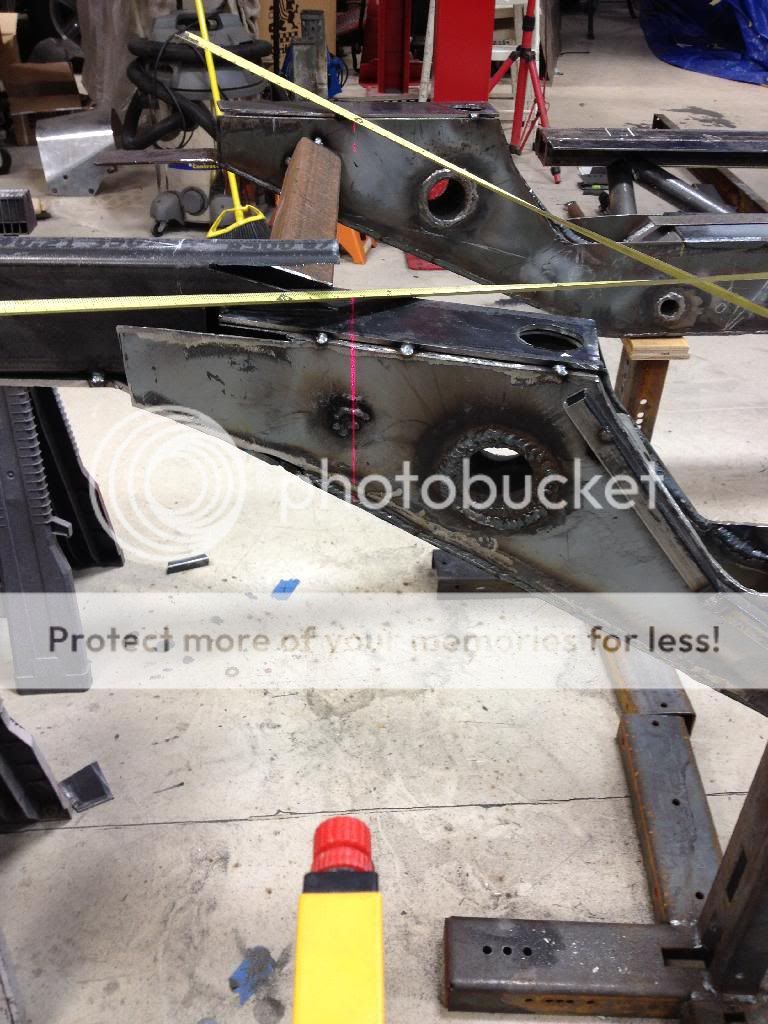
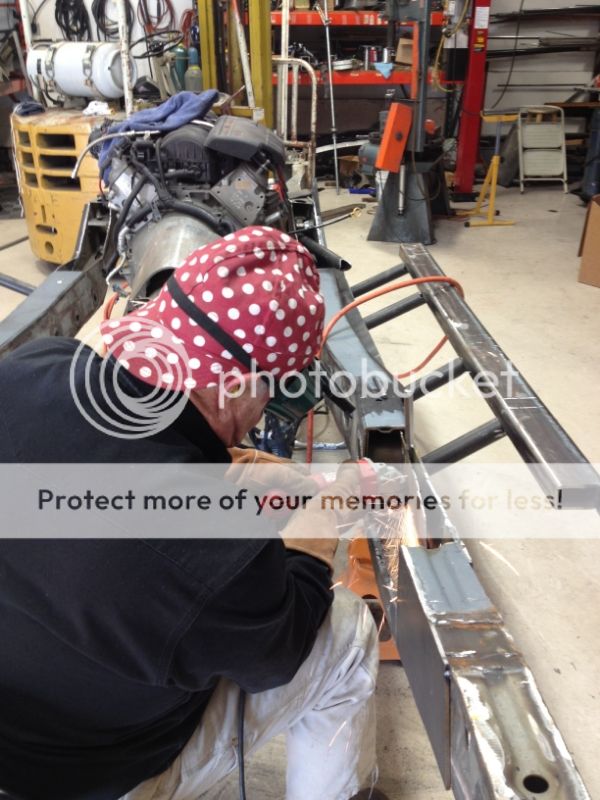
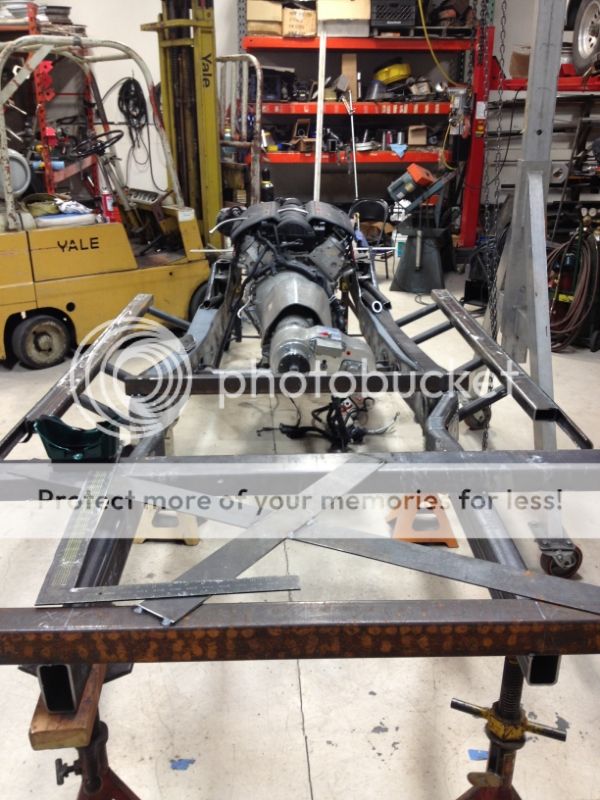
Also curious how the body will be mated back to the frame. Welded on? Bolted on? We have some small thin walled square tube formed to the underside of the cab (visible in a few of the frame pictures). This will then be fully welded to the cab and frame rails, making it a solid uni-body once again.
What are your plans for the cage?
In addition to KOH, we're planning on running this thing for V2R and many other races as well. This means to pass tech we'll need 2" DOM for the main hoops, and then we'll step down to 1.75" for the rest.
As for design, I think we all want to keep the MJ look. It's going to be a well thought out jungle gym, skinned wih MJ body panels.
Final thought, the seats look a little high, and you might have issues passing tech with your heads that close to the roof. Factor in a helmet and you are right on the roof. I seem to recall 2'' of space being required between the cage/roof and the helmet?Joey answered this above, but the seat picture was just a quick mock up. The passenger seat was sitting on the Atlas. I believe the plan is to rework the seat brackets to gain a few inches.