• Welcome to the new NAXJA Forum! If your password does not work, please use "Forgot your password?" link on the log-in page. Please feel free to reach out to [email protected] if we can provide any assistance.

Boatsides

Did I miss where you wanted to keep this street legal?
Or pure off road?
Anyway, you will need fenders for the street and for off road your fenders are only there to identify your rig as a Cherokee.
I like the Cherokee thing, but I'm not sure I'd keep the fenders on.
With wheelin' out here, fenders just don't stand a chance.
 
FWIW, I plan on doing something sort of like your second option to finish off the front on mine, and run some sort of fender skin over it. I'll probably do two separate pieces of tube (the existing one along the hoodline, and one in a 'fender' shape) to brace the front better. The front vertical tube along where the side markers used to be has 2 small bends in it to match the body lines on the stock fenders.

2380_545182847289_24800499_33215899_536_n.jpg
Why are you going to change everything up? Just because, or are things not working out?

Did I miss where you wanted to keep this street legal?
Or pure off road?
Anyway, you will need fenders for the street and for off road your fenders are only there to identify your rig as a Cherokee.
I like the Cherokee thing, but I'm not sure I'd keep the fenders on.
With wheelin' out here, fenders just don't stand a chance.
I would like to keep this "street legal." It doesnt get driven on the road very often, but I will be driving it to the trail.


I talked it over with my dad, and we agreed that the Jeep would look weird without front fenders, and the Hellas are far to bright to be used as regular headlights. Plus, it wouldnt look like a Cherokee.


I got most of the drivers side rocker cut out today. Tomorrow I hope to get the 2x6 welded into place and the tie ins finished up. We shall see.
 
Why are you going to change everything up? Just because, or are things not working out?

Well, I never really meant to run it without fenders...just sorta happened for now because the ones I have were too mashed up to fit nicely after doing the tube work.

I also want to brace the front a little better because it still has a little bit of flex to it, especially when winching hard. Plus I will be cutting out the inner fenders and going coilovers so I'll be looking to tie it all in together.

Well hurry up so I can copy you!:sad1:


Most of these pictures are starting to get repetitive, but I know I like having a lot of pictures before starting a project, so you can just deal with it if you dont like it. Mkay?


I used a combination of a laser level and string to make sure my cut would be as strait as possible all the way across the rocker. Marked it off with some painters tape, and cut.
001-5.jpg


I havent been in mud for over 3 years, and this is what was in my rockers. No wonder they get rusted out in places that salt the roads.
002-4.jpg


All cut out
003-5.jpg


I never realized it, but the thing that goes under the seats not only does the seat function, but it also adds strength to the spring hanger as well.
004-4.jpg


I had some friends helping me today. They were hanging out in the yard for a couple hours. Then I started grinding....
006-4.jpg


Earlier in the thread someone mentioned using 2x5 and I showed a really bad picture, so here is a better one. Strait up, it wont work. Unless you push in the bottom of the siding, its not going to work or look good.
008-4.jpg


This is where I ended up today. It took me almost two weeks to get to this point on the other side. It took me two days on this side. MUCH easier the second time. And no, I wont be doing it again.
010-4.jpg


And ending the day with a problem. One of the legs comes down right in the middle of a brace for my T&T long arms. Im not sure if I should cut it and have two pieces, cut it, and then weld the pieces to the leg, or something else. Ideas anyone?
009-2.jpg
 
Last edited:
And ending the day with a problem. One of the legs comes down right in the middle of a brace for my T&T long arms. Im not sure if I should cut it and have two pieces, cut it, and then weld the pieces to the leg, or something else. Ideas anyone?
009-2.jpg


looks like you have the TNT stiffiners too... so why are you still running those plate?
those are meant to keep the stock frame rails from crushing in when used without the stiffiners... now that you have them, toss the plates and weld the tube directly to the 'frame'
 
looks like you have the TNT stiffiners too... so why are you still running those plate?
those are meant to keep the stock frame rails from crushing in when used without the stiffiners... now that you have them, toss the plates and weld the tube directly to the 'frame'

Interesting. That is the first time I have heard that.

I might take the plate off, weld the leg in, and then weld the plate onto the leg. I dont see it hurting anything having it on there.


Help me figure out what I should do with my cage!
http://naxja.org/forum/showthread.php?t=1001367
 
can't help you on the cage, but I just installed the y-link and frame stiffinerz over the winter. I skipped those plates seeing as they are kinda redundant with the stiffinerz.

believe me I am following this build of yours very closely, I already replaced the rockers with 2x4... but seeing these boatsides I am debating cutting the rockers out to replace with what your doing.

when I DO put a cage in, I will be doing a bit of exo a bit of internal to get what I am after. ba-raido's is pretty close to what I would like to do, but with more (much more) trimming.
 
Spelling is not your strong suit is it?:looney:

-Alex

I blame it on the school system up here... see we learn color is spelled colour, honor is honour, and ba-riedo is spelled ba-raido.

"me fail english, thats un-possible!"
 
very interesting. I'm watching closely
 
I must be the only one who missed that memo.

I still used the plates in my rig, even with my homemade 3/16" stiffeners. No reason not to, and in my case they helped to cover an area that wasn't flat from seam/welding. It's not like it's doing any harm to use them, it's stronger with them.
 
Well, I have no idea where my camera is, so I borrowed my moms.

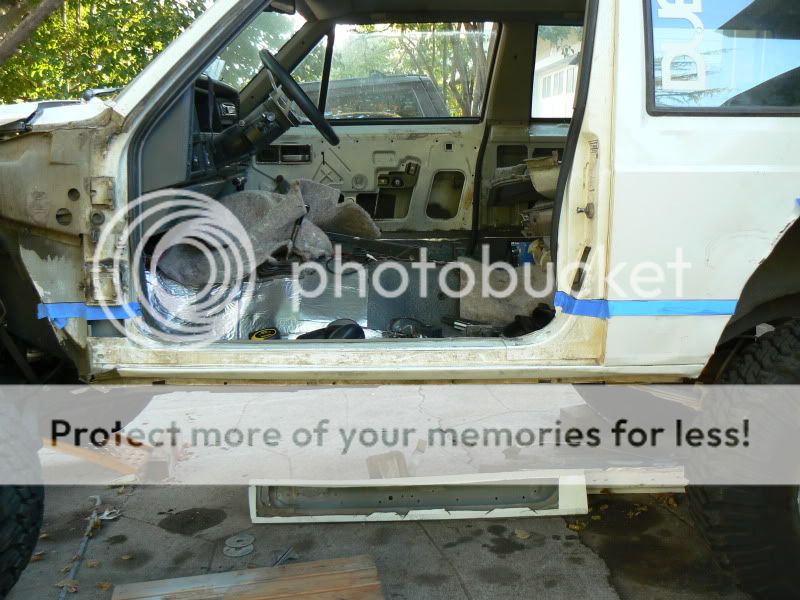
The cage is still tacked together, the interior is a mess, and it is in a general state of disarray. I still have a lot of clean up work to do to even make it look semi legit.

So this part of the build has gone on at my friend Fosters' house over the last couple of weeks. Foster has a tube bender and notcher, and has built a couple of cages before, so he had a lot more experience that I do (none).


I have been saving pictures of XJ and other cages for a long time and kind of melded them all together to basically have it look exactly like all the other cages out there. Like Ive said before, its the typical exo halo/A pillar and internal B and C pillars. I will be adding a X/seat belt bars on the B pillar, and a bit more bracing on the roof. Yes it needs more triangulation Hasta


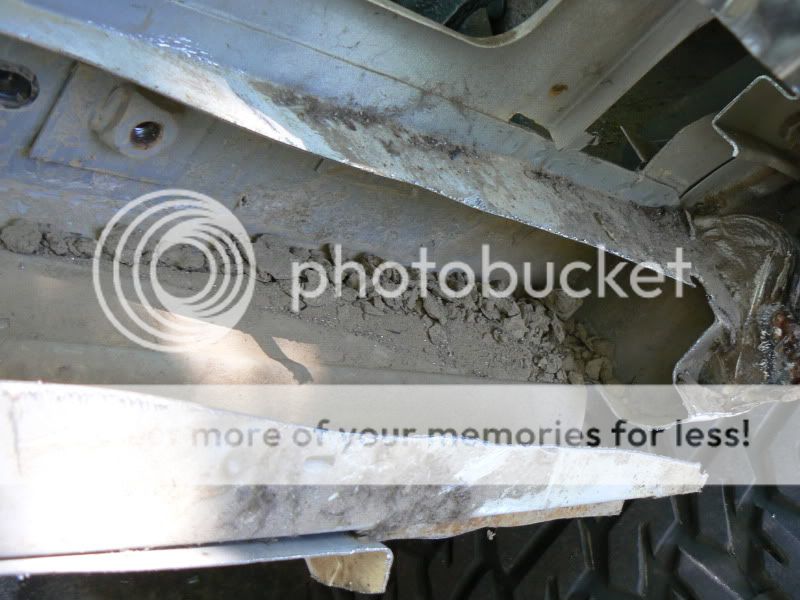
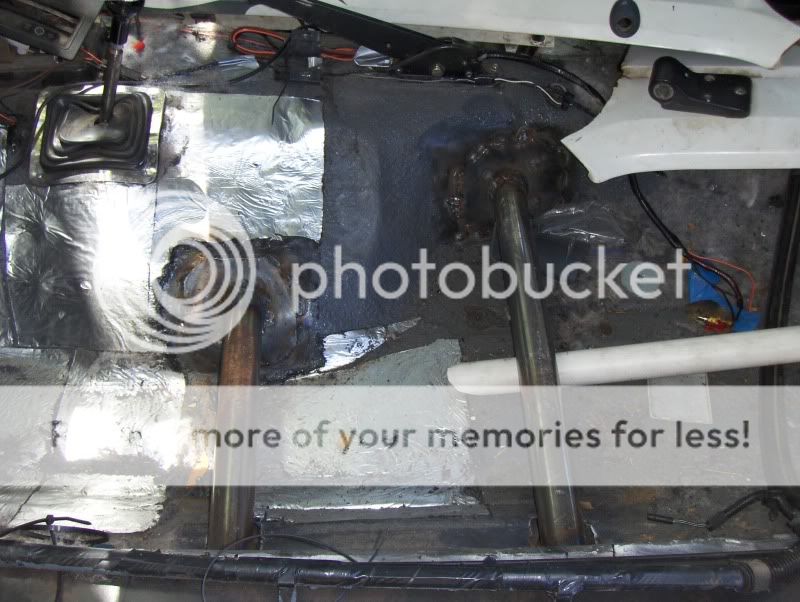
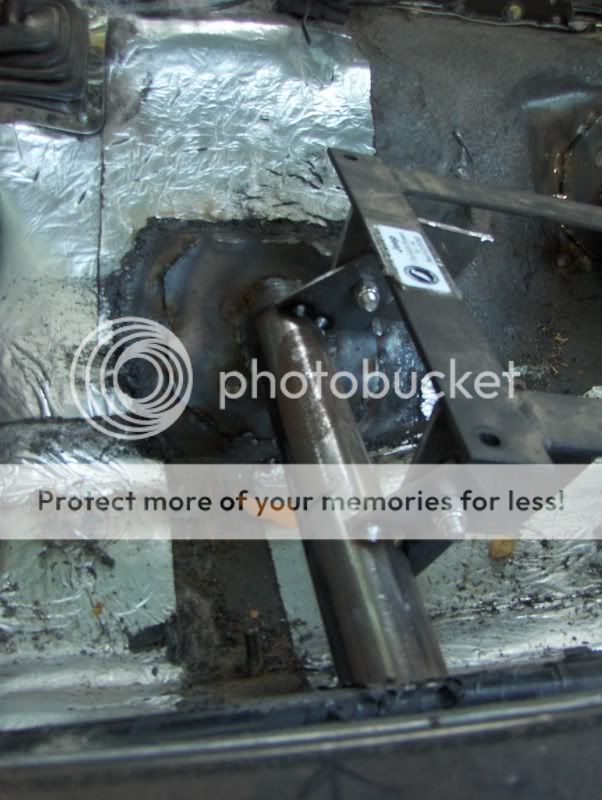
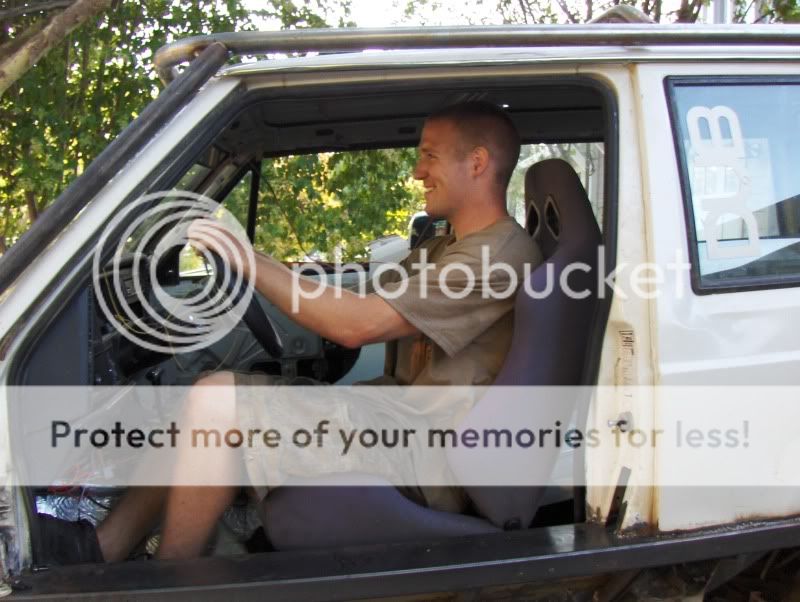
Seat mounts. These will adventualy be tied across the tranny tunnel, we just wanted to get the seats in before doing that to avoid running a tube where the seat needed to be.
HPIM0468.jpg


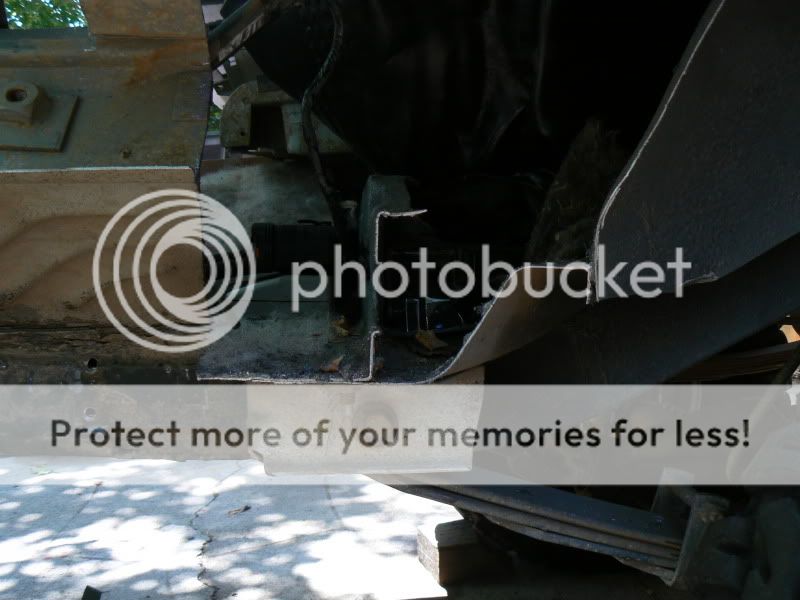
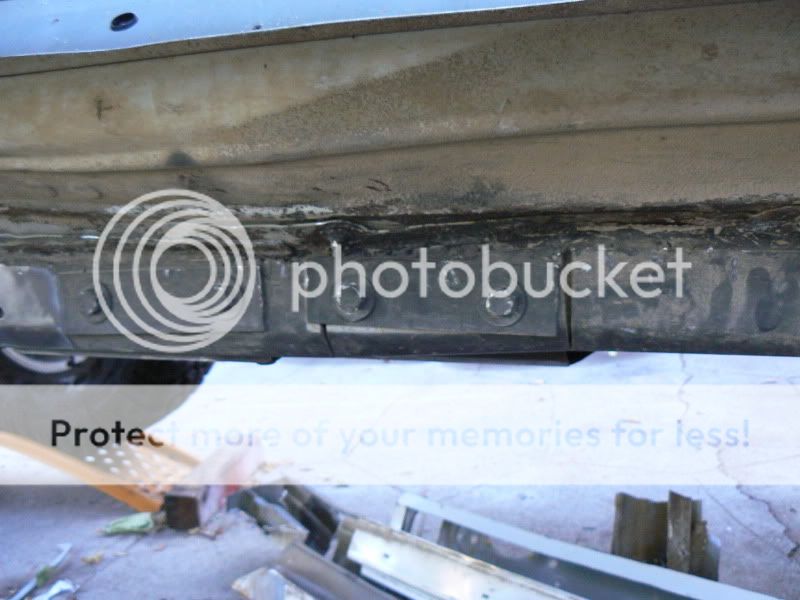
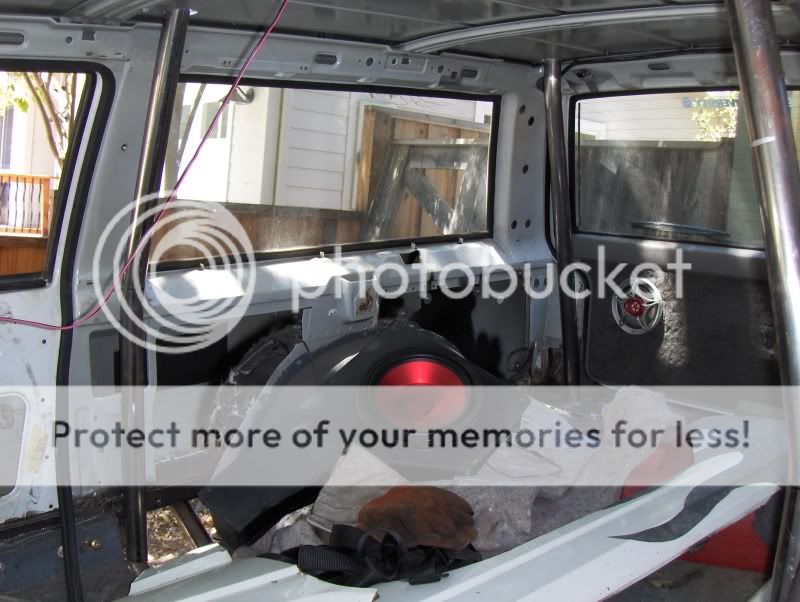
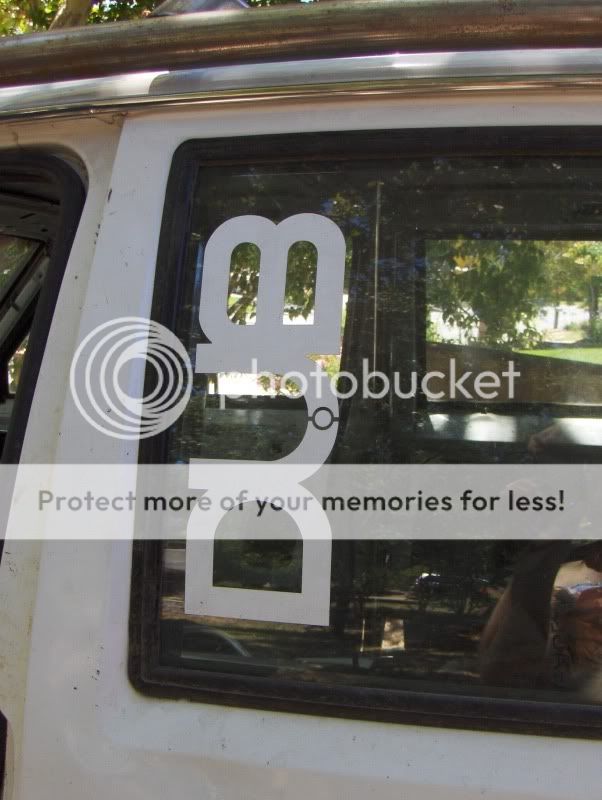
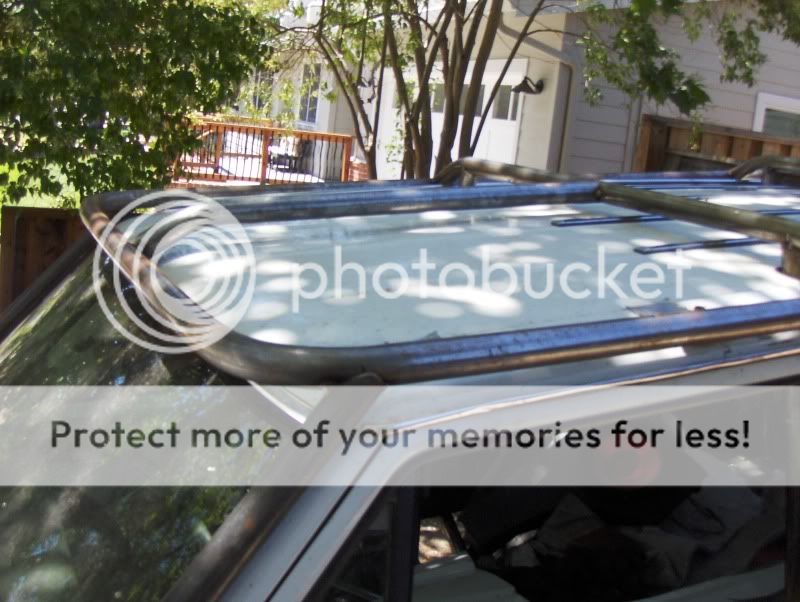
B and C pillars. Holes were drilled in the roof and the pillars go up to the spreader bars on the halo.
HPIM0470.jpg


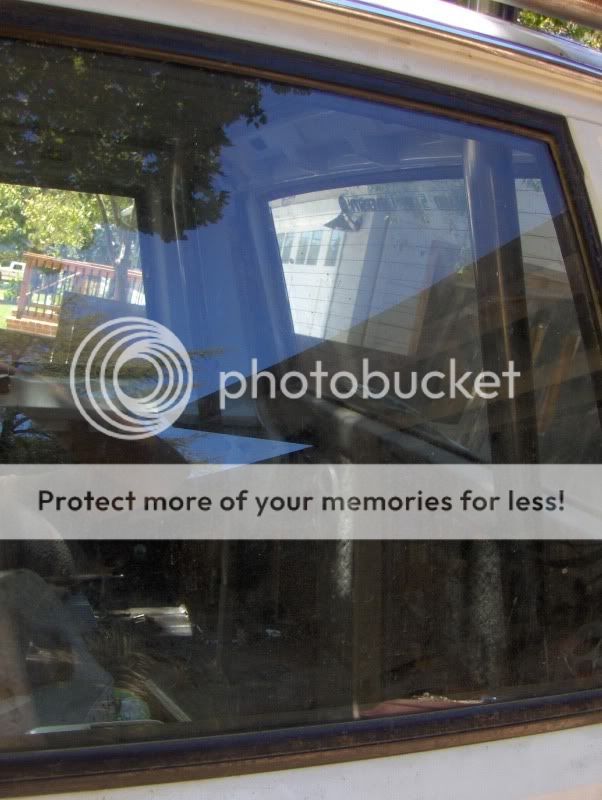
Both the B and C pillars are hidden behind the actually pillars of the Jeep. Im hoping it will look a lot cleaner that way.
HPIM0472.jpg


HPIM0473.jpg


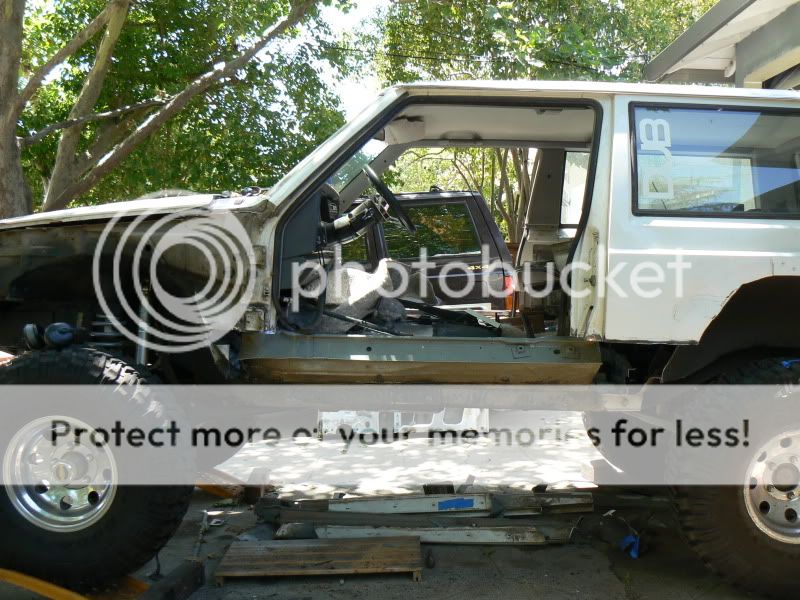
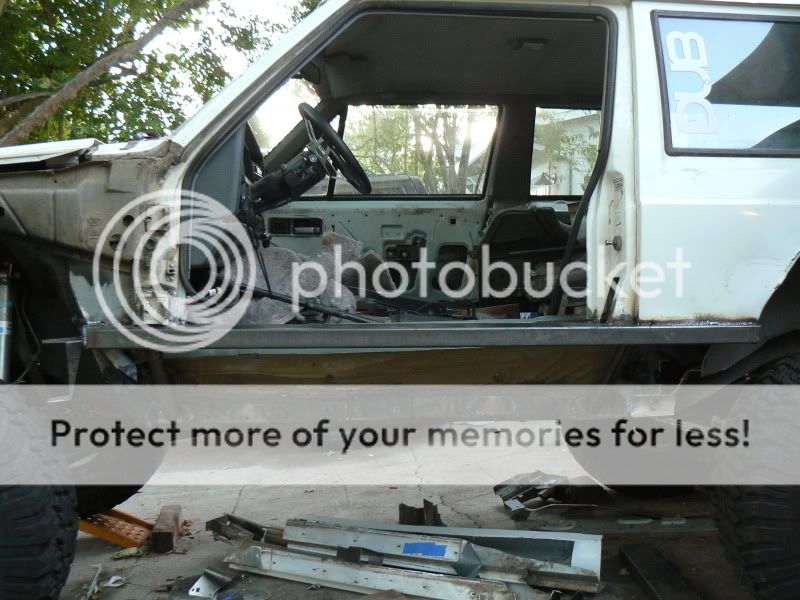
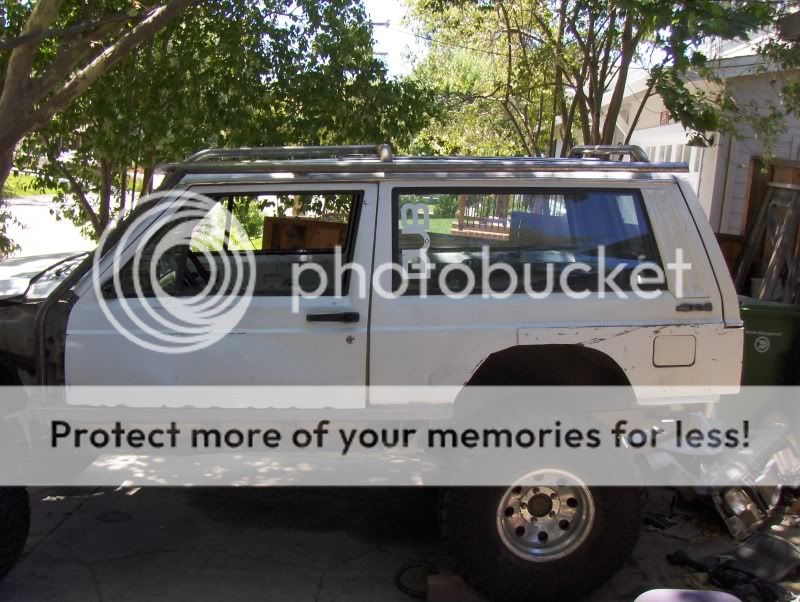
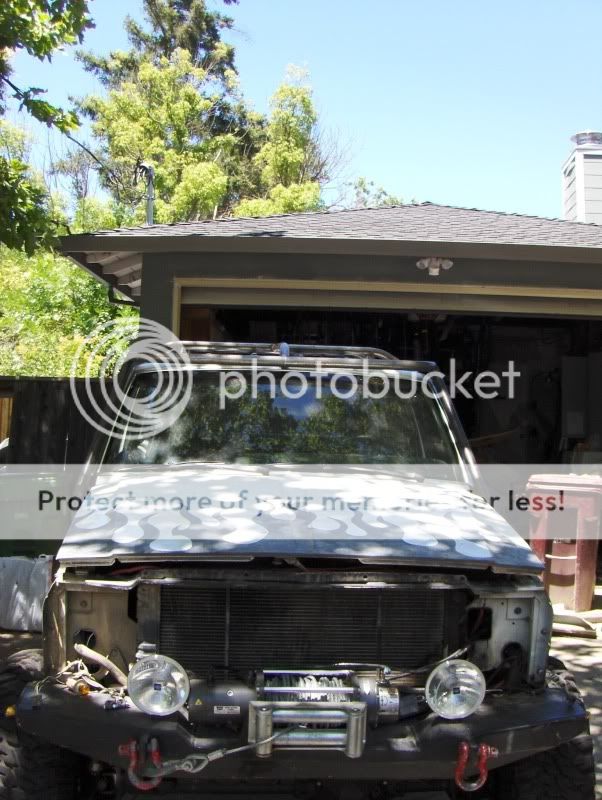
Side shot showing the A pillar and halo. Fenders will be going back on. This section of the build most likely wont have any fender bars going on. That will happen later on down the road, unless I have time.
HPIM0474.jpg


From the front. It looks a lot bulkier in the picture then it does in real life. We tried to get it to follow the lines of the Jeep as well as get it as tight as possible, and I think we did a dang good job at it.
HPIM0475.jpg


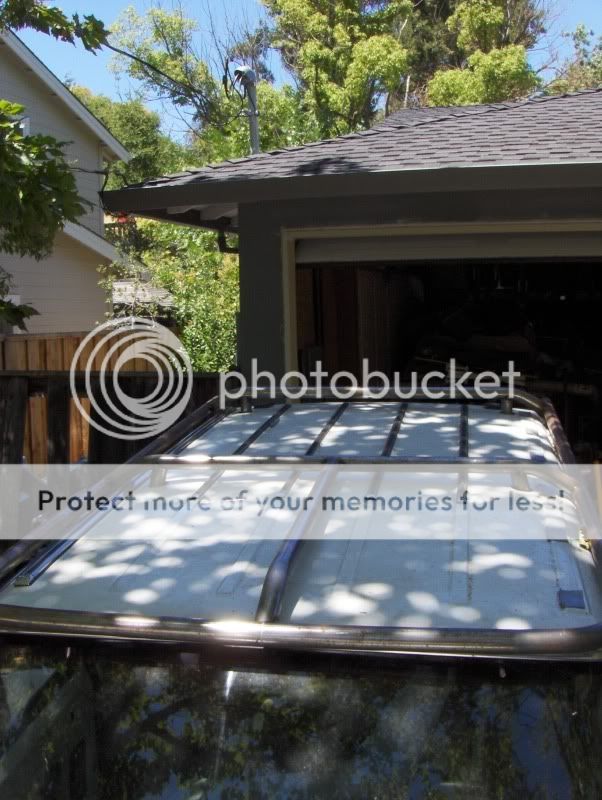
Roof. This will have a bunch more X's and Y's and things up there eventually.
HPIM0477.jpg


The A pillar portion of the halo has two bends in it. A 5* and a 85*. We should have done a 10* and a 80* to follow the body a bit better, but what can you do.
HPIM0478.jpg


So thats it for the cage portion of this update. Next up Im working on seat mounts. This is some of the most tedious and worthless stuff Ive ever done. You spend hours doing small little brackets all to bolt seats down. Really?
 
The stock seat brackets with my Corbeau seats and seat mounts are mounted at a 9.6* angle with the front higher. That was a pretty comfortable seating position for me, so I copied that angle and made some front seat mounts. I still have to do the rear part, as well as then entire passenger side, but now that I know what Im doing, those should go faster.
HPIM0479.jpg


Seat sits substantially lower then the stock stuff/Corbeau stuff.
HPIM0482.jpg


HPIM0483.jpg


And here is me. Yes, I look retarded, and no I usually dont sit like that. I finally have headroom in the Jeep though. Between getting rid of the headliner and lowering the seats I now have around 5'' of headroom. Which is nice since I used to be bouncing my head off the ceiling every once in awhile. :scared:
HPIM0487.jpg


Hopefully by the end of this weekend the seats will be in, and we can finish up the cage. Unfortunatly my girlfriend comes to visit all next week, so I dont know how much I will be working on the Jeep. :smootch::D
 
Last edited:
Back
Top