- Location
- Henderson, NV
Hey all, been awhile. After about 5 years gone, I am back in the Jeep world after my ADHD has decided to re-focus on building a Cherokee again. For some context, this will be my 4th XJ (89, 97,99 and now 01) and Second build thread.
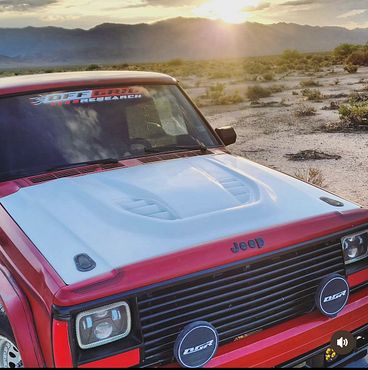
I initially wanted to name this thread "XJ build, a tail of bad choices" but I don't want that Mojo with me forever....... hopefully. Being out of the game for a hot minute has allowed my to day dream about what rig I'd want to build as an "ideal XJ" and I've really always liked the look of the JCR Real Hawk. Specifically the Notch Customs fender flares with 35-37s and some mild overland bling. Also really like the elusive Baja Fiber "Rubicon Hood" that seems to be popping up randomly on social media.
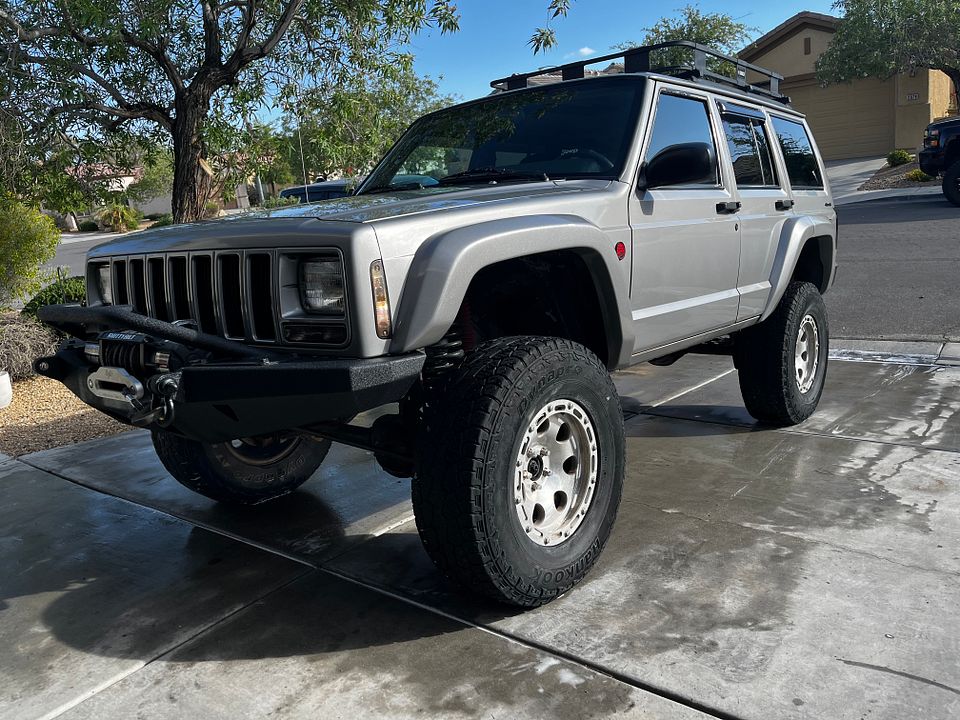
So, I set out to find a Jeep. I had my budget set and began looking in my local area - (Vegas). However most rigs that were on Facebook or KSL/Craigslist were either beat, had a crap load of "Modifications" or wanted 15k for a clean one. I expanded my search and found one that I liked up in SLC area and decided to go up there and pick it up. AS I mentioned before I made some choices that, if given the option to re-do, I would NOT have bought this particular Jeep. But Hindsight is 20/20, and I can't change that. The Jeep that I ended up buying was a 2001 Cherokee Classic with 160k on the Odometer. Originally what drew me to this XJ was the fact that it had the Notch Customs flares like i wanted already done and painted, which is expensive. It also had SmittyBuilt front and rear bumpers, with the rear one being a tire carrier and the front one being a winch bumper with a Smitty XD winch, which is also expensive. It wasn't the cleanest Jeep since it was from SLC it had some rust on it, more than I realized when i bought it (more on that later) but decided that it wasn't anything that i couldn't clean up. So, I flew up to SLC, drove the jeep, and paid Cash for it on the spot. I was in a hurry to drive it back down to Vegas so i didnt spend as much time looking it over as i should have.
It drove..... OK. Previous Owner had pieced together some kind of 4" lift but still was running the stock track bar, upper control arms and some after market lowers that had worn bushings. Rear had some RE 4" springs and an adjustable shackle, Not bad. None of this was a big deal to me, since i knew I was going to replace the suspension with a long arm kit and WJ steering. My Original plan was to beef up the D30 in the front with 4.88s, Elocker, Chromoly 30splines and truss it with an Artec truss. And give the rear Axle the same treatment. However, I completely forgot that 00-01 XJs have LP dana 30s in the front, and can have the Super Turd Dana35 in the back, which this one has. So for sure the rear axle is out and will need an swap to something better....... More on that later. Also in my forgetfulness, I forgot the 2001s have the crappy 0331 head, and the crappy precats and O2 sensors. Ooops. guess we'll deal with those later.
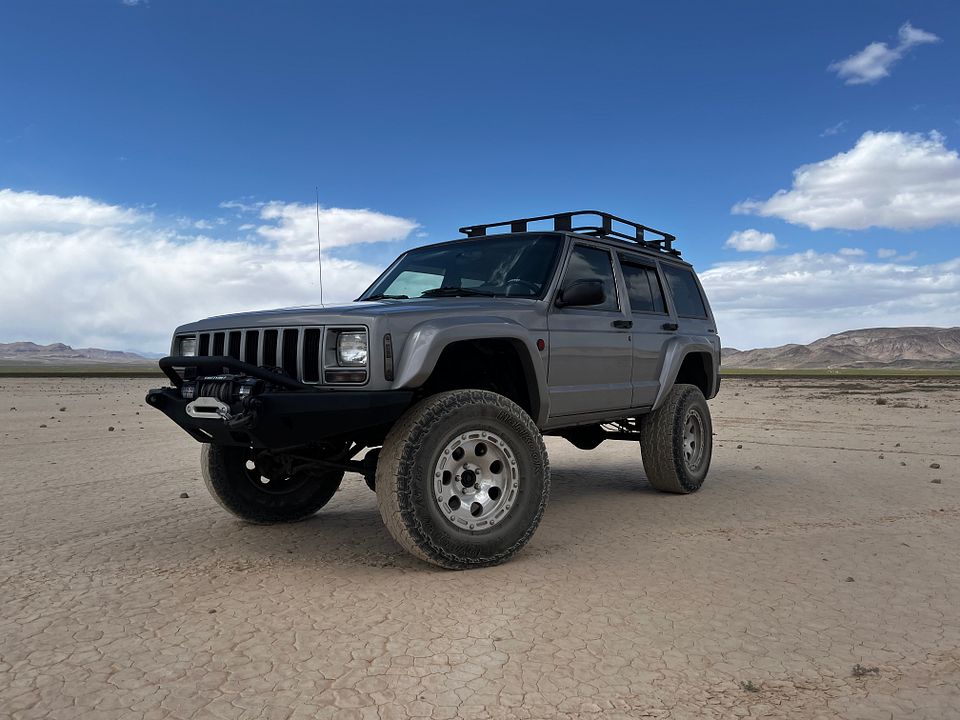
So i set off on a new adventure and drove it back to Vegas without incident. Jeep has 32ish inch tires and 3.55 gears, so getting above 65-70 miles an hour on the freeway was a struggle. With 160k miles on it, the jeep runs ok, but i believe the engine will need a refresh of some kind in the future. Again, this wasn't a huge deal because I was planning on doing a stroker build on this one so I just need this to last me for a little while.
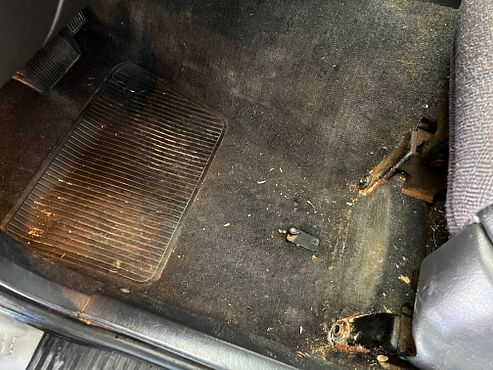
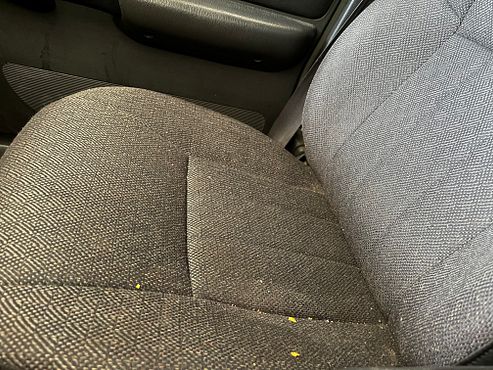
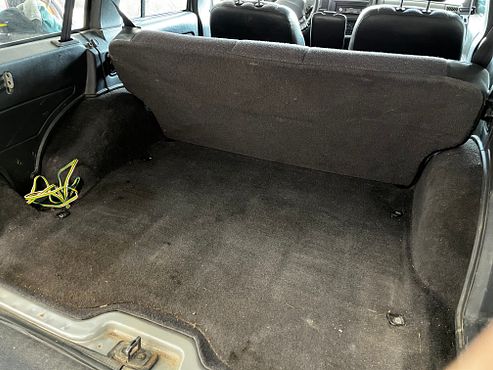
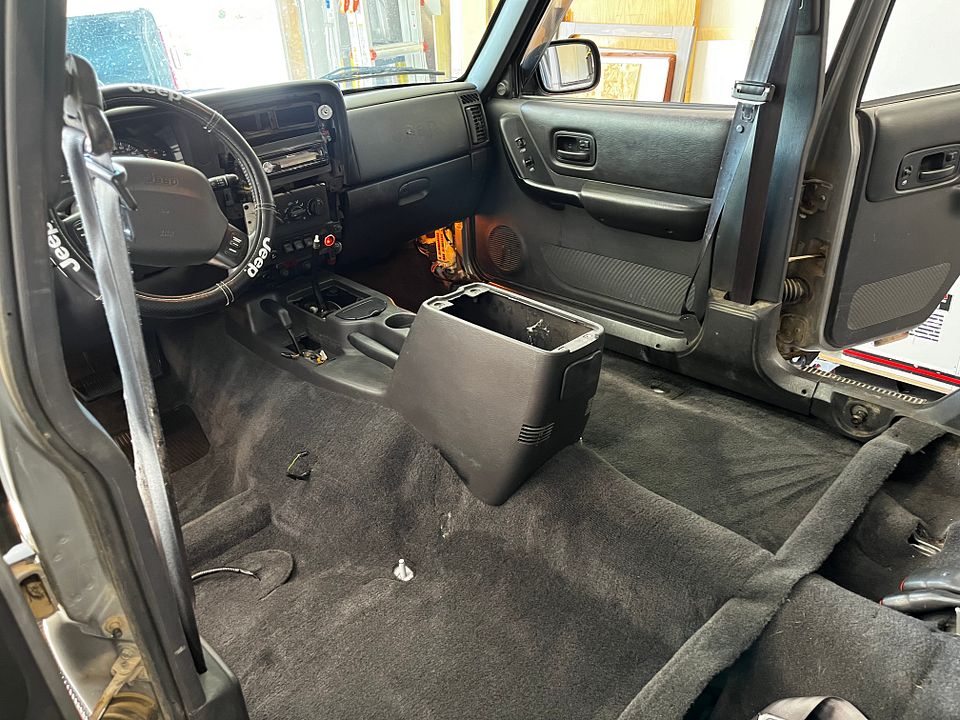
Once I got it home, I deep cleaned it. And she desperately needed it. Seats and carpet were full of dirt. Interior had some kind of smell from sitting and almost all the plastic pieces on the dash were loose, cracked, or broken entirely. I pulled out all the interior. Washed it, and replaced it.
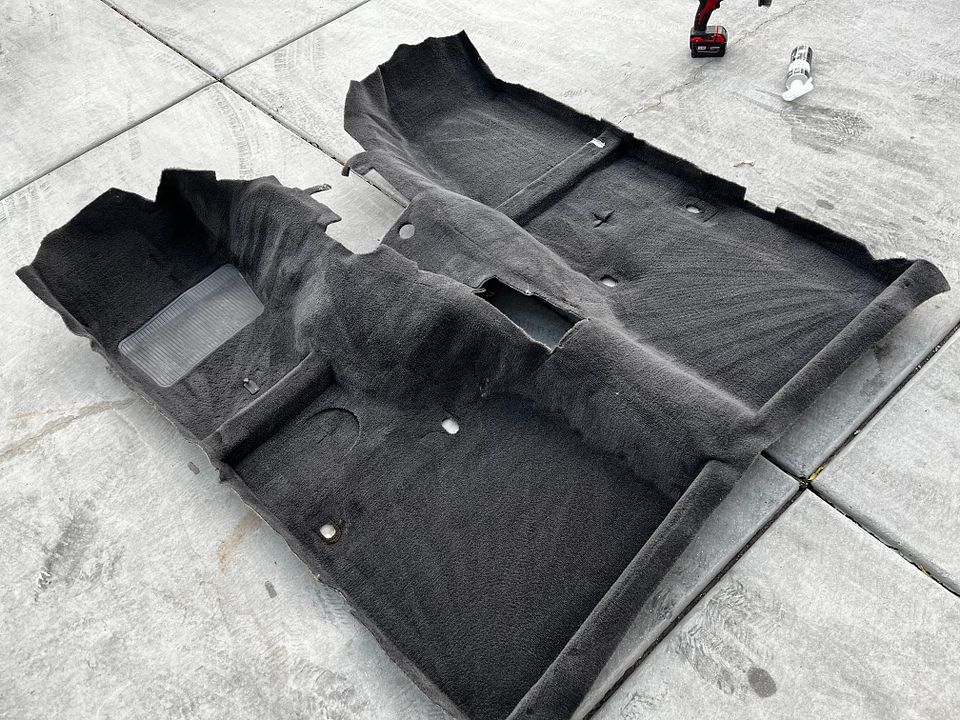
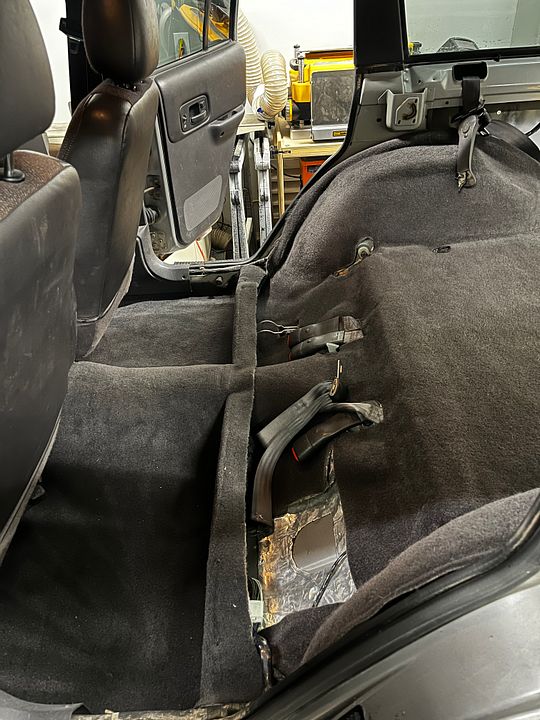
I power washed the carpets and followed up with a deep shampooing. I'm very happy with how they came out. Almost look new.
Before.....
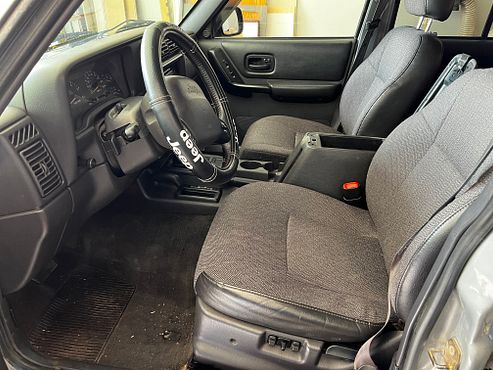
After
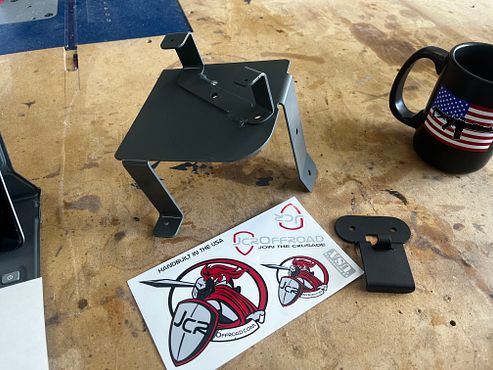
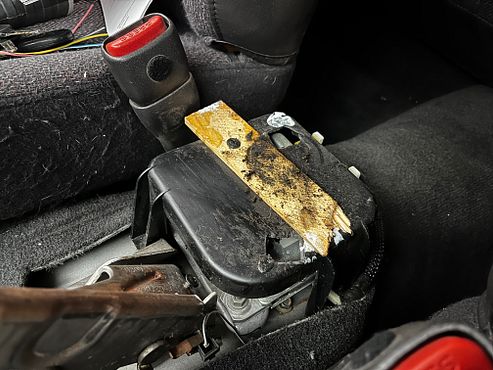
I went through the interior and replaced what plastic pieces that needed to. The upper dash bezel was cracked, so that got replaced. I also purchased JCR's console bracket to fix the weird contraption that the previous owner had built...... not sure what all the black goo is.....
Front power seat needed a new motor for the front vertical adjustment. Found a replacement on Ebay and now the seat work perfectly.
And also did my first upgrade.
Installed a Double Din radio. With Carplay

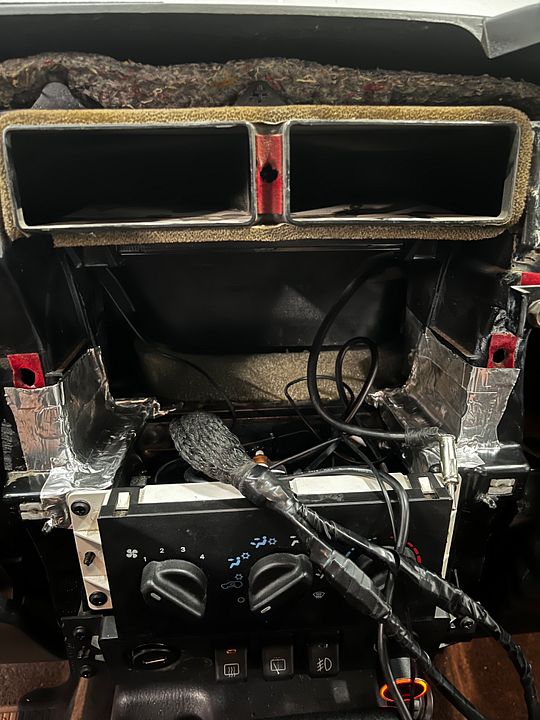
Grabbed a new center bezel from JeepCables.com which looks super clean. To install a Double Din radio in the cherokee, you need to modify the mounting locations for the new larger head unit. This requires you to clearance out the lower mounting stud for the old radio, and cut into the lower side supports. Just an FYI, This is the ducting for your HVAC, so you need to tape the holes back up. I used some metal speed tape to seal it all back up. Other than that, Its a plug and play type mod and really looks clean in its new home. Eventually I plan on upgrading the speakers and adding a small Kicker sub under the seat, but for now, this works well and the sound is ok.
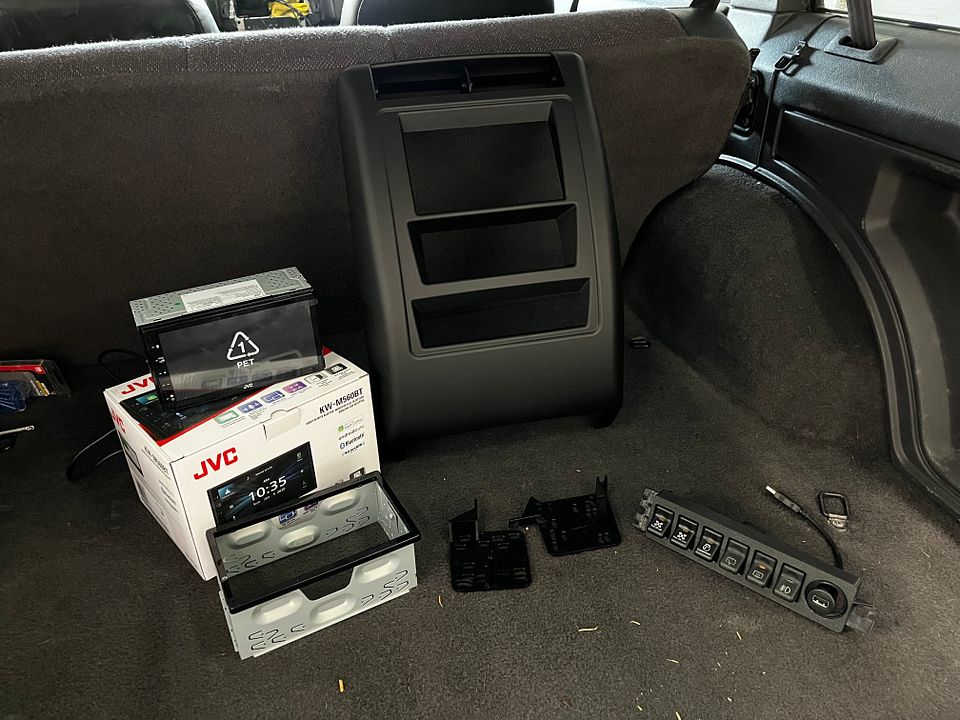
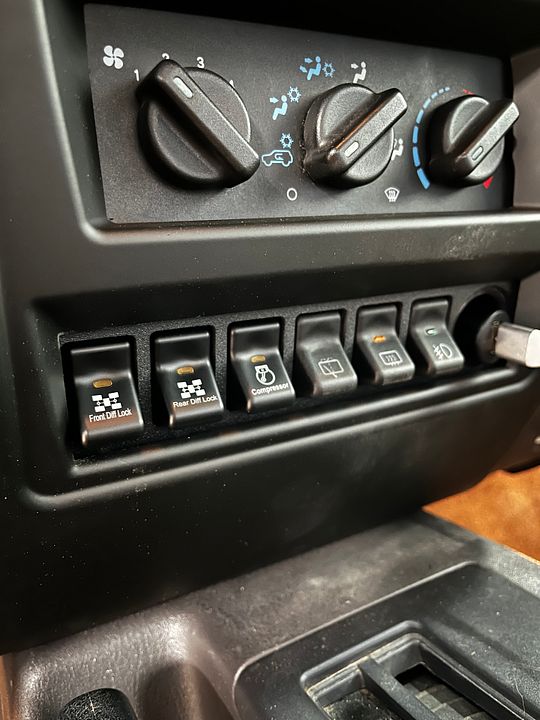
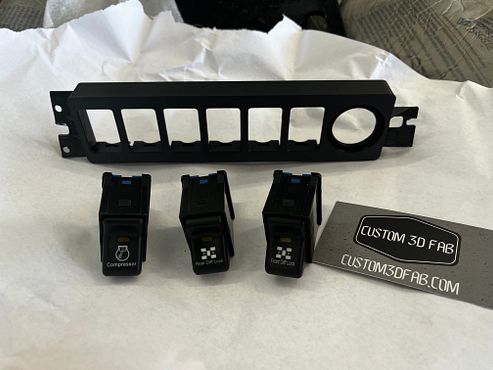
I also found a guy on Etsy that sells a 3D printed lower switch panel that allows for 6 factory style rocker switches down below. The plan is to use these for my onboard air compressor and Front and rear lockers. There are several shops on Ebay that sell factory switches with different labels on them. So I picked up a couple.
I initially wanted to name this thread "XJ build, a tail of bad choices" but I don't want that Mojo with me forever....... hopefully. Being out of the game for a hot minute has allowed my to day dream about what rig I'd want to build as an "ideal XJ" and I've really always liked the look of the JCR Real Hawk. Specifically the Notch Customs fender flares with 35-37s and some mild overland bling. Also really like the elusive Baja Fiber "Rubicon Hood" that seems to be popping up randomly on social media.
So, I set out to find a Jeep. I had my budget set and began looking in my local area - (Vegas). However most rigs that were on Facebook or KSL/Craigslist were either beat, had a crap load of "Modifications" or wanted 15k for a clean one. I expanded my search and found one that I liked up in SLC area and decided to go up there and pick it up. AS I mentioned before I made some choices that, if given the option to re-do, I would NOT have bought this particular Jeep. But Hindsight is 20/20, and I can't change that. The Jeep that I ended up buying was a 2001 Cherokee Classic with 160k on the Odometer. Originally what drew me to this XJ was the fact that it had the Notch Customs flares like i wanted already done and painted, which is expensive. It also had SmittyBuilt front and rear bumpers, with the rear one being a tire carrier and the front one being a winch bumper with a Smitty XD winch, which is also expensive. It wasn't the cleanest Jeep since it was from SLC it had some rust on it, more than I realized when i bought it (more on that later) but decided that it wasn't anything that i couldn't clean up. So, I flew up to SLC, drove the jeep, and paid Cash for it on the spot. I was in a hurry to drive it back down to Vegas so i didnt spend as much time looking it over as i should have.
It drove..... OK. Previous Owner had pieced together some kind of 4" lift but still was running the stock track bar, upper control arms and some after market lowers that had worn bushings. Rear had some RE 4" springs and an adjustable shackle, Not bad. None of this was a big deal to me, since i knew I was going to replace the suspension with a long arm kit and WJ steering. My Original plan was to beef up the D30 in the front with 4.88s, Elocker, Chromoly 30splines and truss it with an Artec truss. And give the rear Axle the same treatment. However, I completely forgot that 00-01 XJs have LP dana 30s in the front, and can have the Super Turd Dana35 in the back, which this one has. So for sure the rear axle is out and will need an swap to something better....... More on that later. Also in my forgetfulness, I forgot the 2001s have the crappy 0331 head, and the crappy precats and O2 sensors. Ooops. guess we'll deal with those later.
So i set off on a new adventure and drove it back to Vegas without incident. Jeep has 32ish inch tires and 3.55 gears, so getting above 65-70 miles an hour on the freeway was a struggle. With 160k miles on it, the jeep runs ok, but i believe the engine will need a refresh of some kind in the future. Again, this wasn't a huge deal because I was planning on doing a stroker build on this one so I just need this to last me for a little while.
Once I got it home, I deep cleaned it. And she desperately needed it. Seats and carpet were full of dirt. Interior had some kind of smell from sitting and almost all the plastic pieces on the dash were loose, cracked, or broken entirely. I pulled out all the interior. Washed it, and replaced it.
I power washed the carpets and followed up with a deep shampooing. I'm very happy with how they came out. Almost look new.
Before.....
After
I went through the interior and replaced what plastic pieces that needed to. The upper dash bezel was cracked, so that got replaced. I also purchased JCR's console bracket to fix the weird contraption that the previous owner had built...... not sure what all the black goo is.....
Front power seat needed a new motor for the front vertical adjustment. Found a replacement on Ebay and now the seat work perfectly.
And also did my first upgrade.
Installed a Double Din radio. With Carplay
Grabbed a new center bezel from JeepCables.com which looks super clean. To install a Double Din radio in the cherokee, you need to modify the mounting locations for the new larger head unit. This requires you to clearance out the lower mounting stud for the old radio, and cut into the lower side supports. Just an FYI, This is the ducting for your HVAC, so you need to tape the holes back up. I used some metal speed tape to seal it all back up. Other than that, Its a plug and play type mod and really looks clean in its new home. Eventually I plan on upgrading the speakers and adding a small Kicker sub under the seat, but for now, this works well and the sound is ok.
I also found a guy on Etsy that sells a 3D printed lower switch panel that allows for 6 factory style rocker switches down below. The plan is to use these for my onboard air compressor and Front and rear lockers. There are several shops on Ebay that sell factory switches with different labels on them. So I picked up a couple.


 ?
? 
 . Also, the front axle is a low pinion which isn't the most ideal axle to dump money into either but figured I could make it work.


")

