Creeper2012
NAXJA Forum User
- Location
- Hanover, IN
It all started last summer when i grenaded the TruTrac in my D44 (rear). Found out the hard way just how much wheel hop is "too much." Luckily all of my shafts held up so I was able to limp 'er out in FWD under her own power.
So, this winter entails the repairs and upgrades that are needed/wanted before our off-road group's big annual Memorial Day outing. The first step was rebuilding the rear axle and replacing the shrapnel with a full spool, which meant the axle needed to come out... mainly since I've got the time and floor space to do it, but then I discovered the wollered-out bolt holes how bad the rust had gotten...
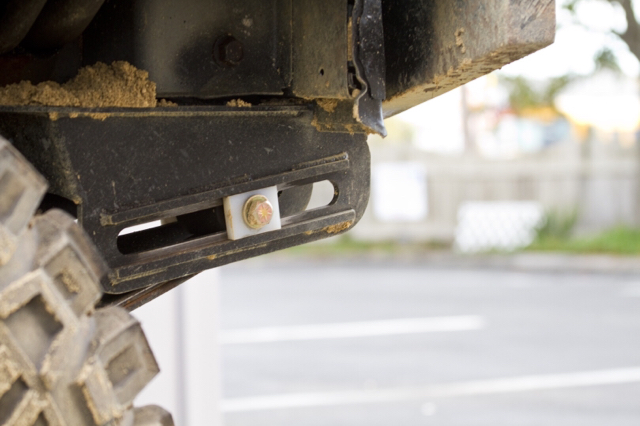
After some research, I decided to bite the bullet and try out some of Liquid Iron's XJ leaf sliders...
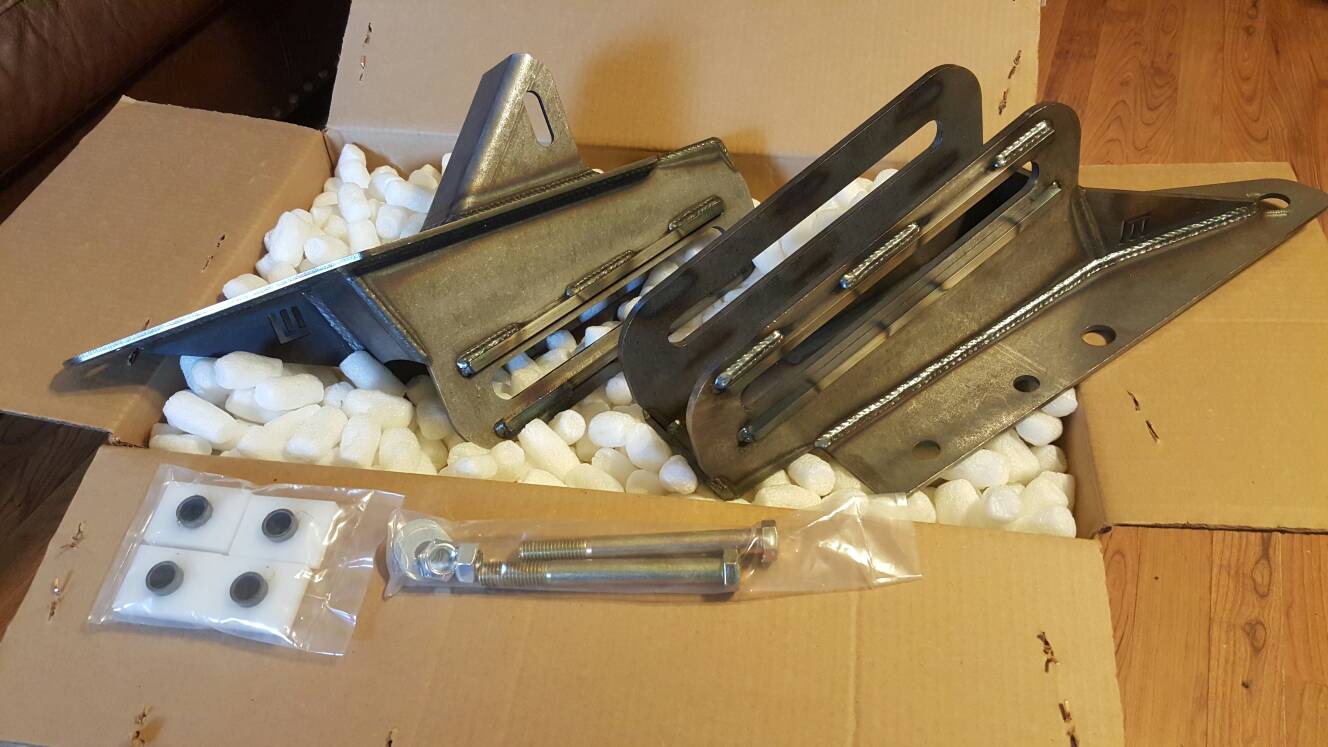
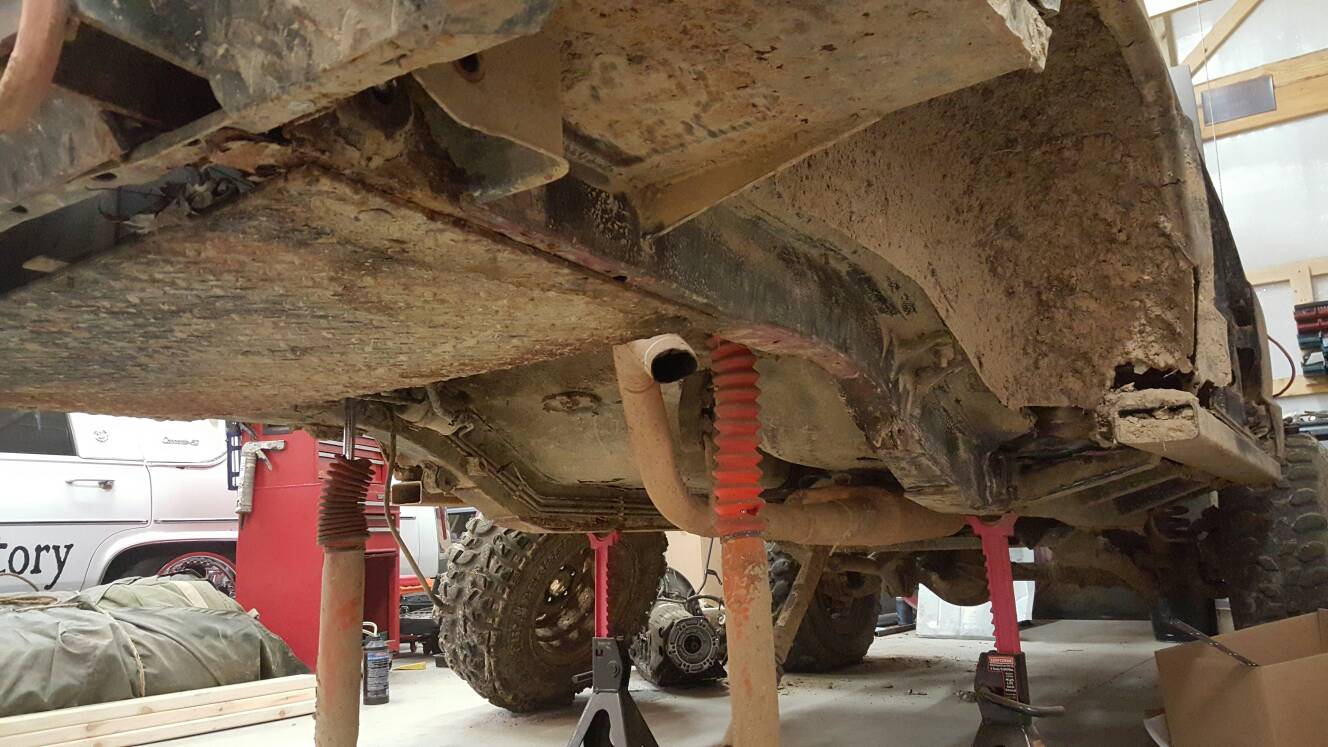
Back under the Jeep, my original intentions were to simply cut out the bad, replace what was necessary and weld in the sliders. But the bad just kept getting worse, as far as rust removal...
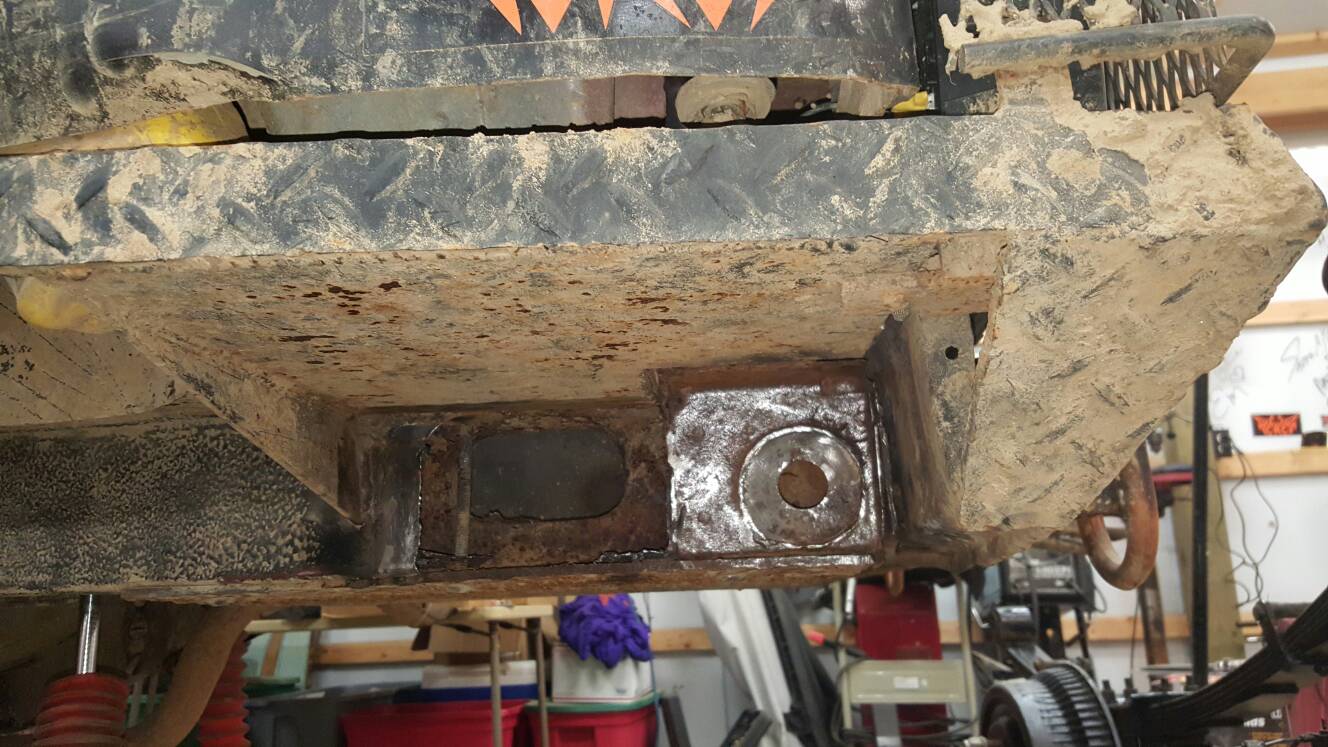
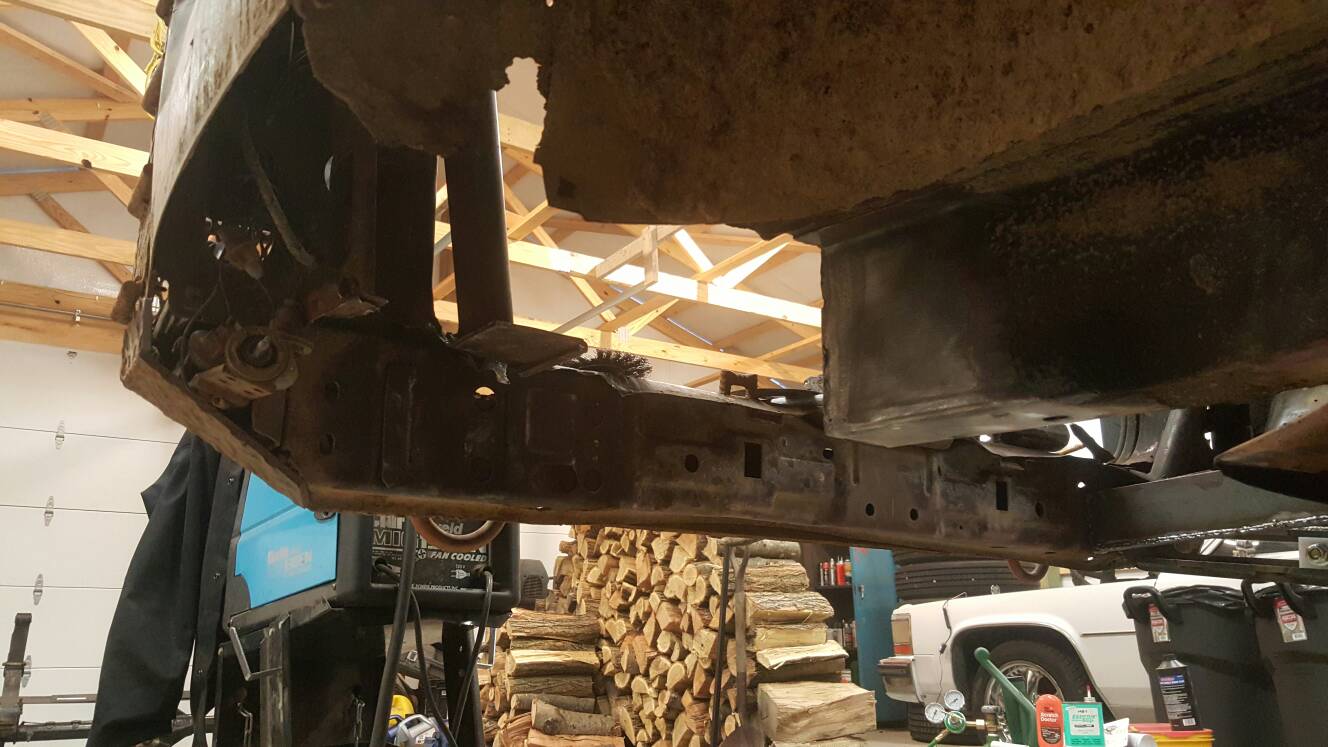
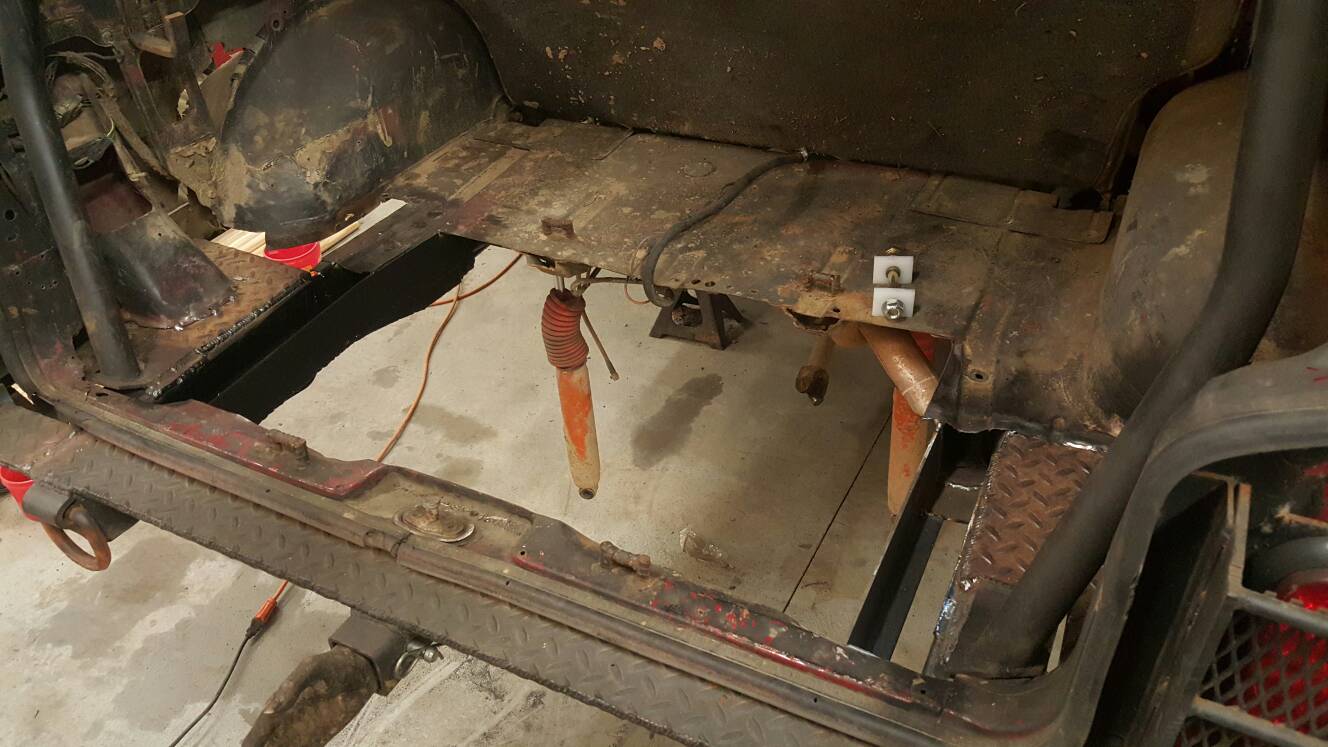
Already got the outside wall of the unibody frame cut out and some wire wheeling done in this pic. At some point, I held the slider in place for some eye-balling and to make sure I wasn't moving in the wrong direction when I discovered I didn't like how low they were gonna be in relation to my back bumper if I were to put 'em where they're supposed to go (bolted to the factory shackle box and nut strips). I felt they would've really hurt my departure angle.
That was when it hit the fan...
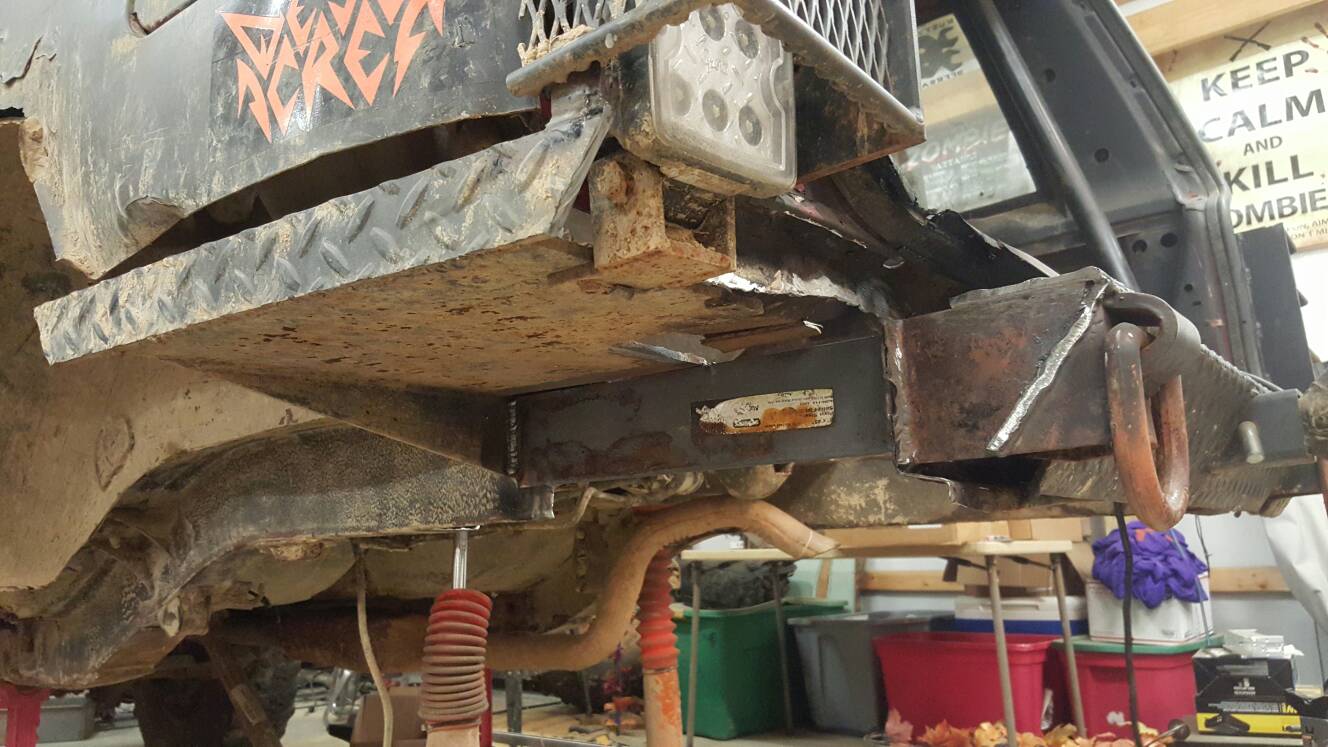
Got some new metal in, here. Things progressed and I got one of the sliders pretty well welded in... when a light bulb came on in my head. I thought, "Hey, I should probably measure and see if I'm putting this in the right spot."
I wasn't. I was off to the driver's side by about an inch! So, back to cutting.
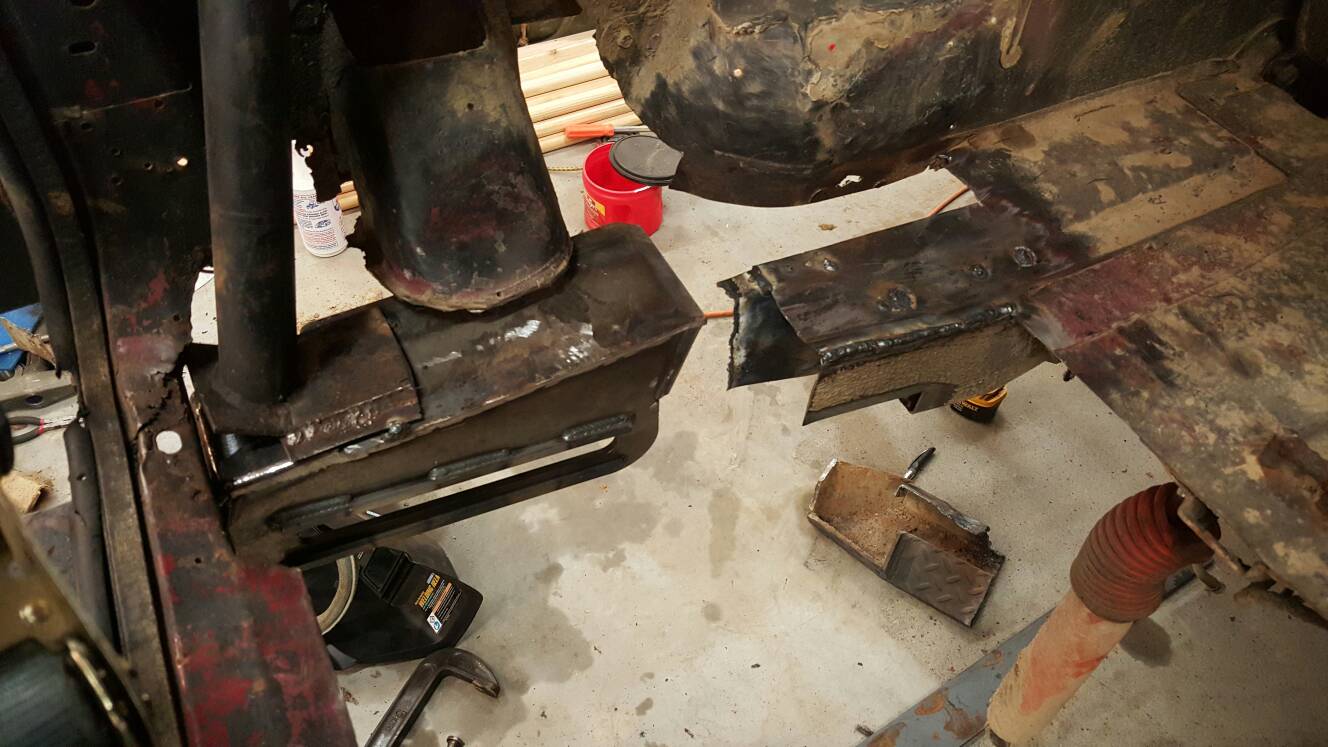
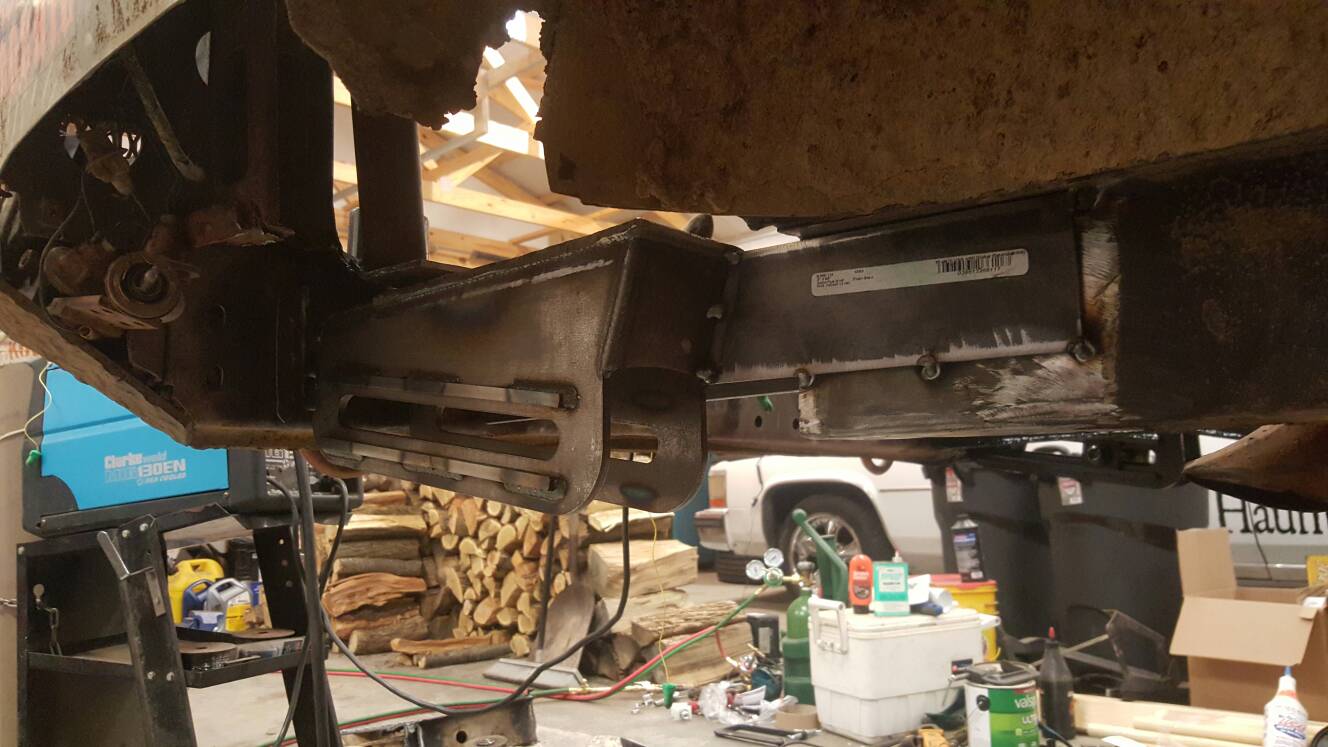
Here, I've got it tacked back in place. This time, I measured the inside diameter of my leaf spring bushings (which was exactly 40", still installed on the axle), divided that by 2, found the center of the Jeep (a square hole in the sheet metal right under my hatch latch pin), measured over to the driver's side and made a mark at 20". That's where the inside edge of the inboard slider rail needed to land. I'd also already measured the total length of my springs to make sure they wouldn't "bottom out" the sliders at full compression given the (current) location of the front spring mounts. Got the green light!
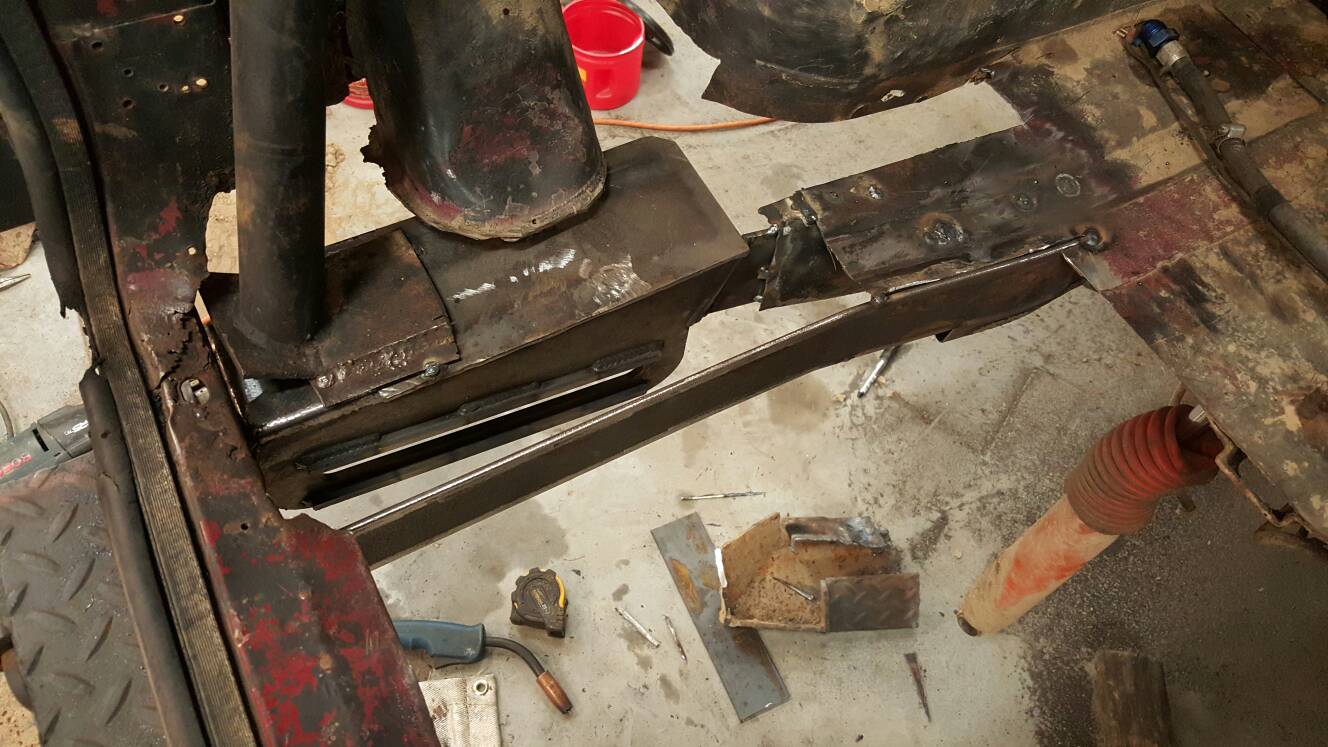
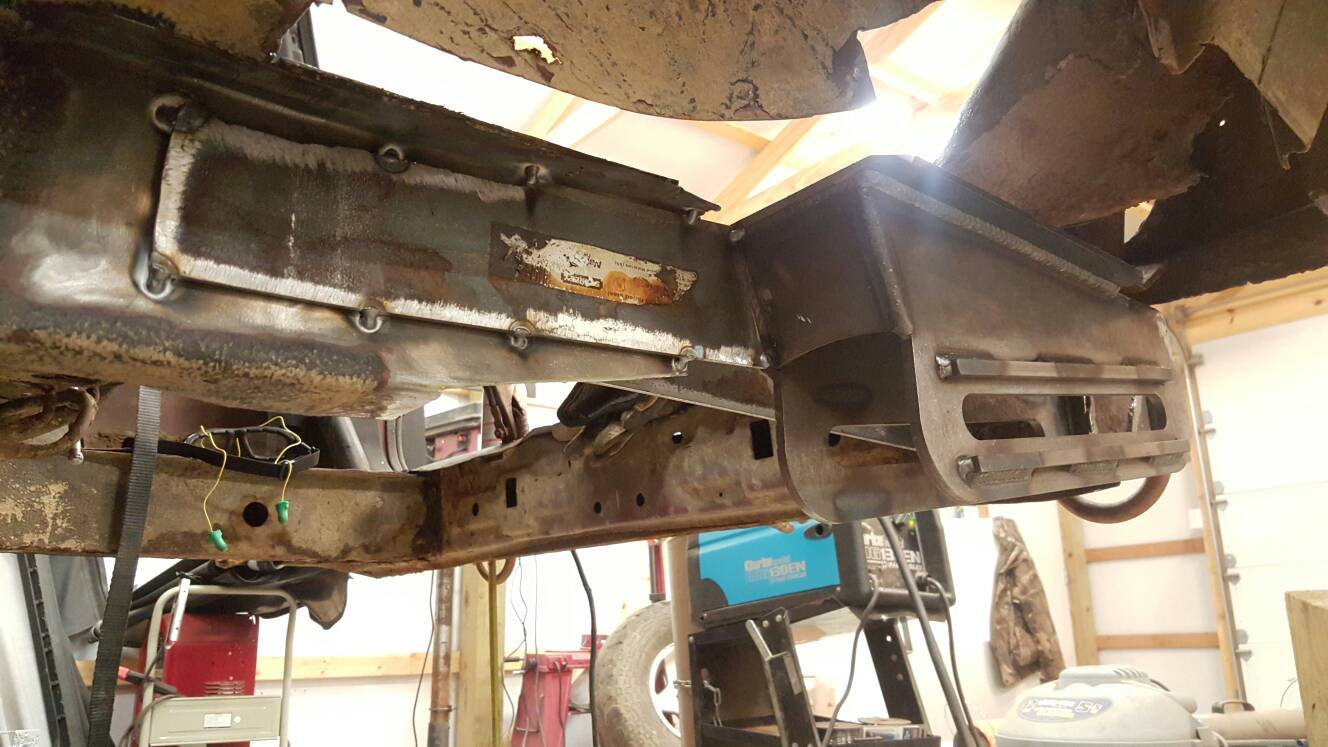
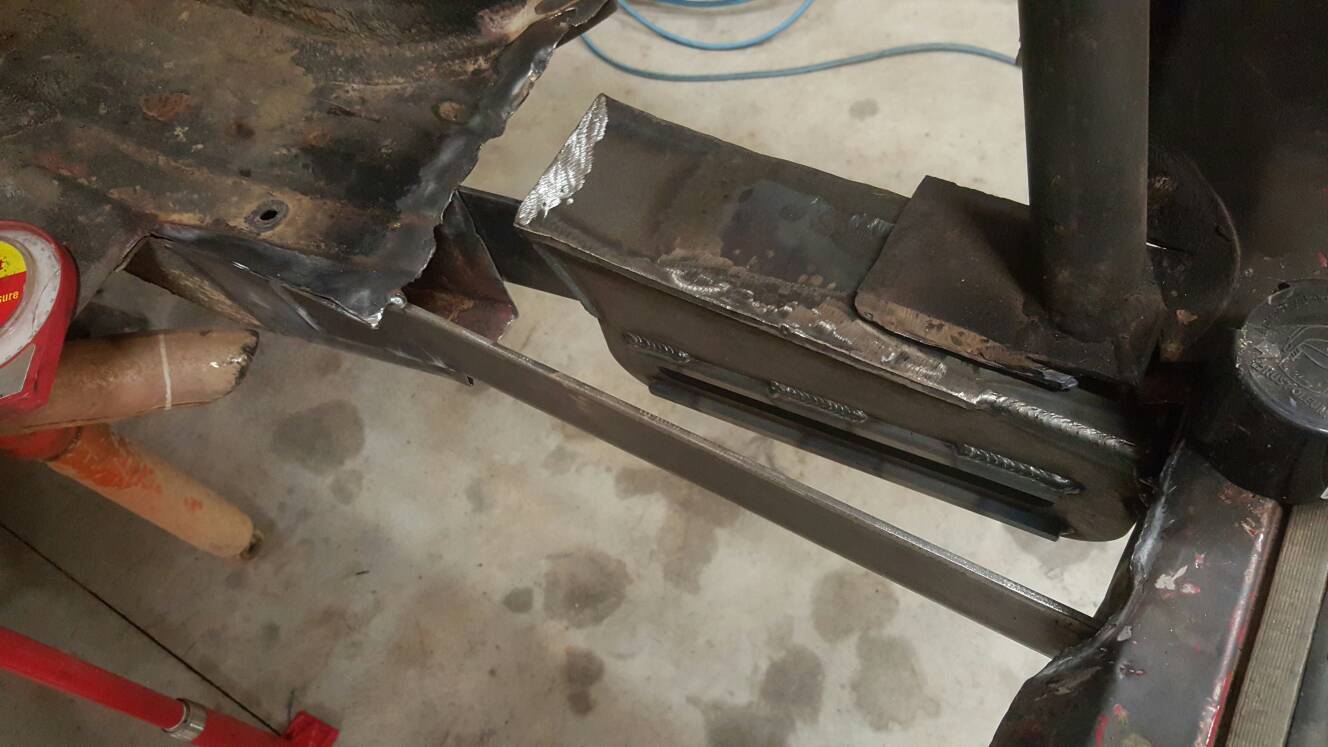
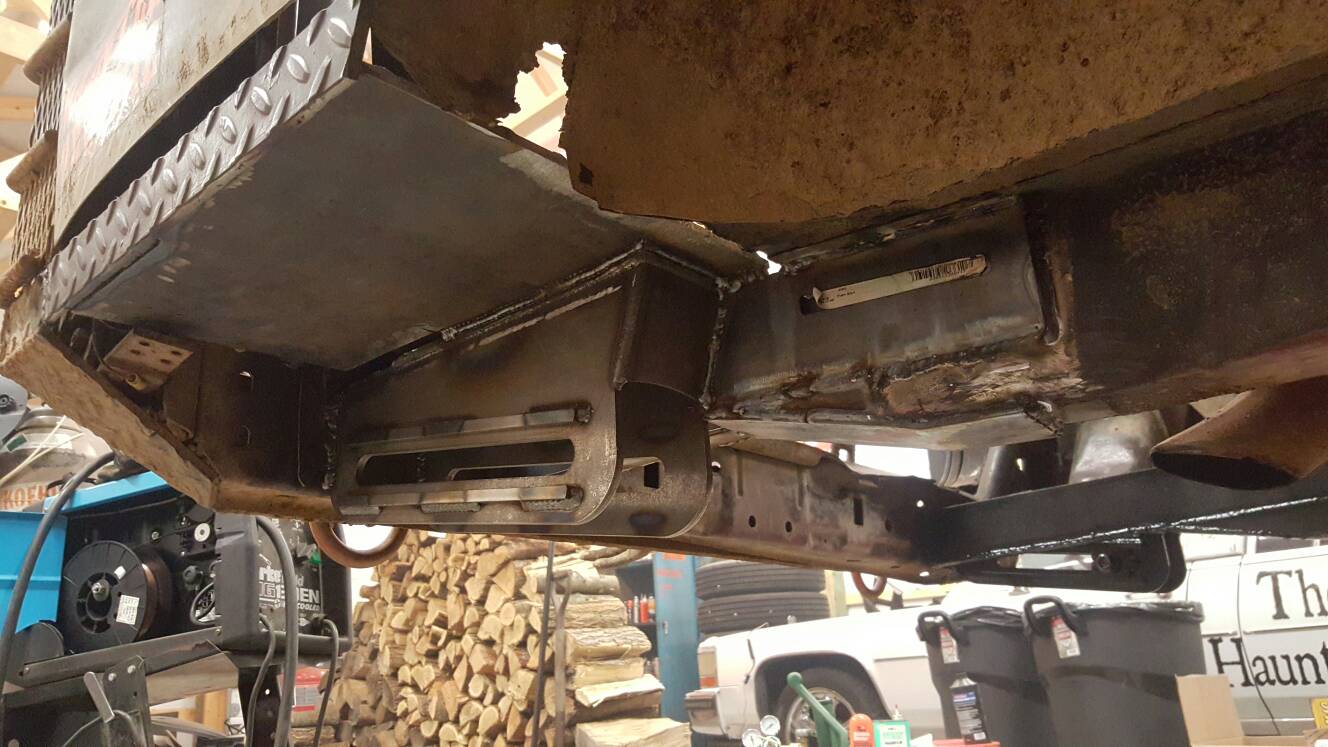
Got everything re-connected. With this setup, I wasn't gonna be able to completely box in the bottom of the sub-frame without interfering with the slider bolt, so I cut a strip to fill in as much gap as I could, which would also add some lateral strength to that side of the new sub-frame. By the way, I'm using 3"x3/16" flat bar from the local Tractor Supply.
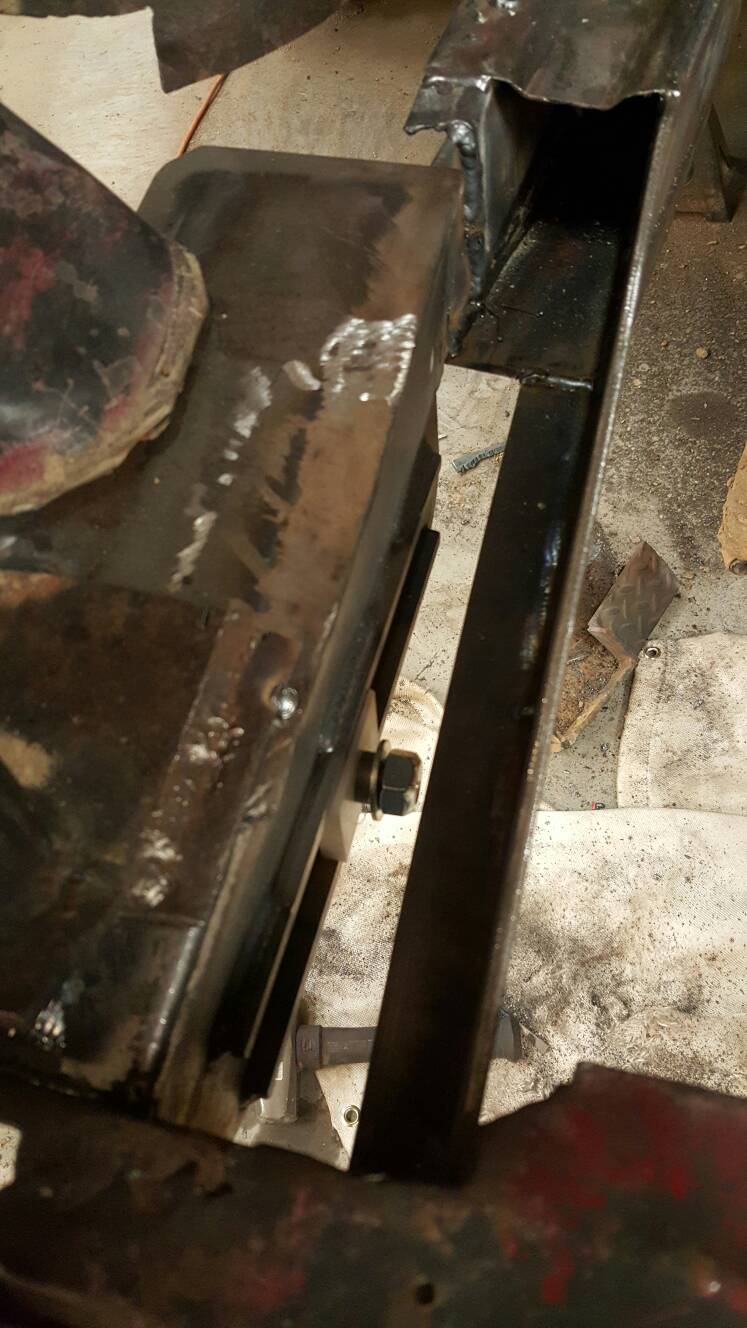
The 3" material isn't the full width of the sub-frame, so I had to ramp it down to meet up with the factory metal
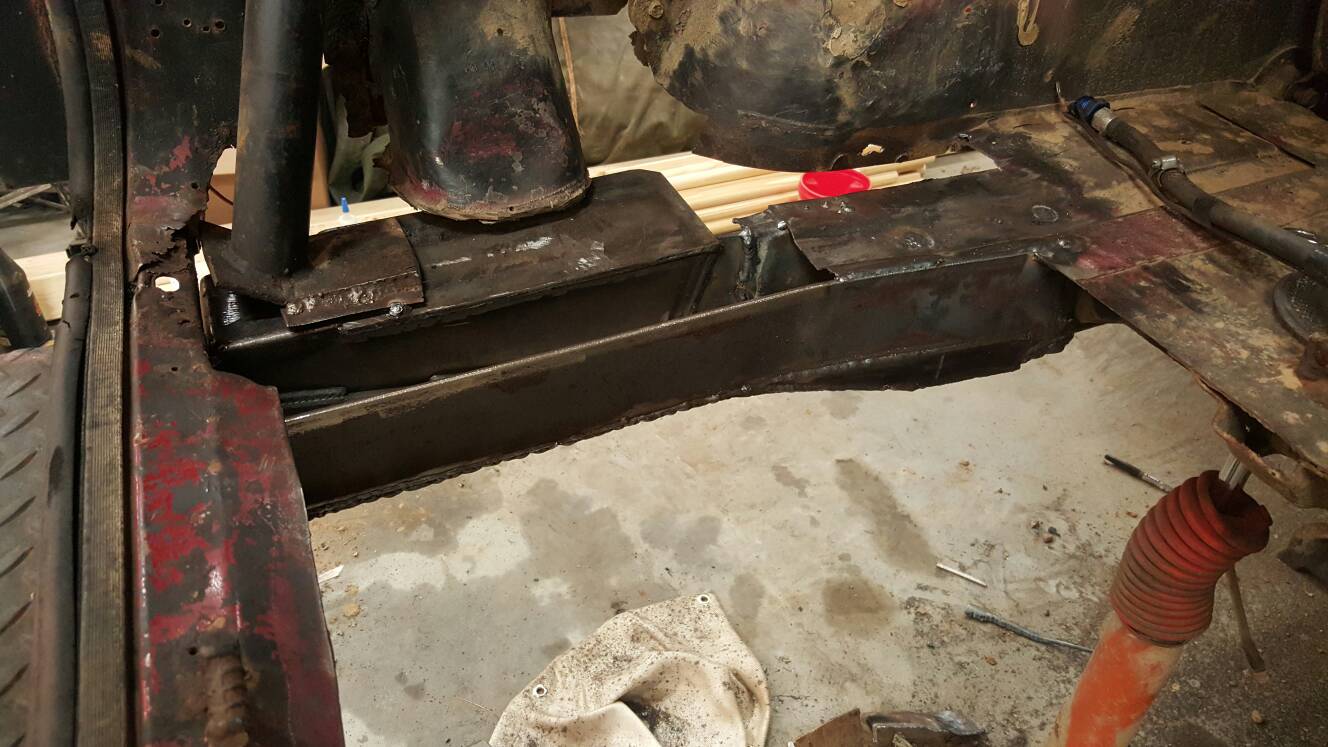
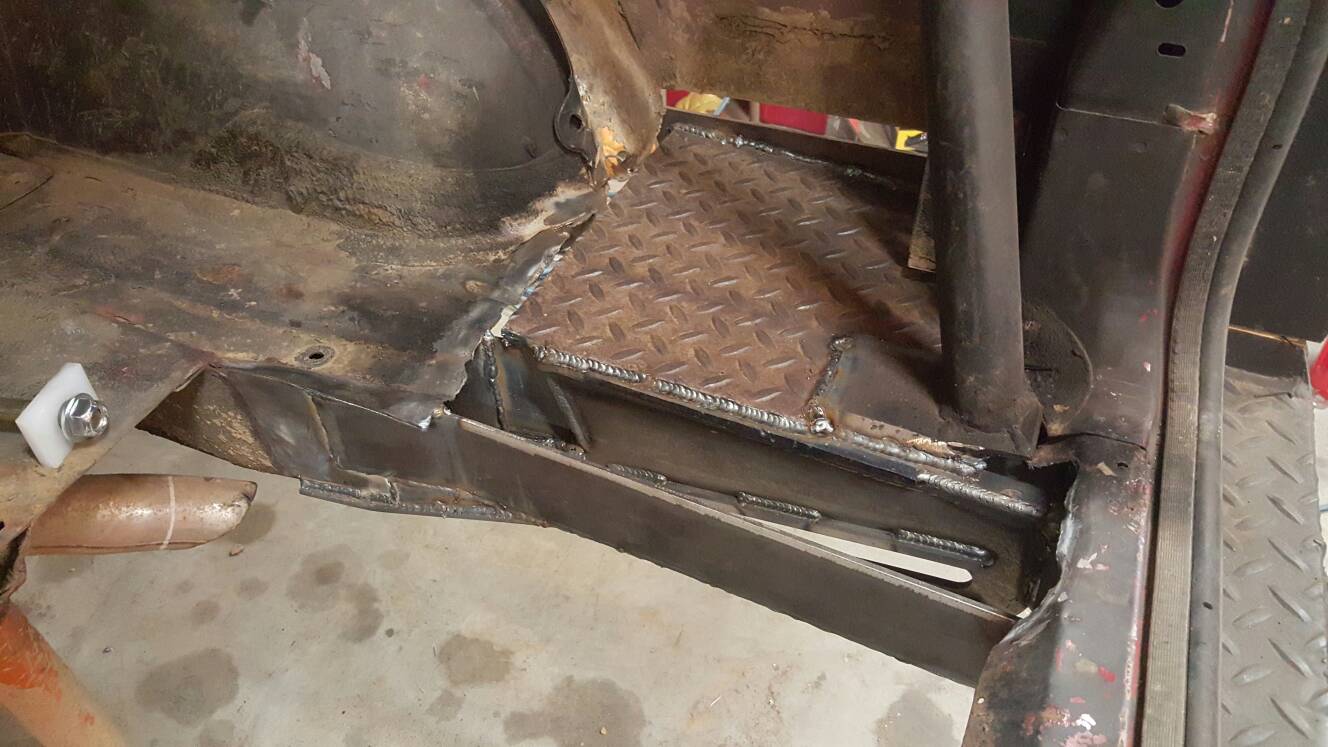
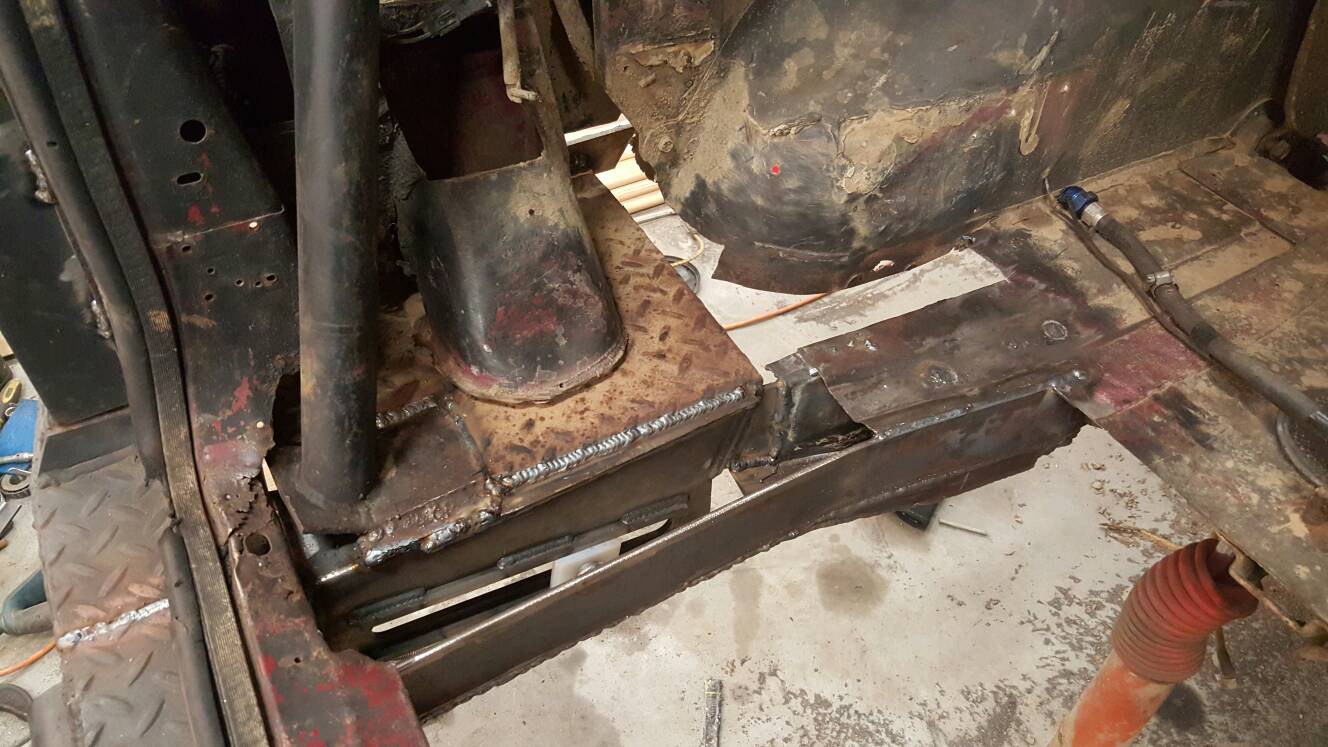
Then I re-installed the plate on top for the extra roll cage tie-in and the side pieces that extend forward from my bumper
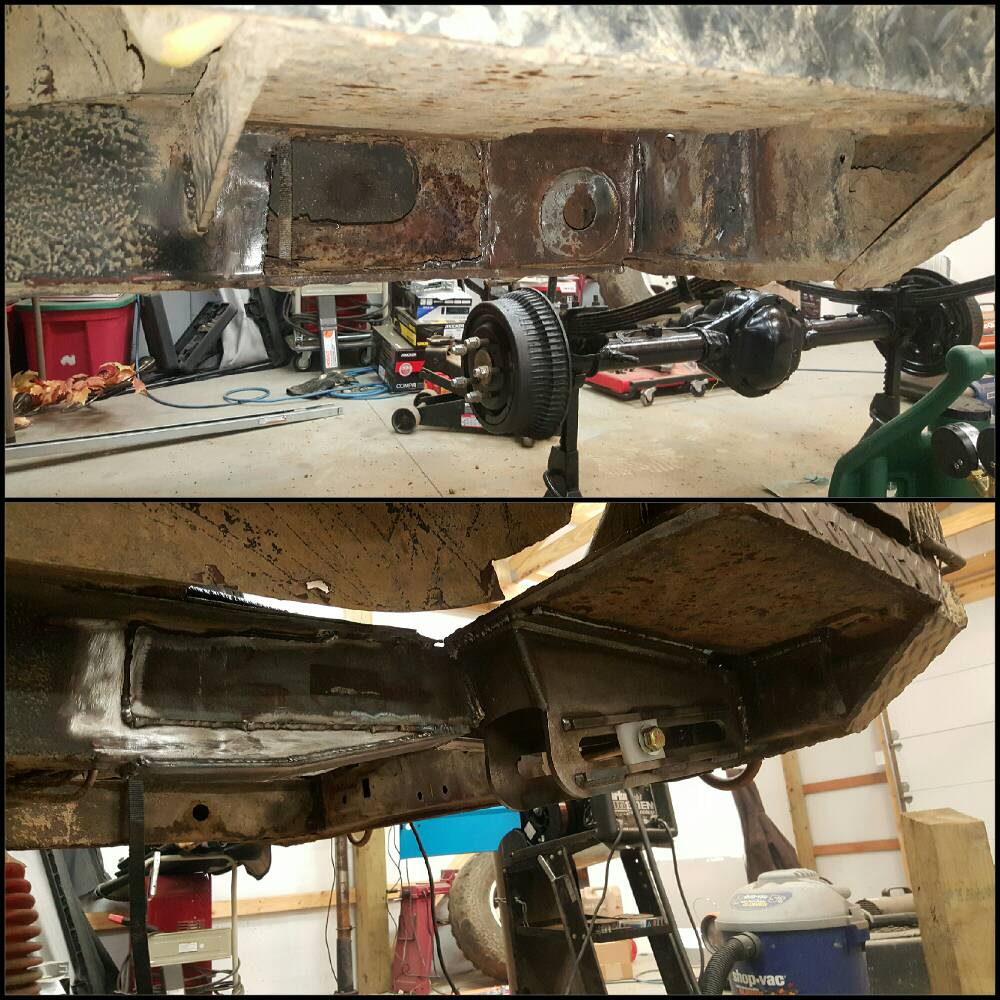
A "before and after" I made of the driver's side
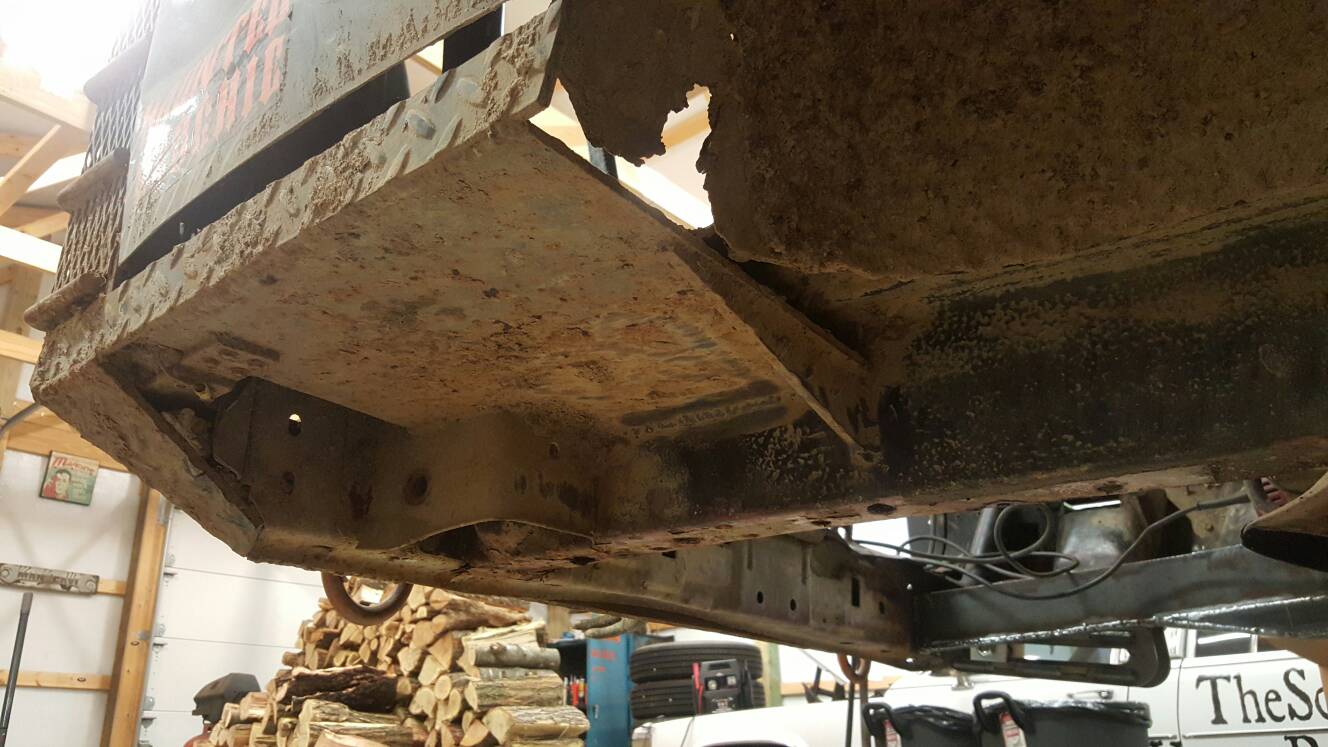
Now on to the passenger side. This time, I knew more about where to cut and measure so the process went much smoother!
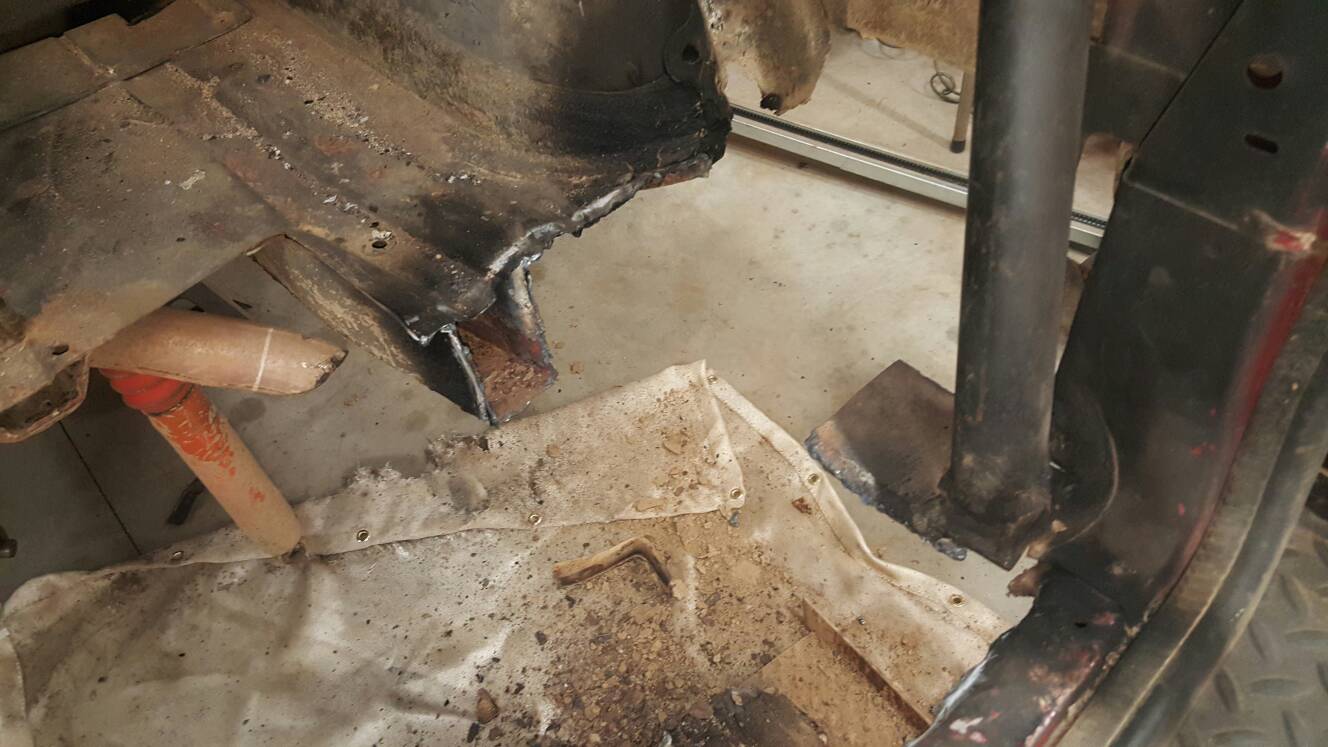
I did run into a frame straight-ness issue, but it was nothing a ratchet strap and a port-a-power couldn't fix.
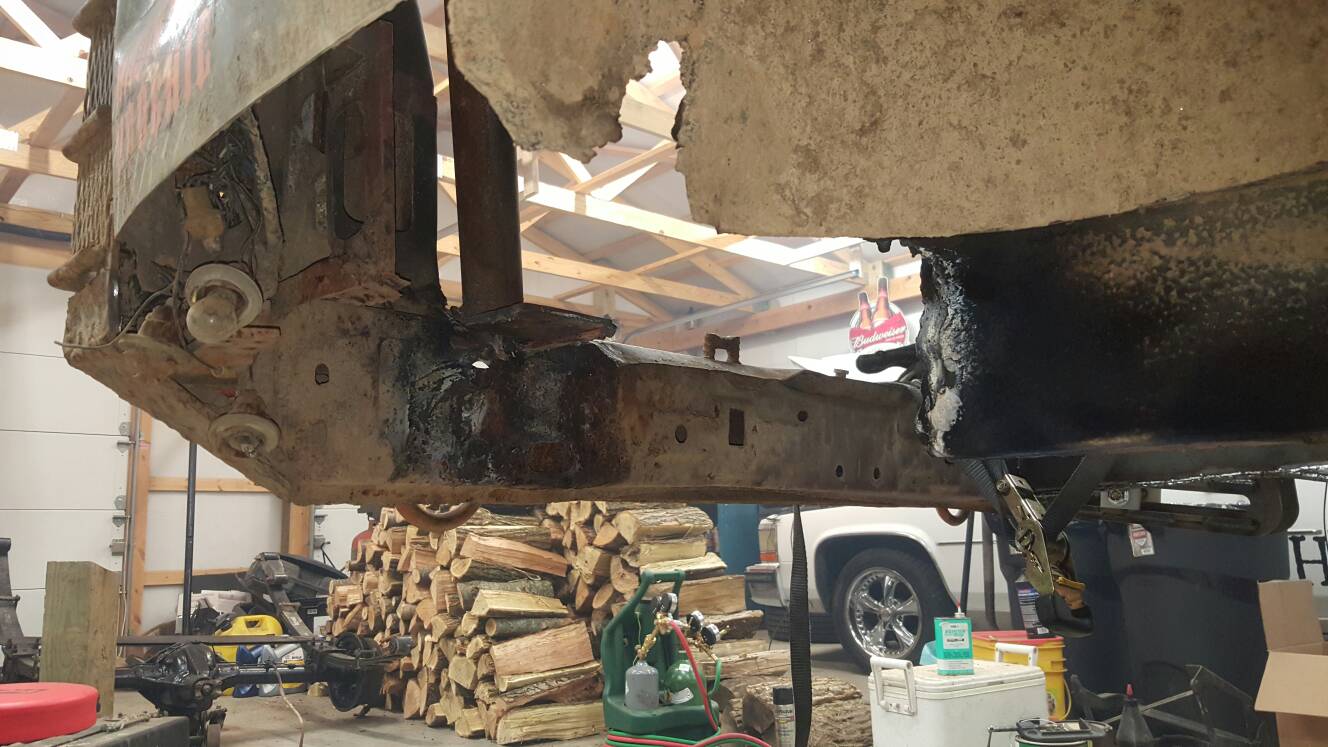
When tacking the slider boxes to the bumper metal, I took special care to not only make sure it was the correct distance from the center of the rig, but also to make sure it was lined up correctly with the front spring mount. Thus, to avoid unnecessary spring bind since they'd have to twist to account for differences in width from one box to the other.
So, this winter entails the repairs and upgrades that are needed/wanted before our off-road group's big annual Memorial Day outing. The first step was rebuilding the rear axle and replacing the shrapnel with a full spool, which meant the axle needed to come out... mainly since I've got the time and floor space to do it, but then I discovered the wollered-out bolt holes how bad the rust had gotten...

After some research, I decided to bite the bullet and try out some of Liquid Iron's XJ leaf sliders...

Back under the Jeep, my original intentions were to simply cut out the bad, replace what was necessary and weld in the sliders. But the bad just kept getting worse, as far as rust removal...

Already got the outside wall of the unibody frame cut out and some wire wheeling done in this pic. At some point, I held the slider in place for some eye-balling and to make sure I wasn't moving in the wrong direction when I discovered I didn't like how low they were gonna be in relation to my back bumper if I were to put 'em where they're supposed to go (bolted to the factory shackle box and nut strips). I felt they would've really hurt my departure angle.
That was when it hit the fan...

Got some new metal in, here. Things progressed and I got one of the sliders pretty well welded in... when a light bulb came on in my head. I thought, "Hey, I should probably measure and see if I'm putting this in the right spot."
I wasn't. I was off to the driver's side by about an inch! So, back to cutting.

Here, I've got it tacked back in place. This time, I measured the inside diameter of my leaf spring bushings (which was exactly 40", still installed on the axle), divided that by 2, found the center of the Jeep (a square hole in the sheet metal right under my hatch latch pin), measured over to the driver's side and made a mark at 20". That's where the inside edge of the inboard slider rail needed to land. I'd also already measured the total length of my springs to make sure they wouldn't "bottom out" the sliders at full compression given the (current) location of the front spring mounts. Got the green light!


Got everything re-connected. With this setup, I wasn't gonna be able to completely box in the bottom of the sub-frame without interfering with the slider bolt, so I cut a strip to fill in as much gap as I could, which would also add some lateral strength to that side of the new sub-frame. By the way, I'm using 3"x3/16" flat bar from the local Tractor Supply.

The 3" material isn't the full width of the sub-frame, so I had to ramp it down to meet up with the factory metal

Then I re-installed the plate on top for the extra roll cage tie-in and the side pieces that extend forward from my bumper

A "before and after" I made of the driver's side

Now on to the passenger side. This time, I knew more about where to cut and measure so the process went much smoother!

I did run into a frame straight-ness issue, but it was nothing a ratchet strap and a port-a-power couldn't fix.


When tacking the slider boxes to the bumper metal, I took special care to not only make sure it was the correct distance from the center of the rig, but also to make sure it was lined up correctly with the front spring mount. Thus, to avoid unnecessary spring bind since they'd have to twist to account for differences in width from one box to the other.

