• Welcome to the new NAXJA Forum! If your password does not work, please use "Forgot your password?" link on the log-in page. Please feel free to reach out to [email protected] if we can provide any assistance.

My Turn

Thanks guys. The headlight does come on with the ignition but the previous owner did not have a switch for high beams. He stripped a lot of stuff from the front. The wiring for the HB is there but I need to come up with a clean switch that I like (having trouble with this). I have seen some stock switches but I really only need something for horn and HB's. I'm also going to use LED's (a red and a blue) and mount them on that ignition plate (for oil and HB). It's starting to come together. Other things I'd like to see:

-Modern tires.
-Smaller gauges.
-Re-upholster the seat.
-Bob the rear fender and use a smaller tail light.
-Modern ignition and upgrade the charging system.
-Maybe 4 to 1 exhaust although then I'd have to re-tune the carbs.
-And then...paint for the tank and side covers.

Ultimately I would also like to do a solo seat and ditch the rear fender but I want to make the seat on my own so I don't know how that will go.
 
Thanks.

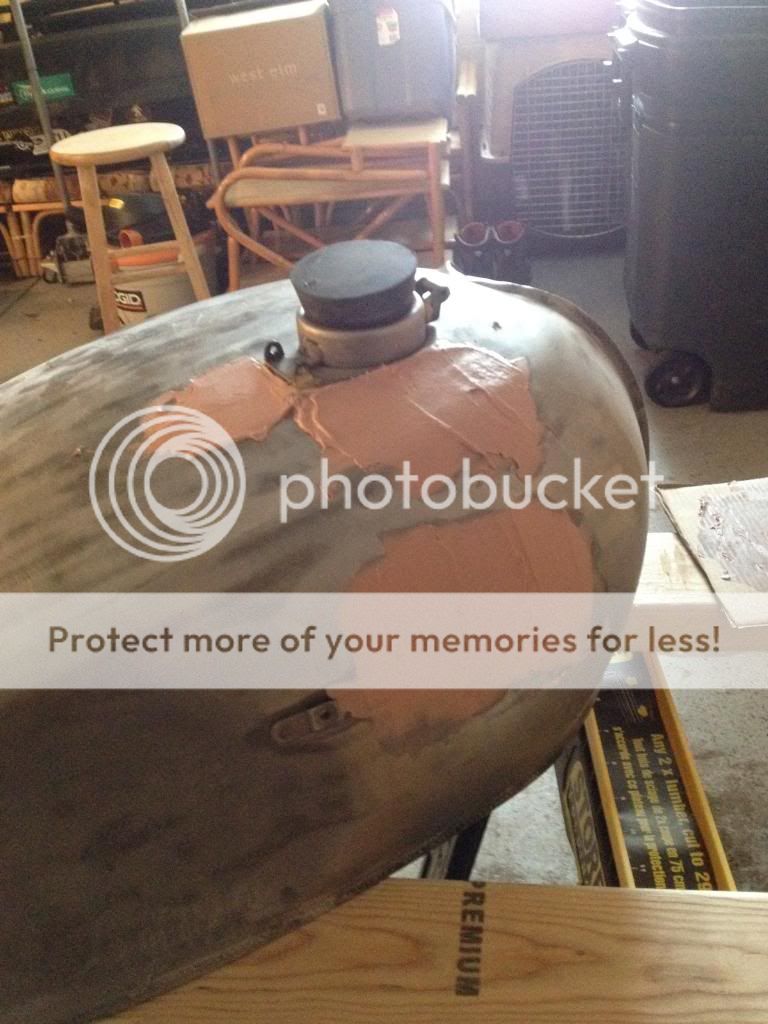
Yesterday I bought some bondo, a 5" sander, some sandpaper, and today...I started my first attempt at body work. Not sure it's a good idea because the tank can really make or break this thing but I wanted to try. I'm working very slowly in thin layers. I can't imagine doing this to a car. I started on some really small dents first to get a feel for things and then, as my confidence improved, I have moved on to bigger issues.


The right side is the best side of the tank so it's going pretty well. This area around the filler neck really freaks me out. We'll see how this goes.


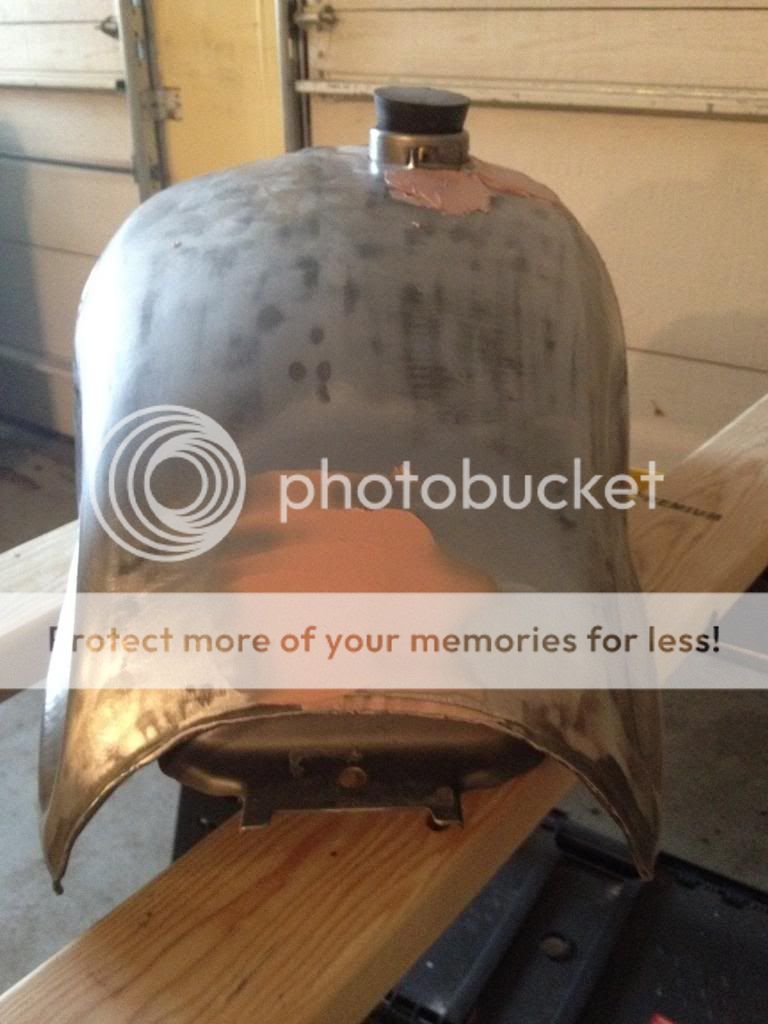
This area at the back had a really odd dent but it's in a relatively flat area so it's about done now but this is the third layer I've put on it.

 
There is some science to it, but it's not that hard to grasp. There should not be any metal showing though the Bondo (high spots). If there are, use a hammer and make them lower and try again.

Use some spray on grey primer on the areas you believe are done - light coat.
Light sand with 220 or so when dry. That'll help you see the uneven areas you need to address.

Above all, don't hurry. After all, it's a hobby :D
 
Wow. Got to work most of the day on the tank. It is amazing how difficult this is. The tank's not even that big. Gonna be a lot of work. I'm having trouble uploading pics from my phone right now.
 
Here we go:


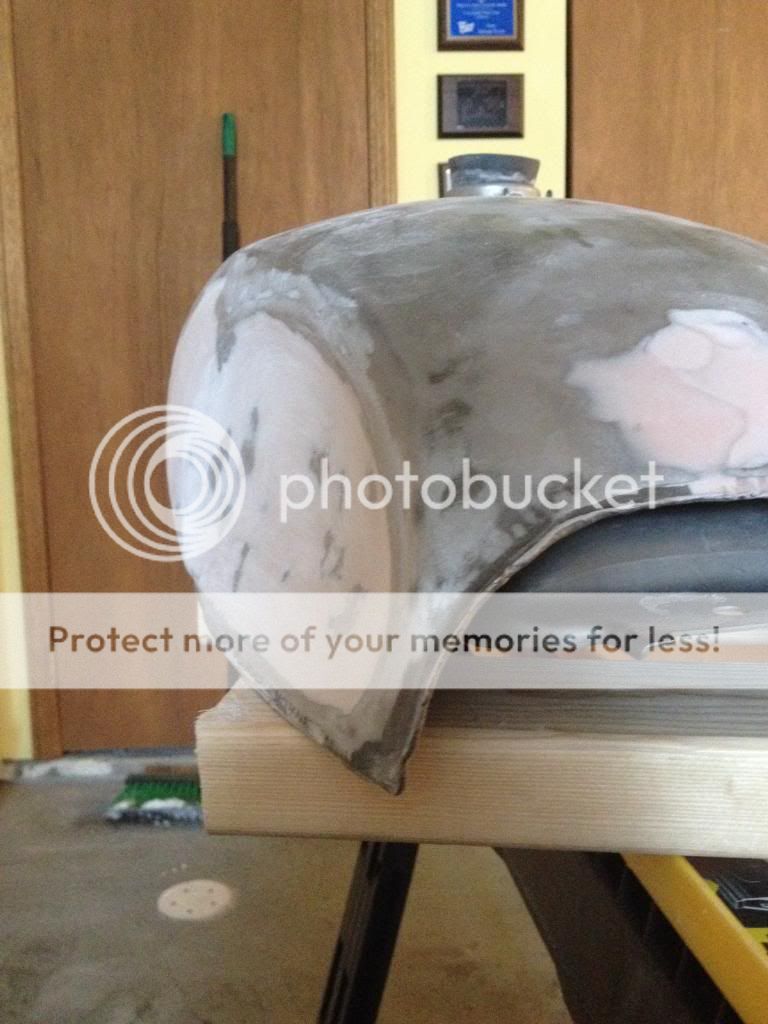
This was after an enormous amount of work. Hoping I can make this look ok in the end.
 
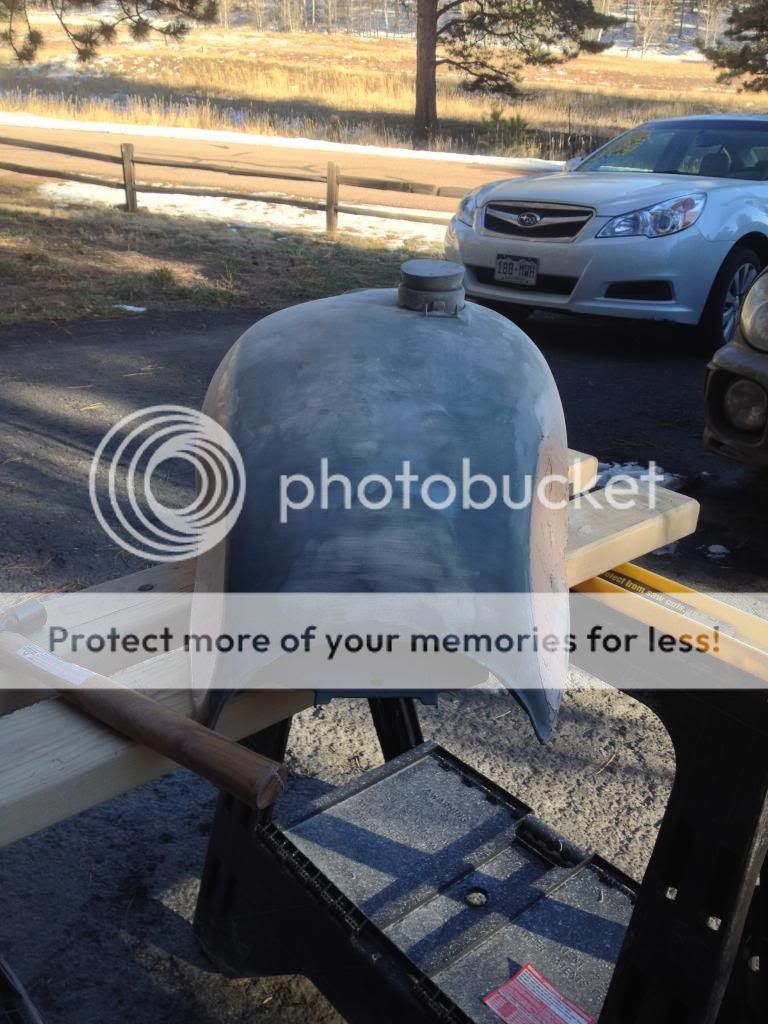
Here's the tank now.

 
Wow. Marathon day yesterday and today.


Obviously, this isn't a show bike. I'm sure a professional could make this tank look better but I think I'm at the point where I need to call it good enough.


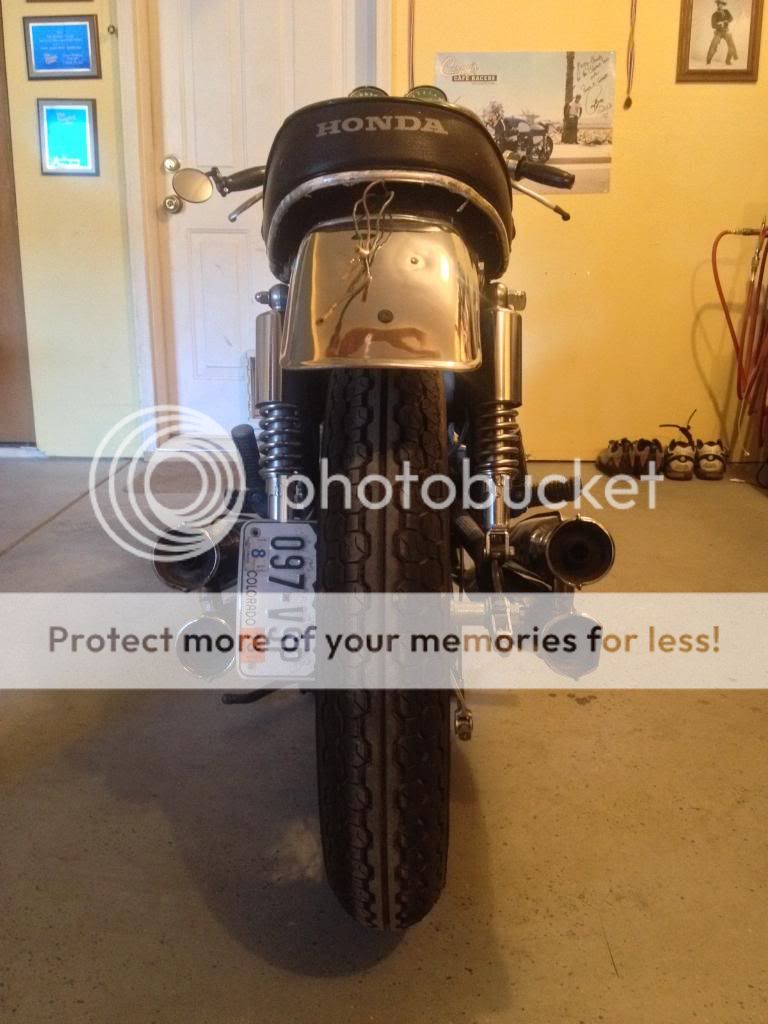
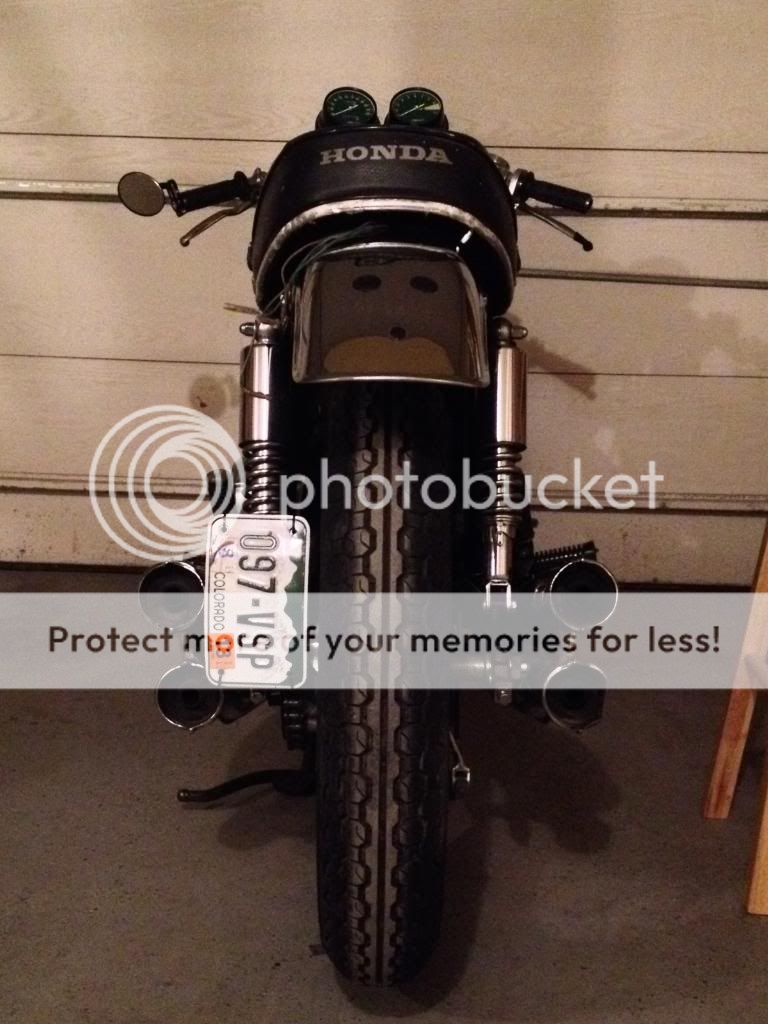
In this picture I have removed the huge tail light and tucked the fender a bit to simulate how I plan on bobbing it. I'll use a much smaller tail light and also fab a bracket to relocate the plate. New side covers are coming as is a new seat cover. Paint will wait until the spring.

 
So...part of this project has been a way for me to come to terms with not being able to ride/race mountain bikes any more. It's been fun but...it's not quite been a substitute. About a year ago I spoke with a custom frame builder about building me a frame to do the Tour Divide on. I talked with him tonight...he's gonna paint my tank and side covers for me.


I like it because it's reminiscent of the paint Honda used in the 70's and it still means I get his paint on something with 2 wheels. He's also going to do something special with pinstripes on the side covers.
 
Candy Gold, FTW!

06.jpg
 
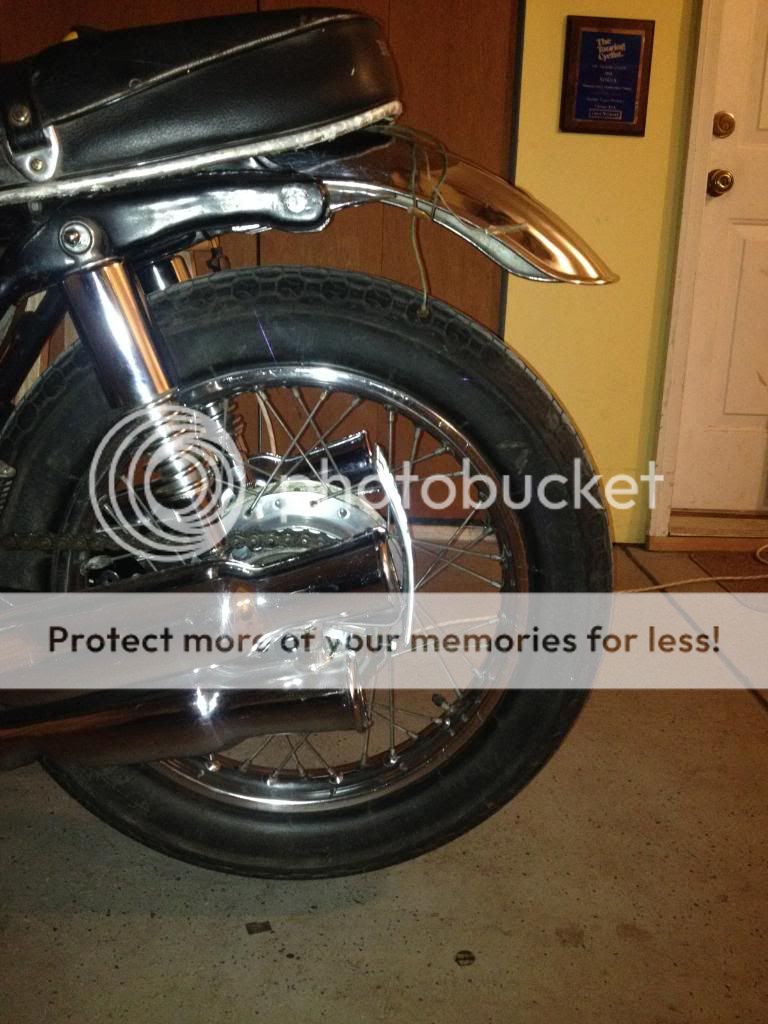
OK so I've had a few snow days to fool around in the garage. I did a bit more work on the tank. I had it sanded out to 600 grit yesterday and then found some areas that I just wasn't happy with so I put more filler on and started over today. I'm back to where I was yesterday and, wouldn't you know it, anal boy found more areas of concern. But...I gotta let it go. So I started looking at the rear fender today. I wasn't happy with it and that god awful tail light. So I took the fender off and bobbed it about 4". Here it is after it's done. I still need to drill new holes for it under the seat and come up with some 1/2" spacers between the frame and fender but it's almost done.


This is where the plate will go. I'll come up with something out of aluminum here at the house and then weld it up with steel at work. I plan on making a little hood at the top where I'll mount an LED to shine on the plate.

 
I like it man, you've been doing a great job. Cafe bikes are cool, I'd like to tinker around and build one too.
 
Today I started playing a bit more with where I want the plate to go. Here's where I'm at:


The "plate" where the license plate mounts to will be roughly the same size and drilled at the corners for the license plate to bolt to. It will be curved to match the shape of the rear hub. I'm gonna mount it right in front of the chain adjuster and come off and then weld that to the curved plate (should be strong enough but I guess I can put a little triangulated piece in there if necessary. The top "tab" is where I will mount the led. Then I'll create a small "hood" at the top to hide the led and keep it shining down on the plate. Kinda hard to explain. Thoughts?
 
Bracket is tacked together for now because I am welding it at school. Just checking to see if I was close. I was.


I don't think the way I chose to mount it will be an issue but I may go back tomorrow and weld in some small tabs underneath to make real sure it won't move and go into the spokes. I really don't think it will.


I really wanted the plate to look like it was floating. It does. I'm waiting on the LED to get here before I sort out the housing for that.
 
Isn't an LED gonna look a little odd on such a retro bike? Hmmmm?

Plate mount is slick though!
 
Isn't an LED gonna look a little odd on such a retro bike? Hmmmm?

Plate mount is slick though!

Well....keep in mind....you're not actually going to be able to see the LED once I get the housing for it all made. The light will shine straight down onto the plate (unless you're just talking about being able to tell that it's an LED from the color of the light?) Once I get the LED I'll wire it up and see how bright it is. I don't want something silly bright so I may end up ordering another one so it's more subtle.
 
Yeah the color and brightness is what I was referring to.
 
Back
Top