• Welcome to the new NAXJA Forum! If your password does not work, please use "Forgot your password?" link on the log-in page. Please feel free to reach out to [email protected] if we can provide any assistance.

My Turn

Got around to pulling the carbs the other night.


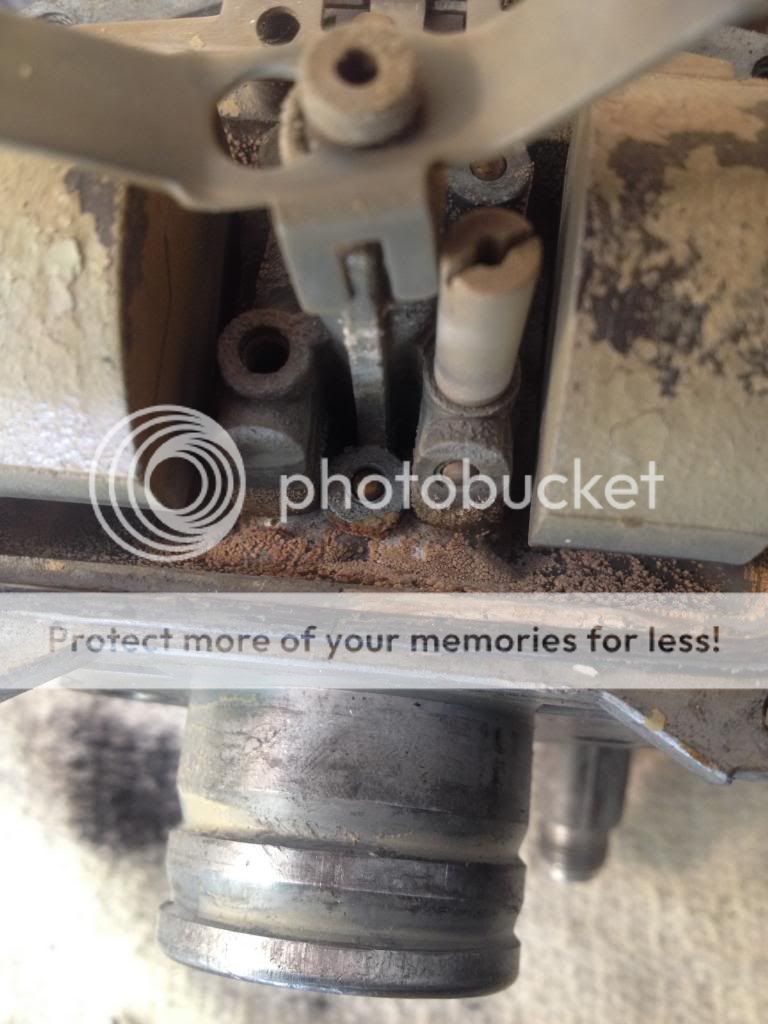
I found a few broken pieces while taking the carbs apart. This is one of them. From what I can tell, this seems to be a washer of sorts that makes sure that the needles from carbs 1 and 2 and 3 and 4 are all working in sync. It's no longer available but I'm thinking I'll be able to make a replacement from some thin metal and lot's of filing. A guy that I know who owns a shop in St. Louis said I would have to look for replacement carbs because of this piece but I find that very hard to believe. We'll see.


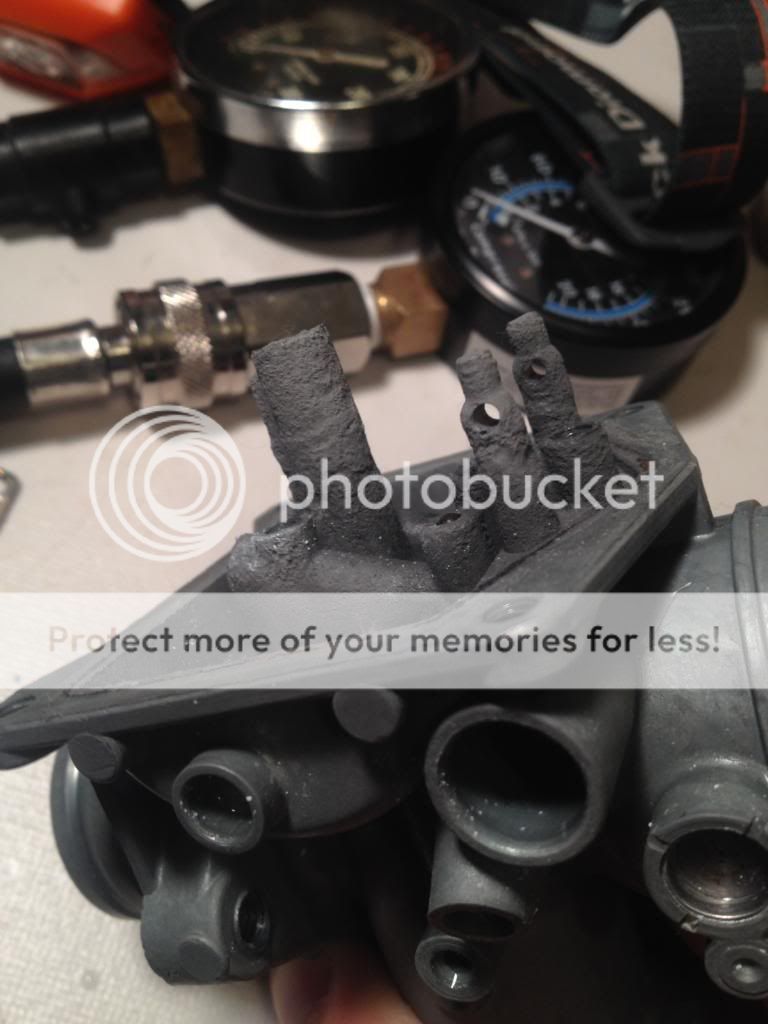
This is another broken part. This appears to be a dust seal of sorts. Two of these are situated in the linkage between 1 and 2 and 3 and 4. My idea for this was to use an old inner tube and recreate this. I'll double it up and then wrap it in Duct tape to make it stronger. Again...we'll see.


This is the bowl on the first carb I took apart. I did remove the brass valve seat guide. Tonight I bought some Berryman's Chem Dip and the carb body is currently soaking in it. I'll use compressed air to clean the passages. Not sure how else to make sure that everything is squeaky clean. Open to suggestions.
 
Here's the number four carb before.


This is after soaking for a few hours.


This is the inside of the bowl area. Amazing how pitted this aluminum is but...it is 42 years old after all. Hope it's still ok to use.

 
Got a little bit of work done today. I spent a bit of time trying to come up with something to replace the cracked/rotted dust shields. My idea was to use inner tubes. The ones that broke were pretty brittle but they were also 42 years old so I imagine they were more pliable a long time ago. So I used the broken one as a template and then used a razor blade to cut out the new dust shield. I decided to use two on each side (where there used to be just one). I then used a large sewing needle and heated it up to burn a hole in the inner tube which will fit over the ball on the linkage for the whole rack. I won't know if it will truly work until I get them back on but I think it will be fine. I may reinforce the area around the holes with Duct tape but we'll see.


While I was making things out of old inner tubes, I was also soaking the #4 carb body in Berryman's Chem Dip. I soaked the body for 30 minutes last night and then 2 hours this morning. Then I used a large wire to clean out the passages and blow everything out. Then I gave it another 2 hour soak and blew everything out again. Can't believe how much stuff came out of the idle jet. It was totally plugged. Might explain the idle issues. Here's the #4 carb all cleaned and ready for reassembly. I also hand buffed the bowl and top cover. Rebuild kits should be here mid week.


This is the #3 bowl. It's worse than 4.


This is the inside of bowl #3. Way worse than #4. This idle jet wasn't quite as bad as #4 but still plugged up.


This is just all the crap from bowl #3 after it dried out.

 
Good work! I bet this'll take care of about 90% of your carb woes. At least now you know what you're working with.
 
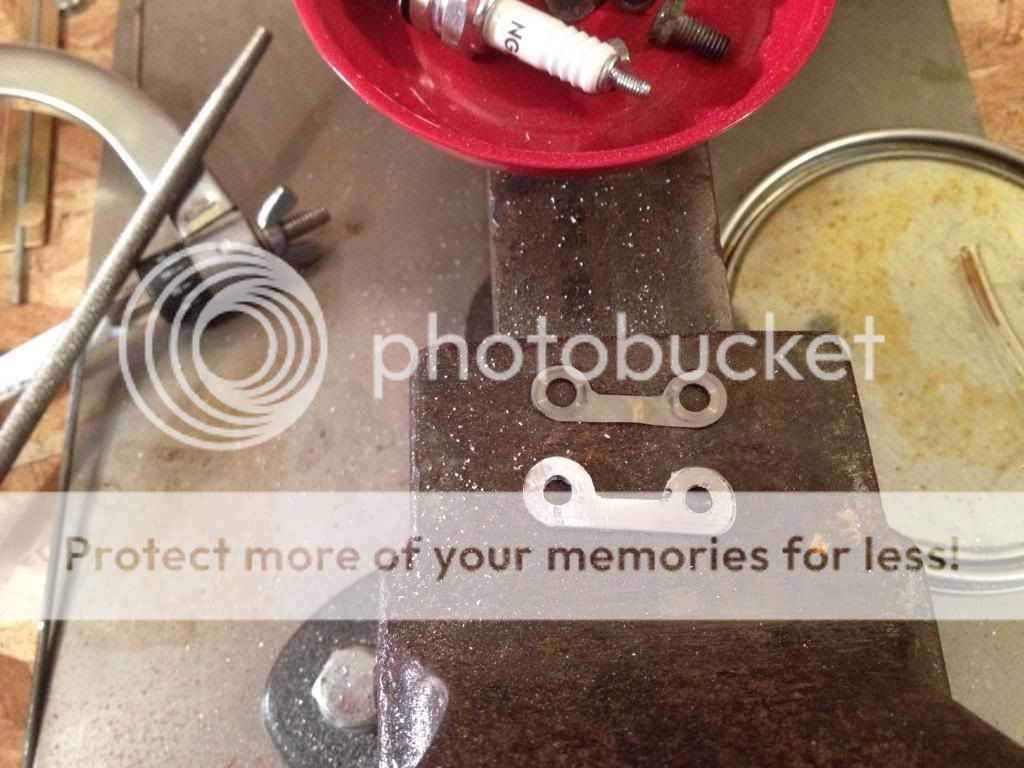
There was a picture up a ways that showed a broken washer that connects to the vacuum adjustment screws for 1 and 2 and there's another one for 3 and 4. One of the washers was broken. I managed to find a set of them in the Netherlands but I didn't wanna pay as much as they wanted for them. I was told that because of that broken washer I would need to find new donor carbs. This I could not believe. I asked why couldn't I just make something to serve the same purpose? He said, "Well...I guess you could try." I have way more time than money so...here's what I came up with:


I think it'll work just fine. But...I also don't know shat about motorcycles or carbs. I don't know much about anything really. Cept bein awesome.
 
Been a while since I updated. So...

Carb rebuild went ok for the most part. This was an issue I ran into while putting one of them back together. The bolt snapped right off. I broke several extractors trying to get this out so I ended up drilling it out to 5mm and used a slightly larger bolt.


Then I saw this float was cracked. I was able to track one down in Delaware. It should be here early next week.


Ended up making another washer.


I kept coming back to that ugly master cylinder cap. It was scratched badly and the finish looked like crap. So I spent some time on it this week. Now I wish I had been able to respray the master cylinder and caliper but it was a bit cold up here to do that.


And tonight I started looking at lines for knee dents. This is what I came up with after several sketches. I think this line flows well with the tank shape but I've never done this before. Thoughts?


Carbs should be back on next weekend and I'll do a bench sync on them before I throw them on. Even though the temptation to start it will be big, I think I'm going to wait and clean the inside of the tank out, install a new cap seal, and rebuild the petcock valve. It's also getting all new fuel lines so everything in the fuel delivery system should be clean. While it's empty I will probably do the knee dents and then strip the paint. Then throw it back on and see how it runs.
 
All that corrosion was called by water. If I were you, I would take the carbs and have them glass beaded to get them cleaned up and replace the one that is so badly corroded. I will be back in Colorado over Thanksgiving and could glass bead them for you but it is a long drive up to Loveland.

If there was that much water in the carbs, I would want to take a look in the lower end, as well as in the tank. I have seen too many bikes that have the crankcase totally full of rust and crap. They start up and run, but will take a crap in short order.
 
This is my only advice with knee dents, for such a small part, they take a LONG time to perfect. I went a little different and did forearm dents for my old Ducati Board Tracker bike. You'll need to have a really good understanding of shrinking and stretching metal, a planishing hammer, a good mallet and beanbag, and a CRAP ton of patience.

The trick is, you have to round the existing tank edges to match the lines of the dents. And you can't cut your dent pieces until you've already cut and rounded the original tank, otherwise they'll never fit correctly.

I had about 30hrs into this tank from start to finish.


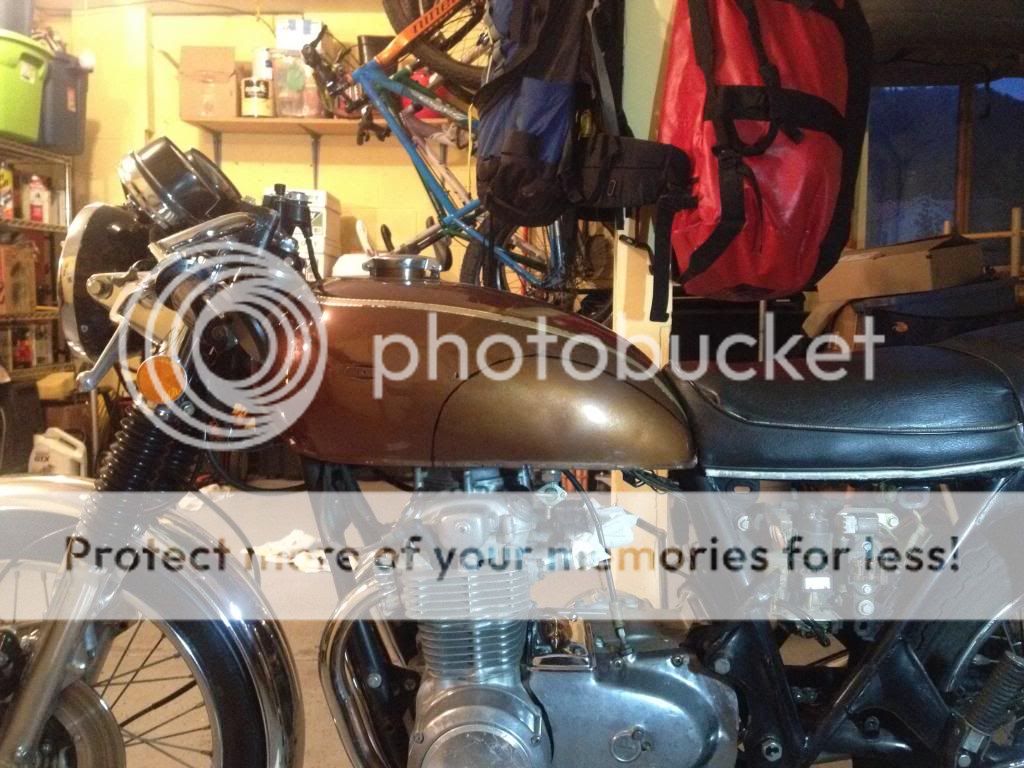
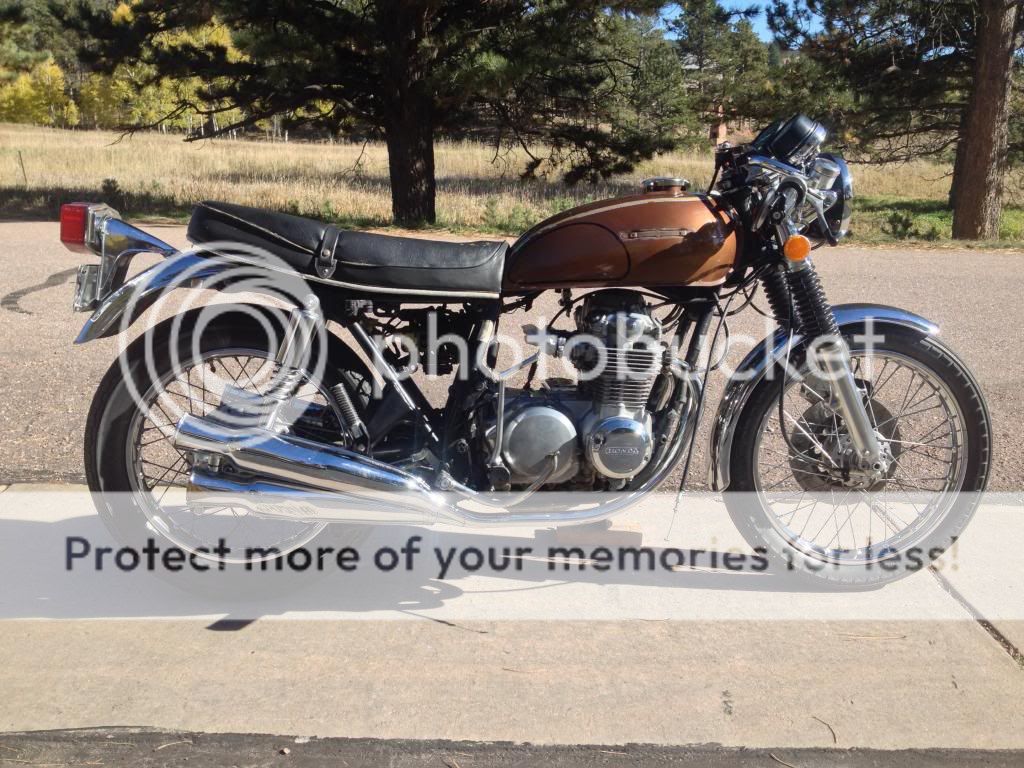
Rolled it out in the light today.

 
Got the new float today and put the last carb back together. The pieces I made work just fine. Can't believe someone told me to look for all new carbs to rebuild because of that.


Tomorrow I'll bench sync the whole bank, put them back on the bike and then start on the tank cleaning, petcock rebuild, and knee dents.
 
Got the butterfly valves synced this morning. This picture was before I did the work.


In the process of syncing the carb slides.


New fuel lines and inline filters.


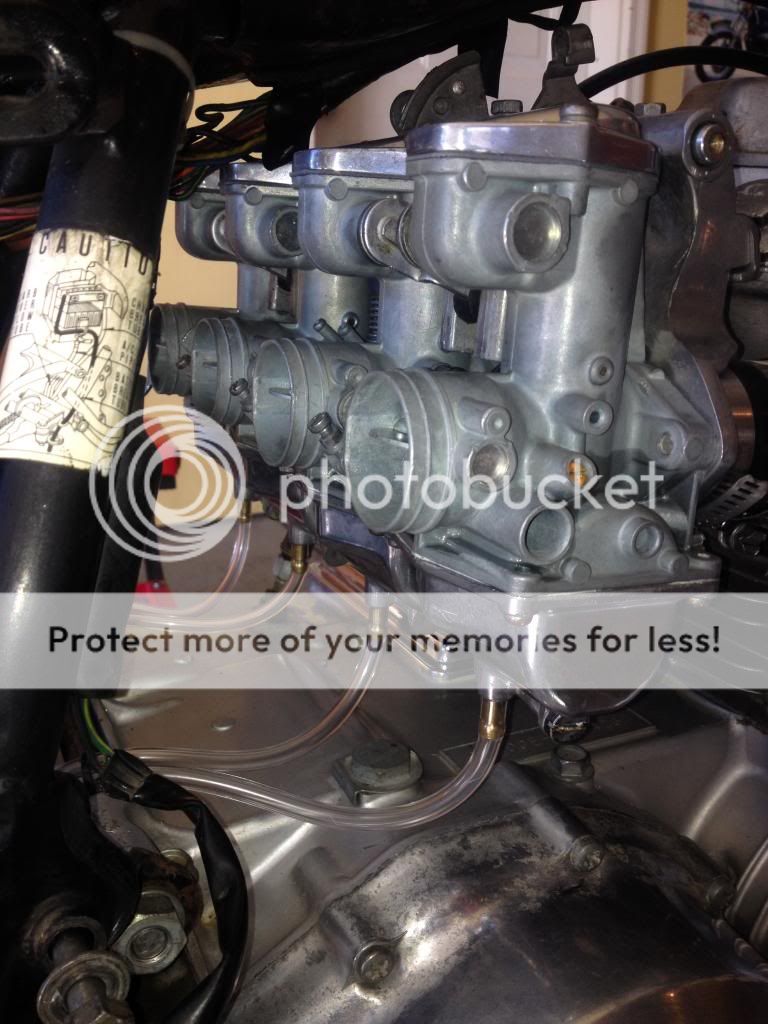
Back on the bike with new vent lines for the bowls.


Next up is hammering in the knee dents, cleaning the tank, rebuilding the petcock valve. Apparently, this valve is a bit of a diamond in the rough. Keihin made then for one year. Used I've seen them sell for 100.


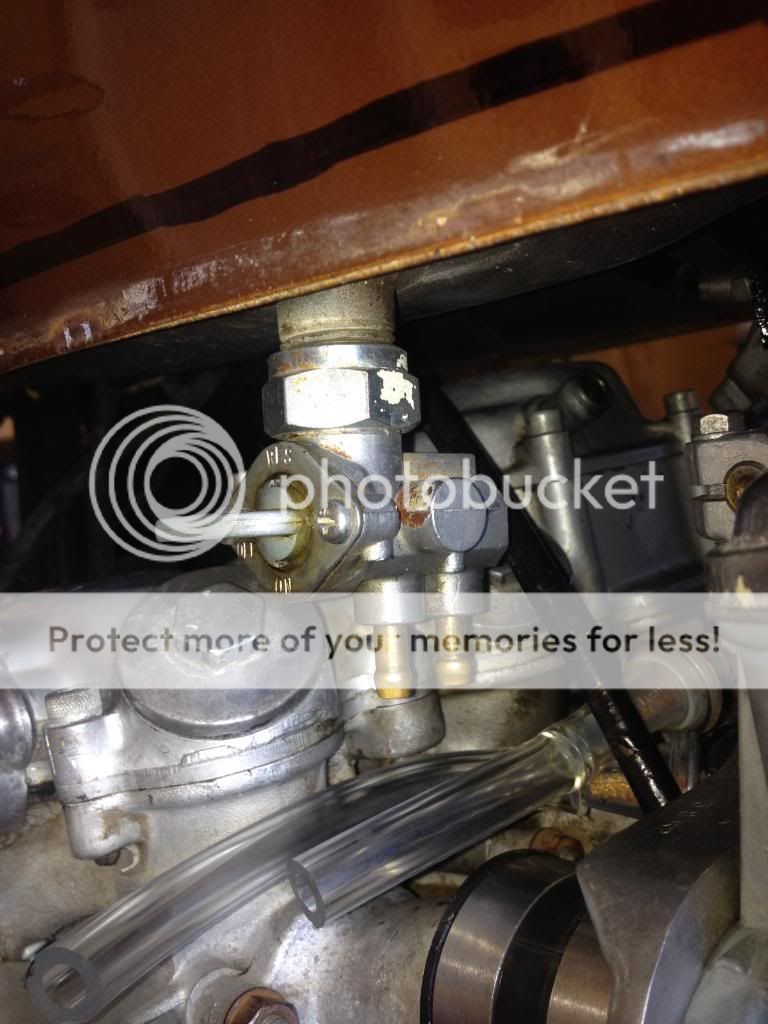
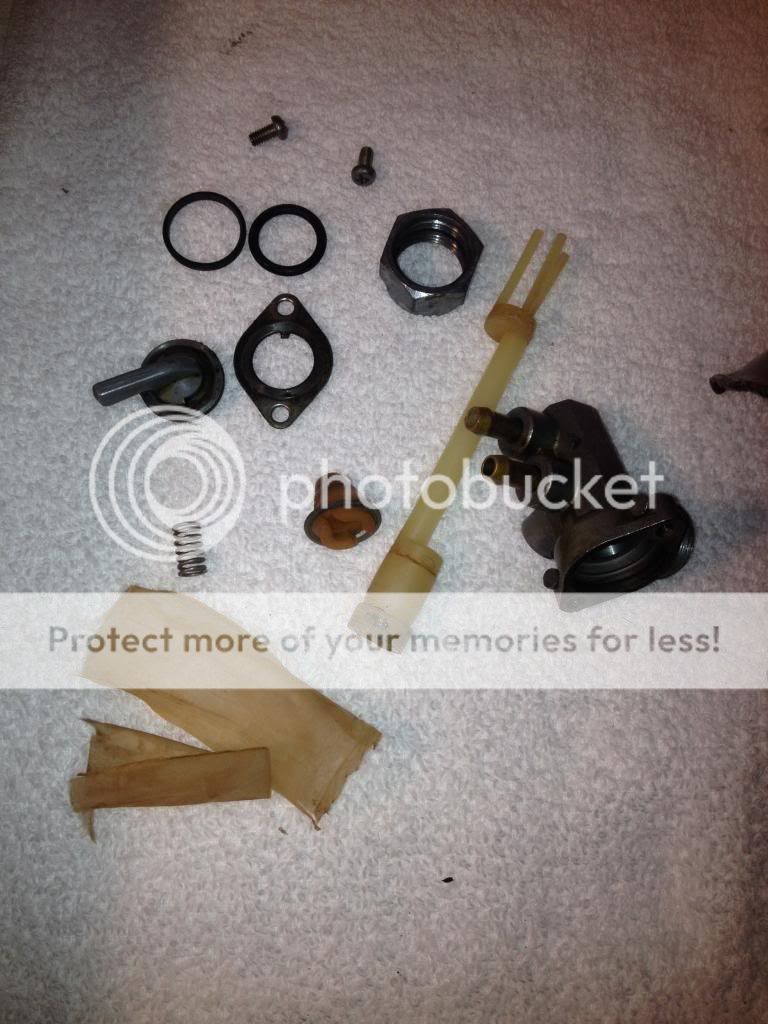
Not much to this valve. It was not leaking. The worst part was that the mesh filter was trashed. I've only been able to find a rebuild kit in the UK for $27 before shipping. Not sure what the threads are that connect the valve to the tank but I hear they are not M16 like the rest of the valves that are currently offered. Don't seem to be many options right now so I'm scratching my head a bit. I run inline filters so I'm trying to decide if I could just clean it up a bit and run without the mesh filter because it wasn't doing much to begin with.


I do have time to figure things out with the petcock valve because for the next few weeks I'll be doing body work on the tank and cleaning the inside of it.
 
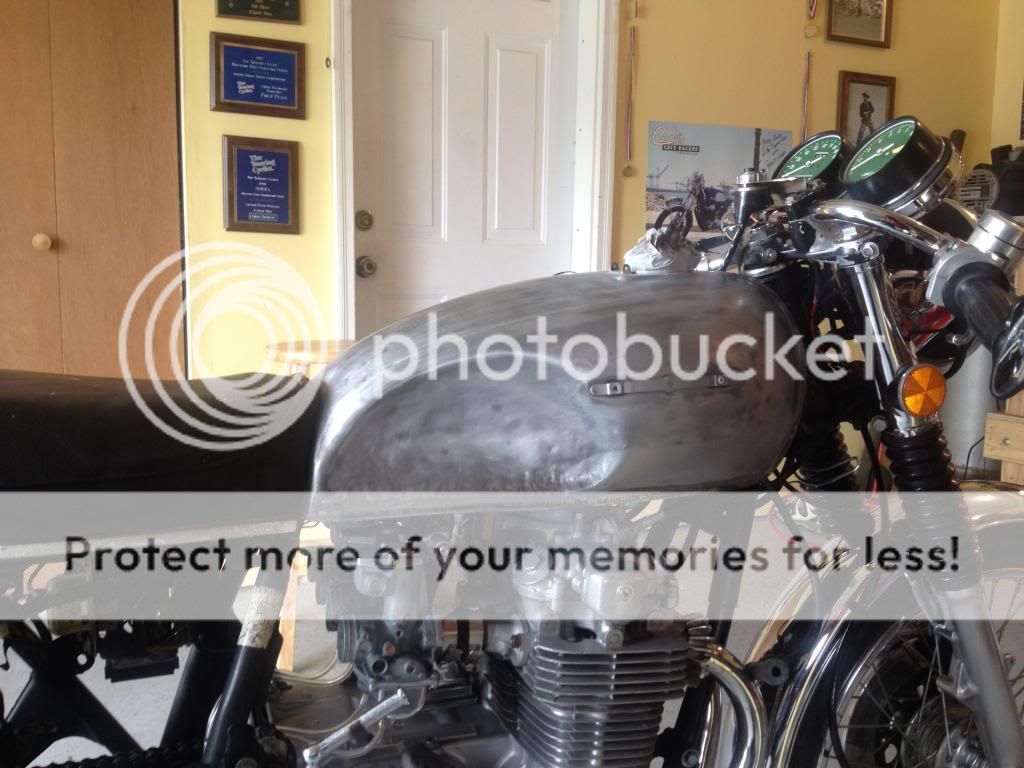
So I spent the better part of the day beating the hell out of a perfectly good fuel tank. This is how things ended up.


I used a combination of a plastic hammer, rubber hammer, and a ball peen hammer and A LOT of time.


I know it looks rough but it's pretty uniformly rough. I've always wanted to try body work so...here we go.


So now is where I became disgusted with myself. I was a bit overzealous to see how much bondo was in this one section where the badge attaches to on the left side and I was using a very small screwdriver to chip away at it. I put two small holes in the tank.


So...after walking away for a couple of hours I started to think about my options. I would really prefer to stick with this tank because I now have a lot of work in it with the knee dents. The other issue is that, based upon what I am finding, Honda used the petcock valve on this tank for one year only. The threads on the bung are 3/4" and everything else I find is M16. I have not found an adaptor yet to make the new petcock valves fit on the older tanks. I also can't find a rebuild kit for this petcock valve (other than in the UK) but it appears to be in pretty good shape and was not leaking. The only issues with it are that the pick up tube that sits in the tank has kind of a mesh sock on it to serve as a filter but I am using inline filters so I'm not too worried about that. I am also going to clean the inside of the tank out. So...right now I am leaning towards taking the tank to a body shop here in Woodland and having them media blast it so I can see exactly what it looks like in bare metal and then I will probably ask them to repair the 2 holes as that makes me nervous. I may also ask that they pull the dent out as much as possible where all that bondo was and then I can take over from there. I can't imagine that would cost all that much but I don't know. Would love to hear any ideas.
 
totally not my bag, but I love your project and your enthusiasm. I would definitely get the tank down to bare metal so you can get the body work cleaned up anyway. welding up a couple holes in that state should not be rocket science...
 
Today was the last day of week 2 of 6th grade camp and I am BEAT. I haven't gotten much done to the project lately but I did pick up the tank from getting media blasted. I was really happy with how it looked. At some point, the bike/tank was dropped on the left side but it wasn't as bad as I thought it was going to be. It needs to be popped out a bit and then I need to rework the leading edge of the knee dent but it's doable.


The bottom of the tank is in excellent shape. Zero rust. I spent about an hour working on the right side knee dent tonight getting the high spots and I'm good with that side.

 
ya know with some shapes you can trim out the parts and then swap sides and re weld them in and avoid all the hammering. plus side would be a pair of holes to really see what your tank is like and room to get inside to do any further repairs. and you need to clean and seal the inside of the tank anyways.
FYI for next project i guess. still looks nice there.keep after it!
 
Yeah I know. I wanted to do it this way. I've always wanted to try this. I did decide to weld up the holes on my own and I got most of the big dent pulled.


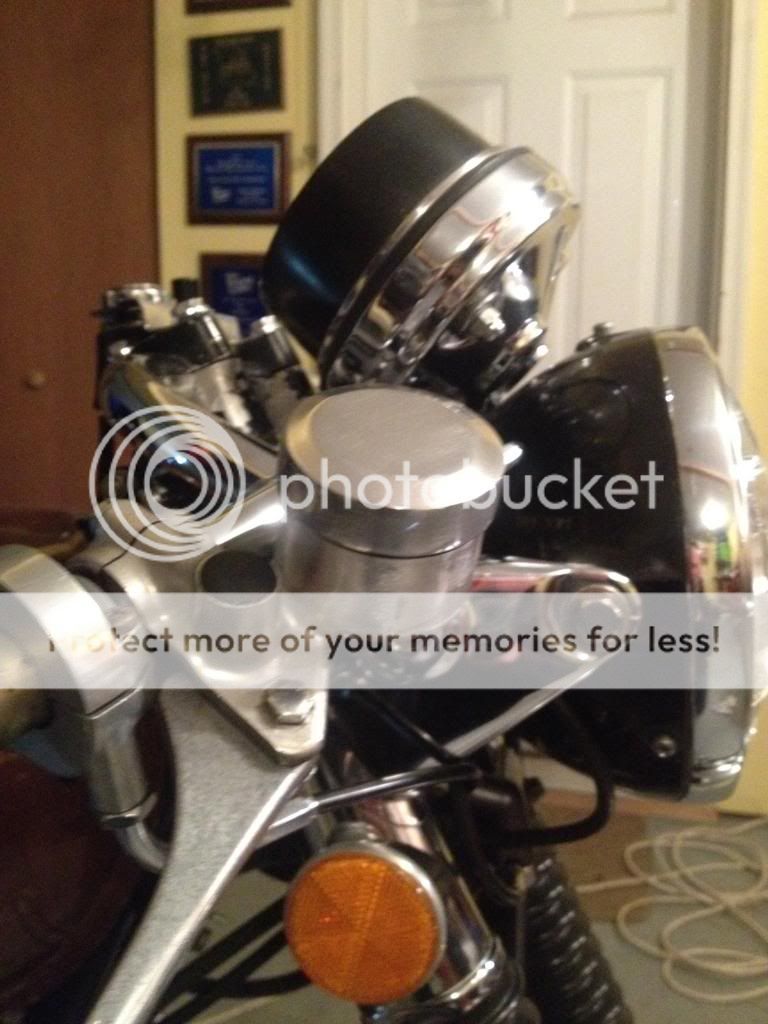
Right now I'm waiting to start the body work on the tank. In the meantime I kept coming back to the location where the ignition was mounted. I hated it. So I made this:


And mounted it under the triple tree.


Then I decided to try to start it up. The petcock is rebuilt but still needs the strainer put on but I couldn't wait.


I'm still having some issues. Although it ran great in the video and idled right at 1100, the #2 plug fouled a few days later when I started it again. At this point I will probably do a new ignition, coils, wires, set timing again and vacuum sync the carbs.
 
Looking good Chris! Love the ignition relocation!
 
Back
Top