Ok there are alot of pics, but I put this in this forum because I think it will be more helpful to users here instead of in the pic forum.
Well, I finished putting in the new floorpans and patching the holes in the XJ the other day, so here are the pics of the process in a How-To form. This is going to be LONG so hang on.
What you need:
New floorpans (I used Sherman Parts floorpans, cost $238 with tax)
An angle grinder with cutoff wheel, and grinding wheel
Chissel
Rubber Mallet
Balpine Hammer
Not sure of the name, but I call it a Spike hammer. It has a spike on one side, and a big flat round end on the other end. I think it is for body work.
Center Punch
Welder
Shop Vac for all the little bits
Screw driver
Box knife to cut up the old carpet
A drill with abbrasive wheel
Spot weld cutter (I used a big drill bit, but you have to be careful with a drill bit)
Drill bits for drilling holes for spotwelds, and seat bolts
Various sizes of hole saws for drain plugs
Safty glasses
Ear plugs
Dust mask, unless you want to breath in all the rust dust
Seam Sealer
Ratchet set
T47 Torx bit for the seat belts
T40 Torx bit for the rear hatch latch
Sharpie
UNPLUG your battery, I have heard that welding with the battery in could possibly ruin the computer, also it keeps the dome light from running the battery down, because this project will take awhile.
Now for the fun part.
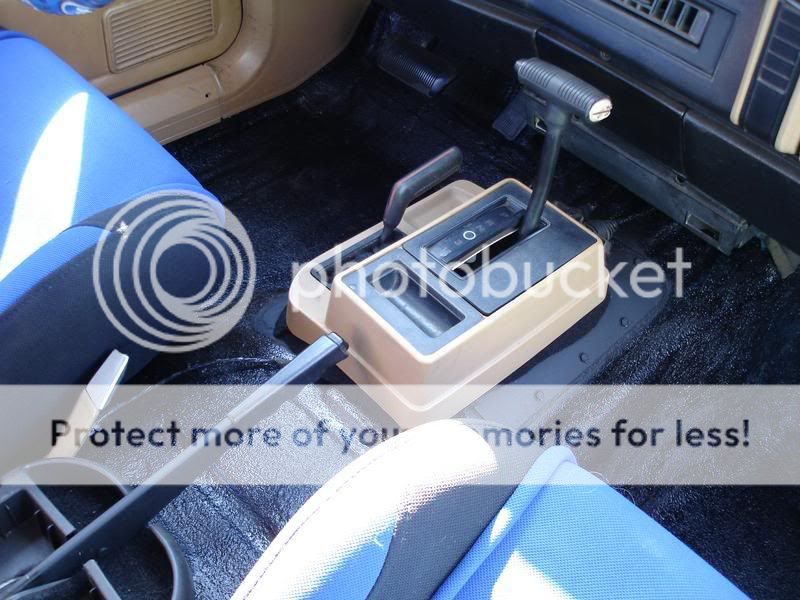
First you need to take out your seats, spare tire, interior pannels and console (I left the Shifter console in, but it would be best to take it out). I didn't take out my seat belts until the end, because I am about to Herculiner the inside. I would recomend taking them out in the beginning, because they can get in the way.
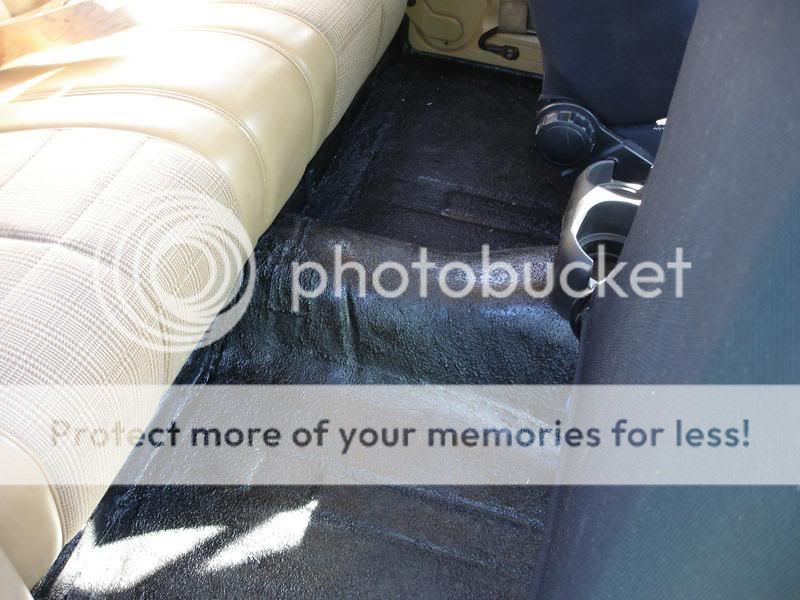
Now that all of that is out of the way, it is time to take the carpet out. I actually found the horn button under the carpet. I saw it, and thought "what is this" then I realized what it was, now my steering wheel doesn't look empty. This is one of the times you need that dust mask, It probably isn't good to breath the all of the dust that comes up. My carpet was soaked, so I cut it into sections to make it easier, and so I didn't get as wet. There is some padding that is under the dash that is not part of the carpet, I took it out too. I also found some insulation stuff that was around the fuse box and in the same spot on the passenger side. I took it out so it wouldn't catch on fire.
Next I went through with the drill and abrasive wheel, to get all of the loose stuff up. You will probably want a dust mask for this part too. I also used a Ruber Mallet and Chissel to cut away the stock Seam Sealer (It is a little quicker if you heat up the sealer with a heat gun). Now you need to Vacuum up all the little bits. There was alot of stuff in mine, I think the previous owner hauld a dog in mine, there was ALOT of dog hair. I had to empty my Shop Vac a few times, but I was using a small one.
Here are the Brand New, Shiny Floor pans. I think this is the best way to go. the pans fit PERFECTLY. Only some minor modification was made to get the pans to form to the dimples on the back of the transmission tunnel (hince the two hammers you will need).

Here are some test fit pics before I got to cutting. To make the holes for the holes for the seat studs, so I could get the pans to slide in. I put a dab of Flourescent Orange paint on the tips and set the pans down on top, then drilled out where the paint transfered. Once I got them in, I traced the edges with a Sharpie so I would know my limit of cutting.


Time to start cutting. WATCH OUT FOR FUEL LINES AND OTHER THINGS UNDER THE FLOOR. I used an Angle Grider with a cut-off wheel. When I got to the non rusted metal, I used a drill bit to cut the spot welds, and a rubber mallet and chissel to break them the rest of the way. You will want to vacuum out your Uniframe rail after this.
The first casualties, the shiny, new looking metal was my first attempt at making my own floorpans.


Well, I finished putting in the new floorpans and patching the holes in the XJ the other day, so here are the pics of the process in a How-To form. This is going to be LONG so hang on.
What you need:
New floorpans (I used Sherman Parts floorpans, cost $238 with tax)
An angle grinder with cutoff wheel, and grinding wheel
Chissel
Rubber Mallet
Balpine Hammer
Not sure of the name, but I call it a Spike hammer. It has a spike on one side, and a big flat round end on the other end. I think it is for body work.
Center Punch
Welder
Shop Vac for all the little bits
Screw driver
Box knife to cut up the old carpet
A drill with abbrasive wheel
Spot weld cutter (I used a big drill bit, but you have to be careful with a drill bit)
Drill bits for drilling holes for spotwelds, and seat bolts
Various sizes of hole saws for drain plugs
Safty glasses
Ear plugs
Dust mask, unless you want to breath in all the rust dust
Seam Sealer
Ratchet set
T47 Torx bit for the seat belts
T40 Torx bit for the rear hatch latch
Sharpie
UNPLUG your battery, I have heard that welding with the battery in could possibly ruin the computer, also it keeps the dome light from running the battery down, because this project will take awhile.
Now for the fun part.
First you need to take out your seats, spare tire, interior pannels and console (I left the Shifter console in, but it would be best to take it out). I didn't take out my seat belts until the end, because I am about to Herculiner the inside. I would recomend taking them out in the beginning, because they can get in the way.
Now that all of that is out of the way, it is time to take the carpet out. I actually found the horn button under the carpet. I saw it, and thought "what is this" then I realized what it was, now my steering wheel doesn't look empty. This is one of the times you need that dust mask, It probably isn't good to breath the all of the dust that comes up. My carpet was soaked, so I cut it into sections to make it easier, and so I didn't get as wet. There is some padding that is under the dash that is not part of the carpet, I took it out too. I also found some insulation stuff that was around the fuse box and in the same spot on the passenger side. I took it out so it wouldn't catch on fire.
Next I went through with the drill and abrasive wheel, to get all of the loose stuff up. You will probably want a dust mask for this part too. I also used a Ruber Mallet and Chissel to cut away the stock Seam Sealer (It is a little quicker if you heat up the sealer with a heat gun). Now you need to Vacuum up all the little bits. There was alot of stuff in mine, I think the previous owner hauld a dog in mine, there was ALOT of dog hair. I had to empty my Shop Vac a few times, but I was using a small one.
Here are the Brand New, Shiny Floor pans. I think this is the best way to go. the pans fit PERFECTLY. Only some minor modification was made to get the pans to form to the dimples on the back of the transmission tunnel (hince the two hammers you will need).
Here are some test fit pics before I got to cutting. To make the holes for the holes for the seat studs, so I could get the pans to slide in. I put a dab of Flourescent Orange paint on the tips and set the pans down on top, then drilled out where the paint transfered. Once I got them in, I traced the edges with a Sharpie so I would know my limit of cutting.
Time to start cutting. WATCH OUT FOR FUEL LINES AND OTHER THINGS UNDER THE FLOOR. I used an Angle Grider with a cut-off wheel. When I got to the non rusted metal, I used a drill bit to cut the spot welds, and a rubber mallet and chissel to break them the rest of the way. You will want to vacuum out your Uniframe rail after this.
The first casualties, the shiny, new looking metal was my first attempt at making my own floorpans.