Doorknob The MJ

I moved it to a spot more friendly for changing leaf springs. while doing so I think I threw up in my own mouth 3 or more times:gag:. I couldn't stand the smell of it one more min. There is dog smell, purse dog smell, and then there is WET DAWG NASTY smell. I think this was all of the above :puke:

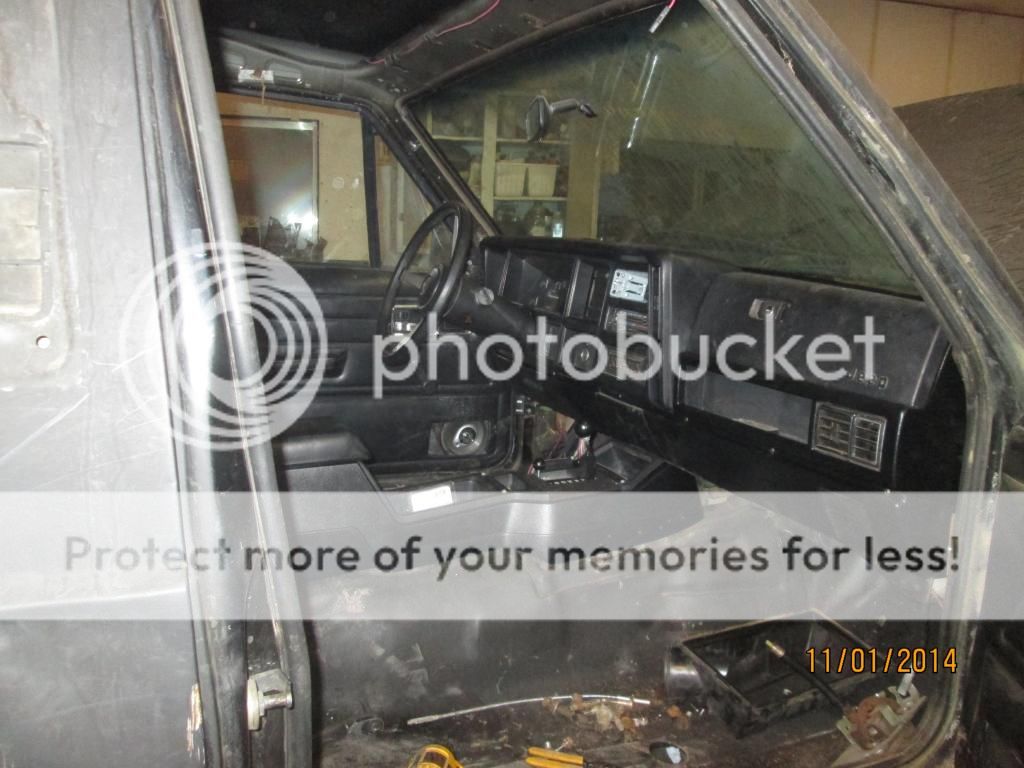
Ripped the seats out to see what I had to work with...Eww doesn't describe


it was obvious that there is no saving this carpet, ill be ordering another soon. just on the fence on weather I should go vinal.

The floor had been undercoated before and still looked decent. there were some plates already welded to the floor, it looks like somebody had plans on continuing the cadge through the cab at some point.


I talked to BPB a little before I picked this MJ up about what I "needed to know" he said and I quote "there may be some things under the dash not hooked up." Everything but the gage lights worked so I thought it was odd at the time I picked it up. after removing the rest of the carpet and interior plastics I had a good look at the under side of the dash...Eww, Again...


I gathered my thought and looked everything over really good as I removed zip-ties and black tape. From what I figure, the steering column was replaced at some point, the wires "Should" have gone above said column and then secured and clipped into place. So I dropped the column and got to work. I managed to find decent spots to clip the factory stuff back in, tied everything up and got a look at what it should look like under there.:scared:

Quite the change


This is how I left her yesterday afternoon.

 
This morning I started by making a list of things I need to source at the good ole JY. After that was done and realizing it was only 7:30 AM on a Sunday. Operation leaf spring change was a go!

Removed the rear bent up leaf on the driver side. comparison shots show that the new explorer leafs are a tad thicker and also have poly spacer between each one. Turned into a problem later.


Stang65 Donated some Comanche shackles to the cause. they have newer poly bushing in them. Thankyou Zach:worship:


The explorer leaf bushings are a smidge different as well. the front bushing is about 1/4" narrower than an xj/mj and the rear is a tad wider. I ran into this when I put Dakota leafs on my XJ so it wasn't too much of a shocker.


In the end I got 1.25" of lift out of the new setup. and if I had to guess, about 4" more down droop. I haven't been able to drive it (need u bolts) but it is WAY stiffer in the rear. and actually leveled the jeep out a bit. it was hard to notice that it was sagging back there.


Ride height


Came up with a clever way to finish off the bed nicely. So I stripped the Random panels off of it. Guess its staying a Flatbed.


And Then just before sitting here, I pulled this out of the shed.


Thanks Again StreetPirate :cheers:

Bronze.
 
The rail rock/rail shifter is in. just got to wire the TCU stuff got the bed busted loose. guna pull it and repaint he whole bed and chassis on the MJ. im going to wait till I have the rest of the "new" interior parts before I choose a location for all the switches. It will have the ARB compressor switch, 2 locker switches, fan, tc lockup, and rail activation, plus more lights im thinking. so ill have to find a good spot to do all of it. Im on the fence on weather ill go with a full Cherokee console, a shorty MJ version, or just build a new one from scratch. I really liked how Dustin had the "JeepForceOne" front area setup. I may just "sample" that with an ammo can and such.

Bronze.


I pulled the bed off, the entire frame, suspension, and bed will get undercoated and painted.


The other part of why the bed needed to come off so soon was this factory seam that had been leaking water behind the rear window seal for quite some time, on both sides.


Once the bed was off it was time to begin body work...


there was actually some remnants of factor vinal and paint under it all.


Big dent


I was forced to take it all down t bare metal... I hate breaking the factory e-coat. but it had to be done.


Ill have more updates as soon as im done spraying

Bronze.
 
Got that piece all buttoned up. I ran out of uni-spotter pins, and primer. so I set off to other things in the mean time.


I did the doorless mod on the driver side, reshimmed it correctly and reinstalled it.


After adjusting the striker I was blessed with a nice door gap again :)


Next there were a few pieces that were mismatched in color, I set out to correct this problem. I like to use duplicolor's vinal and fabric spray. if you prep it right things will look great after your done. I wanted to finish off the black interior.


I scrub it with mineral spirits and a Red scotch bright first. wipe it clean with more spirits and a towel. let dry. ReClean with a generous amount of Acitone. this will open up the pores in the vinal and allow it to take the dye.


The goods
 
Looks good! You do some nice work!
 
Looks good! You do some nice work!

Thanks man!

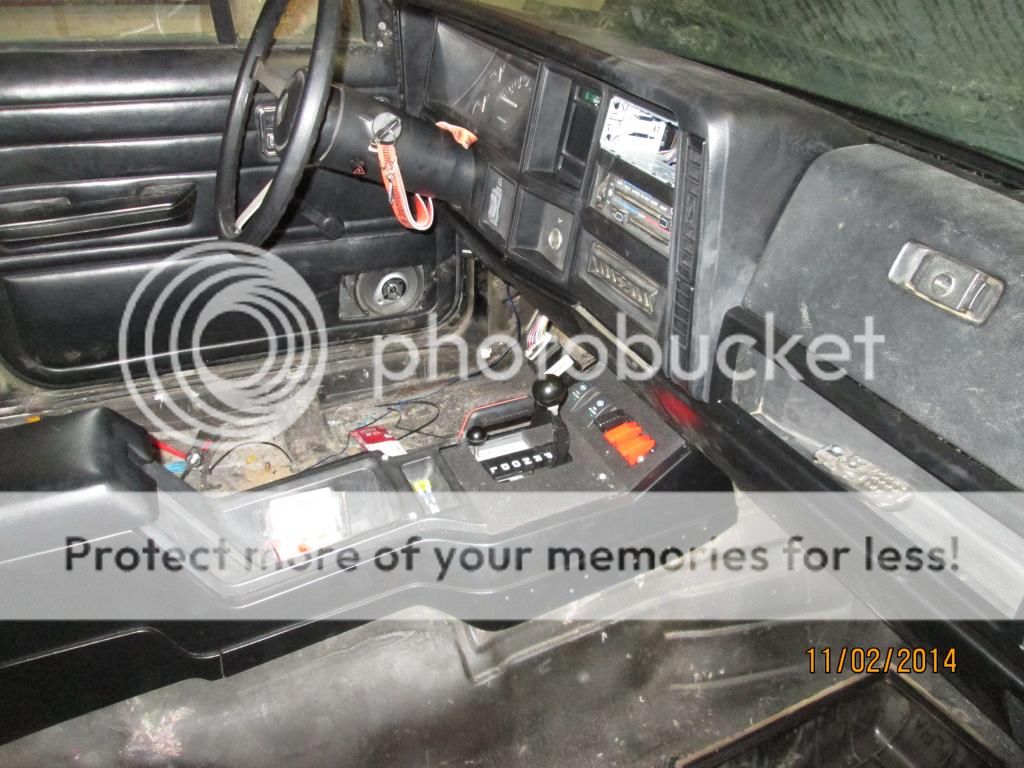
I spent the last couple days getting the interior all sorted. finishing up running of wires, screwing plastics back together, and making modifications to the console.

most of the interior back in.


I made a custom shifter cover and hacked up the console top. tried to make it look as best I could. I really wanted a Comanche "shorty" console but didn't want to invest the time or cash tracking one down. decent imo


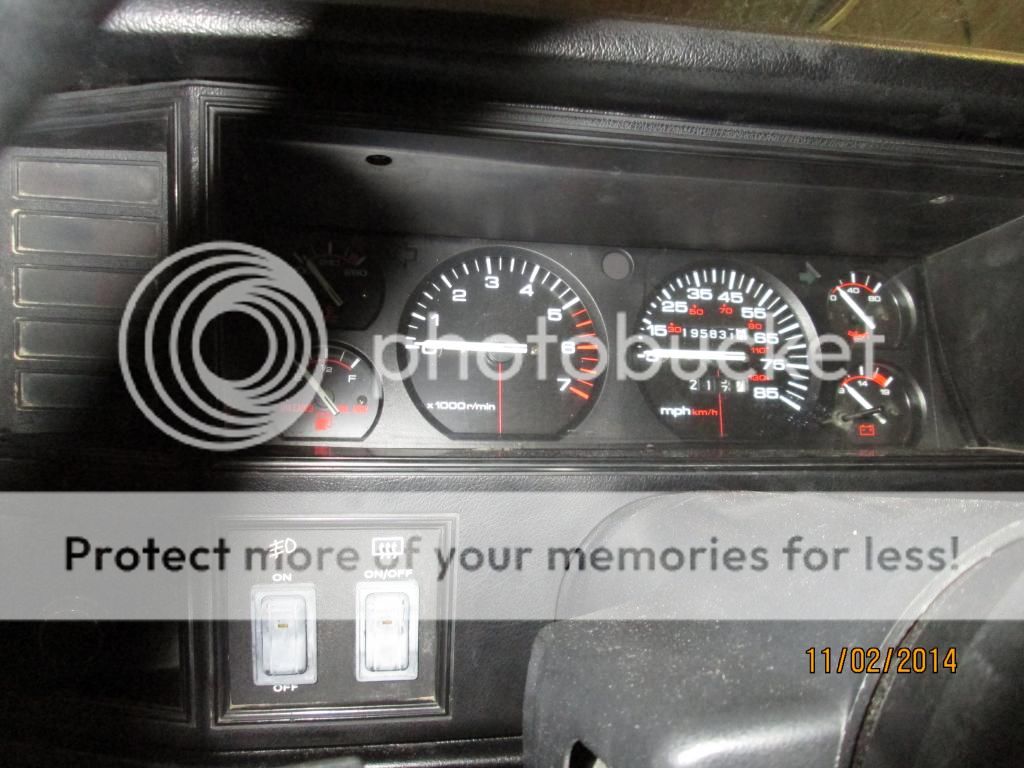
the gages got blacked out too.


I then realized I hadn't located a new spot for all the switches... Prime 4x4 has some cool switch panels and rocker switches. but again I didn't want to wait. I set off to see what I could make up...


Needed new switches, One for the Air compressor. and Two for the rock and rail shifter's. The ARB switches were originally mounted in what was left of the factory clock(that did not work:( ) I wired in a new clock and installed it. so the locker rockers needed a new home too.


1/2" Holes, all lined up ready for the step bit.


I've already stopped in at the craft section of the wallmart and picked up some black felt/jute that ill be using to reline the headliner. I borrowed a piece or two for the console.


And All installed. I still have yet to wire up the torq converter, and TCU. ill wait till the vinal flooring comes in to do that all at the same time.


All Cb's for some stupid reason have the speakers mounted on the bottom. for this reason ill be mounting it up high between the visors like in my XJ. figured id prep the wires B4 the headliner got done and ready to go back in.


Feeling better and better about this MJ the more the days go on. still a ways to go unfortunately:hang:.

Bronze.
 
Its been a while since I have been able to work on it so I figure ill get caught up here. I had a small window to ge the suspention gone though, Mod's done, painted, and all put back together. and at the same time I did a heater core in a friends s10 blazer. Ive been a little :smsoap::firedevil:sure::roll::smsoap:Lately...

So, I got the Y-link, and lca out and cut to length.


I had originally planned on putting the heims on the axle side. While flex testing, I got to see when the bind is in a y-link system. Its at the body side Mount. With the "Y" coming off the UCA axle side mount and connecting to the LCA itself. It will not allow the Axle side LCA joint move OR pivot. At all for that matter. the only way to fix the bind would be to put the heim on the body side of the arms. had I known this, I would have bought 1.25" joints, but WTH. I have them, and the tube turned out to be 1.5" .250 dom.


im ok with that for now. I could have ran a heim on the axle side of the non y-link. but that's just funny having them at different ends:wierd:


Burned the adapters on. Its no TorxFab GeekWeld, But it should hold :thumbup:


I got the rest of the suspension parts out and put into hoover mode.


The came down the next day looking like this.
 
Good progress! Love the satin black finish at the end of a project.. Personally not fond of the blue, but regardless it's far better than what you started with!

Cant wait to see you flog this thing!
 
http://www.naxja.org/forum/showthread.php?t=1068830 By: Redjeep2.0 and post #688 of Torx's Nail salon, were the best and clearest right ups I could find on the net for the Rail shifter install. Couldn't have done it W/o these. thanks fellas.

Im about done with the interior, updates to come later.

Bronze.
 
Back
Top