YELLAHEEP
NAXJA Forum User
- Location
- Littleton, Colorado
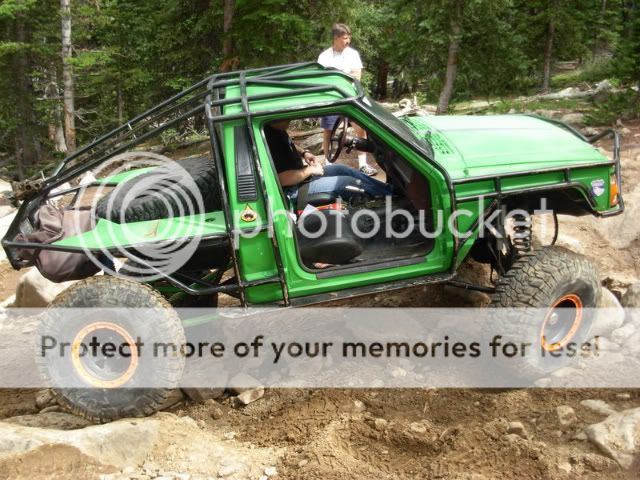
Spent the last couple days aquiring parts and today I put my nose to the grindstone and got several things done.
-Spare mounted on wheel
-All 4 bead locks inspected, broken/weak bolts replaced, rings pounded straight, 12oz of Air Soft plastic BB's added to each tire for balance.
-Broken gas tank mounts re-welded, filler neck bracket installed.
-Tie down points added to the bed.
-Replaced the headlight/turn signal harness (chaffed and shorting) with one from a '92. (Turn signals work now!)
-Fabbed up sway bar link brackets on the axle and pins to hold the links when disconnected.
I must say, the Truggy NEEDED that sway bar! Wow what a difference it is to drive on the street now! :thumbup: I got it up to 60 mph on Broadway and the tire balance seems to work great! I haven't tried it on the highway yet, but it will sure be nice to feel safer driving to/from the trails in Moab.
I'm still waiting for my CO2 tank to pass inspection before they'll fill it - hoping it'll be done Friday. I have a 9" pinion guard on order hopefully it'll be here Fri/Sat as well. Rebuild kits are enroute for the leaky coil overs too - I'm taking the kits as a precaution but I'm hoping they'll last through the Moab event without the rebuild.
Still lots to do though......
Here's pics of the sway bar link fab...... not "perfect" but it works.

This is the side that's always difficult to configure a mount for links - the drag link always gets in the way. I built the tall mounts with the idea of adding a triangle shaped piece of 1/4" plate extending forward above the steering to mount the pin to so that it was in front of the coil spring, but I was concerned about the leverage- so I opted to keep it simple. At full lock to the left, that bolt on the steering arm comes right under the link bushing. - so far so good!


The extra set of pins they sent with the kit worked perfect for mounts when disconnected!

-Spare mounted on wheel
-All 4 bead locks inspected, broken/weak bolts replaced, rings pounded straight, 12oz of Air Soft plastic BB's added to each tire for balance.
-Broken gas tank mounts re-welded, filler neck bracket installed.
-Tie down points added to the bed.
-Replaced the headlight/turn signal harness (chaffed and shorting) with one from a '92. (Turn signals work now!)
-Fabbed up sway bar link brackets on the axle and pins to hold the links when disconnected.
I must say, the Truggy NEEDED that sway bar! Wow what a difference it is to drive on the street now! :thumbup: I got it up to 60 mph on Broadway and the tire balance seems to work great! I haven't tried it on the highway yet, but it will sure be nice to feel safer driving to/from the trails in Moab.
I'm still waiting for my CO2 tank to pass inspection before they'll fill it - hoping it'll be done Friday. I have a 9" pinion guard on order hopefully it'll be here Fri/Sat as well. Rebuild kits are enroute for the leaky coil overs too - I'm taking the kits as a precaution but I'm hoping they'll last through the Moab event without the rebuild.
Still lots to do though......
Here's pics of the sway bar link fab...... not "perfect" but it works.
This is the side that's always difficult to configure a mount for links - the drag link always gets in the way. I built the tall mounts with the idea of adding a triangle shaped piece of 1/4" plate extending forward above the steering to mount the pin to so that it was in front of the coil spring, but I was concerned about the leverage- so I opted to keep it simple. At full lock to the left, that bolt on the steering arm comes right under the link bushing. - so far so good!
The extra set of pins they sent with the kit worked perfect for mounts when disconnected!


")
