• Welcome to the new NAXJA Forum! If your password does not work, please use "Forgot your password?" link on the log-in page. Please feel free to reach out to [email protected] if we can provide any assistance.

Build thread: daily driven tow rig

If I can interpret my own pics, I think on my '96 it is a dark brown wire.

See post #17 on page two of this thread: https://www.naxja.org/forum/showthread.php?t=1123321&page=2

A ways down in there is a pic of my wiring, including a trailer wiring adapter. The reverse lights do not go through that adapter. That leaves only the grounds and the reverse light wire that don't have to go through the adapter. The grounds are on the mounting bolts for my junction block. The only wire left is the dark brown on at the top.

Note that this is all behind the driver's tail light.

The pathetic factory reverse lights were one of the reasons that project got done.

In case you have not stumbled across it, one other way folks go about this is to install Aurora back up lights on either side of the license plate. It fits, provided you are willing to make holes in the fiberglass hatch to gain some clearance on the back side (at least that is what I understand).


Is the 99 a fiberglass hatch? I thought they switched in 95-96 from fiberglass

I didnt even think about wiring them into the trailer wiring. I dont really need to install the cubes in the back (i have led bulbs that do ok), but i want to take them out of the stock fog location up front. The idea for the seperate kill switch was so i could maybe run them as reverse lamps and rear fogs with some red Lamin-X film over them.


Sent from my iPhone using Tapatalk
 
Sorry, didn't think about the switch. '96 is the last year of fiberglass. '97 is the first year of steel.
 
Same old same old. Mileage is coming up on 199,199. Getting closer to the automobile equivalent of 55 “over the hill”.

Still running strong


Sent from my iPhone using Tapatalk
 
Appointment scheduled for next week. Exhaust shop is installing an 87522CB cherry bomb with a passenger side dump tail pipe, in prep for the crossover rear suspension mount.


Next month maybe the Azzys 242 linkage.
 
So this happened today…
4c24e8df46868b8c32803d04e4366c40.jpg

ab699e8c33c6e4b619297956ad0d78a2.jpg

36b00635ad353eb54d74ed252292fe91.jpg


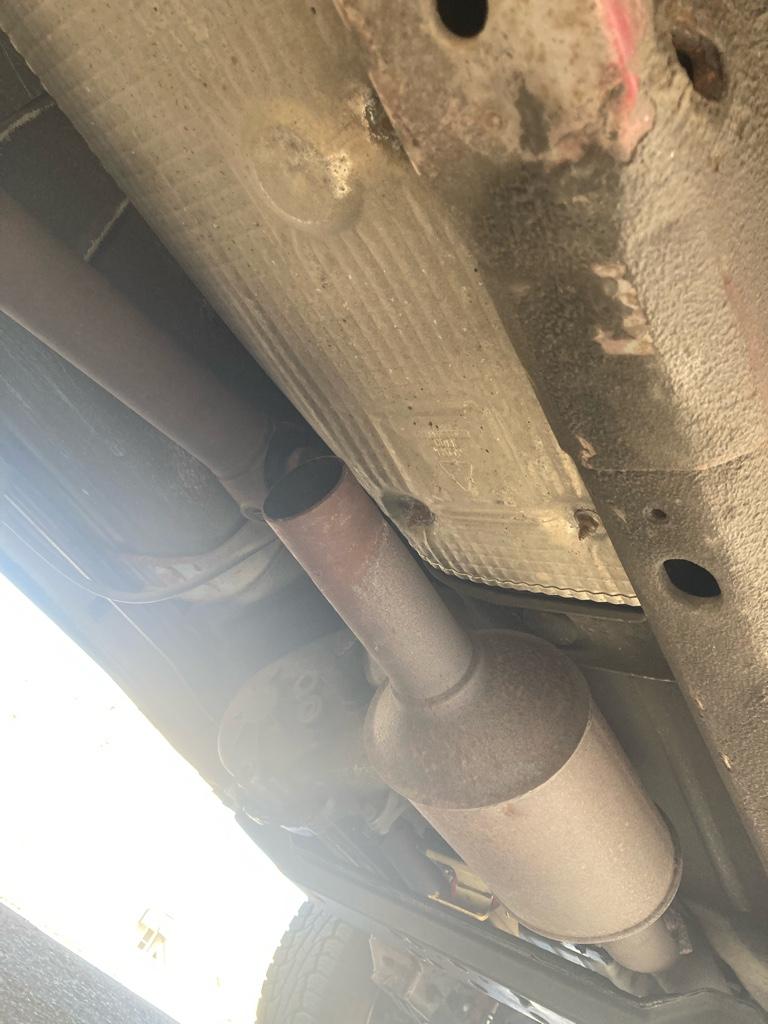
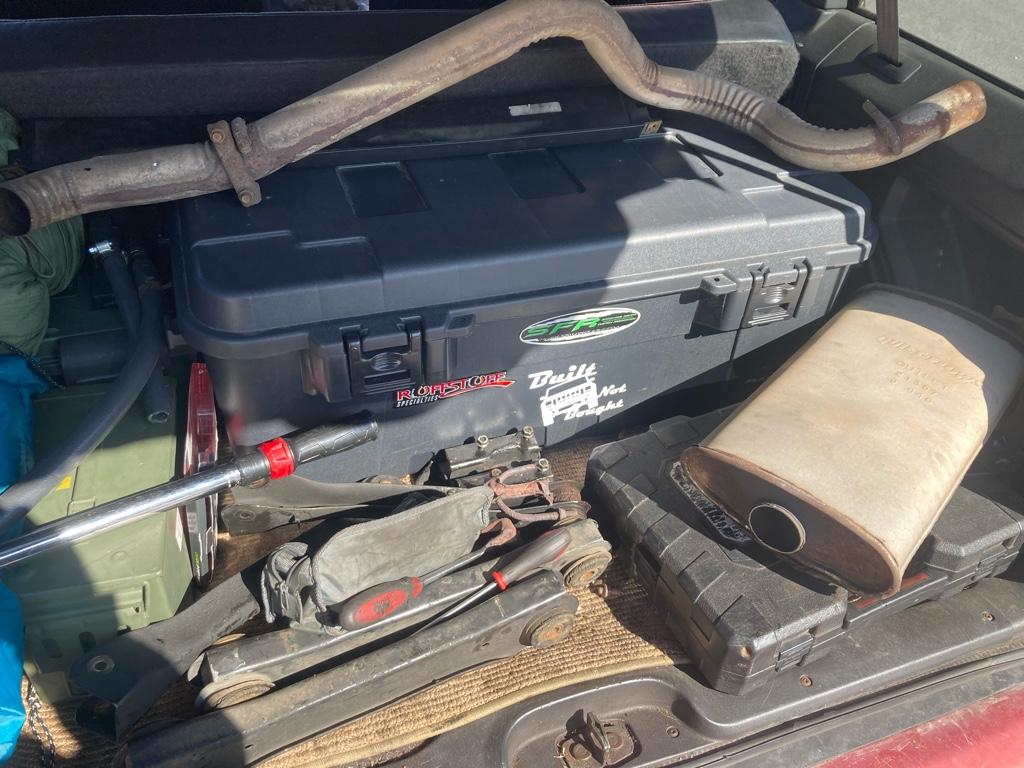
Dont ever put a sawzall and 6lb dead blow hammer in my hands 🤣. Running around now with straight pipe til i can get a pipe expander and clamps to put muffler on. Or an expanded coupler pipe and some clamps that will slip over the cat pipe and inside the 2.5” cherry bomb


Sent from my iPhone using Tapatalk
 
Straight pipe is growing on me 🤣 kind of makes me curious what the 4.0 would sound like with header mufflers and a cam job 🙄🤣 maybe i should install a dummy cat while im at it with the cherry bomb


Sent from my iPhone using Tapatalk
 
Give it time and you will be happy to have a muffler back on there.

Swing by an exhaust shop, be nice, and they may expand those pieces for you at no charge. Of course it probably helps if you have been a paying customer in the past.
 
Give it time and you will be happy to have a muffler back on there.

Swing by an exhaust shop, be nice, and they may expand those pieces for you at no charge. Of course it probably helps if you have been a paying customer in the past.


The heat shield rattle is more irritating than the exhaust. Its surprisingly quiet while cruising, and loud outside the vehicle when taking off or cold starts. Have a feeling the 12” cherry bomb wont do much to quiet it down, a side dump tailpipe with tip will do more in that respect

I have an appointment next week with the exhaust guy..shouldnt be much more than $40 to fit and weld it up, bend a new 45/60/90ish pipe, and fashion up some sort of new hanger on the frame rail.


Sent from my iPhone using Tapatalk
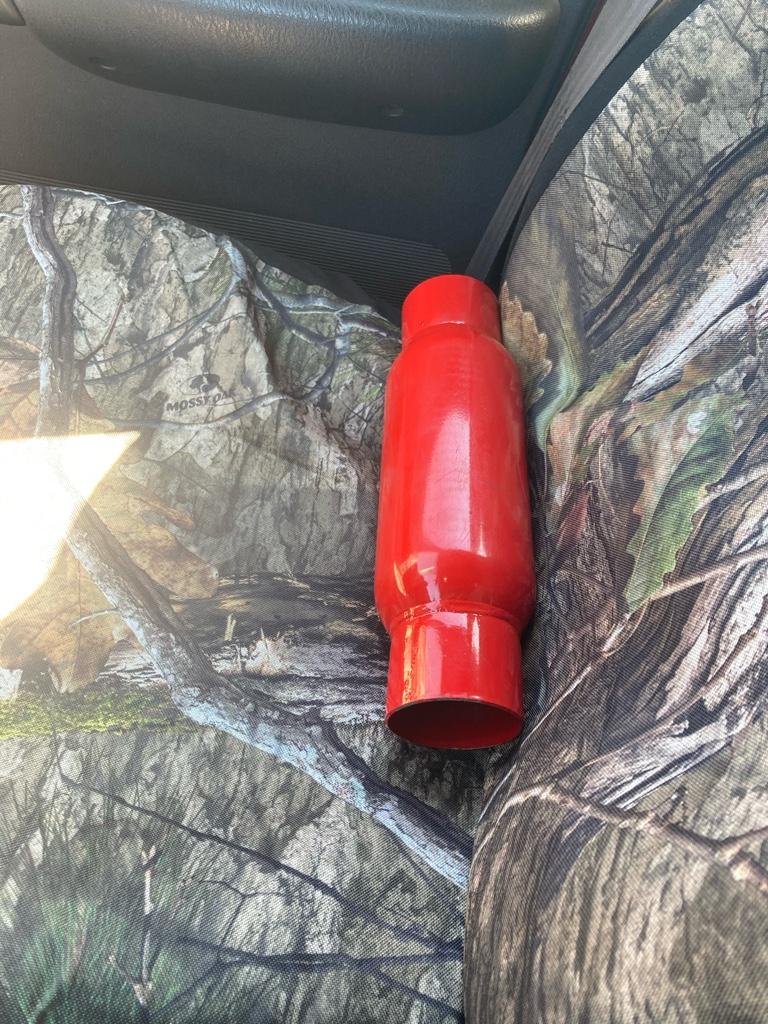
 
Made my first highway trip yesterday (100 miles round trip at 70-75mph). The open exhaust doesnt drone on the highway, its tolerable…Until I stand on it :p. Nothing the noise cancellation knob cant fix (radio volume).

Strangely enough, my gas mileage went up significantly. Overhead trip computer says i’m pulling 17.5mpg (+\- 2 pt spread due to larger tires but they are closer to actual speedo gearing than the factory size). It does feel less sluggish off the line too. I lost a lot of mpg when i did the injectors, tires, and roof basket, now back to where i started almost. Stock configuration i was seeing 17.5-18 city and 22-23 highway.

Thinking maybe a TB re-bore to match intake manifold is in order, since the cherry bomb wont do much more than change the exhaust tone. Should smooth it out more and in theory keep my mpg up. As it sits it definitely is rich and once it warms up and goes into open loop doesnt really lean out the fuel mix much like it did before the injectors. Almost suspect i need better fuel/spark management or a re-flash on the pcm to a different map. Does anyone do that for the 99+ models? Re-map the fuel curve and timing advance/spark tables?
 
To ZJ disc or not…

Rear brakes need addressed asap. They went full metal groan the other morning on cold start.

$300 + hardware and e brake cables for zj swap plus assload of labor

Or

$150 for replacement drum parts and hoses

Cheaper wins out, but with a twist: i’ll get the hardware for disc swap and install as much as possible with drum refresh. Longer studs, brake cables, etc.
 
If manual transmission I say stick with drums. A good E-brake is important if you have a manual.
 
If manual transmission I say stick with drums. A good E-brake is important if you have a manual.


AW4 ;)

Really want discs, so much easier to replace and better for trailer towing…maybe i’ll build new axle shafts off the jeep and just slap em in as time/$ allow


Sent from my iPhone using Tapatalk
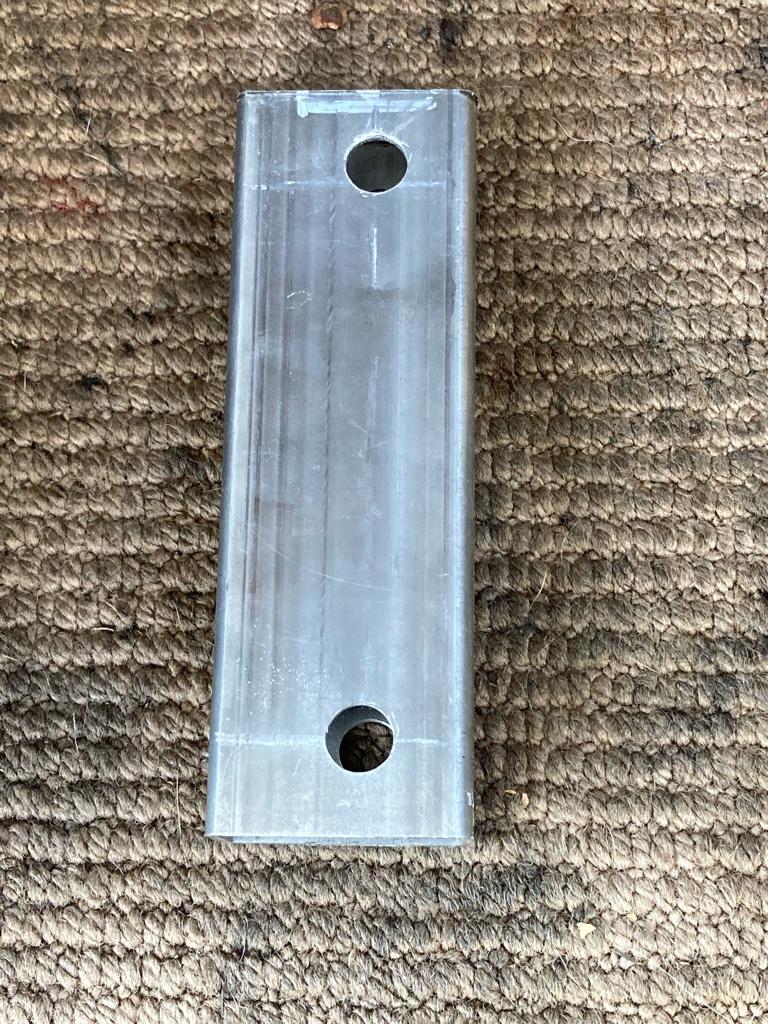
 
Not much to update. Muffler finally went on last week, need to pick up the JKS crossover bracket for rear suspension so i can take it back in for a tail pipe to be bent/installed before inspection in July.

Changed the oil. Other than that its business as usual. Figured out it runs a bit better mpg on 91 octane with the 12 hole injectors and DIY intake setup, but not enough to justify the added cost per gallon (only reason i ran it was because the gas station had the price for 91 set the same as 87)

Pulling the Yakima load warrior off and getting rid of it i think. I want a different basket that sits lower and is longer. May try and build something with box tubing and expanded steel for gits and shiggles. Anyone interested in re-homing this basket? Yours for what i have into it (cheap…) as long as you pick it up. I’ll even add a “built not bought” sticker to it since i have some ~6” white ones left over that match the lettering on the wind panel.

Other projects have taken front seat now that spring is here, so the XJ wont get much more unless something breaks or i get pissed off at minor things to shift funds. AC will be one of the top priorities before summer officially kicks in, im not going another summer sweating my balls off in the greenhouse that is the driver seat. And rear brake shoes…thats top priority before too long.
 
Monkeying around…1” transfer case drop pieces made today, because why not. Mainly so i dont have to take it to the shop to have my pinion angle reset and because i had access to scrap steel box tube and a drill press

3de1b6c79156d91730e56955bb797040.jpg


Sent from my iPhone using Tapatalk
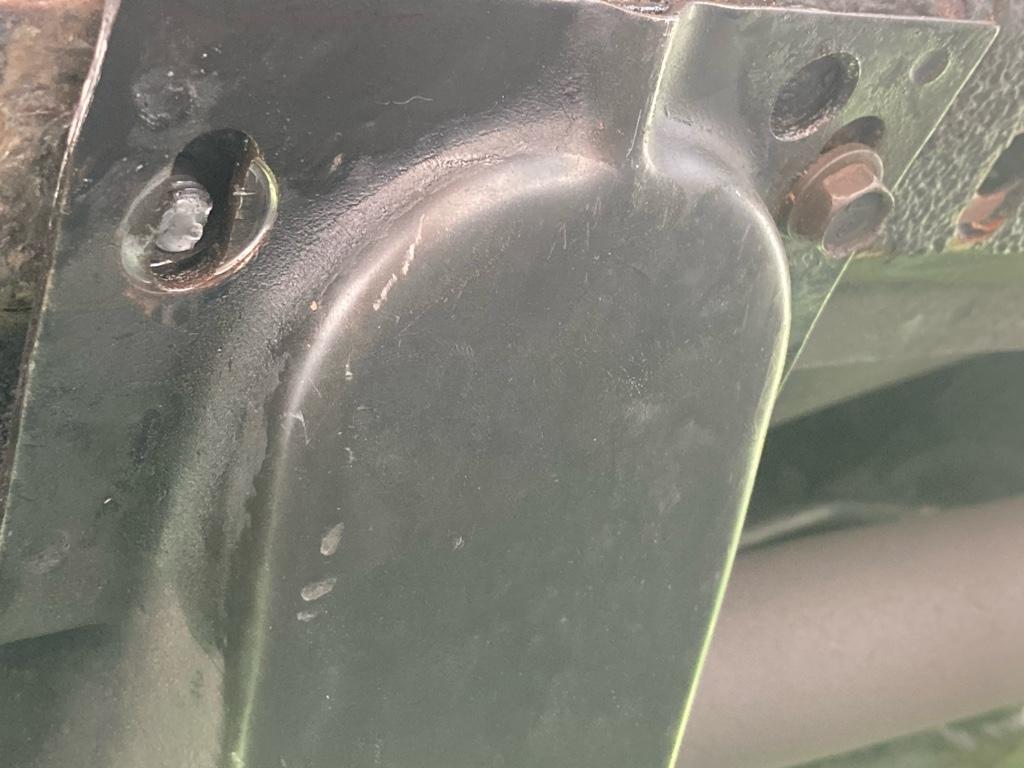
 
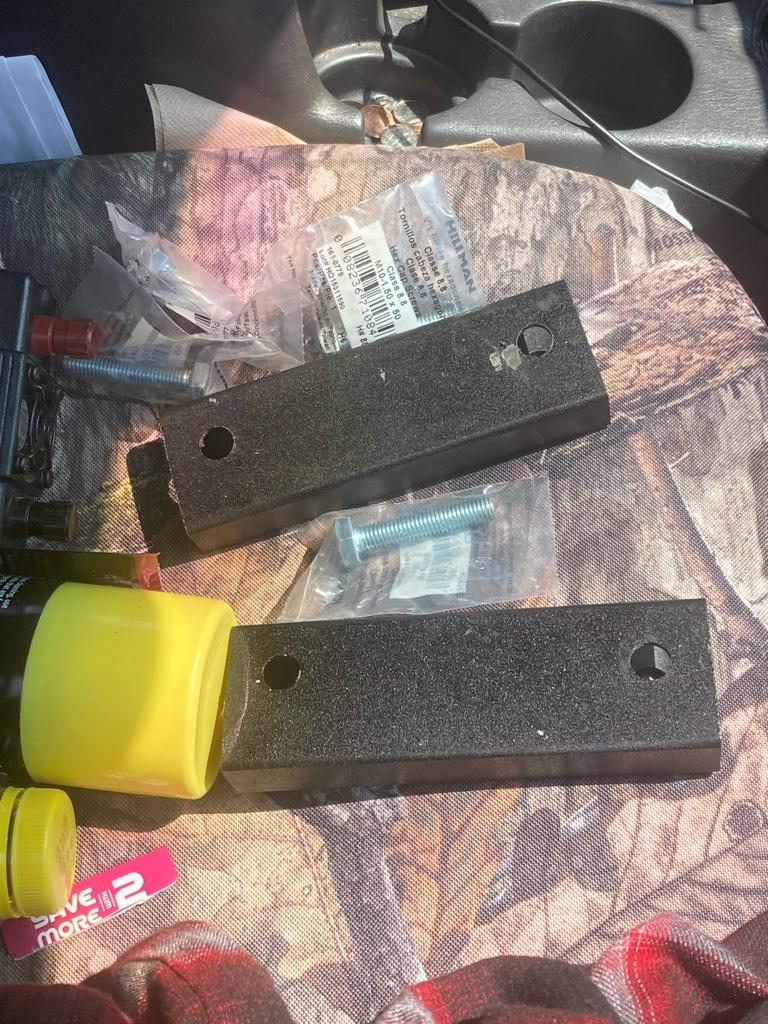
Finished up the transfer case drop parts (primer/truck bed coating) and went to install today. All went well, up until removal of the studs resulted in snapping one off. After that it was a big nope, eff this…let the mechanic deal with drilling/tapping/installing. Goes to the shop on Tuesday morning for him to take care of it. Jam nut method failed, stripped half the threads off. So vice grips/die grinder/pblaster/torch til red and turn failed…out came the pipe wrench. Sheared off half the stud in short order.

The shims turned out nice at least 🙄
f1279ee2e7c9249460a636100eb87181.jpg

5a42bcf84a055093dfaa61b5fd45e1a9.jpg


Sent from my iPhone using Tapatalk
 
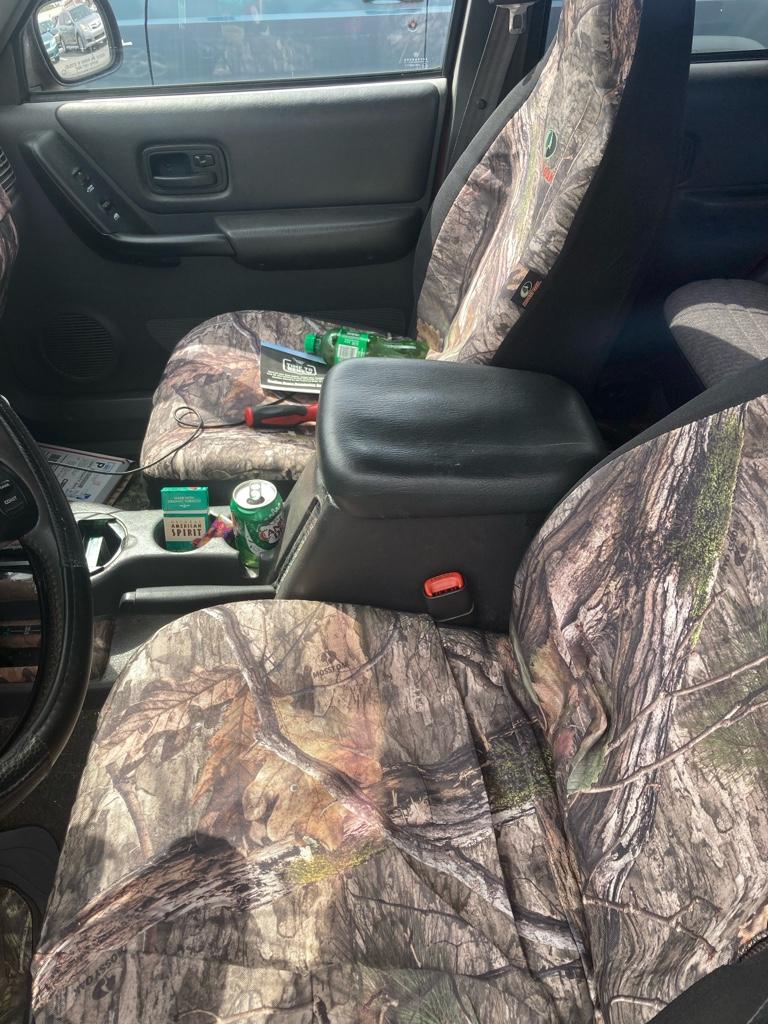
Got in the xj the other morning, leaned back in seat and heard *snap* for the second time coming from under the seat… stupid fat ass and broken seat welds 😅

So WJ seats are in my future…since driver seat has to come out for rewelding/refabbing seat mounts anyhow.

WJ front seats are replacing power driver manual passenger. Is it possible to wire up power passenger? Do i use XJ switch and trim or WJ switch and trim? My power driver switch is flaky, only goes forward. Up down and all the other functions make noise but no movement. WJ seats also get power lumbar and tilt too, correct?

Picked up ZJ rear leather 60/40 seats and started swapping them in. Not as direct fit as was expected. Debating on using the factory bench seat and just putting a cover over it all. Wanted the headrests and split more than anything else. Also thinking id like to find a happy medium so they can br reclined a bit to rest on factory seat hardware in the walls.

I’ll shave the bottoms down so they dont sit as high both front and rear. Maybe cut the top deeper so its more side bolster.

If i use the existing torx bolts that mount the seat belt to the pan, it leaves the gap in the center and tightens up to the wheel arches. Anyone done it this way? Pros or cons? I rarely have anyone back there, and even more so for a 3rd passenger.
 
You will probably get better responses if you start a WJ seat conversion thread in "Modified Tech" upstairs.

I have not done WJ seats, so I can't add anything useful.
 
You will probably get better responses if you start a WJ seat conversion thread in "Modified Tech" upstairs.

I have not done WJ seats, so I can't add anything useful.


You will probably get better responses if you start a WJ seat conversion thread in "Modified Tech" upstairs.

I have not done WJ seats, so I can't add anything useful.


ZJ rear seats not WJ. Fronts will be WJ on modified WJ bases if i can find a good set that doesnt have broken frame welds like my XJ driver seat lol.

WJ center console lid fits almost perfect at least and gives a higher arm rest. Need to cut off 2 little tabs up front so it will lay flat and latch closed.. and its wider so it doesnt exactly look perfect
3a628065c78aa9949e375c9904b60e91.jpg

55958eaa255a007e09ce8f34287f4d23.jpg


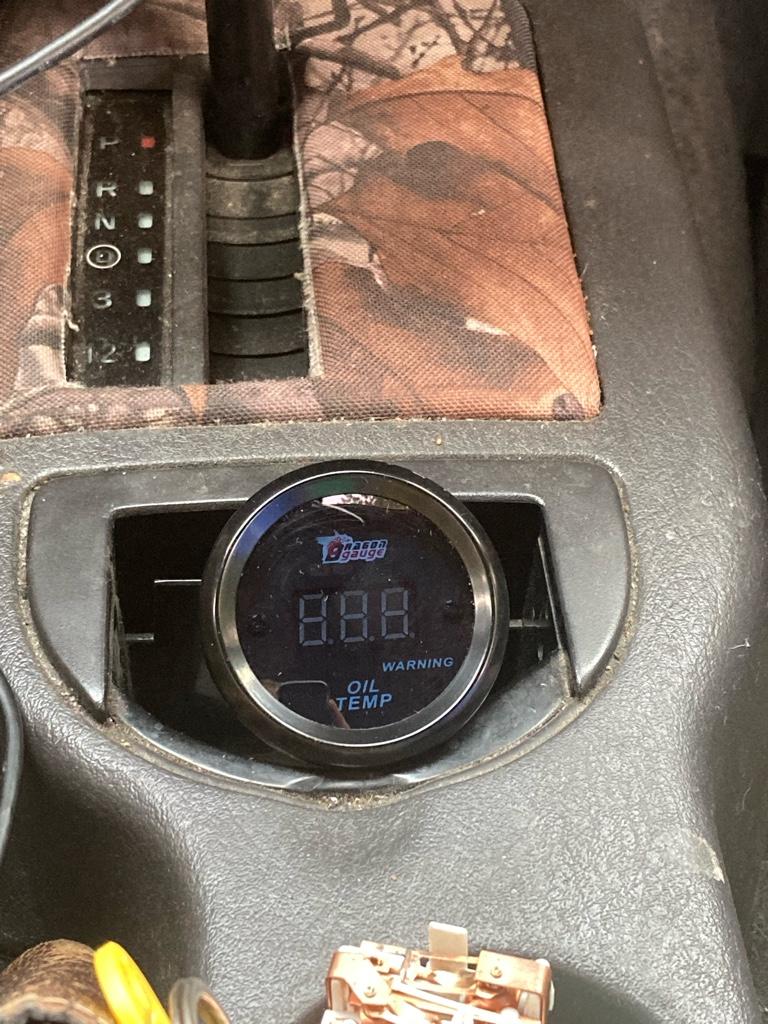
Also on the list of to do, try and learn to 3d print so i can make a gauge pod for the “ashtray”


Sent from my iPhone using Tapatalk
 
Back
Top