Jamescad04
NAXJA Forum User
- Location
- Charlotte, North Carolina
Well I have done tons of research and tons of digging around before i did this. I talked with a bunch of people and took the dive. I completed this about 6 months ago now and it has held up great.
Just for your information I have a 96 Jeep Cherokee Auto 4x4 4.0 H.O.
I first got this information and bought this thanks to dave92cherokee.
When I did it I used autozone p/n 12329, it has the same mounting distance hole to hole as the stock XJ alt's do. When I did it I also relocated it up top to the a/c position. The bracket has to be ground down some due to just the bigger case. Not sure which connection style you have on your 96 as that's the in-between year but it requires the plug in style of the 97+ model XJ's. I just clipped it off in the JY and then soldered it into the wiring harness that's in place. The only reason people swap pulley's is to go from the 7 rib pulley that's on the alt to the 6 rib on the stock xj, but it's not necessary as you can just offset it one rib and it'll run fine.
Now to start this off I removed my battery, battery tray, upper radiator support, fan shroud, alternator, and alternator brackets.
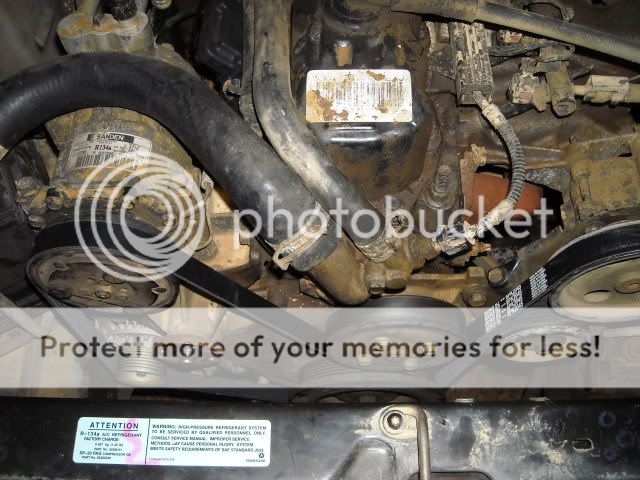
Next is removal of the air conditioner I removed everything the condenser, the lines, the compressor, the hoses, and the drier.
Then I started doing some research and found this.
http://www.naxja.org/forum/showthread.php?t=995555&highlight=Grand+Cherokee+Alternator&page=5
Now I only used the front bracket I did not use the rear bracket in this mod.
Then you'll notice there is some webbing on the air conditioner bottom bracket, you have to grind most of this away. I found a write up on this a while ago but cant seem to find it again. This part takes a lot of time and patience. Grind and test fit and repeat multiple times.
Once you get it were you need it to be you will get something that looks like this.
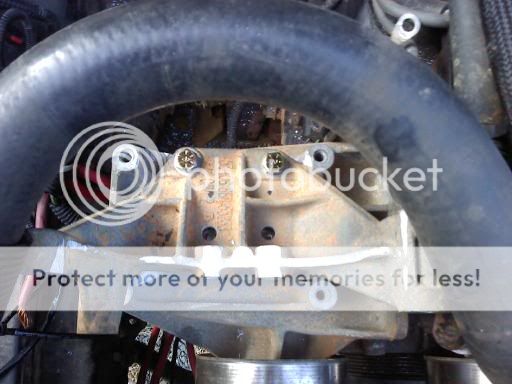
I then took the bottom air conditioner bracket off after i had drilled holes through the alternator bracket into the lower air conditioner bracket. Now to get the nuts to fit on the bolts there is some more webbing you have to grind down on the bottom of the air conditioner bracket. In the picture above its were the two lower holes are with no bolts going through them.
Now I had to run back and forth a few times to the auto parts store to find a belt that would fit correctly. I wound up with Masterpro part number K060760 under that it has another number 6k760 the length of it is 76 1/2"
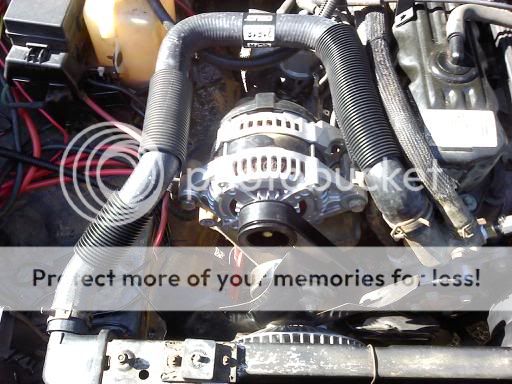
After that everything should bolt up pretty easily and fit like this.
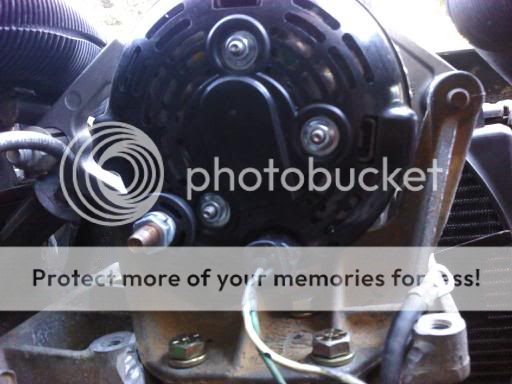
Now you must upgrade the main cables in your jeep with the alternator upgrade. There are plenty of write ups on this I will just post a few pics.
The new cables and materials.
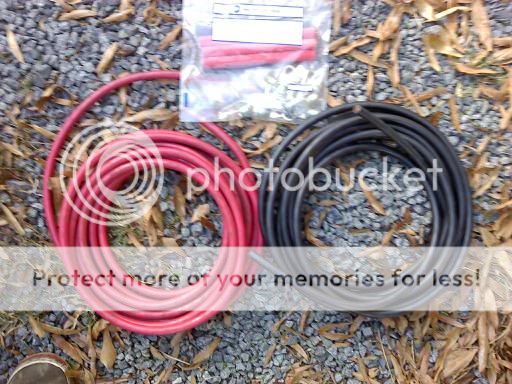
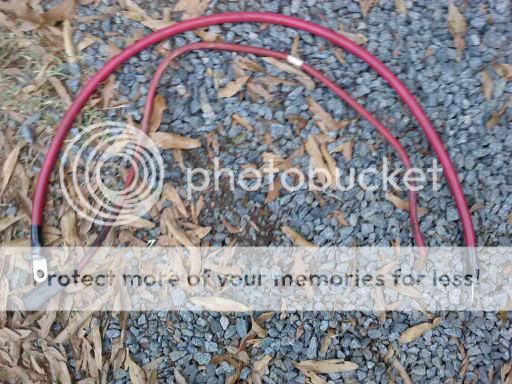
A comparison from the new cable to the existing cables.
This was a lil odd. This is my starter cable.
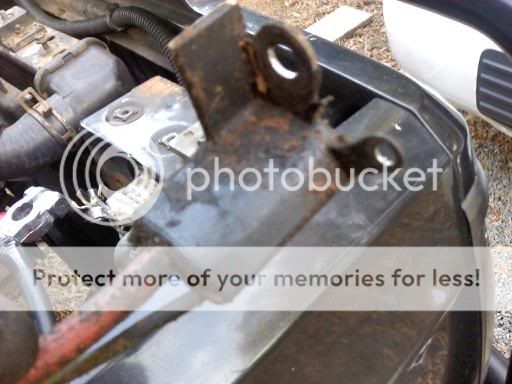
I had to cut part of it off because part of it still has to be used. This is the part to keep by the way.
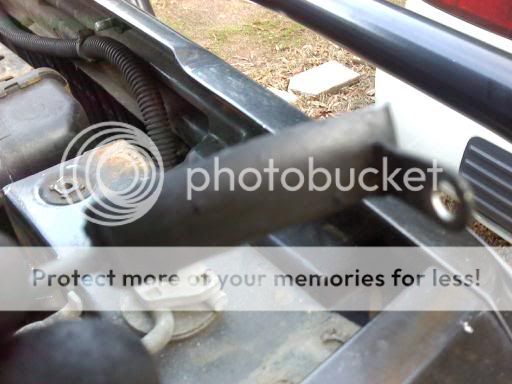
Next was finding a hose to work. I used a renix era hose and it works great.
I took a bolt grinded the head down and slid it into the empty slot in the fuse block. Attached my cables so everything is running through that fuse before it gets to the block.
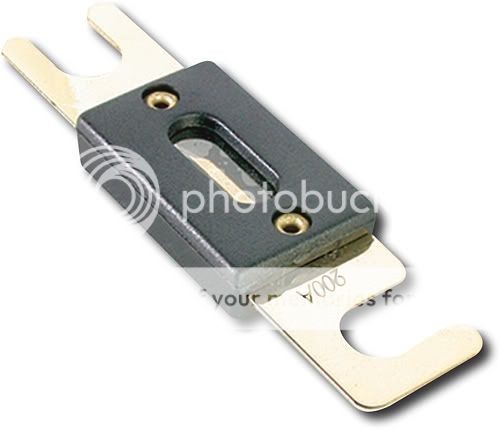
This is the style fuse i used not the exact one.
If you need any more pictures or anything else please let me know I will try to get any that I can to clear it up a bit. Good luck and I hope this helps you out because it took me a lot of work to pull all of this together.
Just for your information I have a 96 Jeep Cherokee Auto 4x4 4.0 H.O.
I first got this information and bought this thanks to dave92cherokee.
When I did it I used autozone p/n 12329, it has the same mounting distance hole to hole as the stock XJ alt's do. When I did it I also relocated it up top to the a/c position. The bracket has to be ground down some due to just the bigger case. Not sure which connection style you have on your 96 as that's the in-between year but it requires the plug in style of the 97+ model XJ's. I just clipped it off in the JY and then soldered it into the wiring harness that's in place. The only reason people swap pulley's is to go from the 7 rib pulley that's on the alt to the 6 rib on the stock xj, but it's not necessary as you can just offset it one rib and it'll run fine.
Now to start this off I removed my battery, battery tray, upper radiator support, fan shroud, alternator, and alternator brackets.
Next is removal of the air conditioner I removed everything the condenser, the lines, the compressor, the hoses, and the drier.
Then I started doing some research and found this.
http://www.naxja.org/forum/showthread.php?t=995555&highlight=Grand+Cherokee+Alternator&page=5
Now I only used the front bracket I did not use the rear bracket in this mod.
Then you'll notice there is some webbing on the air conditioner bottom bracket, you have to grind most of this away. I found a write up on this a while ago but cant seem to find it again. This part takes a lot of time and patience. Grind and test fit and repeat multiple times.
Once you get it were you need it to be you will get something that looks like this.

I then took the bottom air conditioner bracket off after i had drilled holes through the alternator bracket into the lower air conditioner bracket. Now to get the nuts to fit on the bolts there is some more webbing you have to grind down on the bottom of the air conditioner bracket. In the picture above its were the two lower holes are with no bolts going through them.
Now I had to run back and forth a few times to the auto parts store to find a belt that would fit correctly. I wound up with Masterpro part number K060760 under that it has another number 6k760 the length of it is 76 1/2"
After that everything should bolt up pretty easily and fit like this.

Now you must upgrade the main cables in your jeep with the alternator upgrade. There are plenty of write ups on this I will just post a few pics.
The new cables and materials.

A comparison from the new cable to the existing cables.

This was a lil odd. This is my starter cable.

I had to cut part of it off because part of it still has to be used. This is the part to keep by the way.

Next was finding a hose to work. I used a renix era hose and it works great.

I took a bolt grinded the head down and slid it into the empty slot in the fuse block. Attached my cables so everything is running through that fuse before it gets to the block.
This is the style fuse i used not the exact one.

If you need any more pictures or anything else please let me know I will try to get any that I can to clear it up a bit. Good luck and I hope this helps you out because it took me a lot of work to pull all of this together.

