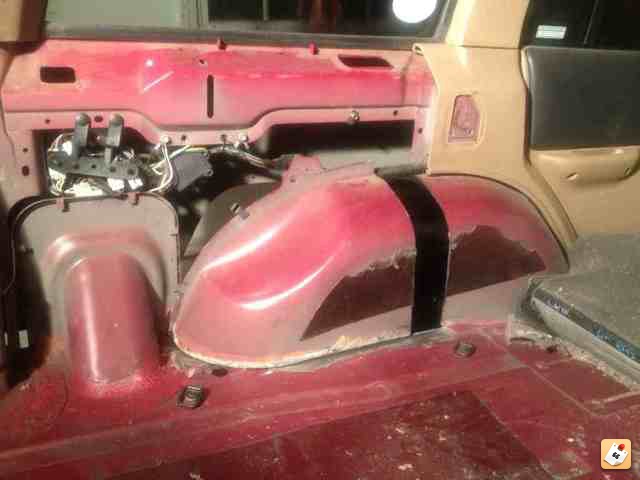
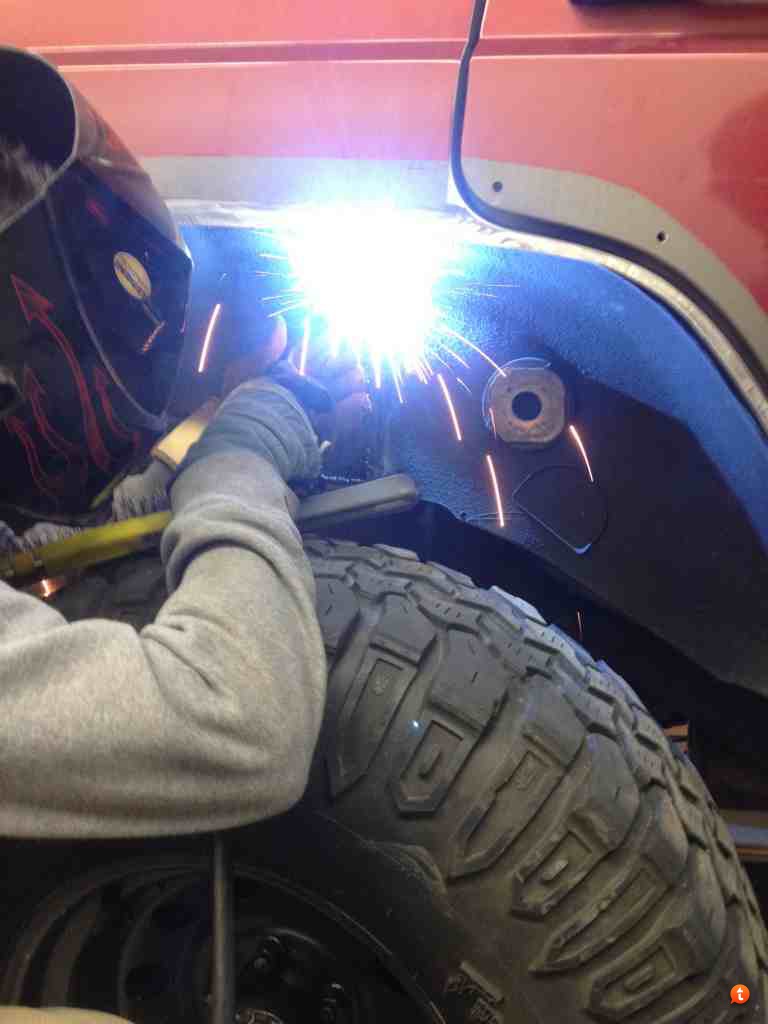
one thing I wish that I had done differently was to use the piece of the inner fender I cut out to mark my cut lines for the outer fender - this would make them match up nicer so that they would be easier to weld back together. Unfortunately I made my cuts before I decided to cut apart the inner fender, so I wasn't able to do that. As they are now, the cuts are very symmetrical, with the front half almost mirroring the back half, which looks good. It just means that making the filler piece match up to the inner wheel well tub will require some pie cuts or wedges of sheet welded in to fill the gaps.
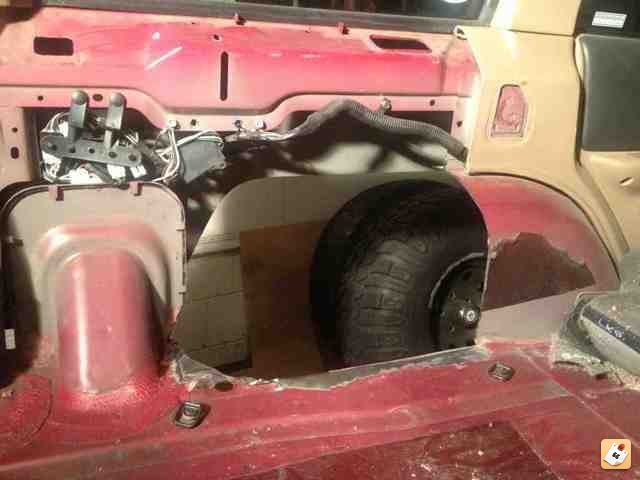
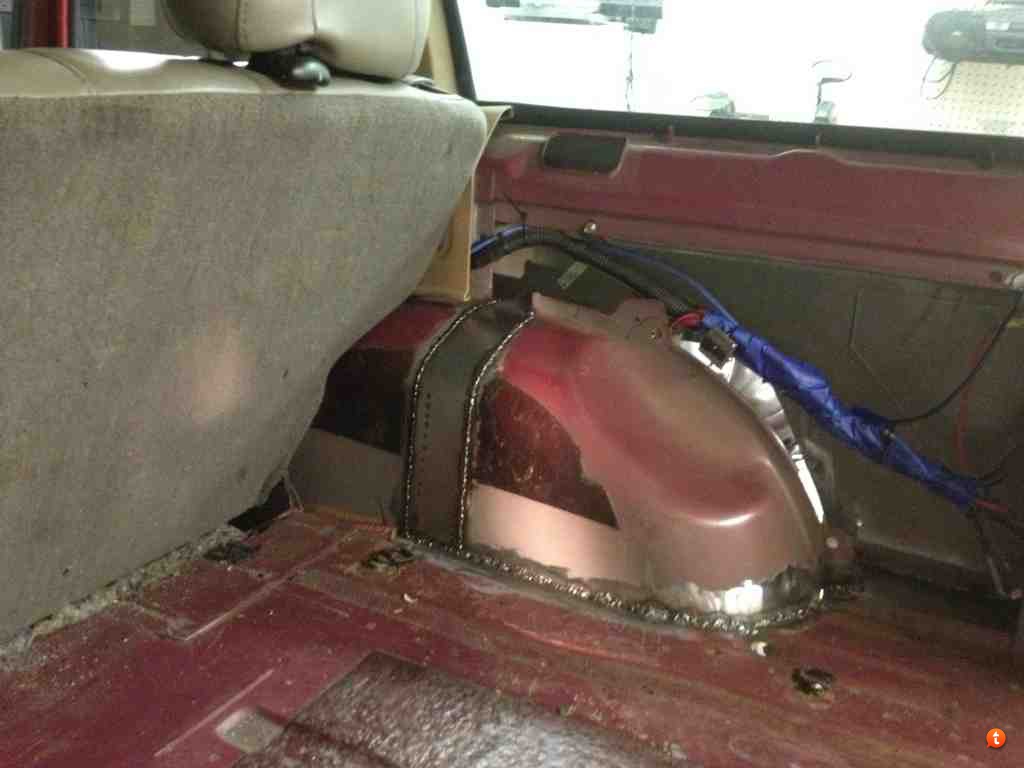
Also, I maybe wouldn't have drilled out all the spot welds on the pinch seam on the bottom of the wheel well, and just cut it. On the drivers side I did this, and I think it will make it easier to mock up, but it will make it look a little funny with half a pinch seam in there. On the pass side I didn't cut off at that seam, so at least it will match the front of the wheel well.
The reason I cut it on the driver side is because I had some damage to that seam from too-tall ubolts that smashed it up, and I wasn't able to completely flatten it to separate it, so i just cut it.