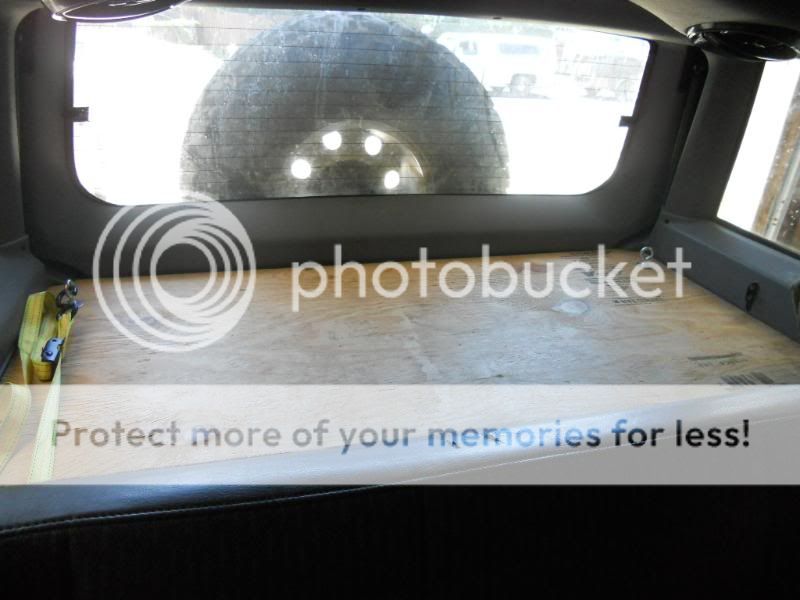
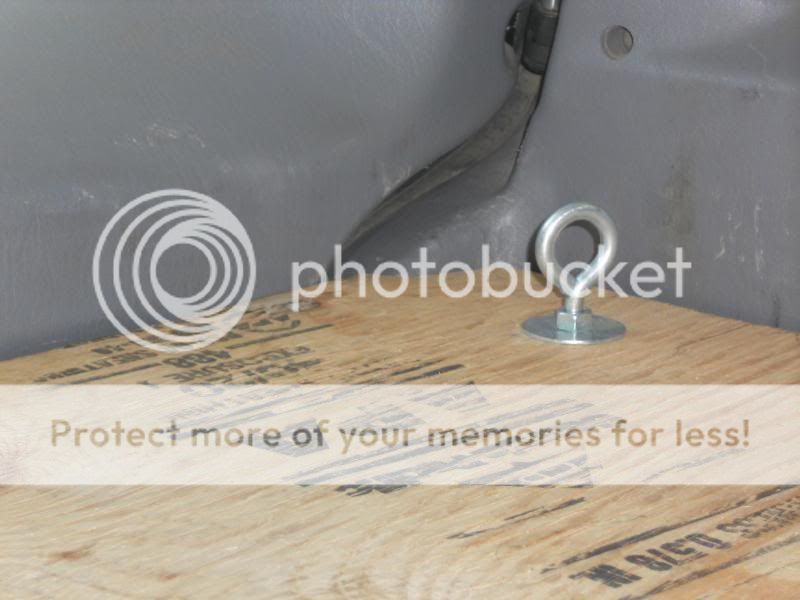
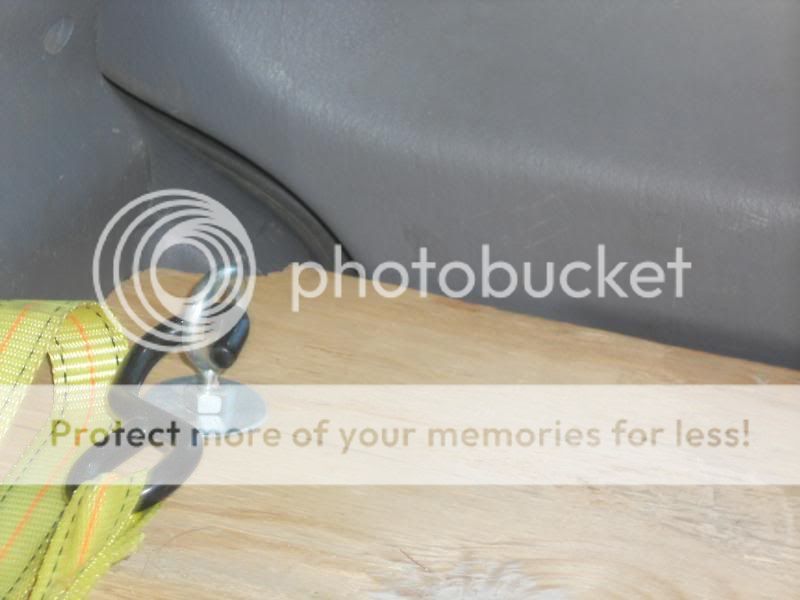
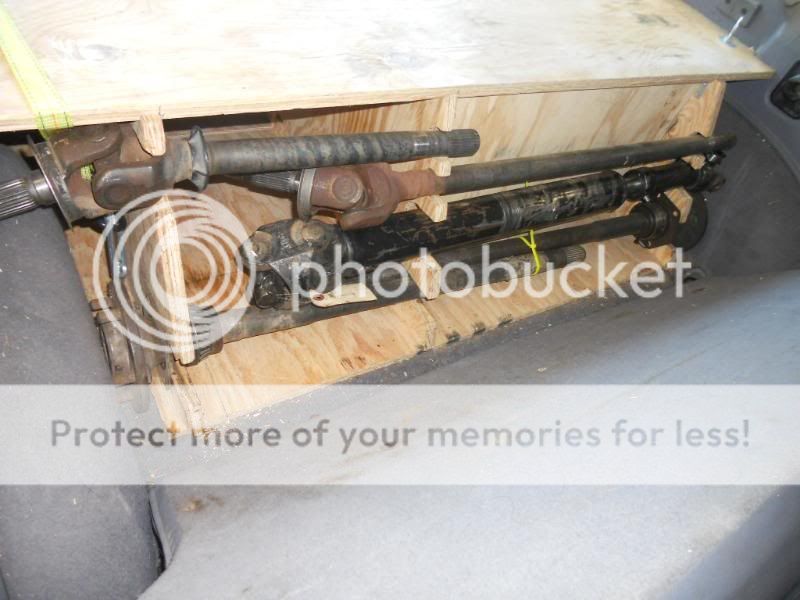
The platform is a glavanised steel frame with a ply wood top, it just attahces to the cargo barrier with hose clamps and uses chain (covered with heatshrink so it doesn't rattle) and turnbuckles to attach to the child seat restraint (this will take a high load and was conveniently placed).
There's also an inverter (600W with 1200W startup) mounted under the shelf.
The whole thing just did 9000km with around 3000km on dirt/corrugations with no issues at all other than me having to tighten the turnbuckles and lock them in place with the nuts on them as I forgot to do that when I first put it in (a few days before I headed off)
Hope that helps.
Cheers
Steve