freerider15
NAXJA Forum User
- Location
- FoCo, Crawlorado
Like many, I needed to relocate my vacuum ball (I like my heat and A/C) in my DD.
I purchased a new ball off Amazon for ~$10, since the two that came in the parts pile of the Jeep were broken.
I wanted something clean, and actually mounted versus just having it "float" around in the engine bay.
After about 15 seconds of looking around, a location dinged on me.
This can be done in 5-10 minutes, is clean, and takes all of 6" or so of vacuum hose to do.
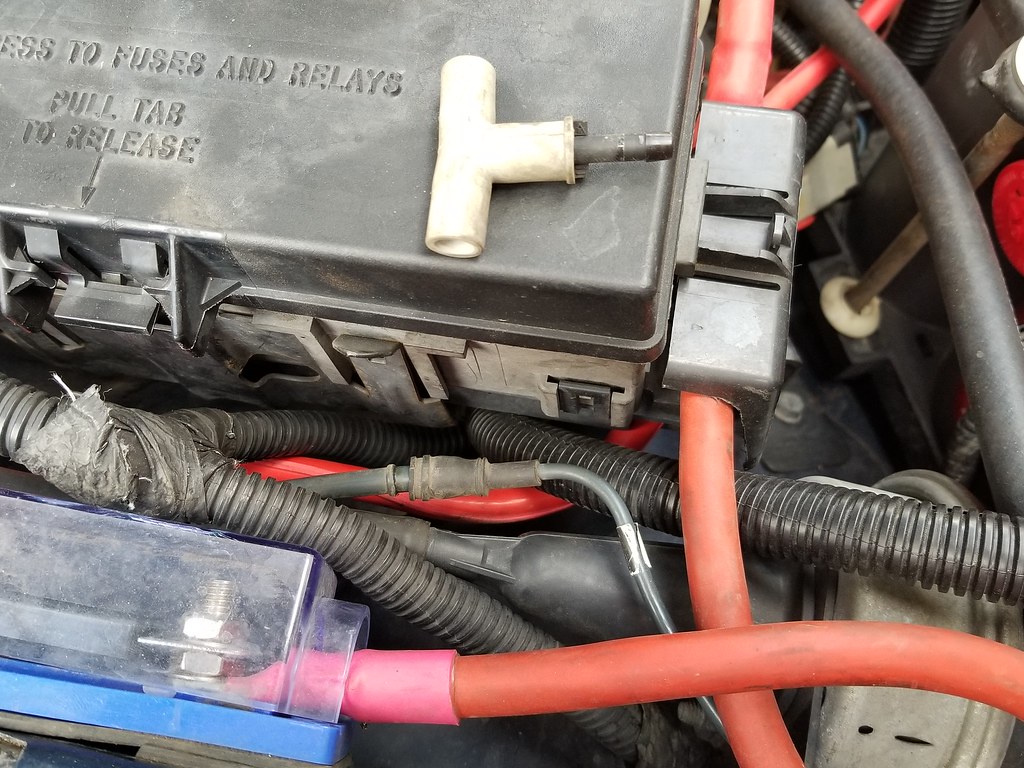
First step: remove the tee near the cruise control actuator, and plug it directly into the feed line. You'll notice the white tee sitting on the PDC, with a black adapter nipple.
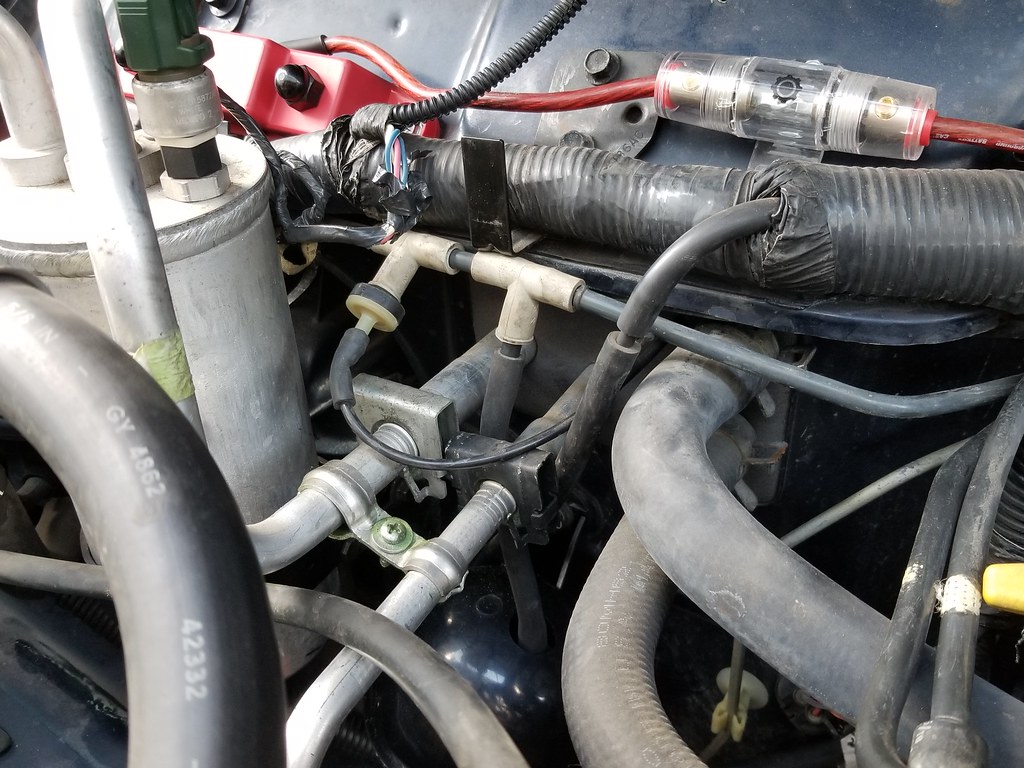
From there, there are two bolts on the firewall that are where the HVAC box comes through the firewall (10mm nuts)
It just so happens, the vacuum ball bolt spacing fits these studs. Bolting the vacuum ball there is the part that takes the longest (bottom bolt is a little bit of a paint to get to once the ball is in. Since my XJ is dark blue, pictures of these studs and the ball mounted don't show up the greatest, but see below.
I removed the top nut, and loosened the bottom to where the ball would slide on. Then affix the top nut:
Notes:
1.) Make sure you bolt it oriented the correct way. I wasn't paying attention and bolted it in the first time with the vacuum nipples facing down.
2.) You'll want to push the A/C accumulator towards the passenger side a little before completely tightening the bottom but, to ensure the accumulator and the vacuum ball don't touch (and thus end up in cracked plastic from vibration). The bottom nut it what secured the accumulator in position.
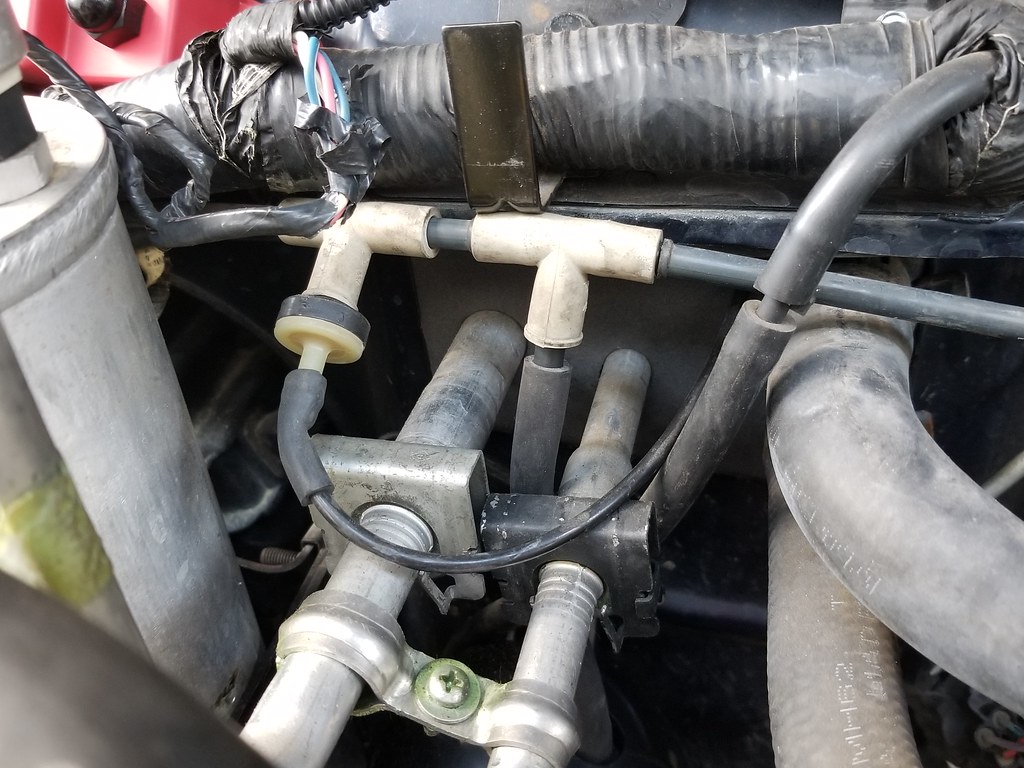
From there, there is another tee that sits just up under the firewall lip, that is another HVAC controls line that runs to the interior.
Take the white tee you removed (remove the black adapter nipple) near the PDC, a small section of the old vacuum ball plastic hose, and splice it into the vacuum line next to the existing tee there like so (new tee on right):
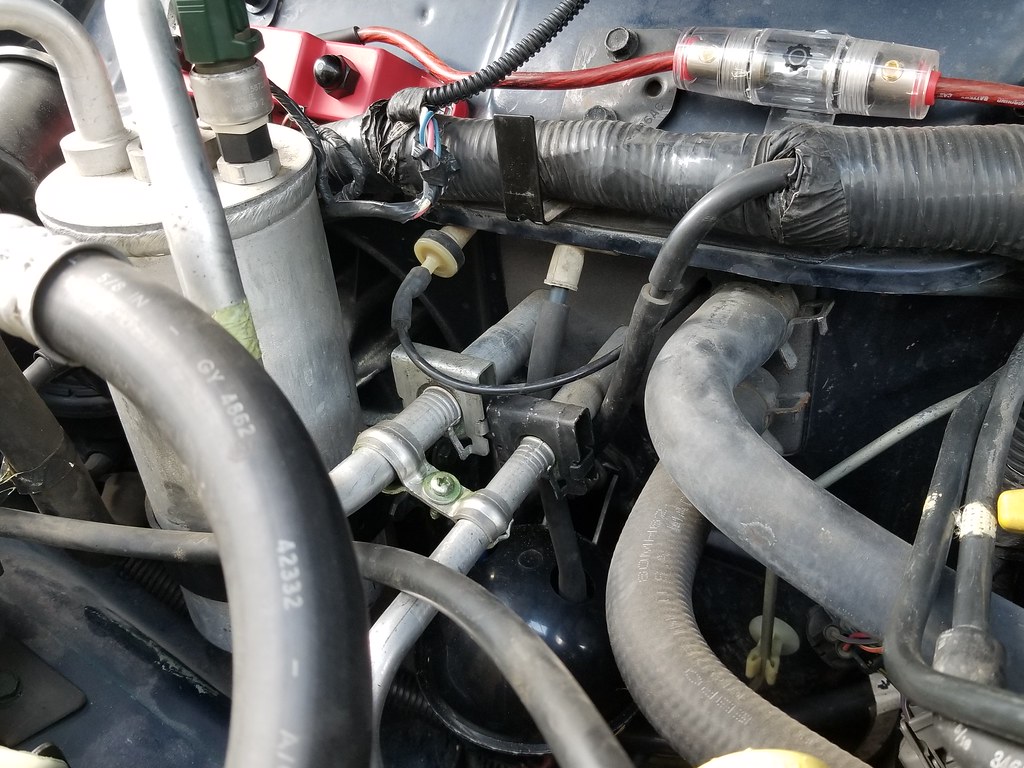
Take another small section of the old plastic vacuum line, and push it into the bottom of the tee. From there, simply connect a piece of vacuum hose from that tee, to the vacuum ball (the ball can be seen in the picture below).
Then tuck it all back up under, and voila...all done.
It's like it was meant to go there
I purchased a new ball off Amazon for ~$10, since the two that came in the parts pile of the Jeep were broken.
I wanted something clean, and actually mounted versus just having it "float" around in the engine bay.
After about 15 seconds of looking around, a location dinged on me.
This can be done in 5-10 minutes, is clean, and takes all of 6" or so of vacuum hose to do.
First step: remove the tee near the cruise control actuator, and plug it directly into the feed line. You'll notice the white tee sitting on the PDC, with a black adapter nipple.
From there, there are two bolts on the firewall that are where the HVAC box comes through the firewall (10mm nuts)
It just so happens, the vacuum ball bolt spacing fits these studs. Bolting the vacuum ball there is the part that takes the longest (bottom bolt is a little bit of a paint to get to once the ball is in. Since my XJ is dark blue, pictures of these studs and the ball mounted don't show up the greatest, but see below.
I removed the top nut, and loosened the bottom to where the ball would slide on. Then affix the top nut:
Notes:
1.) Make sure you bolt it oriented the correct way. I wasn't paying attention and bolted it in the first time with the vacuum nipples facing down.
2.) You'll want to push the A/C accumulator towards the passenger side a little before completely tightening the bottom but, to ensure the accumulator and the vacuum ball don't touch (and thus end up in cracked plastic from vibration). The bottom nut it what secured the accumulator in position.
From there, there is another tee that sits just up under the firewall lip, that is another HVAC controls line that runs to the interior.
Take the white tee you removed (remove the black adapter nipple) near the PDC, a small section of the old vacuum ball plastic hose, and splice it into the vacuum line next to the existing tee there like so (new tee on right):
Take another small section of the old plastic vacuum line, and push it into the bottom of the tee. From there, simply connect a piece of vacuum hose from that tee, to the vacuum ball (the ball can be seen in the picture below).
Then tuck it all back up under, and voila...all done.
It's like it was meant to go there