OK, this is for you guys that are about to trim, have trimmed, or are just looking to put Tj flares on soon. I have searched  and Jeepforum and never found an actual writeup on how to install TJ flares so I'm taking charge. Every other thread just says 'search" and when you search you find threads that say 'search'. If you have not yet trimmed then this install will be pretty easy. If you have, no worries, I'm here to help. I also have a snorkel so I had to do a little extra cutting of the fenders, but nothing serious. Here we go...
1) With trimmed fenders

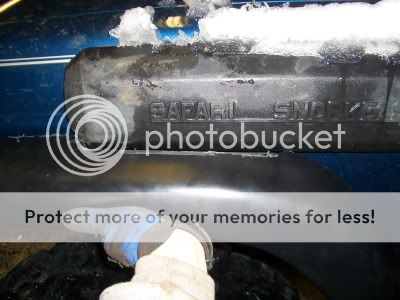
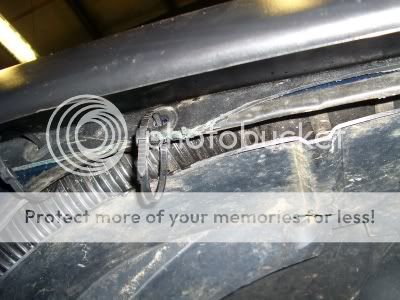
2) With trimmed fenders and snorkel. As you can see there isn't much room between the bottom of the fender and snorkel.

3) Here is the inner part of the fender with its funky lip and curves.
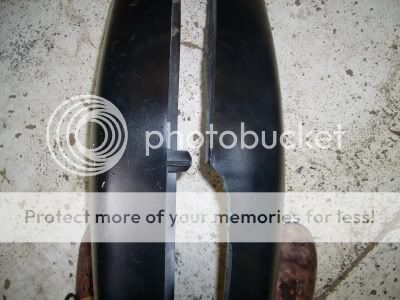
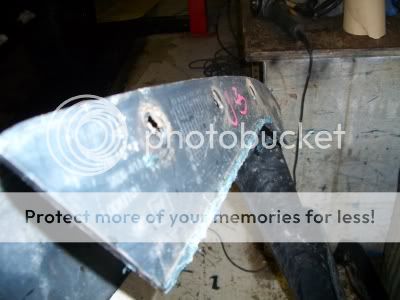
4) On the left is the fender as normal. On the right, I cut off that goofy 4 prong thing and the inner lip of the fender. It just gets in the way. My advice is to cut as much of the inner lip as possible, leaving only a little bit of plastic right around the holes.
5) Another pic.

6)
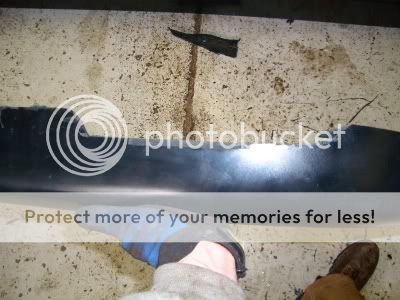
The inner lip trimmed
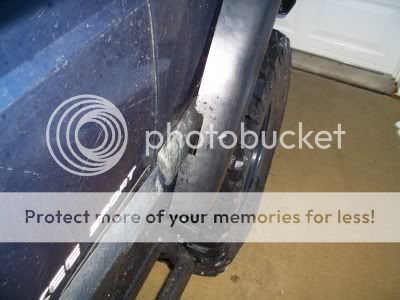
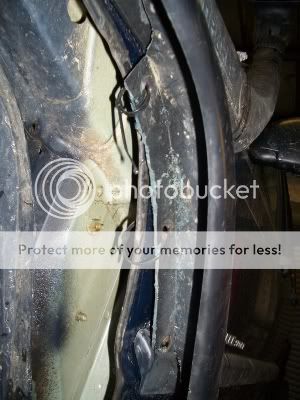
7) Some trimmed out section where the snorkel is gonna go.
8) fitting it up into place
9) Pretty good placement

10) You can mark the holes with either a marker or white out, white out would probably easier on a dark jeep. On the areas that are nowhere near the edge of the fender I drilled two holes. This is where I looped the zip ties around. If the holes were near the edge, I just drilled one hole. Remember to dab some Rustoleum paint on there to prevent rusting.

11)

12)

Now, I opted to ziptie my fenders into place rather than nuts and bolts or self-tapping screws. You're either thinking 1) wow, Chris is a lazy bastard or 2) Chris is an automotive genius. I will praise him.
If you chose 2, you are correct. I went with zip ties because a) I am a lazy bastard and nuts and bolts were waaay too hard to get into place and drill the holes exactly right. B) If my fenders get pushed up against a tree, rather than ripping my flares and sheetmetal off with the nuts and bolts, the zip ties will just snap and that's it. No lost sheetmetal and my flare will be fine (hopefully). The zip ties are plenty strong and hold them firmly in place.
13) Trim around that goofy edge piece to make the flare nice and even with the body lines.

14) Hold up the flare and ziptie it loosely into place.

15) When everything looks good and lined up, tighten the zip ties.

16) Fronts are done. Mine are up a bit higher than I would've liked because I trimmed my fenders so high. If you haven't trimmed yet then you can move them down a bit lower to match right up with the bumper.


The Rears...
The rears are pretty much the same as far how you measure and drill the holes. Again I drilled two holes in some places and one hole near the edges of the fender. A few tips and things to consider.
1)For the rears, be sure to drill your holes ABOVE the lip on the body. If you drill on the lip, it's going to really hard to get the fender flat and snug up against the body.
2) Also, Go ahead and cut as much of the inner lip as possible, leaving only some of the plastic around the holes on the fender. The inner fender lip only gets in the way.
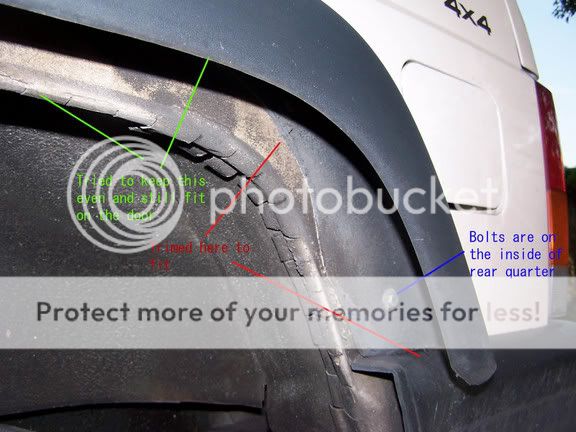
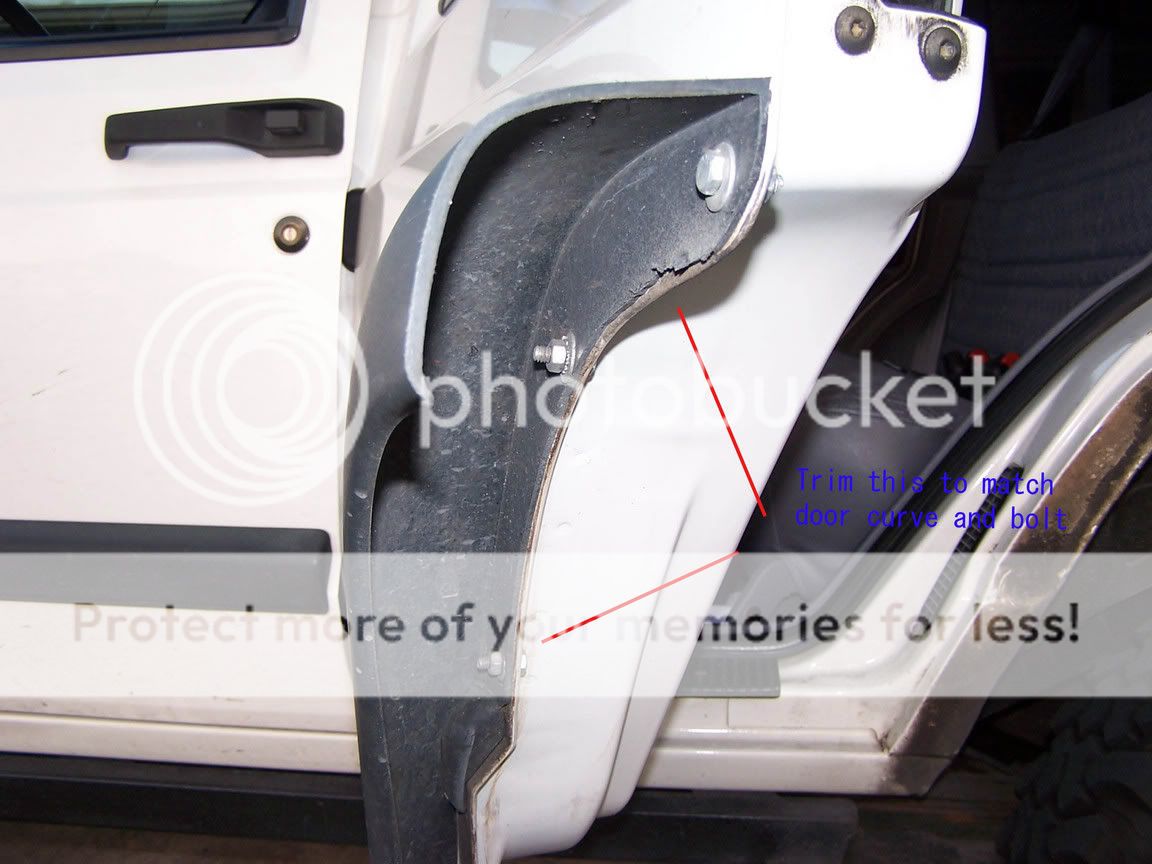
3) I placed my fenders on the opposite side they were designed for. (Drivers side on passengers side and vice versa). If you put them on their normal side, the back edge of the flare goes waaaay back to cover about half of the rear quarter panels. It just doesn't look right or fit very well either. I turned mine around, then cut the lower part on the front part of the flare. I did not cut mine in half and mount it on the door as some do, but kept it all in one piece.
1)

2) My rear quarter panels are beat to hell.

3) I left a gap in between the body and flare since next weekends project is to make some rear quarter panel guards. When I put those in, the flares and guards should be nice and smooth and flush.
These are the guards I intend to make (or buy if I have to).


4) Those rear quarter panels are UGLY!

Thats pretty much it. Hope this helps anyone, and please feel free to ask any questions you may have.
Chris
and Jeepforum and never found an actual writeup on how to install TJ flares so I'm taking charge. Every other thread just says 'search" and when you search you find threads that say 'search'. If you have not yet trimmed then this install will be pretty easy. If you have, no worries, I'm here to help. I also have a snorkel so I had to do a little extra cutting of the fenders, but nothing serious. Here we go...1) With trimmed fenders
2) With trimmed fenders and snorkel. As you can see there isn't much room between the bottom of the fender and snorkel.
3) Here is the inner part of the fender with its funky lip and curves.
4) On the left is the fender as normal. On the right, I cut off that goofy 4 prong thing and the inner lip of the fender. It just gets in the way. My advice is to cut as much of the inner lip as possible, leaving only a little bit of plastic right around the holes.
5) Another pic.
6)
The inner lip trimmed
7) Some trimmed out section where the snorkel is gonna go.
8) fitting it up into place
9) Pretty good placement
10) You can mark the holes with either a marker or white out, white out would probably easier on a dark jeep. On the areas that are nowhere near the edge of the fender I drilled two holes. This is where I looped the zip ties around. If the holes were near the edge, I just drilled one hole. Remember to dab some Rustoleum paint on there to prevent rusting.
11)
12)
Now, I opted to ziptie my fenders into place rather than nuts and bolts or self-tapping screws. You're either thinking 1) wow, Chris is a lazy bastard or 2) Chris is an automotive genius. I will praise him.
If you chose 2, you are correct. I went with zip ties because a) I am a lazy bastard and nuts and bolts were waaay too hard to get into place and drill the holes exactly right. B) If my fenders get pushed up against a tree, rather than ripping my flares and sheetmetal off with the nuts and bolts, the zip ties will just snap and that's it. No lost sheetmetal and my flare will be fine (hopefully). The zip ties are plenty strong and hold them firmly in place.
13) Trim around that goofy edge piece to make the flare nice and even with the body lines.
14) Hold up the flare and ziptie it loosely into place.
15) When everything looks good and lined up, tighten the zip ties.
16) Fronts are done. Mine are up a bit higher than I would've liked because I trimmed my fenders so high. If you haven't trimmed yet then you can move them down a bit lower to match right up with the bumper.
The Rears...
The rears are pretty much the same as far how you measure and drill the holes. Again I drilled two holes in some places and one hole near the edges of the fender. A few tips and things to consider.
1)For the rears, be sure to drill your holes ABOVE the lip on the body. If you drill on the lip, it's going to really hard to get the fender flat and snug up against the body.
2) Also, Go ahead and cut as much of the inner lip as possible, leaving only some of the plastic around the holes on the fender. The inner fender lip only gets in the way.
3) I placed my fenders on the opposite side they were designed for. (Drivers side on passengers side and vice versa). If you put them on their normal side, the back edge of the flare goes waaaay back to cover about half of the rear quarter panels. It just doesn't look right or fit very well either. I turned mine around, then cut the lower part on the front part of the flare. I did not cut mine in half and mount it on the door as some do, but kept it all in one piece.
1)
2) My rear quarter panels are beat to hell.
3) I left a gap in between the body and flare since next weekends project is to make some rear quarter panel guards. When I put those in, the flares and guards should be nice and smooth and flush.
These are the guards I intend to make (or buy if I have to).
4) Those rear quarter panels are UGLY!
Thats pretty much it. Hope this helps anyone, and please feel free to ask any questions you may have.
Chris