MT Mike
NAXJA Forum User
- Location
- Helena, MT
After having the body cladding/trim start to fall off my Jeep after almost 20 years, I decided to strip it all off and apply some Herculiner.
Rule #1 was to not get any on my hootus! (I was successful at this)
Rule #2 was to make it look better than it did with the trim that was on it. (Also successful)
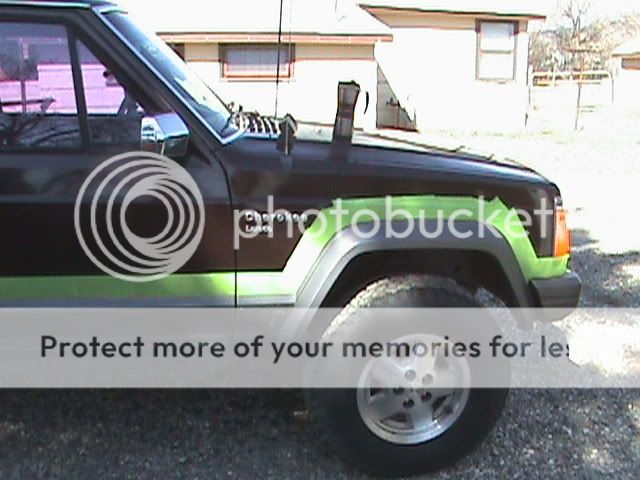
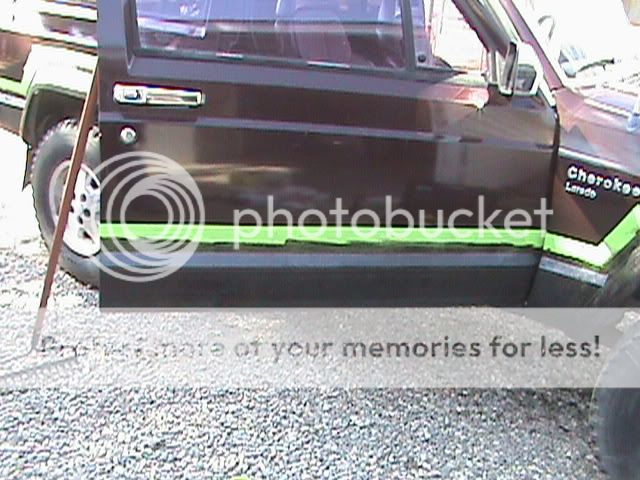
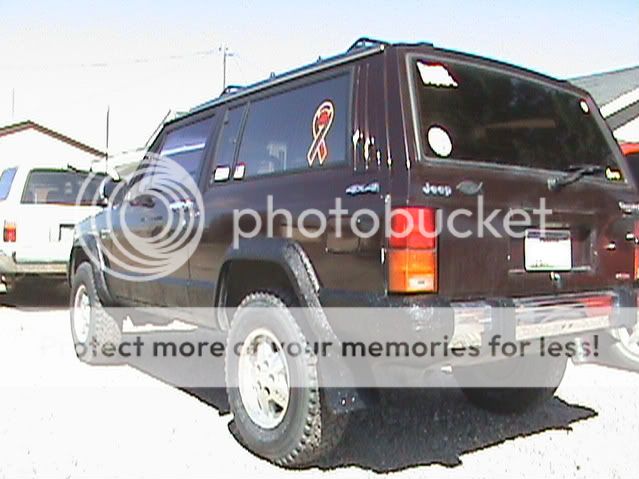
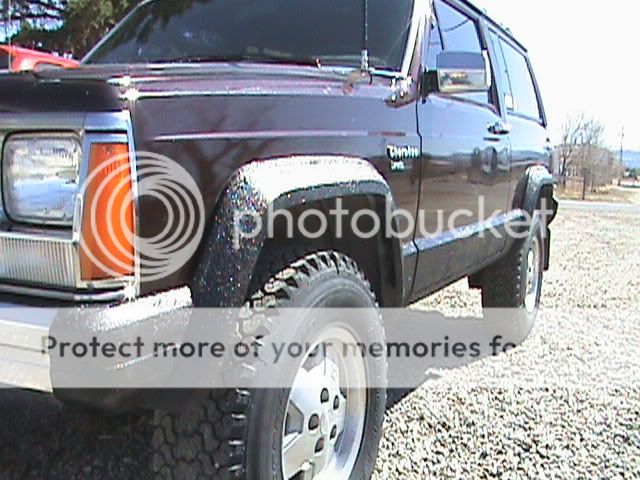
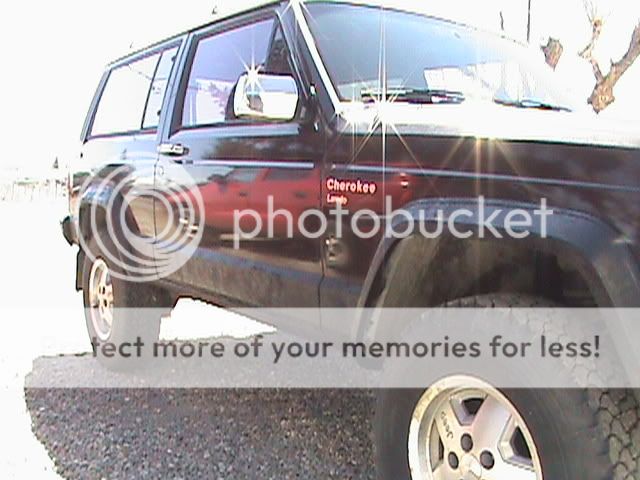
Here's what it looked like after I got all the trim off:
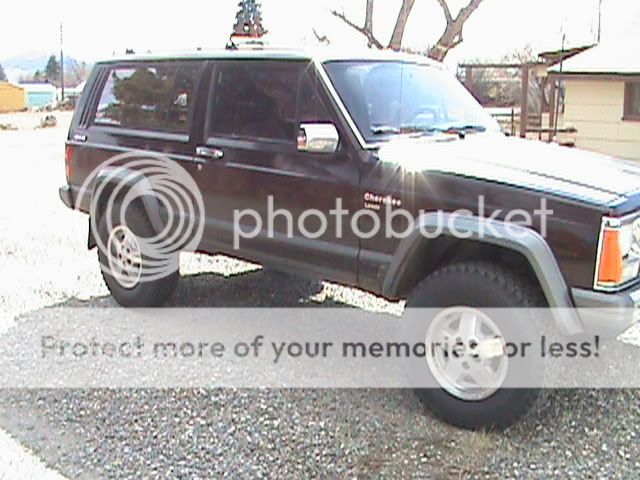
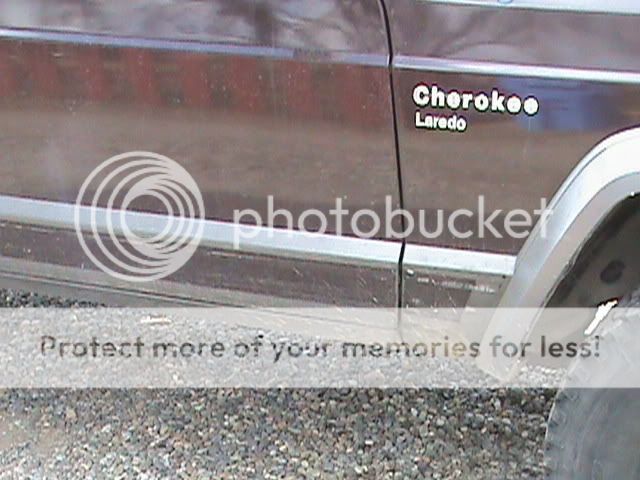
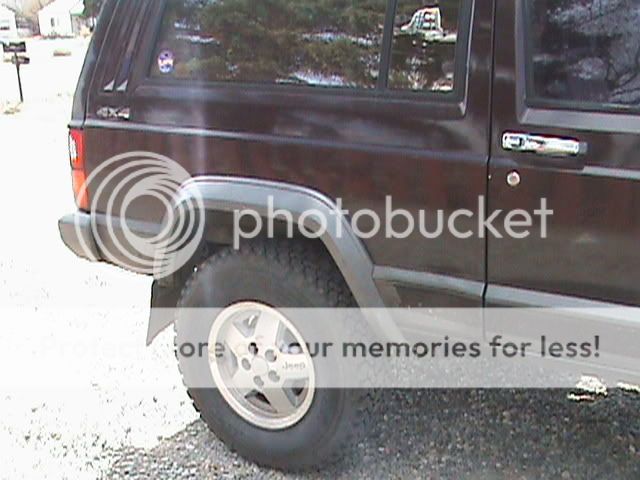
The trim on the doors had started to separate about 2 months ago, so I had already pulled those two pieces off. To get the rest off, I pried the top edges away from the body and sprayed WD-40 behind them. I did this every day for a week. At the end of the week, the remaining trim pieces pulled off very easily. I then took a gasket scraper and scraped off all the big chunks of glue. After washing the body down and drying it, I then took a "Smart Eraser Pad" (part #400E), placed that in my drill and proceeded to remove the remaining glue remnants. These pads work great at removing the glue, but they do leave a lot of "eraser" debris behind. A quick hose down takes care of this.
I then got the rest of my supplies together:
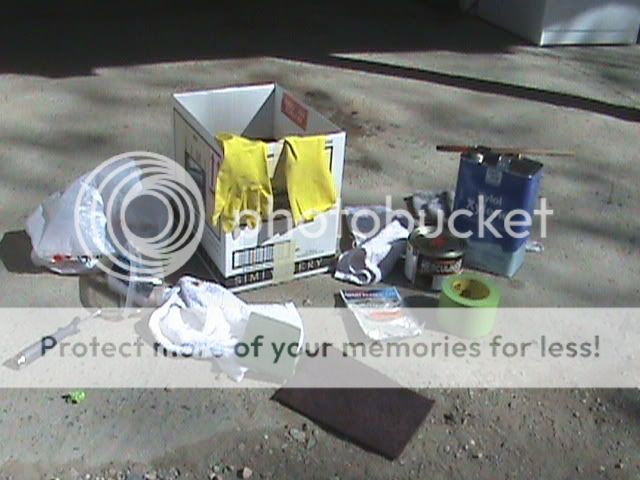
Supplies that I used: 2 pairs of rubber dish washing gloves, 1 quart of Herculiner (black), 1 4" roller handle with 4 foam stipple roller pads, 1 2" paint brush, 1 large roll of 2" body shop tape, a gallon of Xylol (already had from a previous project), several rags, a stir stick, 3 medium grade scotch brite pads, and a paint roller pan.
After getting all the glue removed, the next step is to scuff all areas that the bedliner is going to be applied to so that there is no glossy areas left on the paint. After doing this, put a pair of rubber gloves on, grab a rag dampened with the Xylol, and wipe all the scuffed areas down thoroughly. Wait 10 to 15 minutes, and start taping off between the application areas and the rest of the body.

I did disconnect the negative battery cable at this point so I wouldn't drain my battery by having the doors open for several hours.
As you can see, I decided to do the fender flairs and the bumper end caps. I did remove the bolts holding the end caps to the bottom of the bumper so that I could move the end caps around enough to apply the Herculiner behind/on them. This worked well, but their are others that may just want to remove the end caps all together.
After I had the entire area taped, I made one more pass with the Xylene dampened rag, mainly to get any oils from my hands that got on the body when I was applying the tape.
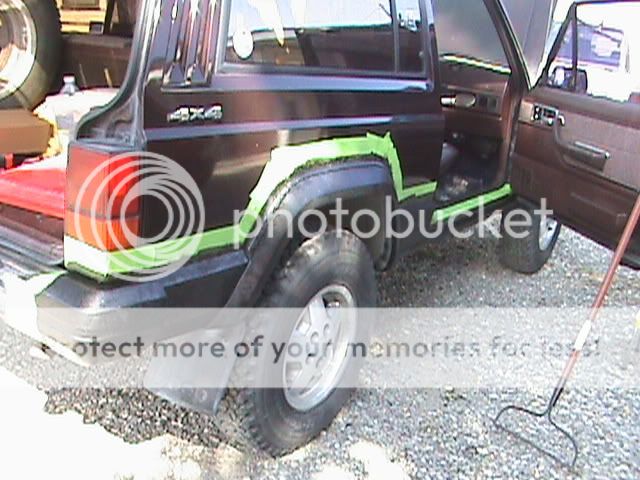
I then did my first coat of Herculiner. I started by using the brush and "dabbing" the creases where the flairs meet the body. Do not brush the bed liner on, always dab! I also used the brush to get the areas behind the bumper end caps and the end caps themselves. I then moved on to the roller and put a light coat on everything that remained.
Pics of first coat:
After applying the first coat (lightly), I put the lid back on the Herculiner, put the paint brush in a plastic baggy (to keep it from drying out), and threw the first roller away. I then waited two hours for the first coat to get nice and tacky before going on to the next coat.
Even with the lid on the bed liner can, the remaining Herculiner in the can had gotten "thick". So I put about a quarter of a cup (a few good splashes) of Xylol in the can and stirred it for about five minutes. I grabbed the paint brush again an put a slightly thicker coat of Herc in the crevices again (once again, just dab it on), and then put a fresh foam roller on. The second coat can go on thicker than the first. The second coat goes on much quicker because the first coat is so tacky. After ensuring that I had uniform coverage in all areas and that there were no "light" spots, I changed into another clean pair of gloves and immediately started removing the tape. Take your time with this to make sure it doesn't tear and leave some under the edges of the Herc. The tape actually comes off quite quickly and easily.
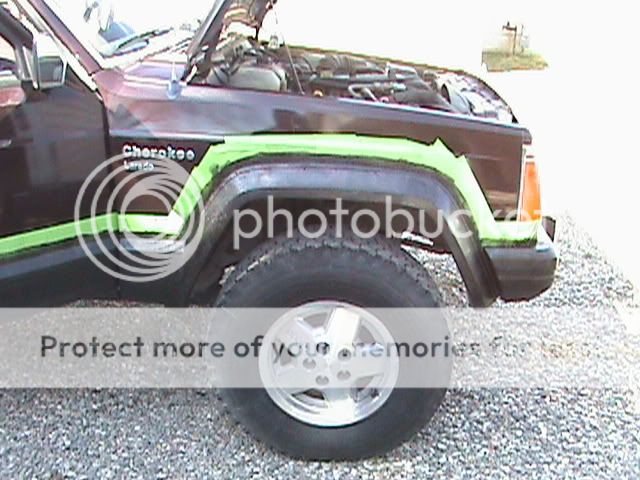
Pics of final product:
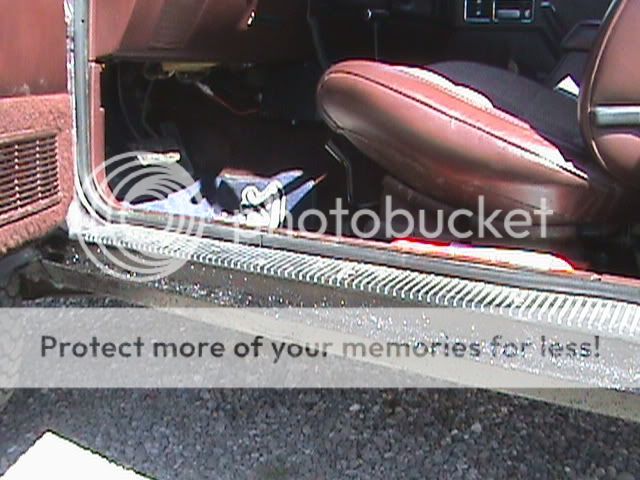
As you can see, I did cut in the door sills also. This project was fairly easy. Other than the time spent removing the trim, I spent about 8 hours today to do everything. The best advice I can give is to do all your prep work thoroughly. Take your time taping everything off. Make sure your first coat is light, allow enough time for it to tack up, and then follow up with a thicker coat.
The quart container of Herc was exactly the right amount to do the job.
I am very happy with the results. The pictures don't really do it justice. The bedliner looks much better than the old trim did. I would recommend this to anyone who wants to improve the looks of their Jeep.
Rule #1 was to not get any on my hootus!
(I was successful at this)Rule #2 was to make it look better than it did with the trim that was on it. (Also successful)
Here's what it looked like after I got all the trim off:
The trim on the doors had started to separate about 2 months ago, so I had already pulled those two pieces off. To get the rest off, I pried the top edges away from the body and sprayed WD-40 behind them. I did this every day for a week. At the end of the week, the remaining trim pieces pulled off very easily. I then took a gasket scraper and scraped off all the big chunks of glue. After washing the body down and drying it, I then took a "Smart Eraser Pad" (part #400E), placed that in my drill and proceeded to remove the remaining glue remnants. These pads work great at removing the glue, but they do leave a lot of "eraser" debris behind. A quick hose down takes care of this.
I then got the rest of my supplies together:
Supplies that I used: 2 pairs of rubber dish washing gloves, 1 quart of Herculiner (black), 1 4" roller handle with 4 foam stipple roller pads, 1 2" paint brush, 1 large roll of 2" body shop tape, a gallon of Xylol (already had from a previous project), several rags, a stir stick, 3 medium grade scotch brite pads, and a paint roller pan.
After getting all the glue removed, the next step is to scuff all areas that the bedliner is going to be applied to so that there is no glossy areas left on the paint. After doing this, put a pair of rubber gloves on, grab a rag dampened with the Xylol, and wipe all the scuffed areas down thoroughly. Wait 10 to 15 minutes, and start taping off between the application areas and the rest of the body.
I did disconnect the negative battery cable at this point so I wouldn't drain my battery by having the doors open for several hours.
As you can see, I decided to do the fender flairs and the bumper end caps. I did remove the bolts holding the end caps to the bottom of the bumper so that I could move the end caps around enough to apply the Herculiner behind/on them. This worked well, but their are others that may just want to remove the end caps all together.
After I had the entire area taped, I made one more pass with the Xylene dampened rag, mainly to get any oils from my hands that got on the body when I was applying the tape.
I then did my first coat of Herculiner. I started by using the brush and "dabbing" the creases where the flairs meet the body. Do not brush the bed liner on, always dab! I also used the brush to get the areas behind the bumper end caps and the end caps themselves. I then moved on to the roller and put a light coat on everything that remained.
Pics of first coat:
After applying the first coat (lightly), I put the lid back on the Herculiner, put the paint brush in a plastic baggy (to keep it from drying out), and threw the first roller away. I then waited two hours for the first coat to get nice and tacky before going on to the next coat.
Even with the lid on the bed liner can, the remaining Herculiner in the can had gotten "thick". So I put about a quarter of a cup (a few good splashes) of Xylol in the can and stirred it for about five minutes. I grabbed the paint brush again an put a slightly thicker coat of Herc in the crevices again (once again, just dab it on), and then put a fresh foam roller on. The second coat can go on thicker than the first. The second coat goes on much quicker because the first coat is so tacky. After ensuring that I had uniform coverage in all areas and that there were no "light" spots, I changed into another clean pair of gloves and immediately started removing the tape. Take your time with this to make sure it doesn't tear and leave some under the edges of the Herc. The tape actually comes off quite quickly and easily.
Pics of final product:
As you can see, I did cut in the door sills also. This project was fairly easy. Other than the time spent removing the trim, I spent about 8 hours today to do everything. The best advice I can give is to do all your prep work thoroughly. Take your time taping everything off. Make sure your first coat is light, allow enough time for it to tack up, and then follow up with a thicker coat.
The quart container of Herc was exactly the right amount to do the job.
I am very happy with the results. The pictures don't really do it justice. The bedliner looks much better than the old trim did. I would recommend this to anyone who wants to improve the looks of their Jeep.