Ok, so some updates without pictures. (Sorry Ross)
Rear end is complete and back underneath for the last time! :guitar: I still am waiting for the flange seal to come in (hopefully today) so I can seal up the driver's side. That's only a 5 minute job. I've also got to fill her with fluid.
Front axle is back out from underneath for hopefully the last time as well. I've got some finish welding on the LCA braces and the coil buckets. Then I'll clean her up, gear, paint, and assemble her.
I spent two nights this week laying underneath trying to figure out what the heck I'm going to do about exhaust and a belly pan. I really really want a flat bottom which posed some issues with exhaust.
What I'm going to end up doing is running a
SpinTech Cruiser Series #7331 muffler. This muffler is only 2 1/4" thick so according to the cardboard mockup I made, should just fit. It'll be very close to the floor (roughly 1/2") so I'm going to use some of this
Thermo-Tec Adhesive Backed Heat Barrier above and below the muffler (on the floor and belly pan).
As for the UHMW part of it, thats not looking good. The normal stuff has a "max recommended operating
range" 180° F. After some looking I found some High Heat Dry Slide (HHDS) which is a modifed version of UHMW. This has a much higher operating temp and should work well. It also has about a 45% higher impact rating.
On top of that I also placed a rather large orders with RockAuto and Bronco Graveyard so pretty much everything for the front end and brakes is on its way. Belts, hoses, brake lines, new spindles, spindle nuts, clamps, gaskets, t-stat parts, etc.

")


 arty:
arty: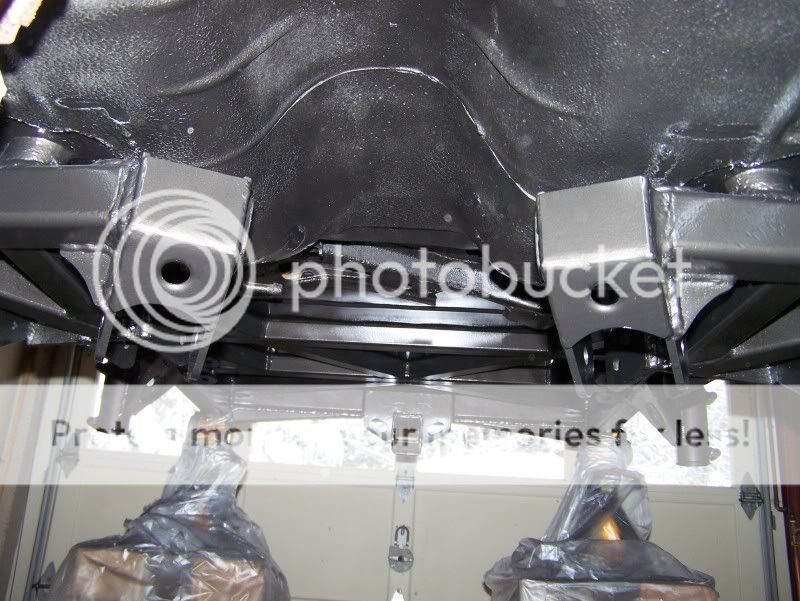


")