Mr.Shrek
NAXJA Forum User
- Location
- Murfreesboro, TN
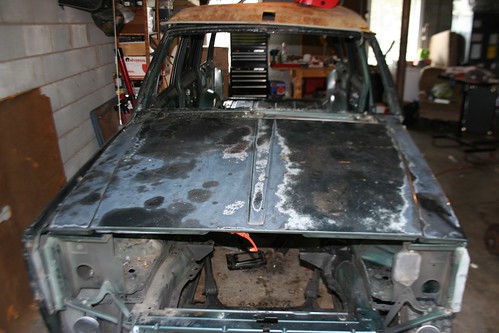
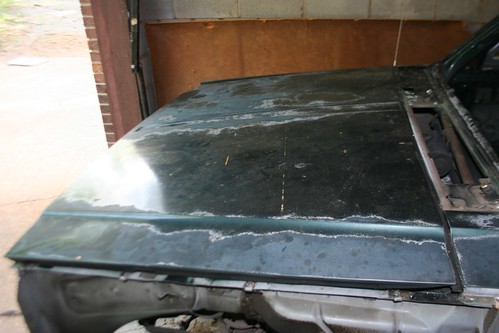
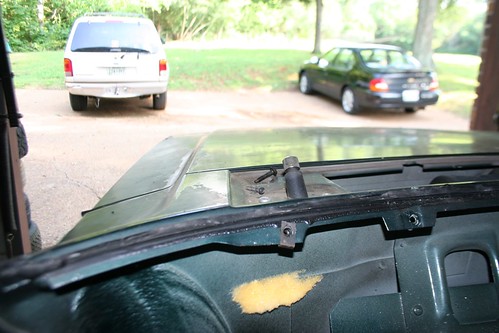
I've been kicking around the idea for a while on my own version of a cowl hood and finally had the opportunity to give it a shot. It's a bit different then the other ways I've seen on here so I thought I would share it with y'all. Here are a few before shots as a point of reference for you:
Supplies and Tools:
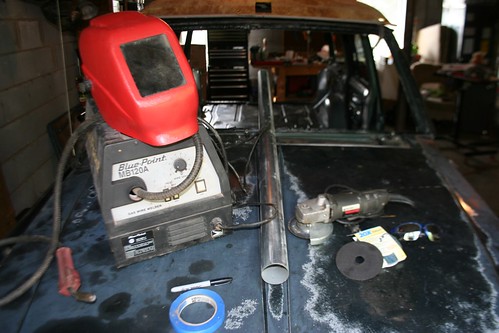
Stock Hood
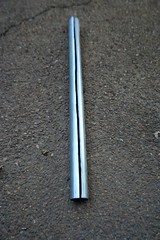
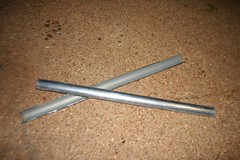
4-5' tubing with the appropriate radius that you desire (I went with the largest I could find 2 3/8") Lowes $12
Right angle grinder, die grinder and/or a cut off wheel
Metal cutting blade
60 grit flap wheel (Sand paper will work, the flap wheel is just faster)
Safety Glasses
Masking Tape
Marker (Sharpie)
MIG Welder
Welder Mask
Body Hammer and Dollies
(I actually don't own any. I was able to use a hammer and a piece of wood as a dolly)
First take your flap wheel or sand paper and clear the surface following the body line. Making sure to clear more then just the body line to give you plenty of bare metal to weld to.
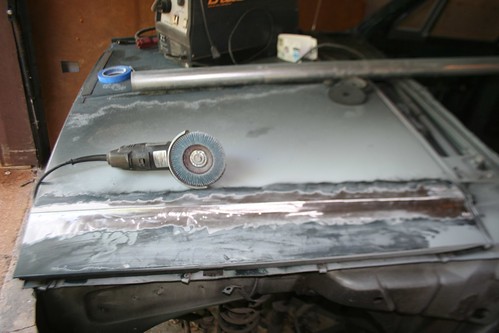
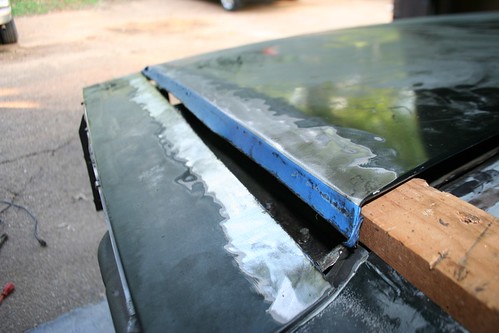
Then take the masking tape and tape off the body line on each side. I taped on the lower side of the body line to give plenty of metal on the soon to be raised section of hood to weld to. It also adds another 1/2" of height to the hood.


As you can tell from the picture I have marked arrows on the tape to let me know where braces start and stop. That helped as a small reminder not to allow the blade to go to deep.
I then cut on the lower side of the tape (the edge closest to the fender) as mentioned before.
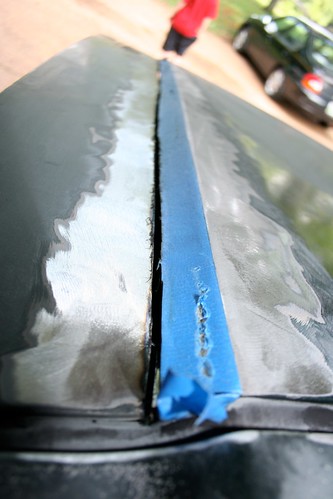
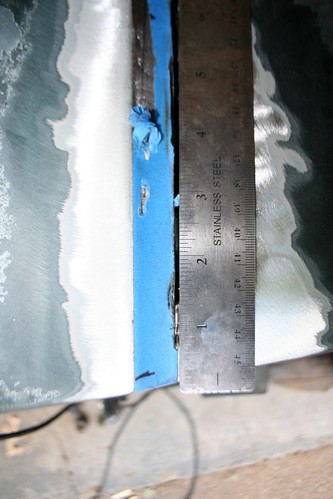
I stopped 1/2" short of the front of the hood. Measured and then measured and marked the other side so they would be even.
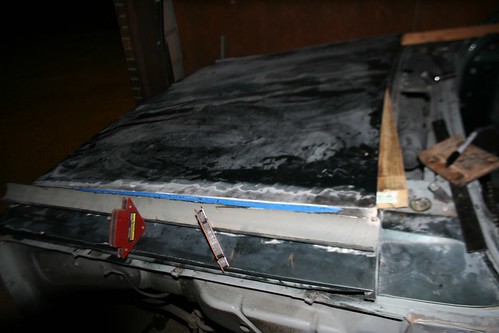
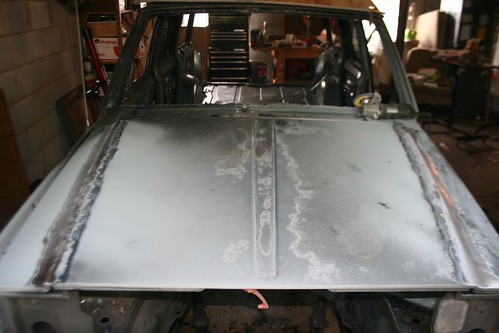
Next I opened the hood and separated the hood skin from the bracing. The skin is secured to the bracing by an epoxy. I simply took a hammer and screw driver to chisel it apart. Be careful though as it will leave dents in the hood skin. I will go back over those with a hammer and dolly to knock them back down.
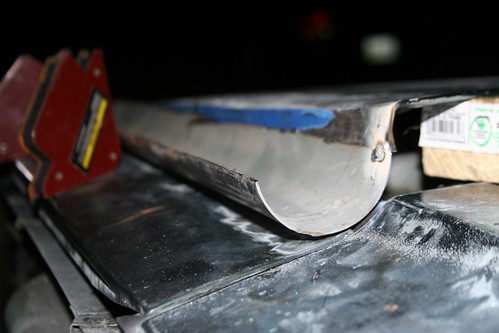
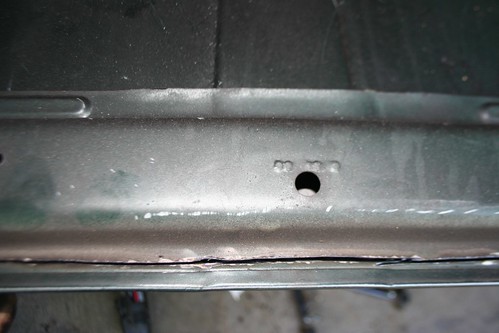
Then unbolt the hood and turn it over to give you access to the back edge of the hood. The skin of the hood is rolled over the edge of the rear hood brace. I cut along the first rise in the hood brace for 2 reasons: 1) It gives a more finished edge along the raised portion of the hood. 2) It leaves enough metal to weld in the expanded metal trim.
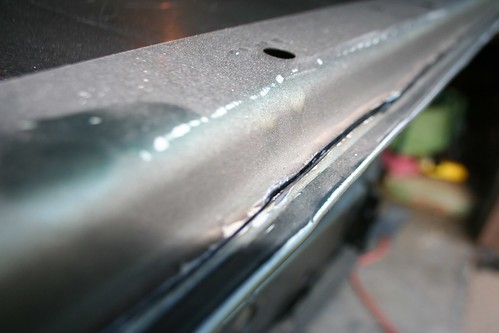
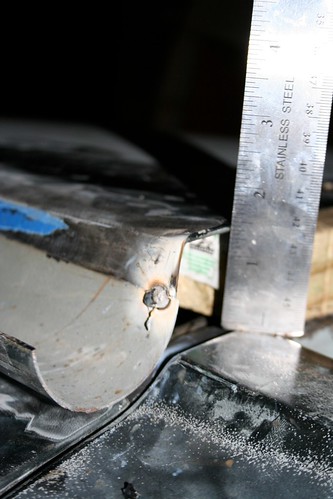
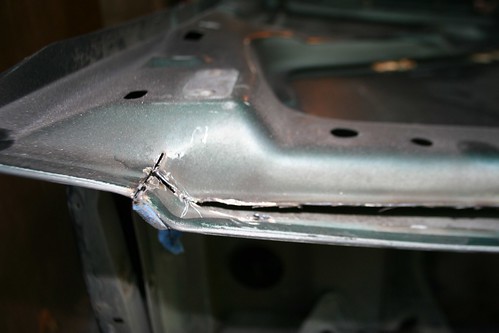
Watch out towards the ends of your cut. Where the body line rises it is hard to get a cut off wheel in there with our risking cutting through the other side of the hood. I was able to score the rest of the cut and chisel it out.
Supplies and Tools:
Stock Hood
4-5' tubing with the appropriate radius that you desire (I went with the largest I could find 2 3/8") Lowes $12
Right angle grinder, die grinder and/or a cut off wheel
Metal cutting blade
60 grit flap wheel (Sand paper will work, the flap wheel is just faster)
Safety Glasses
Masking Tape
Marker (Sharpie)
MIG Welder
Welder Mask
Body Hammer and Dollies
(I actually don't own any. I was able to use a hammer and a piece of wood as a dolly)
First take your flap wheel or sand paper and clear the surface following the body line. Making sure to clear more then just the body line to give you plenty of bare metal to weld to.
Then take the masking tape and tape off the body line on each side. I taped on the lower side of the body line to give plenty of metal on the soon to be raised section of hood to weld to. It also adds another 1/2" of height to the hood.
As you can tell from the picture I have marked arrows on the tape to let me know where braces start and stop. That helped as a small reminder not to allow the blade to go to deep.
I then cut on the lower side of the tape (the edge closest to the fender) as mentioned before.
I stopped 1/2" short of the front of the hood. Measured and then measured and marked the other side so they would be even.
Next I opened the hood and separated the hood skin from the bracing. The skin is secured to the bracing by an epoxy. I simply took a hammer and screw driver to chisel it apart. Be careful though as it will leave dents in the hood skin. I will go back over those with a hammer and dolly to knock them back down.
Then unbolt the hood and turn it over to give you access to the back edge of the hood. The skin of the hood is rolled over the edge of the rear hood brace. I cut along the first rise in the hood brace for 2 reasons: 1) It gives a more finished edge along the raised portion of the hood. 2) It leaves enough metal to weld in the expanded metal trim.
Watch out towards the ends of your cut. Where the body line rises it is hard to get a cut off wheel in there with our risking cutting through the other side of the hood. I was able to score the rest of the cut and chisel it out.