• Welcome to the new NAXJA Forum! If your password does not work, please use "Forgot your password?" link on the log-in page. Please feel free to reach out to [email protected] if we can provide any assistance.

Fat City rebuilds Austin Stobaugh's Jeepespeed part 2

FatCity

NAXJA Forum User
Location
Wildomar, CA USA
Austin brought us his car a couple weeks back for some prep work and changes before the Mint 400 at the end of this month.

Here's a link to the last thread where we rebuilt the rear of the car.
http://www.naxja.org/forum/showthread.php?t=995711&highlight=Austin+1709

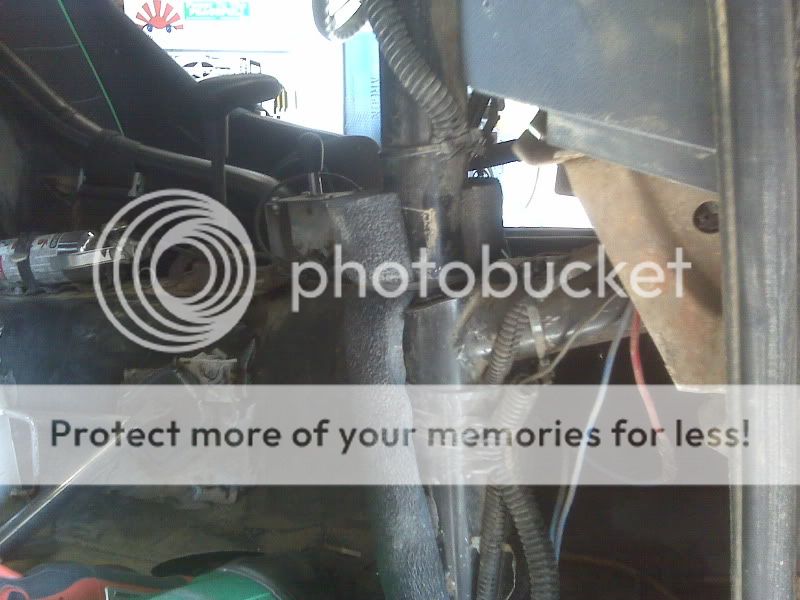
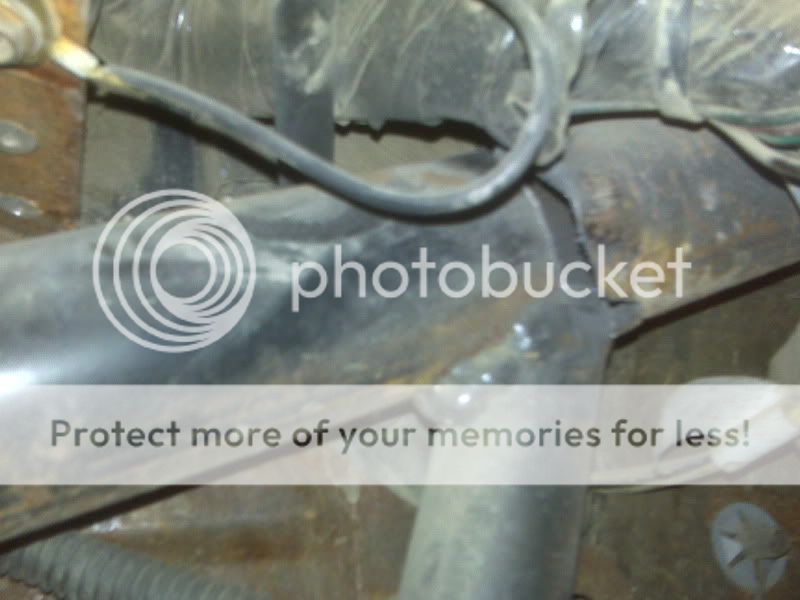
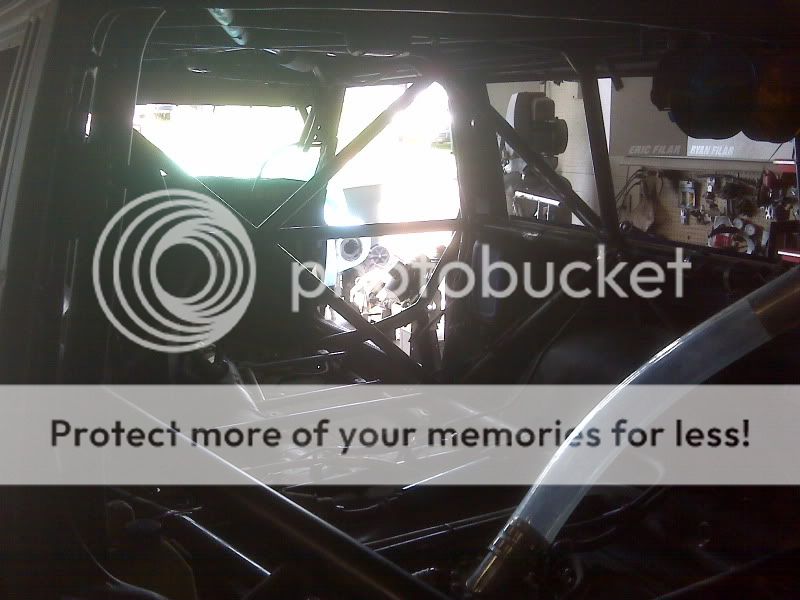
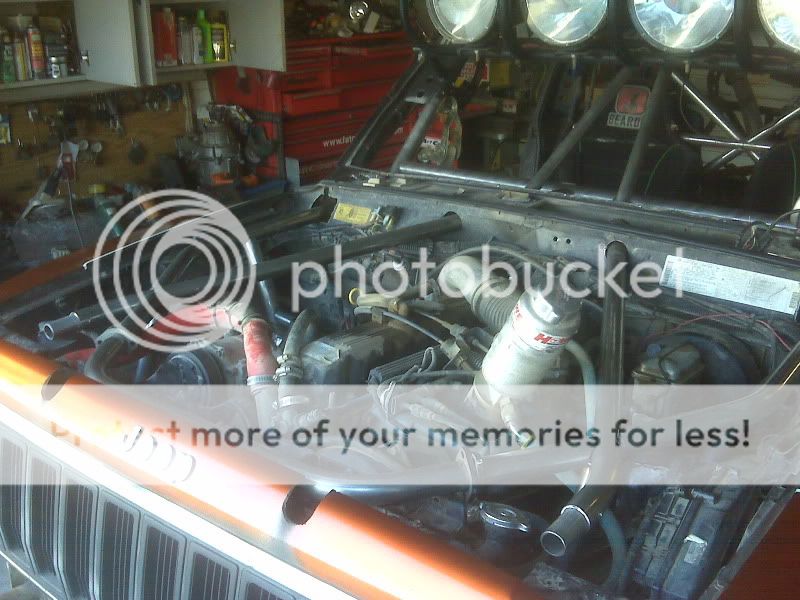
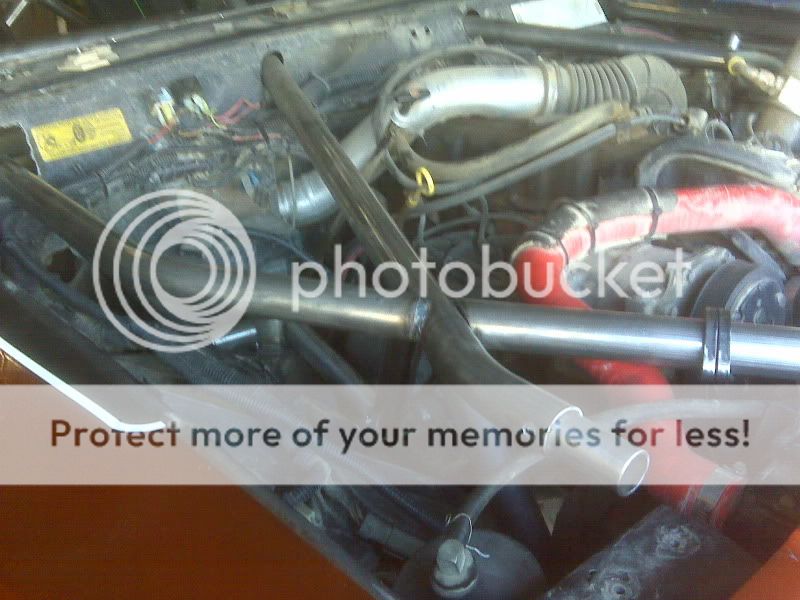
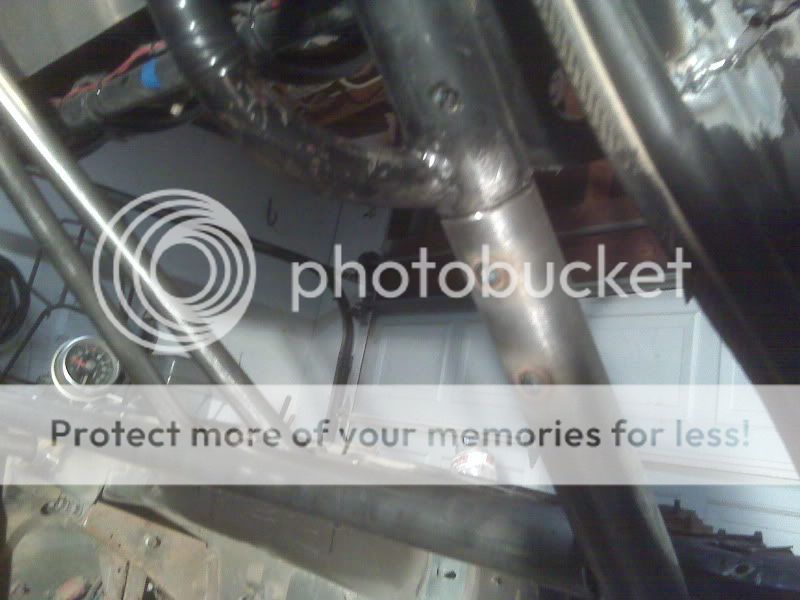
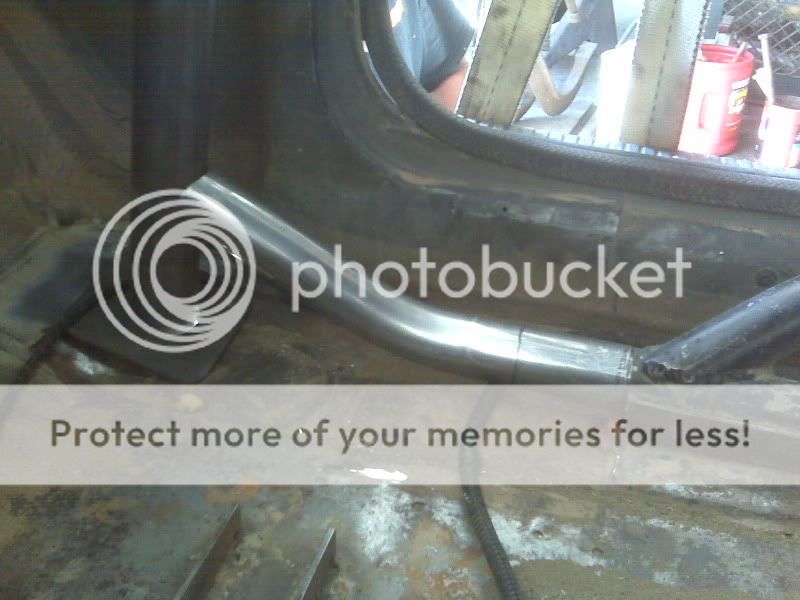
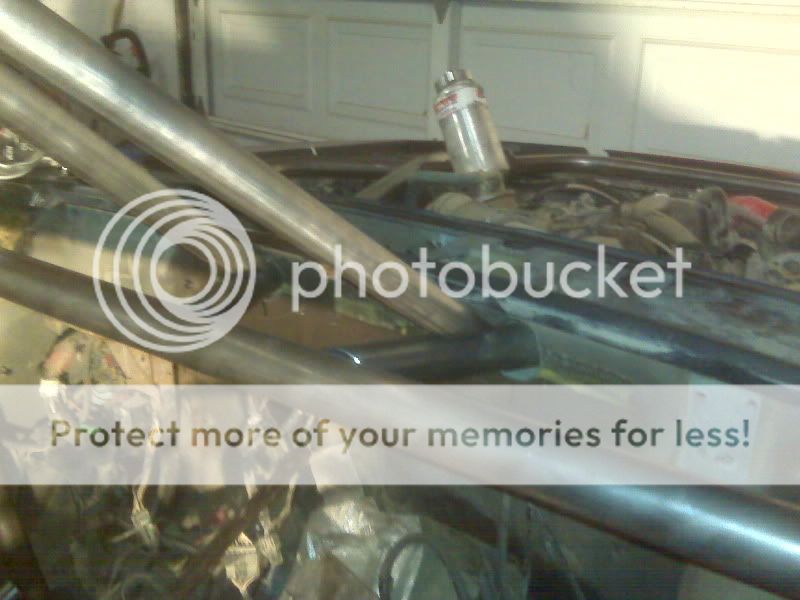
He said the whole front of the car felt like it was moving around alot more than it should.

Man! was that an understatment...
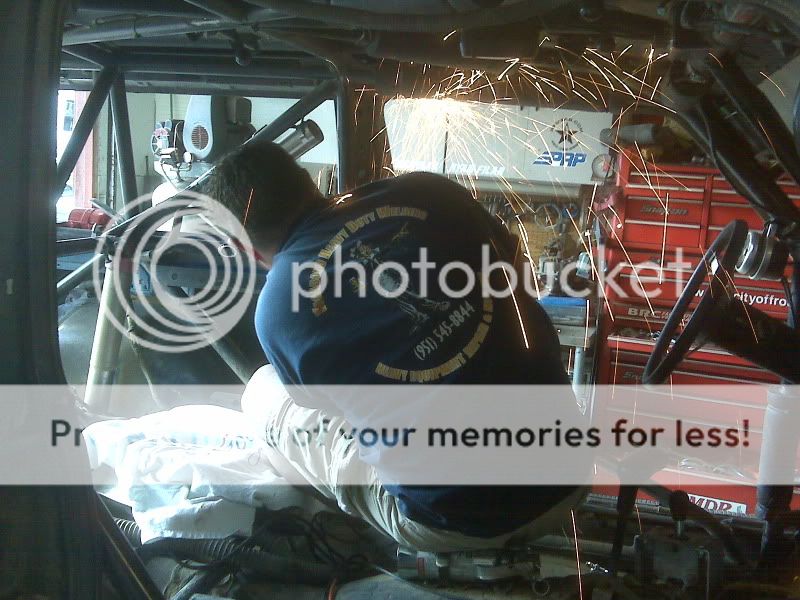
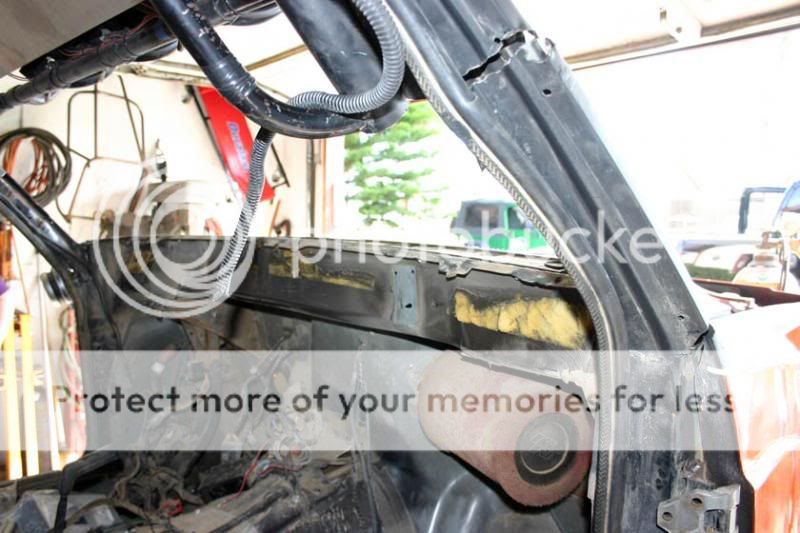
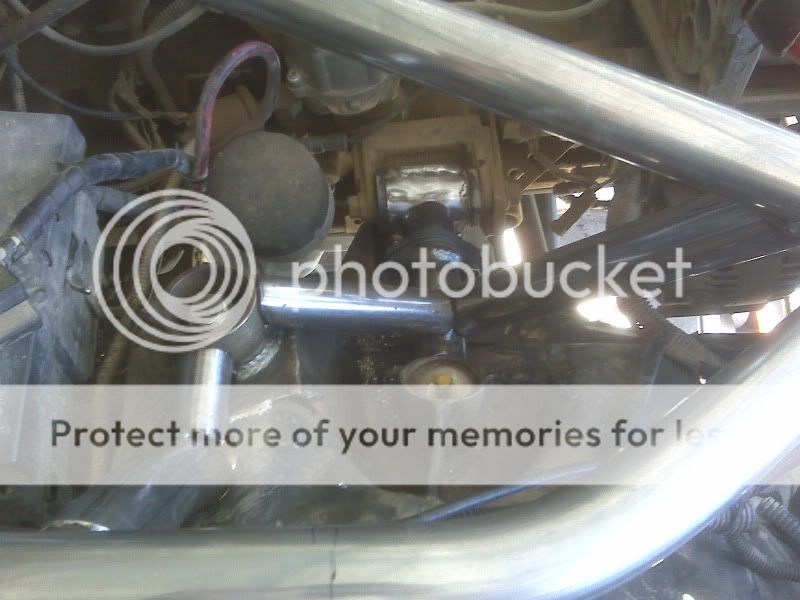
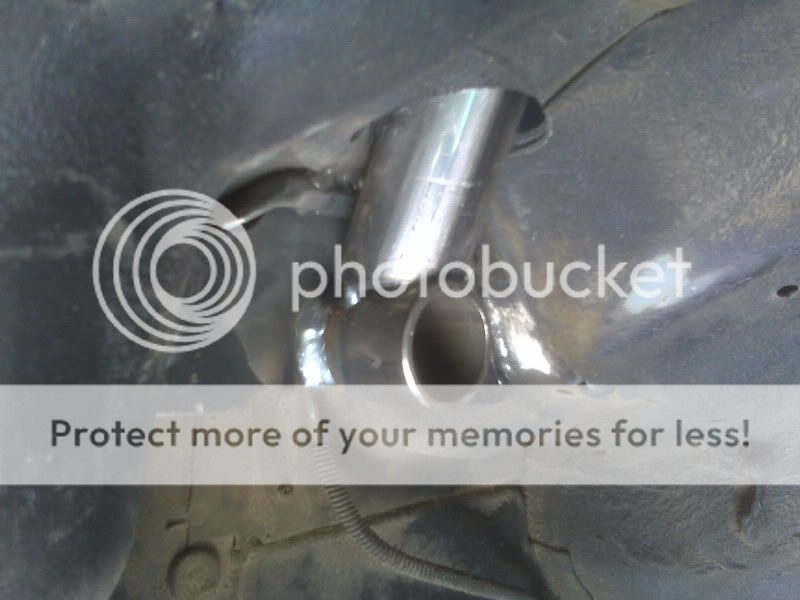
The chassis/cage was literally broke in half! At least 5 tubes were broken, a couple you could see and others hidden in the roll bar padding. The bad news is Austin will miss the Mint 400 this month. The good news is we have the green light to cut out all the cage from front bumper to rear shock mounts and make this a modern Jeepspeed. He'll have a new Fat City car to race in the May day/night race.

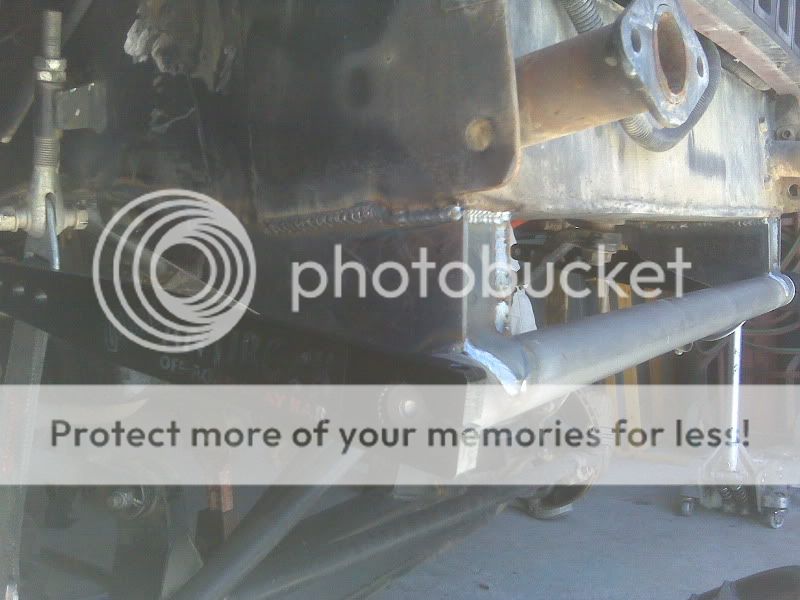
Austin will have new BFGoodrich tires, ProComp alloy wheels, Currie Enterprises fabbed F9 rear housing, Currie Ent. high pinion D44 for the 4wd races, Fox quad bypass shocks, Motive Gear and TEN Factory gears and axle shafts, and LighForce lights.

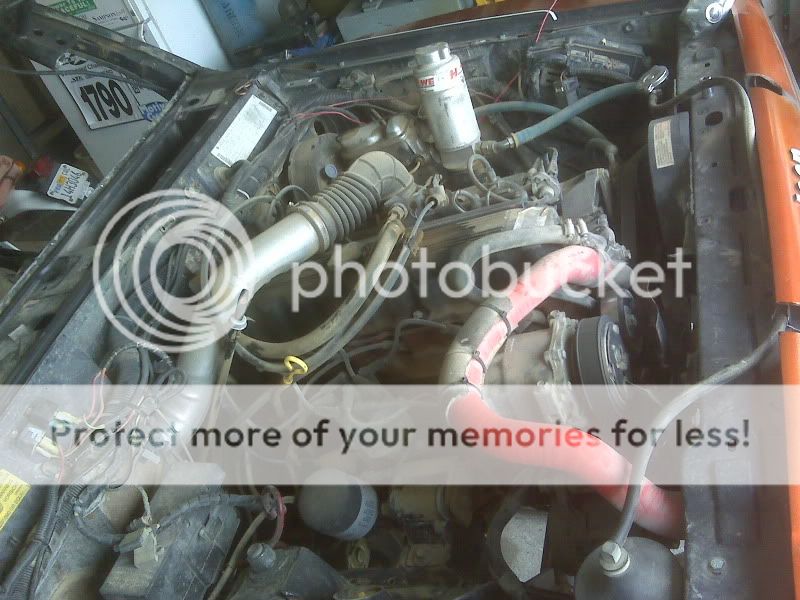
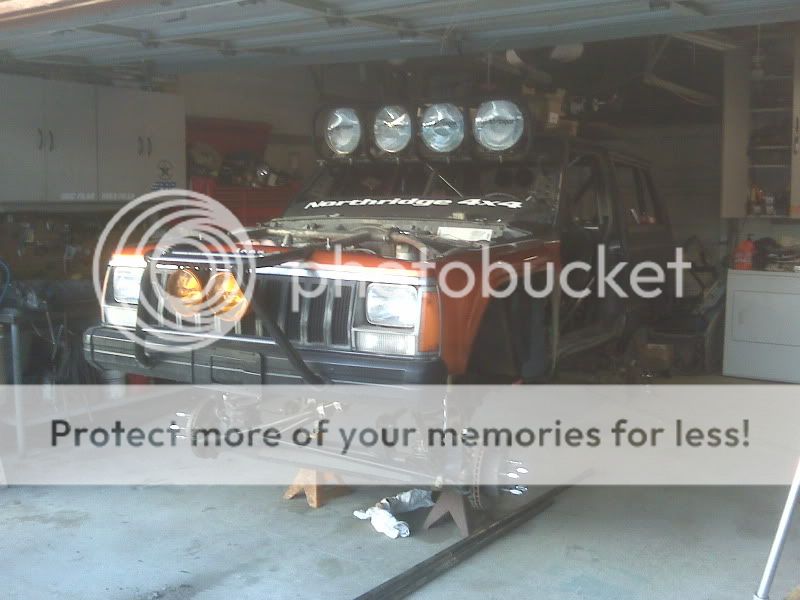
Austin and his dad Ron through a little color on the car before they brought it over.
Austins.jpg


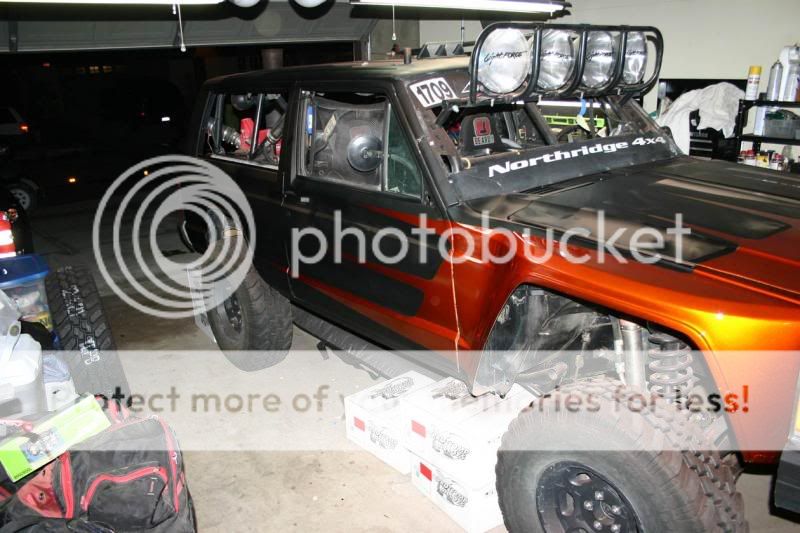
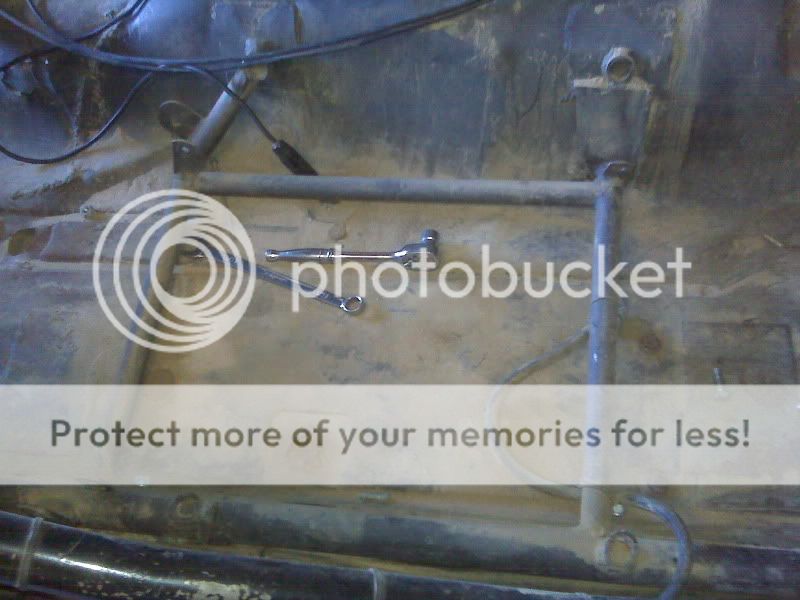
All tore down and ready for a make-over and prep...
IMG00162.jpg
 
Last edited:
SWEET!!! I can't wait to follow this one. What's the expected time line you think?

I would guess a couple weeks, mid April at the latest.
Austin was bummed to miss the Mint, but it was the only way we'd be able to bring his car back from the dead.

Ryans gutting the entire car for the most part and we'll rebuild it pretty similar to our's.
 
I forget to get a good before picture. Ryan had already cut the tubes out from behind the seat's. Followed by the rear shock mounts, followed by a bunch of meaningless triangulation, followed by the cages 'A'pillars, followed by the engine cage and front bumper...

IMG00157.jpg


IMG00164.jpg


IMG00187.jpg


12 hours of grinding later
IMG00190.jpg


Austins-gutted.jpg
 
The seat mounts looked like they had been changed a handfull of times thrughout the years. Plate had been welded to plate to make this or that work, tubes were added to tubes that had been hacked off and left razor sharp ect.

The last set up was way to low for most 6' tall peolple so we brought them up a couple inches in the process.

Old
IMG00154.jpg


New
IMG00188.jpg
 
The last set up was way to low for most 6' tall peolple so we brought them up a couple inches in the process.

]

At 6'5" I barely fit in Austin's car at the night race last year, but after the front leaf spring bolt backed out I think I was a couple inches shorter by the end of the race.

And I'm looking forward to your re-do on the car. Sounds like it's going to be really nice when it's done.
 
At 6'5" I barely fit in Austin's car at the night race last year, but after the front leaf spring bolt backed out I think I was a couple inches shorter by the end of the race.

And I'm looking forward to your re-do on the car. Sounds like it's going to be really nice when it's done.


Good point. Not sure if your freakishly tall a$$ will fit in there anymore...j/k

My co-dog at Parker was 6'6 or more. He just barely fit in my car, but he did fit.
The new stuff feels just like my car, so you should fit fine in May Chris...:roflmao:
 
Dayum! They are lucky they didn't start losing the unibody. Yeah, these things get flexy without the cage! You guys are in almost as deep as we are right now.

Dang, I just noticed that crack in the A-pillar. Not a good sign.
 
can you guys speculate on what caused some of the problems? specifically the a-pillar crack? maybe turn this into a learning experience for some of us non-racers?

i know the TT's do chassis inspections at every pit, how far do you guys take it?
 
We always have someone spot check the key areas for cracks during a pit stop. We do a pretty thorough inspection after every race.

I'd say the a-pillar failed as a result of the cage failures. After the cage failed, the a-pillar was taking all the force whenever the front compressed. The break in the a-pillar tube is a great example of why you don't want to have any "dead heads", which is when a tube intersects another with nothing behind it. When that force comes through the engine bay tube and into the a-pillar tube there is nowhere for it to go. There needs to be a tube on the other side of that junction that allows the force to continue through the cage structure. Also notice that it looks like the engine tube is intersecting the a-pillar tube at a downward angle which only compounds the problem. That was an issue with our old car too - they were trying to keep the dash and it compromises what you can do with the cage. I'll see if I have any pics of that area of our new car. I'm sure you will see major changes in the design when Ryan is done with it.
 
Also notice that it looks like the engine tube is intersecting the a-pillar tube at a downward angle which only compounds the problem. That was an issue with our old car too - they were trying to keep the dash and it compromises what you can do with the cage. I'll see if I have any pics of that area of our new car. I'm sure you will see major changes in the design when Ryan is done with it.

This was a major reason for the tube failure. They built the cage in front (or behind?) the dash which limited how the could tie into the engine compartment.
The tube work in the engine compartent might as well have been just for looks...

It was broken on both the driver and passenger side.
 
Hey Mike. The XJ specific kit has two alluminum blocks that bolt to the bottom of the frame.

With the DIY kit we can use our own system to tie both sides of each "frame rail", as well as tie both "frame rails" together. Like another crossmember.
 
Couple of updates. Sorry for the crummy cell pics, I have a new camera thats supposed to show up today...

Ryan's been plugging away at the tube work in the front and getting everything tied in.

IMG00243.jpg


Motor mount, bump and shock mount being tied together
IMG00244.jpg

IMG00240.jpg


Tieing into the outside of upper shock mount.
IMG00242.jpg
 
Back
Top