- Location
- Lafayette, CA
Background: My 89 Cherokee has always had bad brakes. Never really cared all that much, and didn’t want to spend the money on new brakes. Tried new pads and shoes, which didn’t help very much. Bled the system, and while that helped a little, didn’t do all that much overall. After talking with a friend, I realized that I probably didn’t have power brakes, which would explain the rockhard pedal feel, as well as the really lousy braking. I assumed the brake booster went bad. Originally I was going to replace the MC and booster with stock parts, but I decided that I may as well upgrade after seeing posts about the braking power from a booster and master cylinder from a Grand Cherokee.
I found a master cylinder and brake booster on car-part.com from a 1999 Jeep WJ Grand Cherokee. Supposedly you can find them for around $60 shipped, but I didn’t want to wait for one to be shipped to me, and I wanted to make sure it was the right one, and in decent condition before I bought it. Ended up paying $135 for both the MC and booster that I picked up from a semi local junk yard. I figure that’s less then the cost of brand new parts from my local friendly car parts dealer, so I wasn’t too worried about the cost.
The Swap:
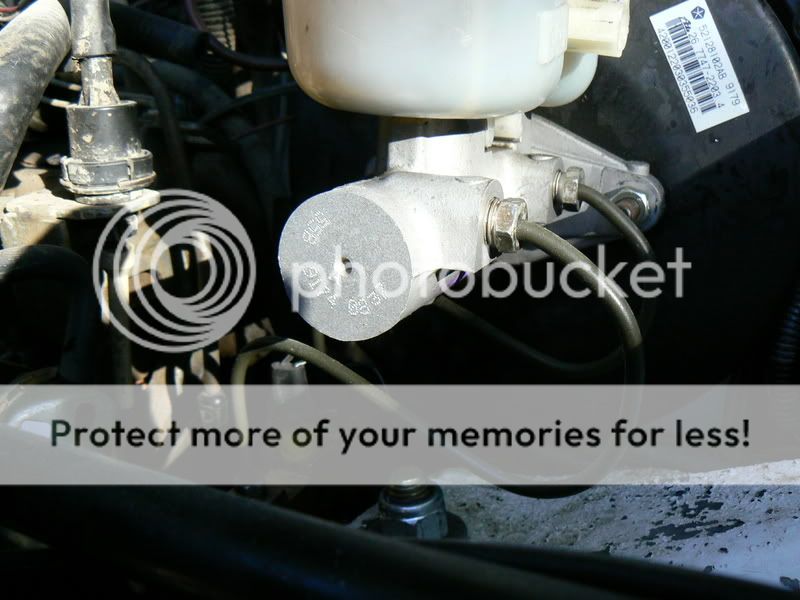
Started by taking out the old mc/booster combo.
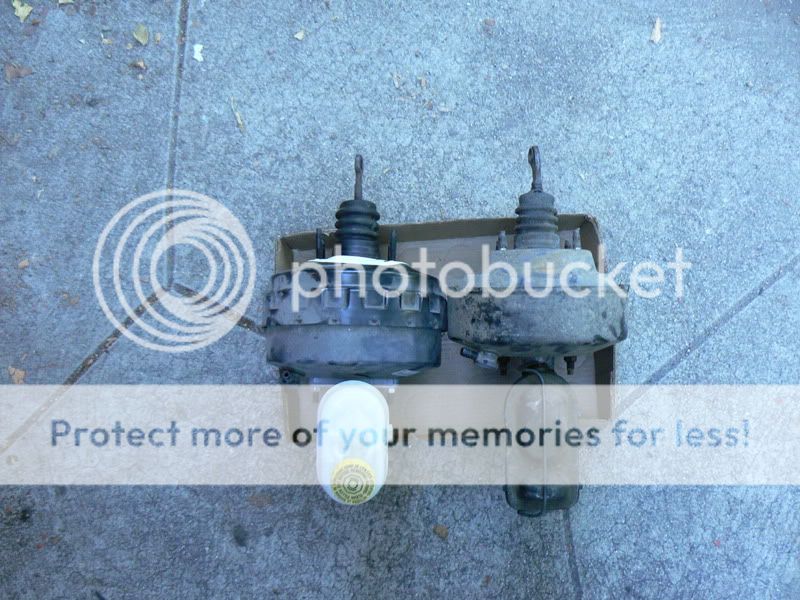
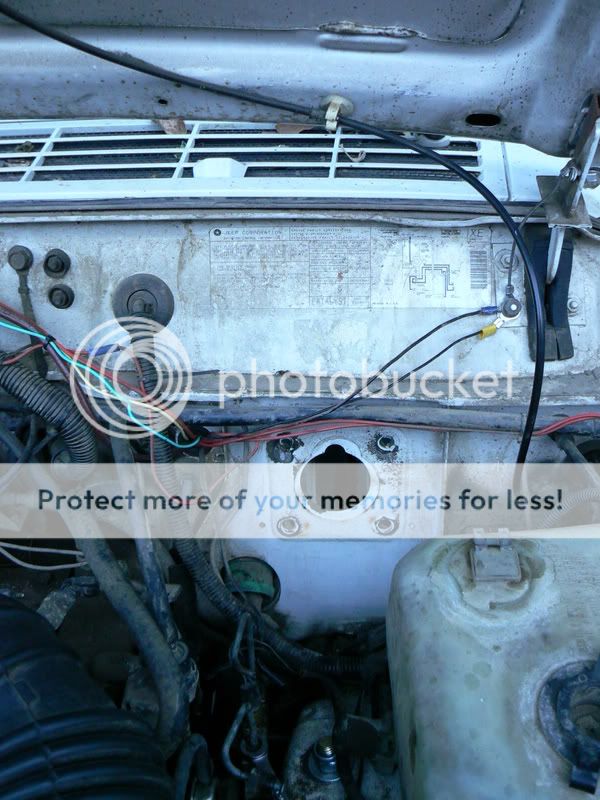
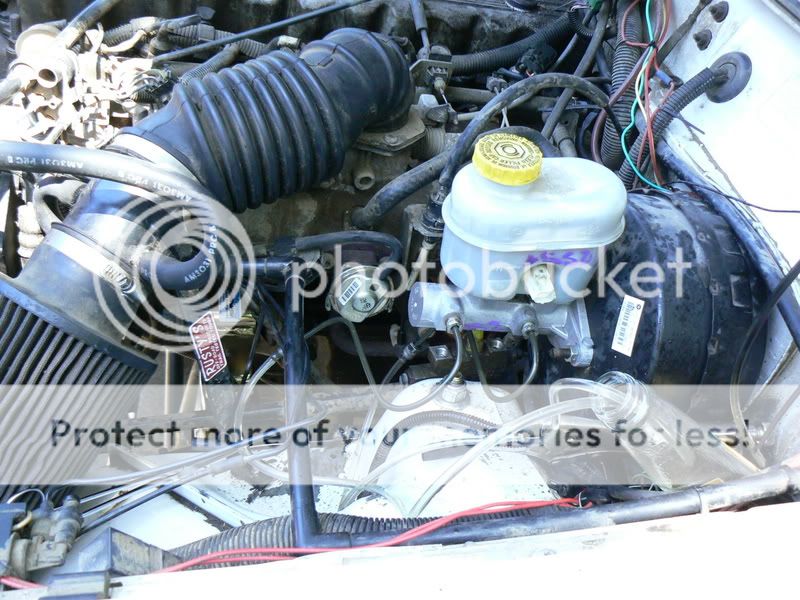
Picture of the old stuff:
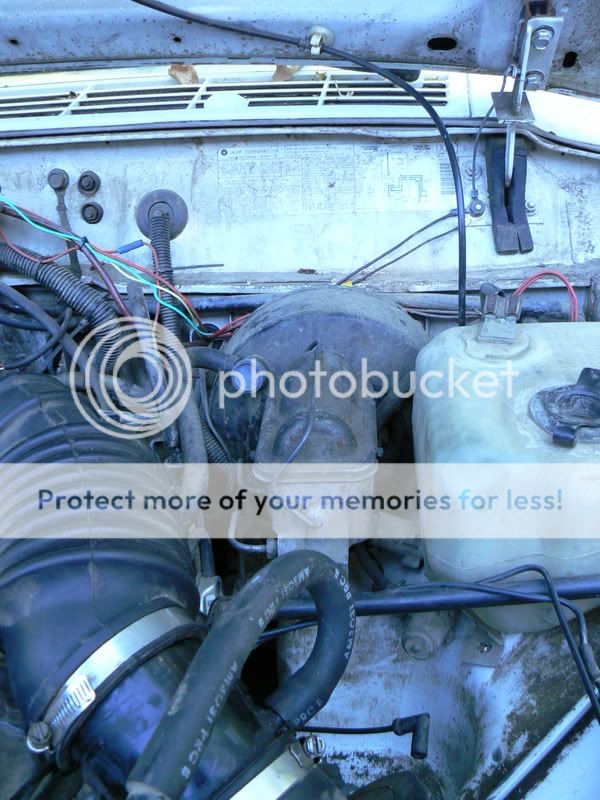
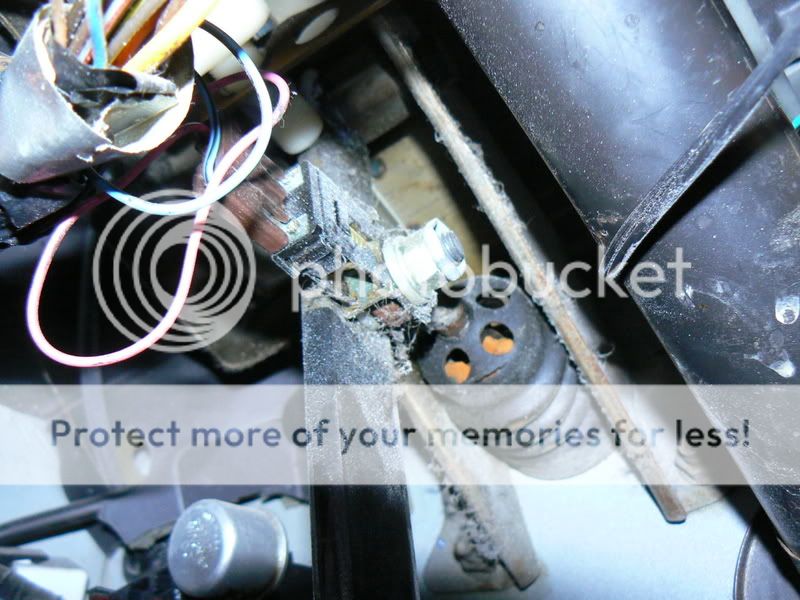
Look under the dash, and finding where the booster rod connects to the pedal assembly.
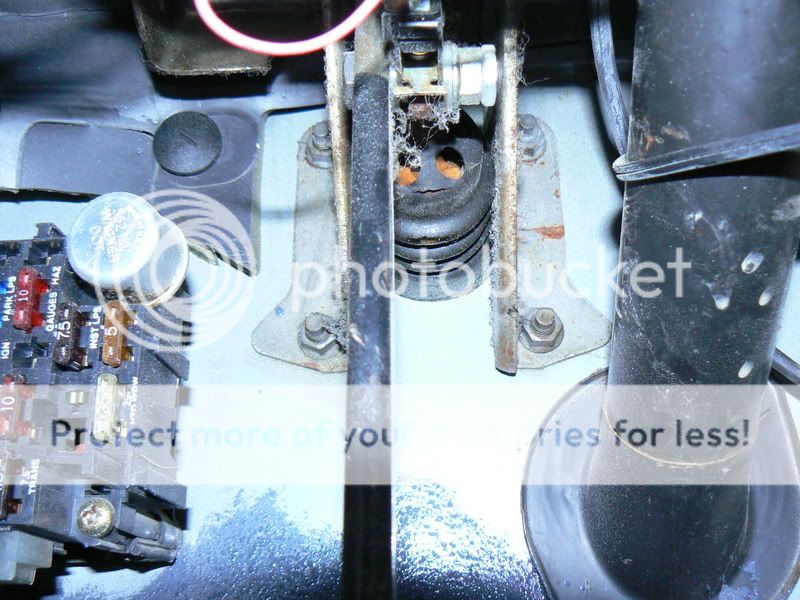
The four bolts that hold the booster to the fire wall are 14mm. Take those off with a deepwell socket. The top right nut is a pain to take off, and I ended up threading my hand around the steering column to get to that nut.
Next, disconnect the sensor from the pedal, and start to take the bolt and two nuts off of the pedal and booster rod.
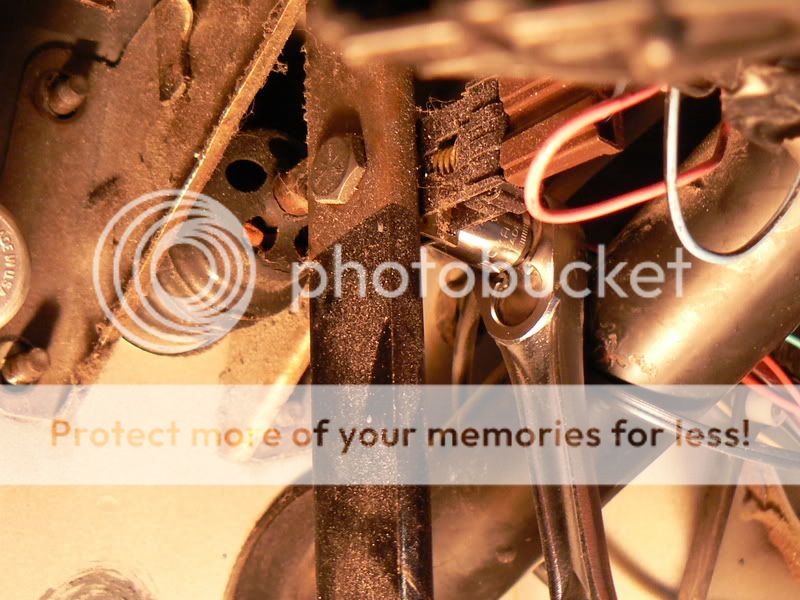
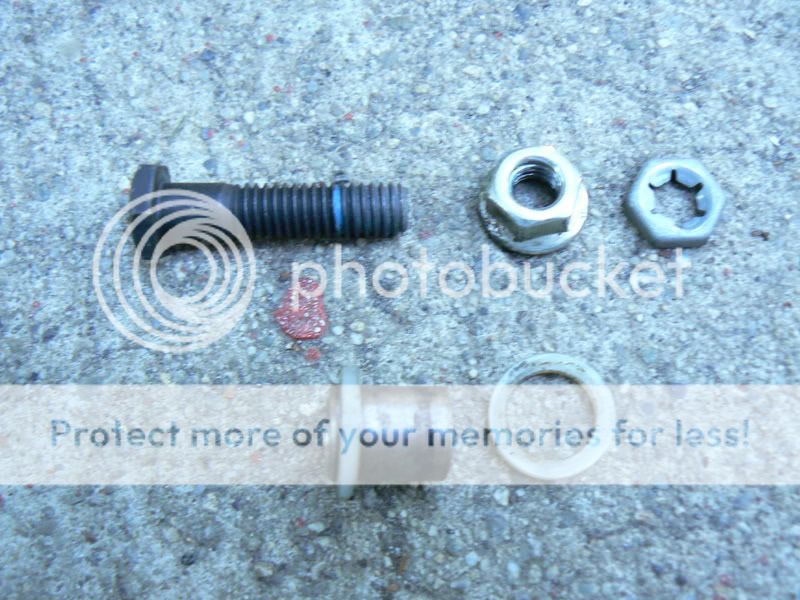
The locknut is a 16mm, as is the bolt. The nut is a 14mm. Take the bolt out, and put the nuts back on it so you don’t lose them. There is a metal sleeve with two clear plastic holders which needs to come off.
In the engine compartment there are a couple things that need to be taken out. Take off the vacuum line that goes into the booster, and the two hoses and three wire connectors that go into the window washer bottle. Remove the washer bottle, and set it aside making sure to not get fluid all over everything.
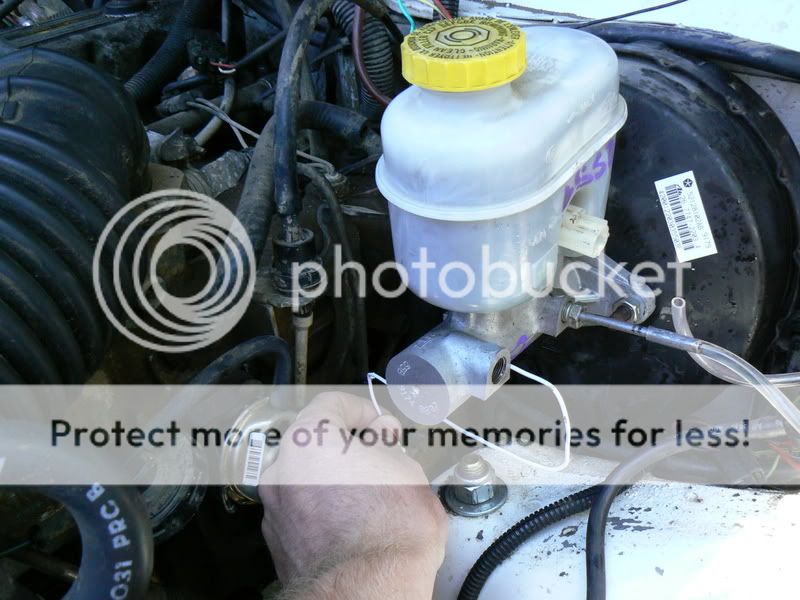
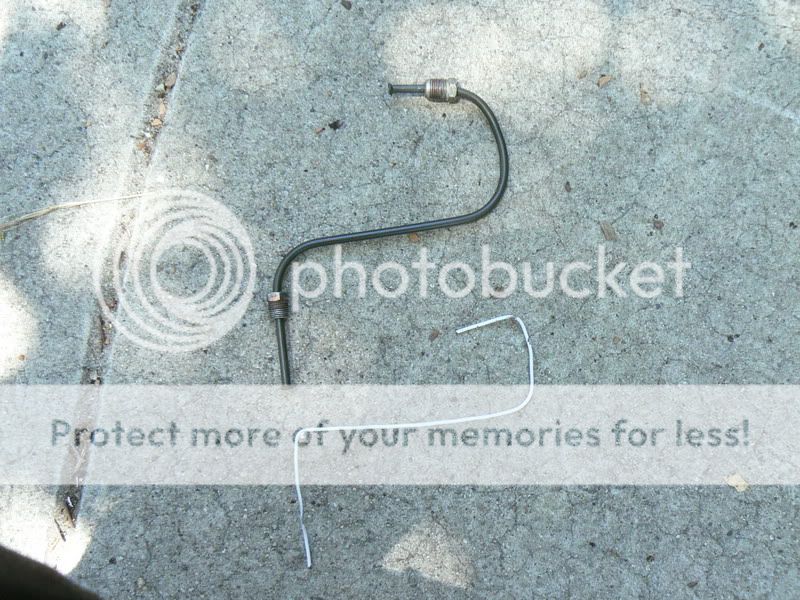
Use a turkey baster or something similar to drain the master cylinder reservoirs. Take off the brake lines that go from the master cylinder to the proportioning valve. Make sure to keep the fittings as you will reuse the ones going into the proportioning valve. Put something in the holes where the lines went so nothing falls in them. Don’t want any dirt or grime to fall in there.
Double check that nothing else is holding the booster and MC and pull them out.
Cleaning and fitting:
A simple comparison picture of the old and new:
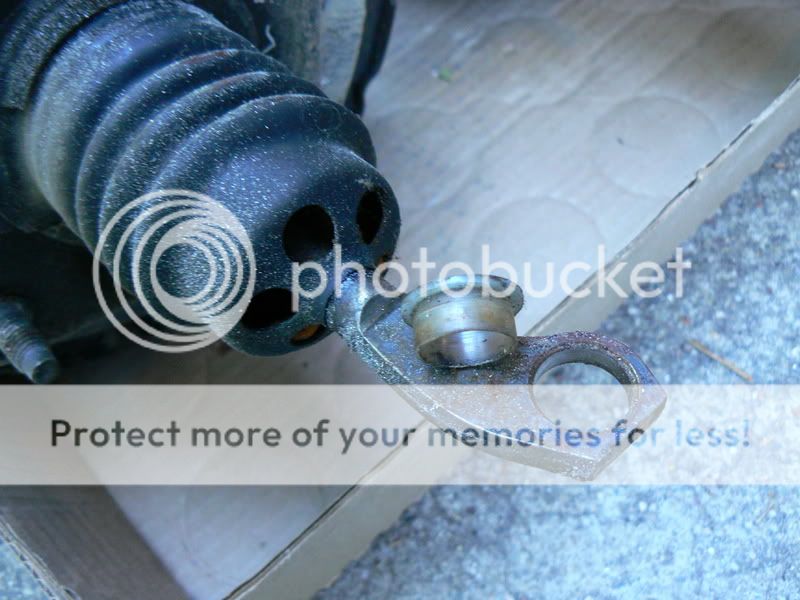
There is a small plastic sleeve in the old booster rod that you need to make sure to remove. Shown here on the old booster.
Find a drill bit that is the same size as the hole on the old booster rod without the sleeve. In my case it was a 5/8’’ bit. Drill out the new booster rod.
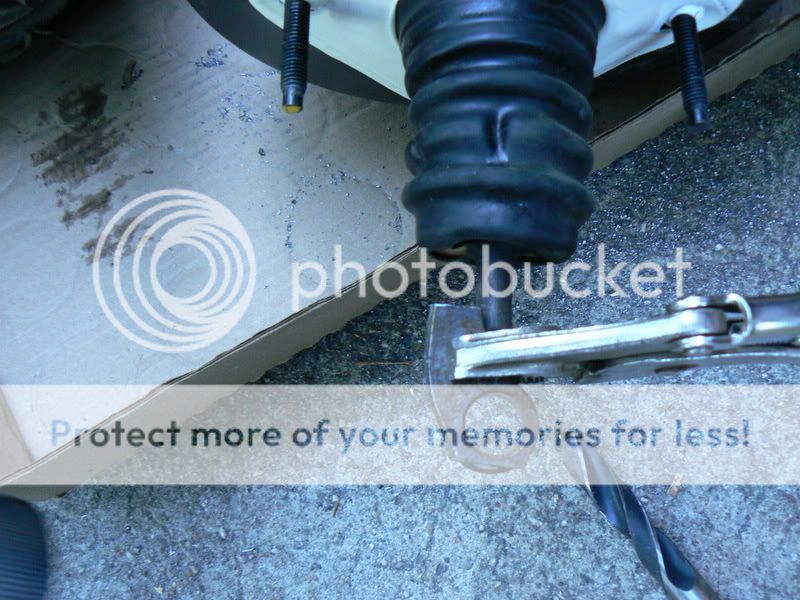
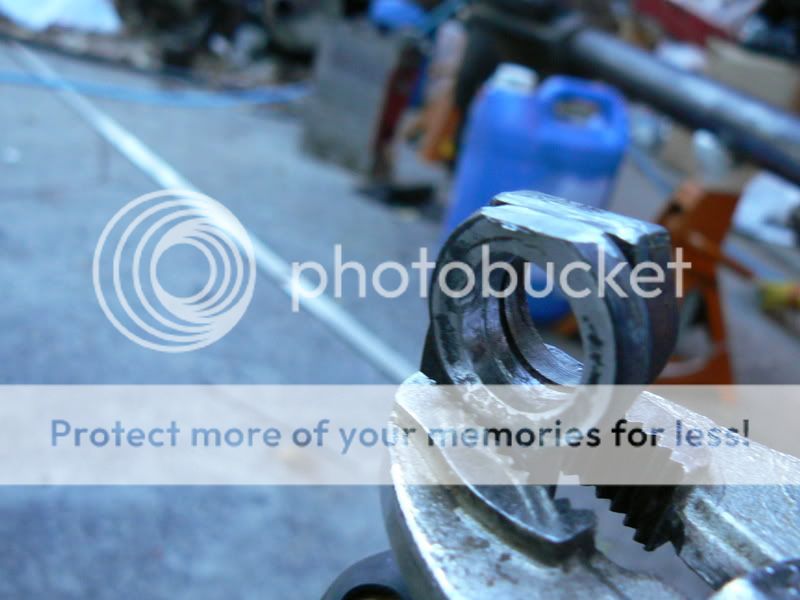
The old rod uses a flat portion to sense when the brake lights should be turned on and off. This must be cut into the new rod. Cut off the old booster rod, and using vice grips clamp the cut off piece to the new booster. Use the drill bit to line up the holes. Make sure the cut off piece is in the right orientation, as you will have to grind down the new rod. You don’t want to mess this up. You can see the old piece clamped to the new here:
Using a dremel or grinder, grind the new rod down so it is the same as the old one.
Put the plastic sleeve that you took out into the new rod hole.
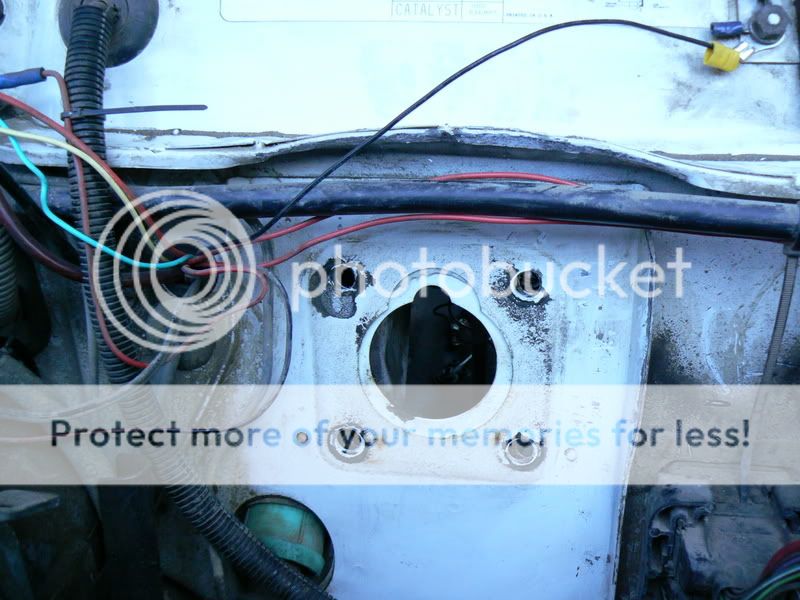
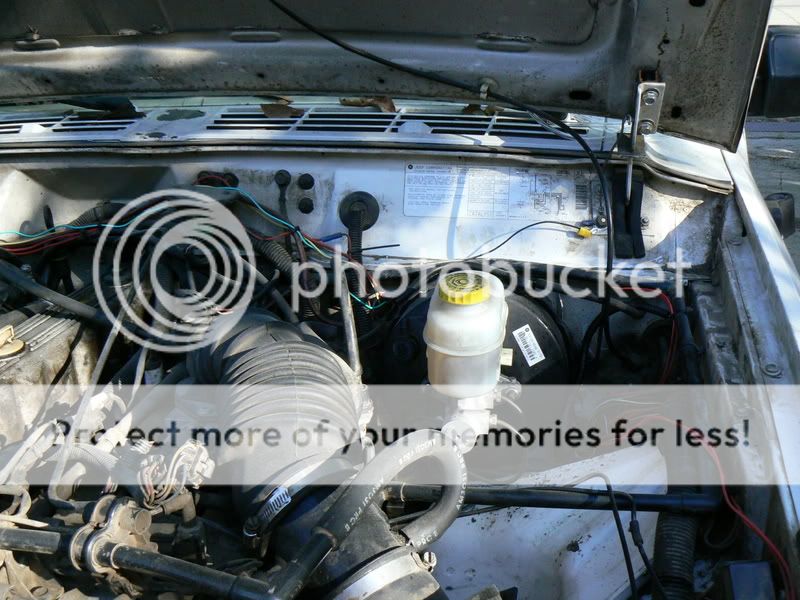
Now clean the firewall and anything else that you can reach if you want. I tried to get as much junk and mud out as possible, but this isn’t really needed. Also, you will need to hammer the pinch seam that is at the top, as well as the vertical one slightly to fit the larger booster. Picture of removed.
Picture of pinch seams “massaged” and cleaned up a bit.
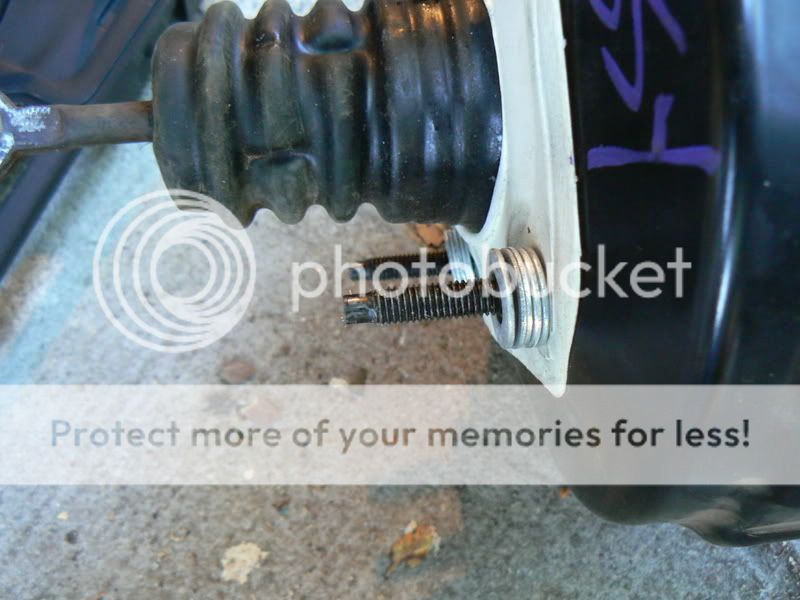
Test fit the booster and see if any more pounding is needed. I have read that a ¼’’ spacer is needed to be added in between the firewall and booster to keep the brake pedal in the right position. I’m not sure why that ¼ would matter, but I ended up using washers to space the booster out, as it wouldn’t fit without them. So if you need a spacer, use one. Otherwise, I don’t think I would worry about it.
¼’’ of washers on the booster studs:
Slide the booster and MC into position. You will need new nuts for the WJ booster studs. Don’t know what size they are, but they are 1.25 thread pitch. Make sure no wires or lines are pinched, and then bolt the booster down.
Hook up the brake pedal and everything else. At this time, make sure that the brake lights are only on when you’re stepping on the pedal.
I found a master cylinder and brake booster on car-part.com from a 1999 Jeep WJ Grand Cherokee. Supposedly you can find them for around $60 shipped, but I didn’t want to wait for one to be shipped to me, and I wanted to make sure it was the right one, and in decent condition before I bought it. Ended up paying $135 for both the MC and booster that I picked up from a semi local junk yard. I figure that’s less then the cost of brand new parts from my local friendly car parts dealer, so I wasn’t too worried about the cost.
The Swap:
Started by taking out the old mc/booster combo.
Picture of the old stuff:
Look under the dash, and finding where the booster rod connects to the pedal assembly.
The four bolts that hold the booster to the fire wall are 14mm. Take those off with a deepwell socket. The top right nut is a pain to take off, and I ended up threading my hand around the steering column to get to that nut.
Next, disconnect the sensor from the pedal, and start to take the bolt and two nuts off of the pedal and booster rod.
The locknut is a 16mm, as is the bolt. The nut is a 14mm. Take the bolt out, and put the nuts back on it so you don’t lose them. There is a metal sleeve with two clear plastic holders which needs to come off.
In the engine compartment there are a couple things that need to be taken out. Take off the vacuum line that goes into the booster, and the two hoses and three wire connectors that go into the window washer bottle. Remove the washer bottle, and set it aside making sure to not get fluid all over everything.
Use a turkey baster or something similar to drain the master cylinder reservoirs. Take off the brake lines that go from the master cylinder to the proportioning valve. Make sure to keep the fittings as you will reuse the ones going into the proportioning valve. Put something in the holes where the lines went so nothing falls in them. Don’t want any dirt or grime to fall in there.
Double check that nothing else is holding the booster and MC and pull them out.
Cleaning and fitting:
A simple comparison picture of the old and new:
There is a small plastic sleeve in the old booster rod that you need to make sure to remove. Shown here on the old booster.
Find a drill bit that is the same size as the hole on the old booster rod without the sleeve. In my case it was a 5/8’’ bit. Drill out the new booster rod.
The old rod uses a flat portion to sense when the brake lights should be turned on and off. This must be cut into the new rod. Cut off the old booster rod, and using vice grips clamp the cut off piece to the new booster. Use the drill bit to line up the holes. Make sure the cut off piece is in the right orientation, as you will have to grind down the new rod. You don’t want to mess this up. You can see the old piece clamped to the new here:
Using a dremel or grinder, grind the new rod down so it is the same as the old one.
Put the plastic sleeve that you took out into the new rod hole.
Now clean the firewall and anything else that you can reach if you want. I tried to get as much junk and mud out as possible, but this isn’t really needed. Also, you will need to hammer the pinch seam that is at the top, as well as the vertical one slightly to fit the larger booster. Picture of removed.
Picture of pinch seams “massaged” and cleaned up a bit.
Test fit the booster and see if any more pounding is needed. I have read that a ¼’’ spacer is needed to be added in between the firewall and booster to keep the brake pedal in the right position. I’m not sure why that ¼ would matter, but I ended up using washers to space the booster out, as it wouldn’t fit without them. So if you need a spacer, use one. Otherwise, I don’t think I would worry about it.
¼’’ of washers on the booster studs:
Slide the booster and MC into position. You will need new nuts for the WJ booster studs. Don’t know what size they are, but they are 1.25 thread pitch. Make sure no wires or lines are pinched, and then bolt the booster down.
Hook up the brake pedal and everything else. At this time, make sure that the brake lights are only on when you’re stepping on the pedal.
 thread