- Location
- Salem, OR
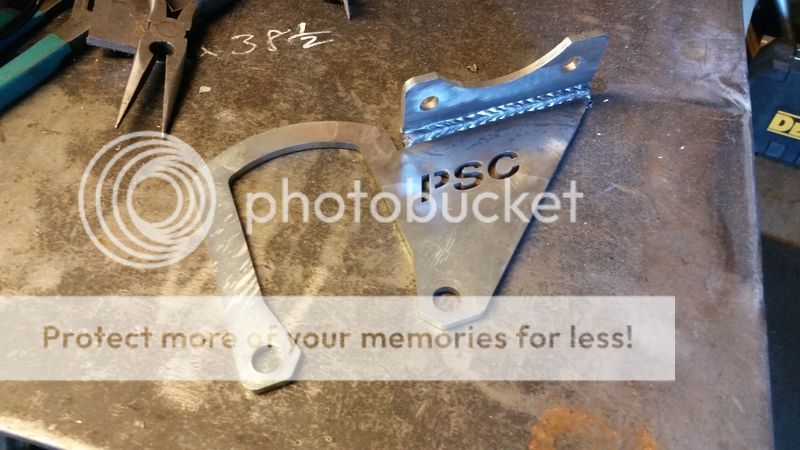
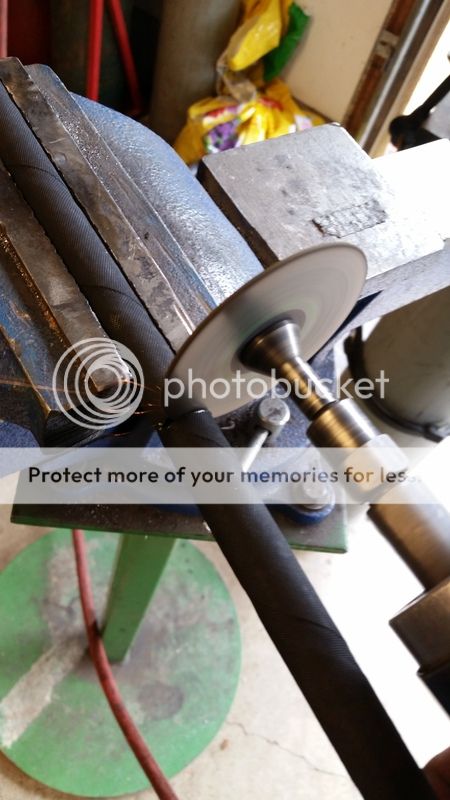
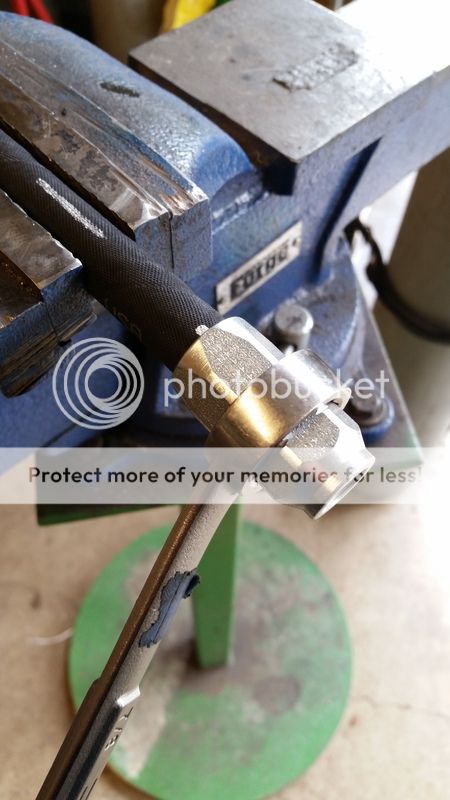
Stainless welding needed!!
Do you mean......
I might know a guy.
Do you mean......
Call me I have some parts you need.
I might know a guy.
Call me I have some parts you need.
Thanks, man! It's getting to be a read, but it's nice being able to look back at the progression of the build over the years.I dont even know where to start with this post but one word I can use to describe this thread is EPIC! I've noticed myself reading this at home at work, at work some more, in the middle of convos and it kept pulling me back in. Well done Sir! Many many great ideas have been going thru my head for my build because of your documentation. How's she holding up seeing how its been a few months? Also a little side note... A HUGE reason why I kept coming back to this thread was the simple fact that all of your pictures still work and show up and are excellently described.


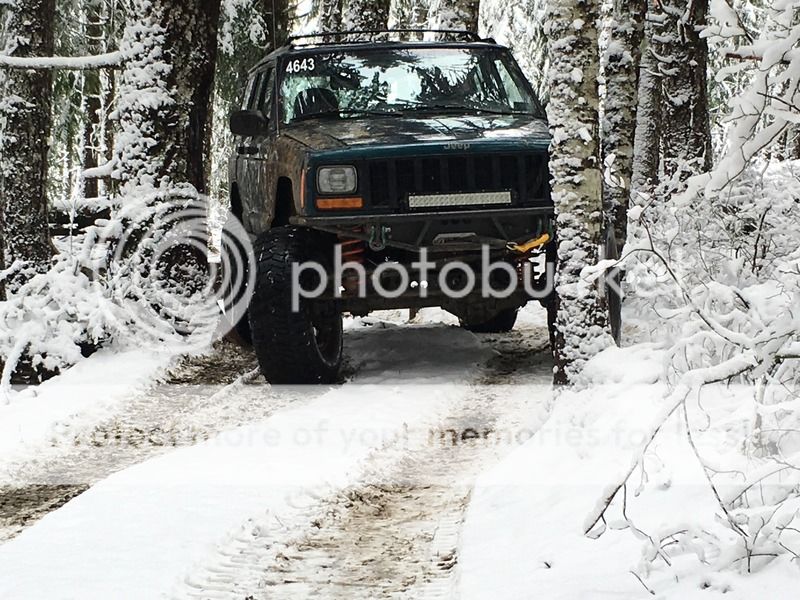
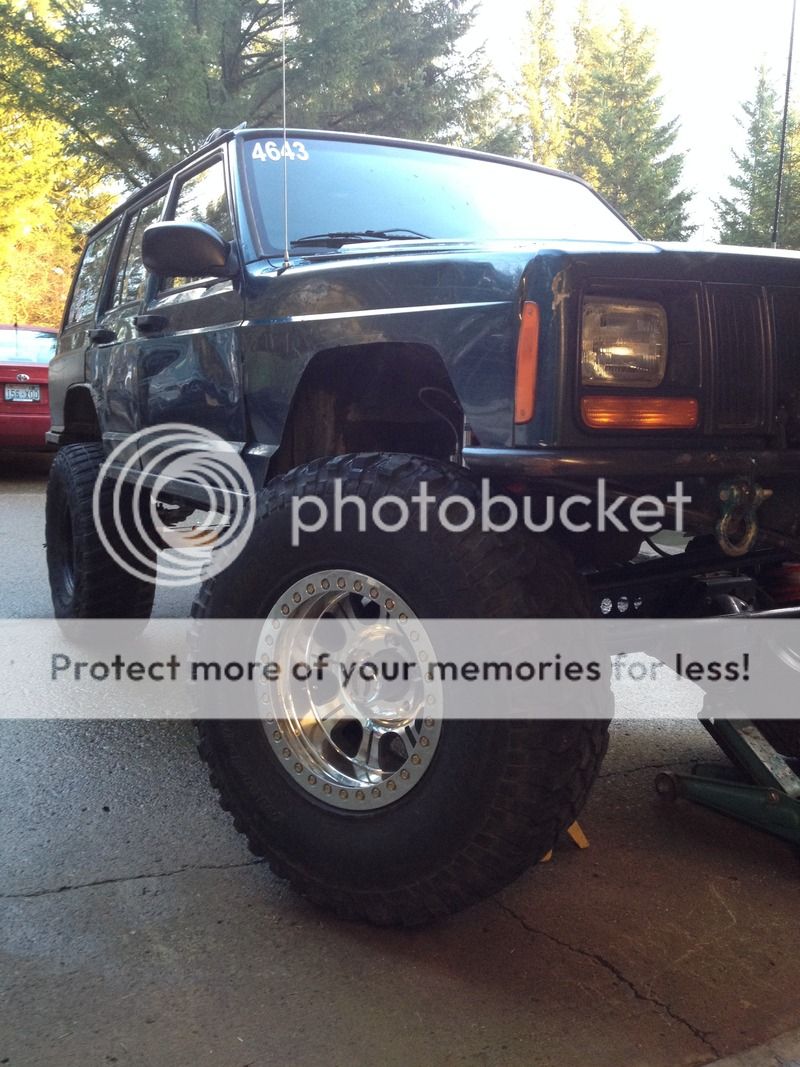
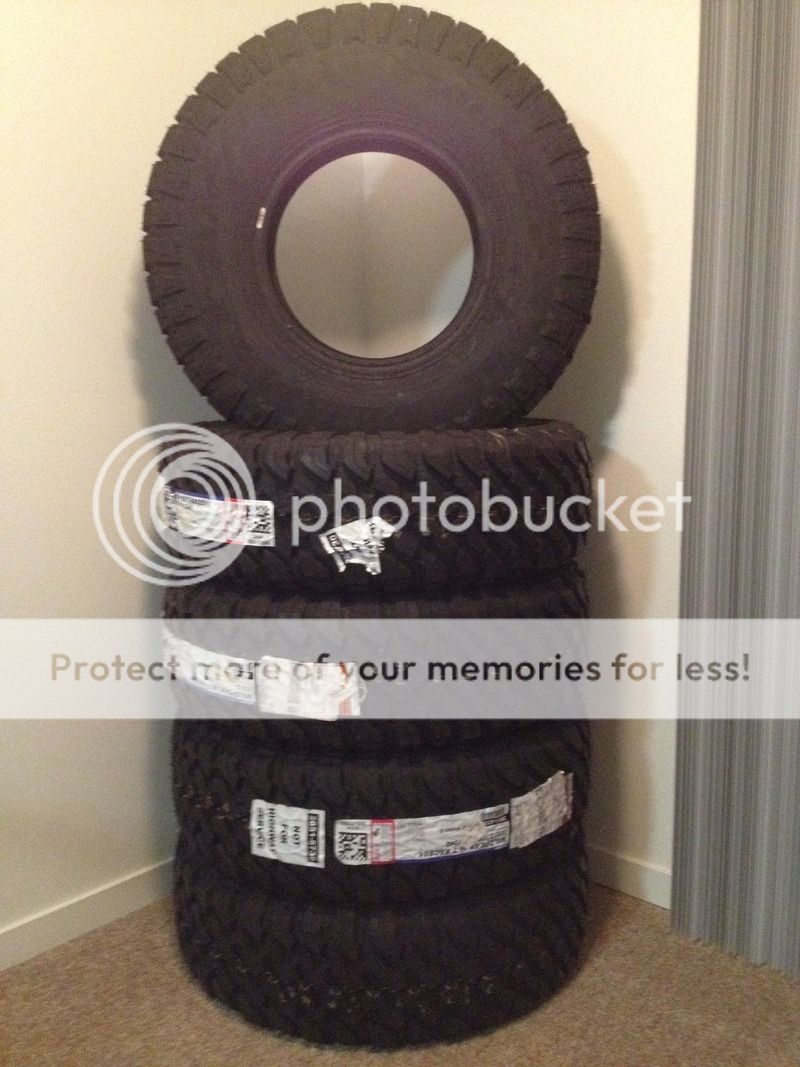
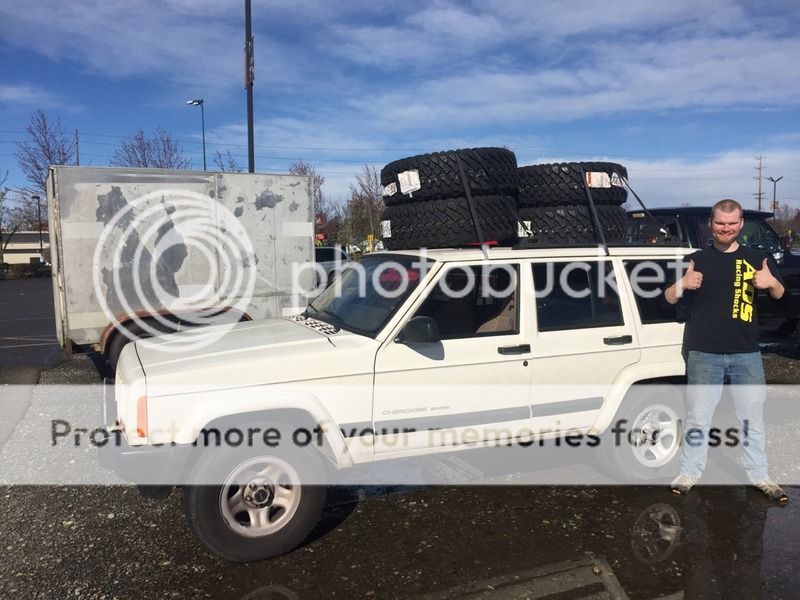

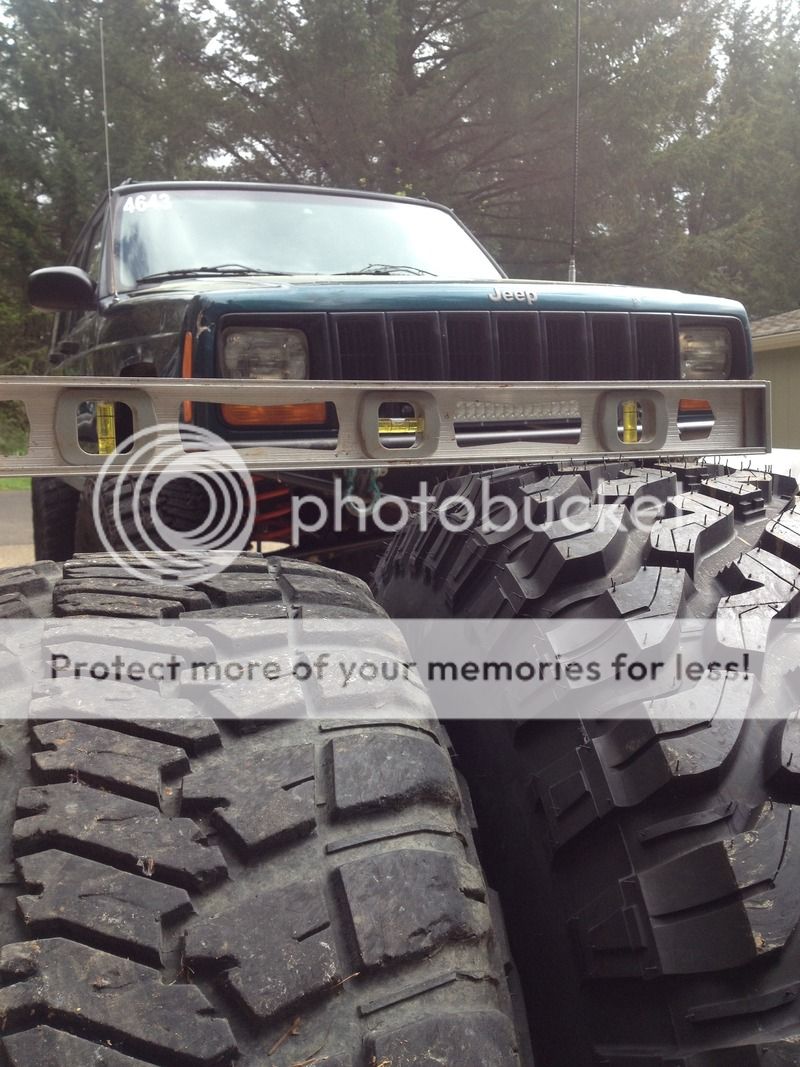
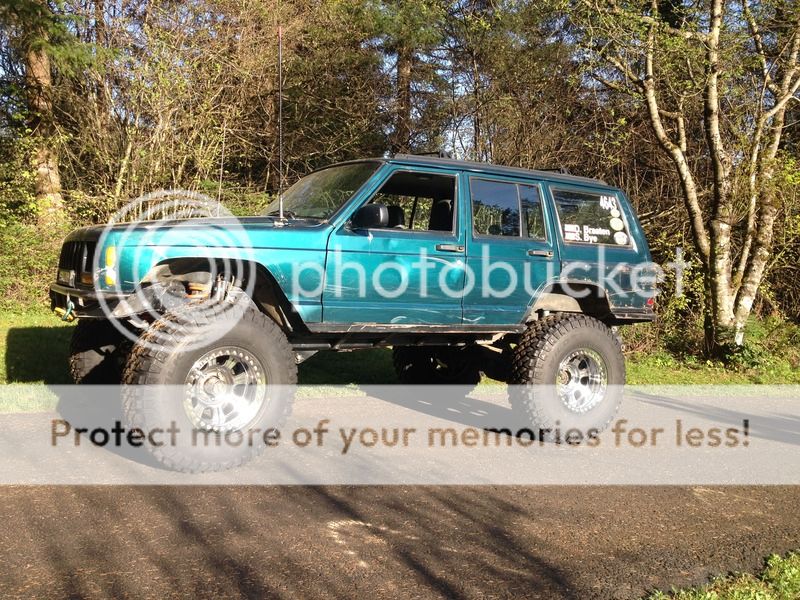
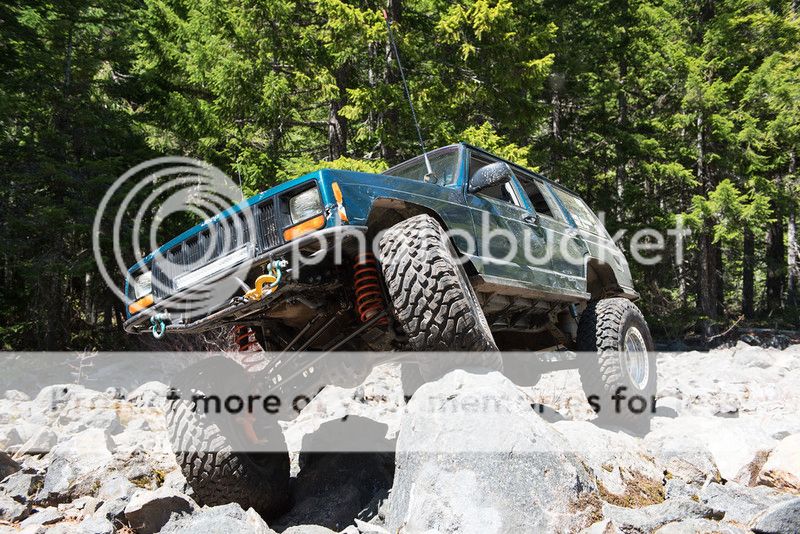
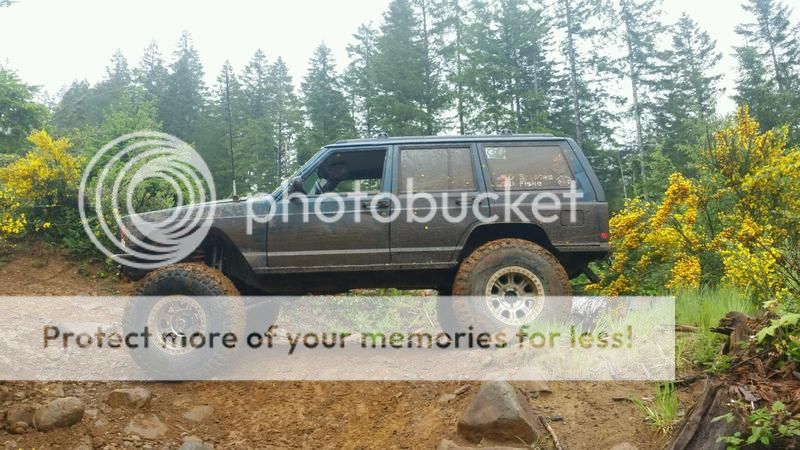
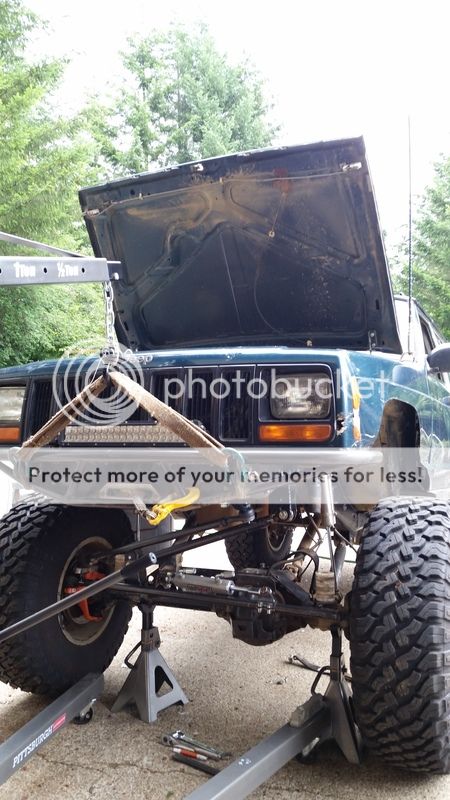
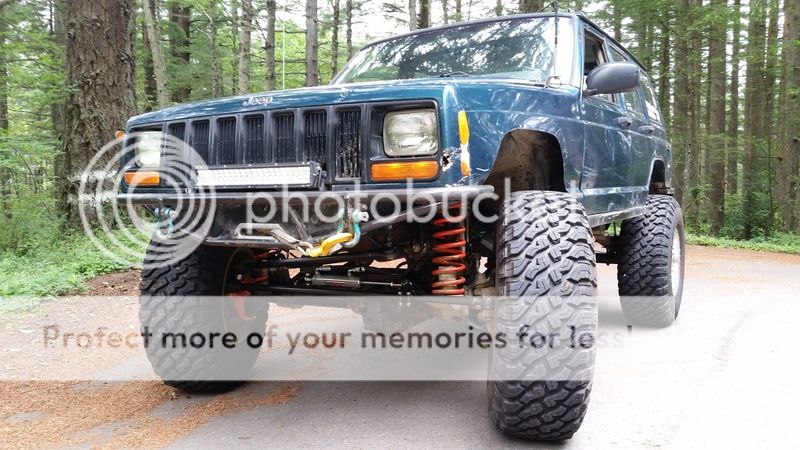
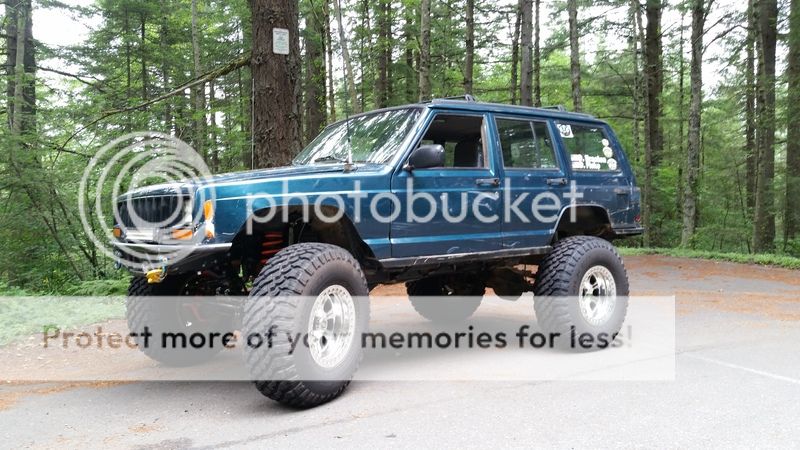
Those wheels look awesome. Any issues with the taller tires rubbing?
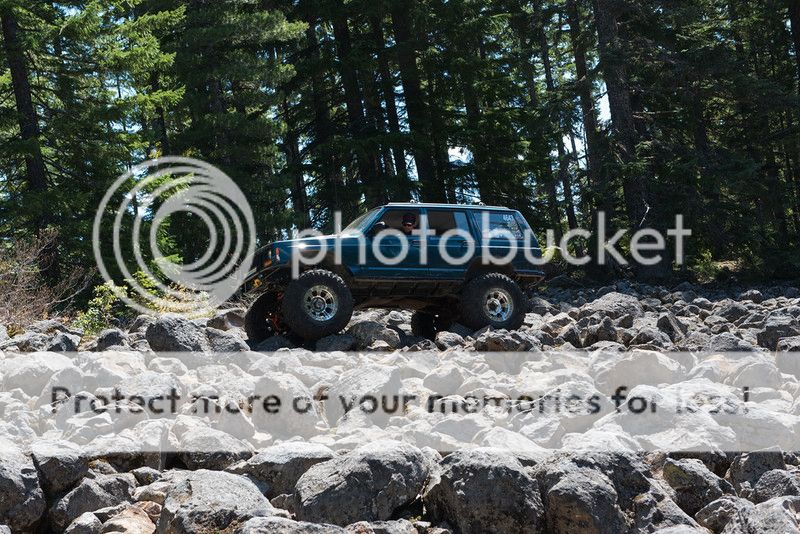


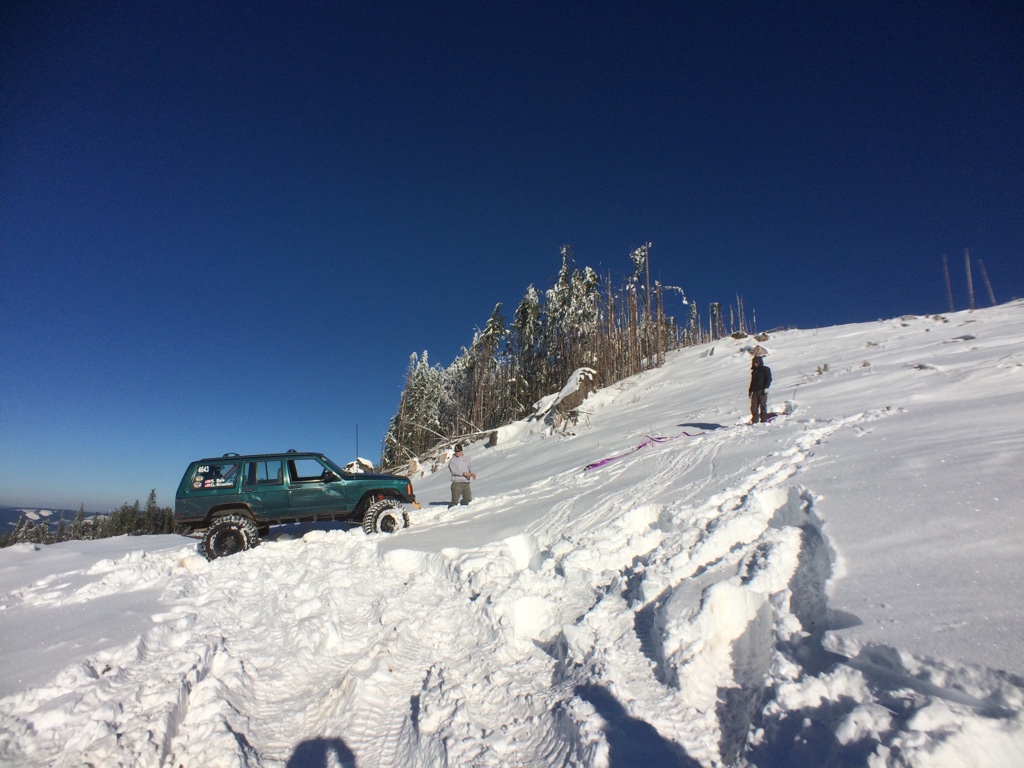
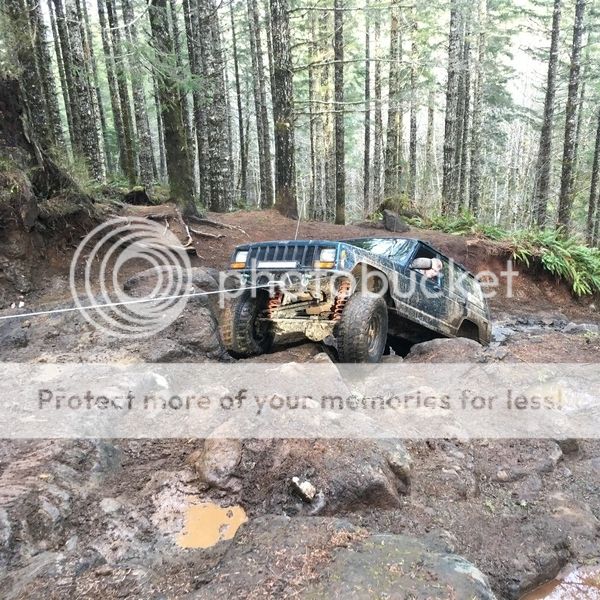
 has Oregon Trophy Challenge in two weeks, and the Nail Salon needs to be at 100% to defend our two year reign as champions. I don't have anything major planned between now and then other than some basic maintenance items. If the Jeep survives another year, I have some upgrades in mind before Northwest Fest in June.
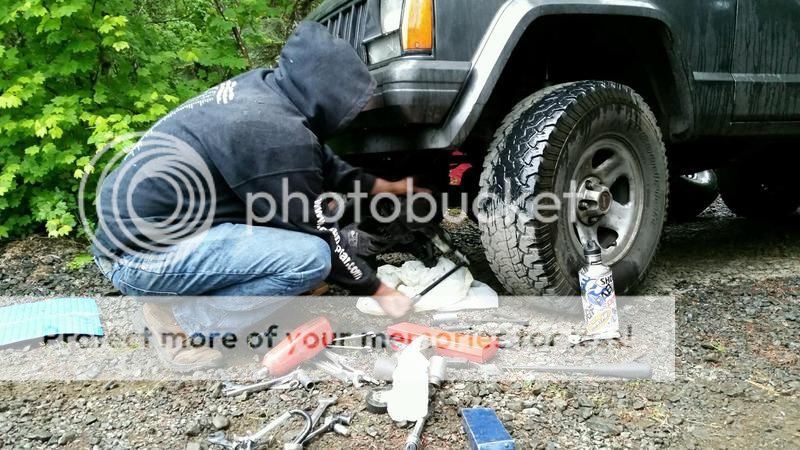
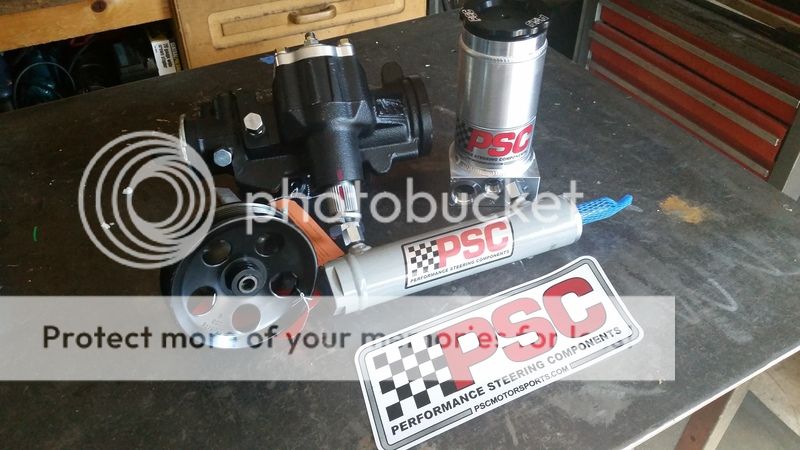
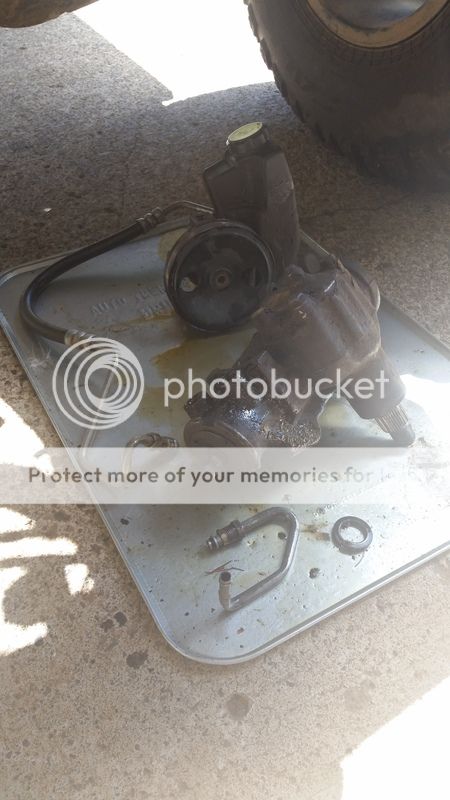
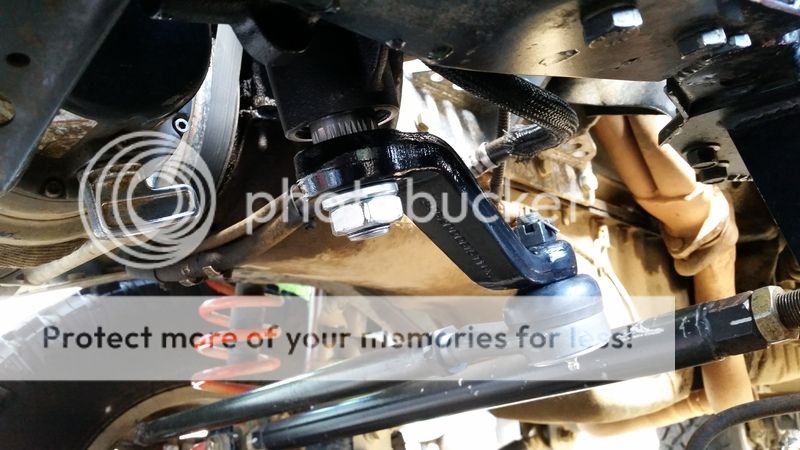
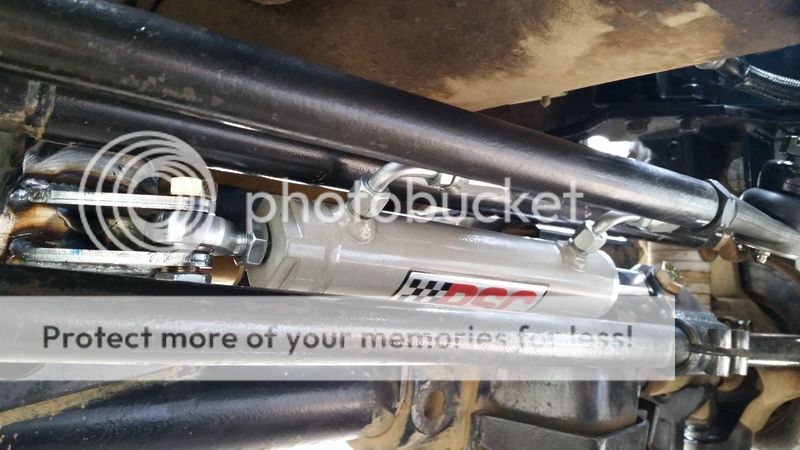
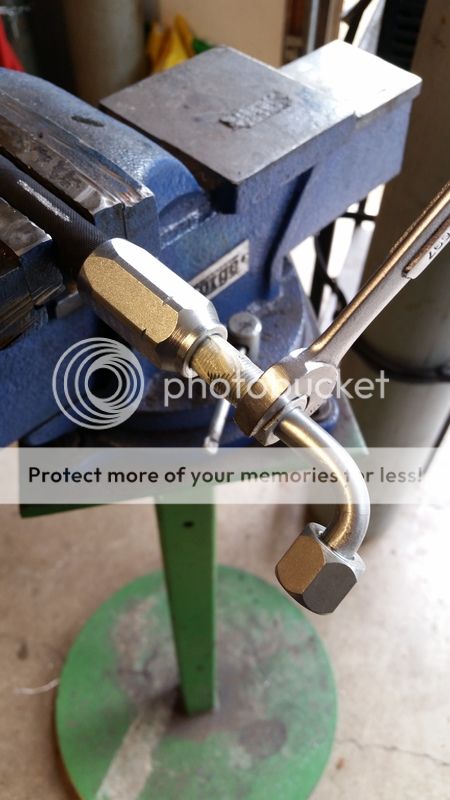
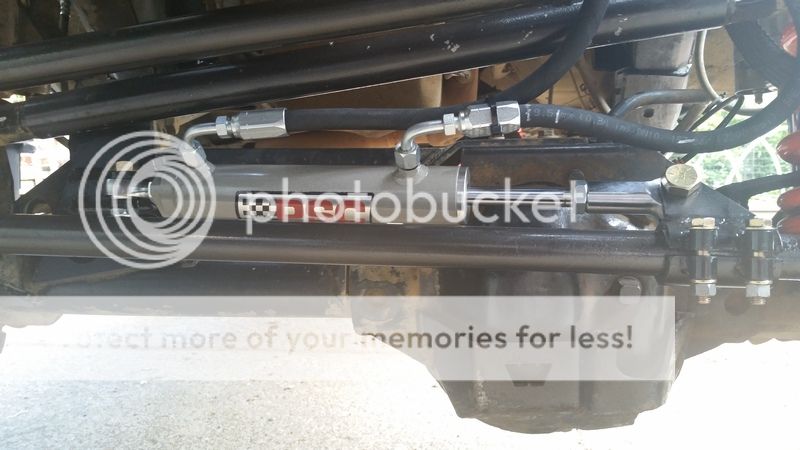
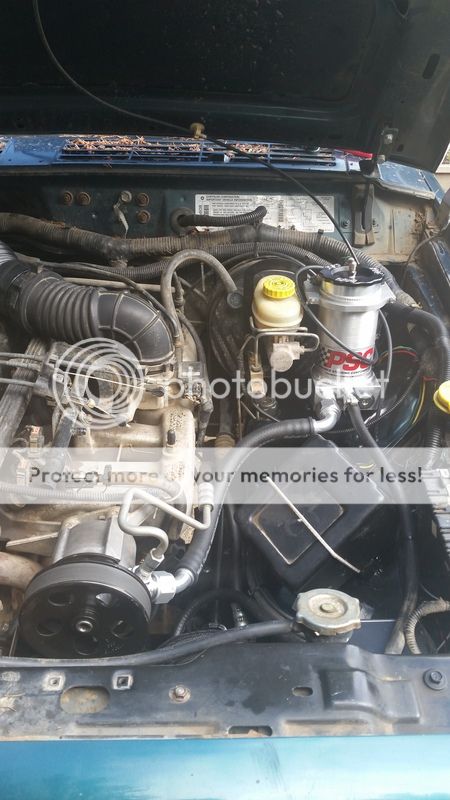
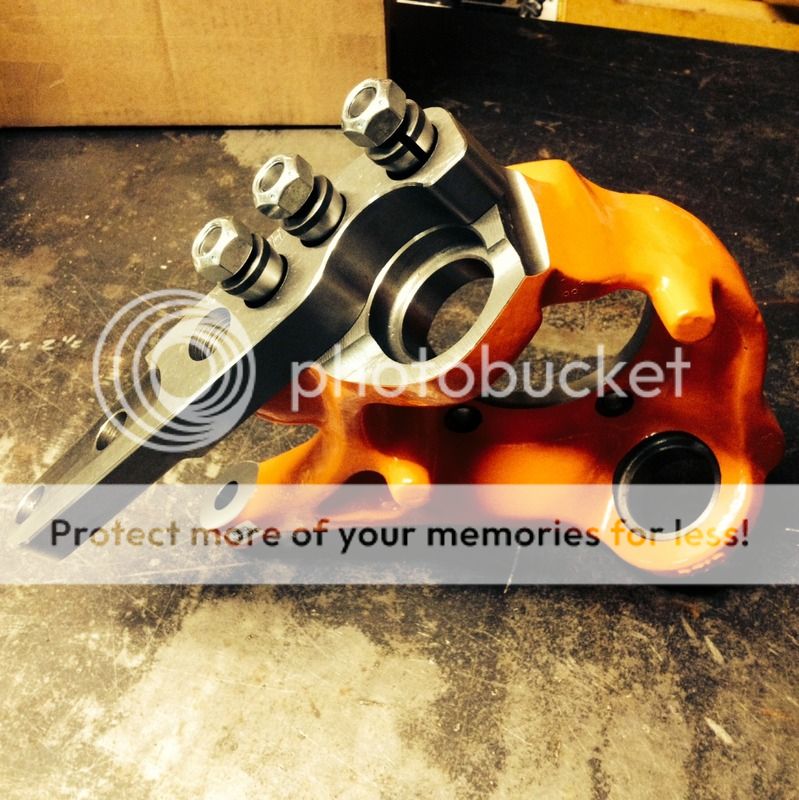
From what I've read there's a ton of dudes running assist with stock pumps and boxes so I'm sure it can be done. In fact, this was my plan originally when I picked up just the 1.5" ram months ago. However, I always questioned how responsive and reliable that combo would be. A power steering system in the end comes down to how much flow you have. I didn't want to push my aging stock pump with the assist cylinder and bigger bore box so I convinced myself to bite the bullet and go with the complete kit with high flow pump. I knew the 1.75" ram would be slow, but it's nice to have options. I may swap it back on come snow season. Get that extra steering power for the low snow pressures.So Dustin do you think if you had stuck with the 1.5 ram instead of the 1.75, that getting the psc pump wouldn't have been needed?
