IllianaXJ
NAXJA Forum User
- Location
- Southwest IN
This post is a followup to the one originally made by Brian of H.D.O.E. You can find his thread here: http://naxja.org/forum/showthread.php?t=1008853&highlight=roof+slider
*Note* If you have a full length roof rack (i.e. rack goes all the way to the windshield) some of this will not apply to you. If you have a shorty rack (00-01 IIRC) or do not have a factory rack, your install will be different. I will go over the differences below.
Tools Needed:
- T25 torx bit
- 1/4" ratchet
- 9/16" wrenches (one box end and one gearwrench work best)
Optional Tools:
- 1/2" drill bit
- 3/8" socket
Hardware:
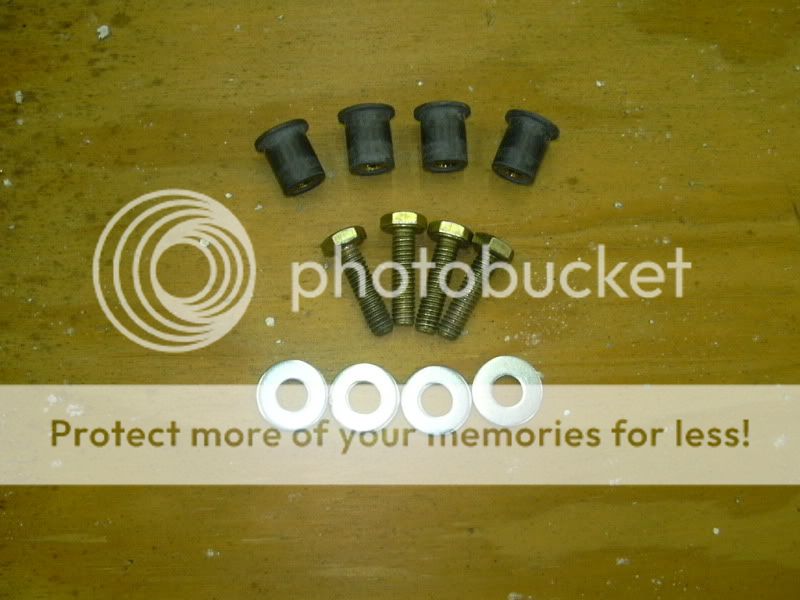
- Bolts, washers and nuts for slider rack provided by H.D.O.E.
- Original roof rack hardware retained for reuse
Optional Hardware:
- 1/4 x 20 well nuts (available at local hardware or farm stores)
- 1/4 x 20 x 1 bolts
- 1/4" washers
Full Rack Installation:
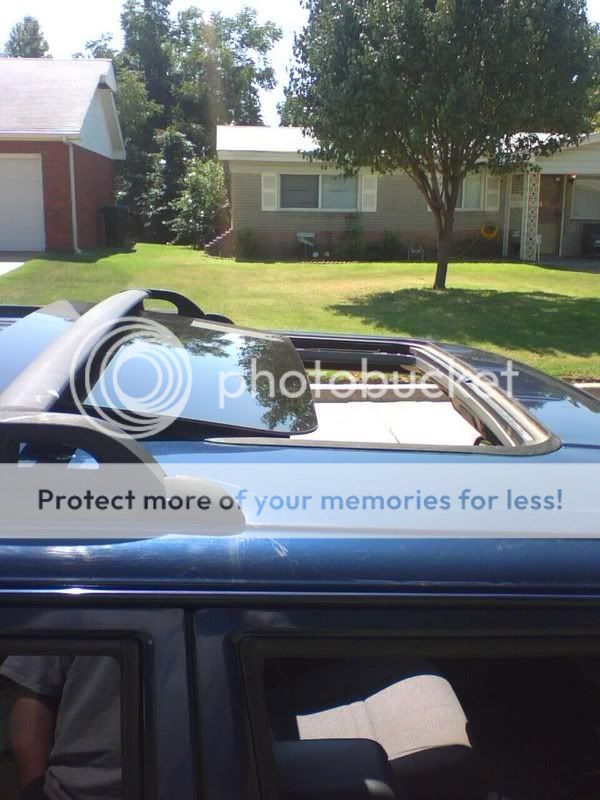
1) Remove factory roof rack. Make sure and retain the bolts, you will use them again later. (If you lose a couple, they are M6 x 1.0 thread)
2) Place runners on the roof, line up holes with stock nutserts, bolt down with stock bolts and provided washers.

You can see here how the runners contour to the XJ roof:

3) Place crossbars on the roof in position. Take note that there is an up and down to these. In order to clear the roof, they must be oriented correctly.
4) Hold the slider tubes up to the runners and slide a bolt through slider, runner and crossbar. Spin the nut on, but don't tighten yet. Repeat all the way down on both sides.
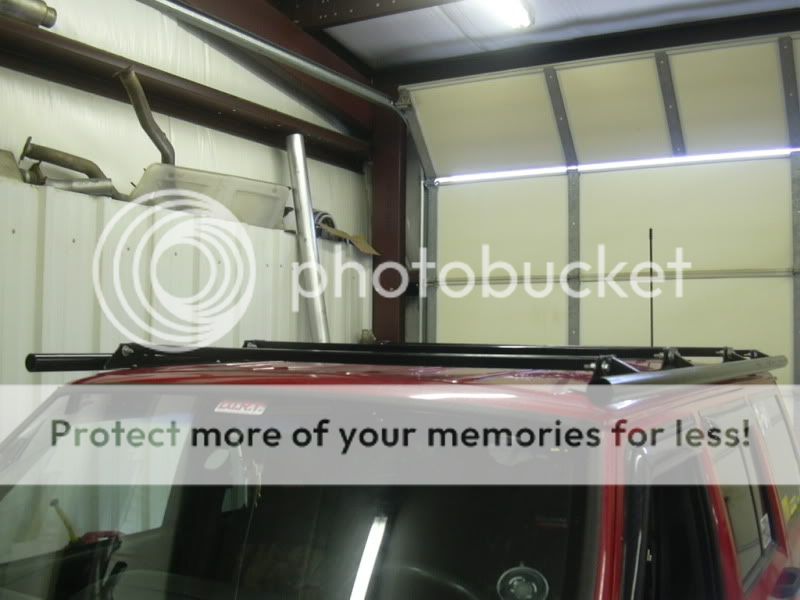
5) Tighten bolts.
6) Go wheelin!
Shorty Rack Installation:
1) Follow above steps 1-5, but unfortunately you're not done yet.
2) Mark the two holes you don't have nutserts for. You will also need to mark the runners for the nutserts that don't line up. On my 01, only the back two lined up.
3) Pull the whole rack back off.
4) Center punch and drill the holes.


5) Drill the runners where marked for the nutserts.
6) Install the well nuts into the holes. I put a bit of silicone around them just to ward off water intrusion.
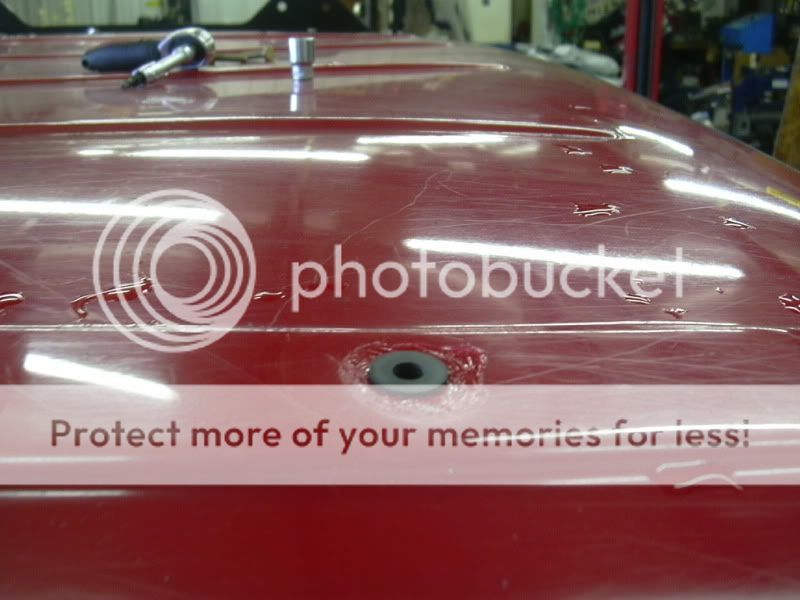
7) Place the rack back on the roof, this time for good. You will probably need to place washers on top of the well nuts to keep them from popping through the runner holes. Make sure and push down on the runner while tightening the well nuts, they expand as you tighten and won't get the correct grip if the runner isn't tight against the roof.
8) Go wheelin!
No Factory Rack Installation:
1) Assemble the slider rack on the ground. Tighten up the bolts/nuts.
2) Place the rack on the roof, mark the holes.
3) Center punch and drill the holes; either for the well nuts or regular bolts. Your preference (see notes below).
4) Complete installation by whichever method you choose.
Notes:
- This is my first experience using well nuts for this type of item. I will report back if they pull out or come loose. I'm pretty confident they will work out fine.
- If you do not have a factory roof rack, I would think about pulling your headliner down and running bolts and nuts all the way through. It would be much stronger than well nuts all the way down.
More pics:


*Note* If you have a full length roof rack (i.e. rack goes all the way to the windshield) some of this will not apply to you. If you have a shorty rack (00-01 IIRC) or do not have a factory rack, your install will be different. I will go over the differences below.
Tools Needed:
- T25 torx bit
- 1/4" ratchet
- 9/16" wrenches (one box end and one gearwrench work best)
Optional Tools:
- 1/2" drill bit
- 3/8" socket
Hardware:
- Bolts, washers and nuts for slider rack provided by H.D.O.E.
- Original roof rack hardware retained for reuse
Optional Hardware:
- 1/4 x 20 well nuts (available at local hardware or farm stores)
- 1/4 x 20 x 1 bolts
- 1/4" washers
Full Rack Installation:
1) Remove factory roof rack. Make sure and retain the bolts, you will use them again later. (If you lose a couple, they are M6 x 1.0 thread)
2) Place runners on the roof, line up holes with stock nutserts, bolt down with stock bolts and provided washers.
You can see here how the runners contour to the XJ roof:
3) Place crossbars on the roof in position. Take note that there is an up and down to these. In order to clear the roof, they must be oriented correctly.
4) Hold the slider tubes up to the runners and slide a bolt through slider, runner and crossbar. Spin the nut on, but don't tighten yet. Repeat all the way down on both sides.
5) Tighten bolts.
6) Go wheelin!
Shorty Rack Installation:
1) Follow above steps 1-5, but unfortunately you're not done yet.
2) Mark the two holes you don't have nutserts for. You will also need to mark the runners for the nutserts that don't line up. On my 01, only the back two lined up.
3) Pull the whole rack back off.
4) Center punch and drill the holes.
5) Drill the runners where marked for the nutserts.
6) Install the well nuts into the holes. I put a bit of silicone around them just to ward off water intrusion.
7) Place the rack back on the roof, this time for good. You will probably need to place washers on top of the well nuts to keep them from popping through the runner holes. Make sure and push down on the runner while tightening the well nuts, they expand as you tighten and won't get the correct grip if the runner isn't tight against the roof.
8) Go wheelin!
No Factory Rack Installation:
1) Assemble the slider rack on the ground. Tighten up the bolts/nuts.
2) Place the rack on the roof, mark the holes.
3) Center punch and drill the holes; either for the well nuts or regular bolts. Your preference (see notes below).
4) Complete installation by whichever method you choose.
Notes:
- This is my first experience using well nuts for this type of item. I will report back if they pull out or come loose. I'm pretty confident they will work out fine.
- If you do not have a factory roof rack, I would think about pulling your headliner down and running bolts and nuts all the way through. It would be much stronger than well nuts all the way down.
More pics: