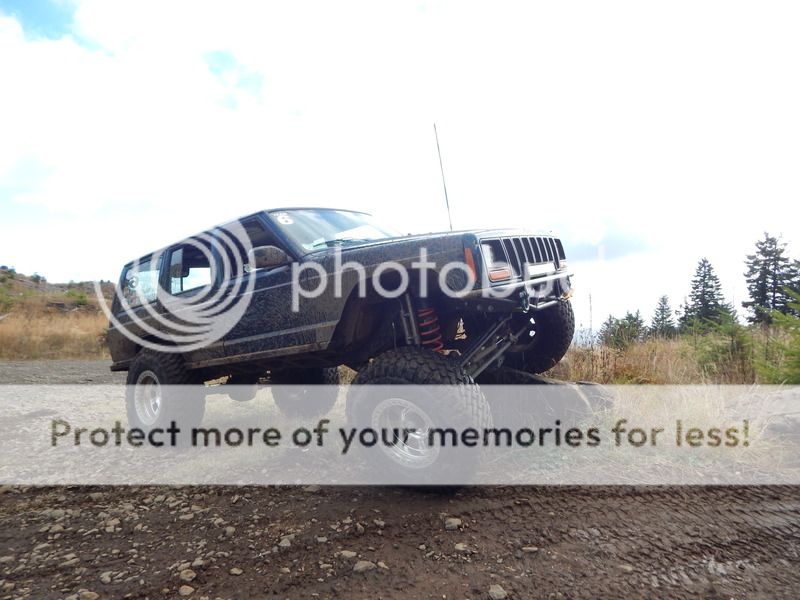
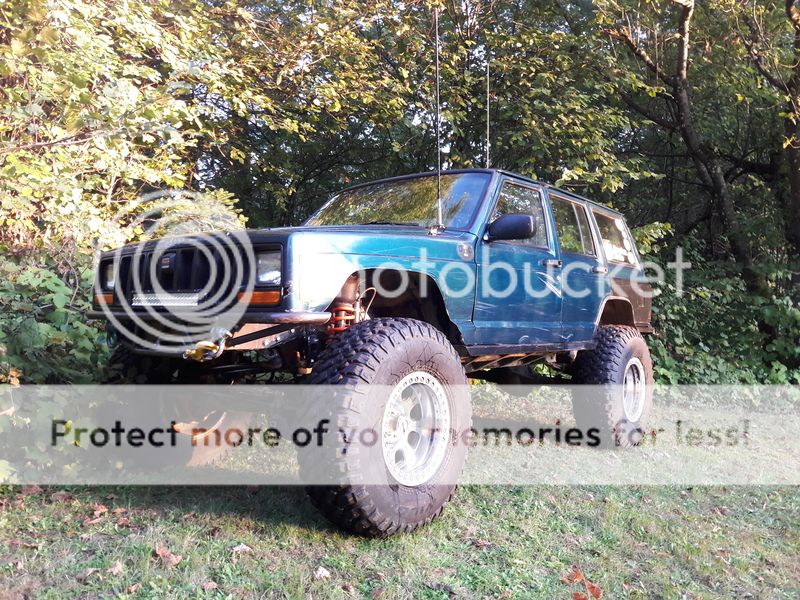
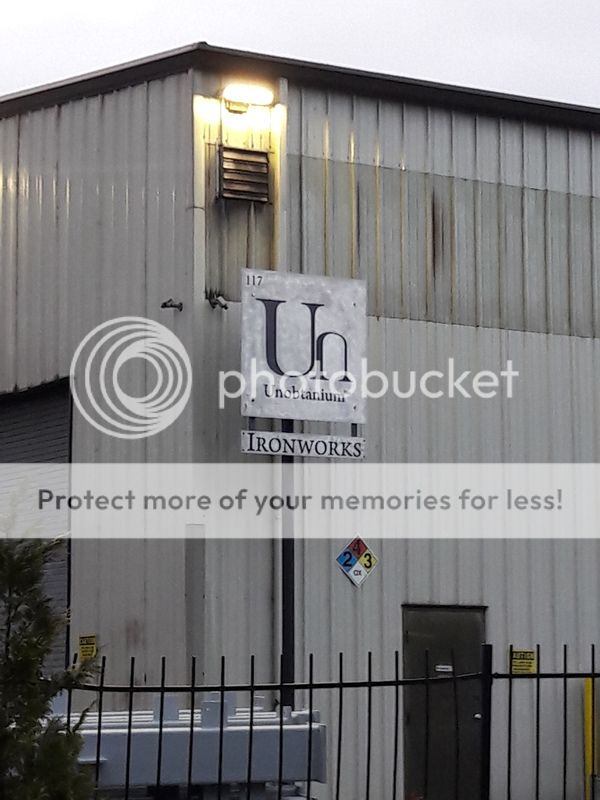
- Location
- Salem, OR
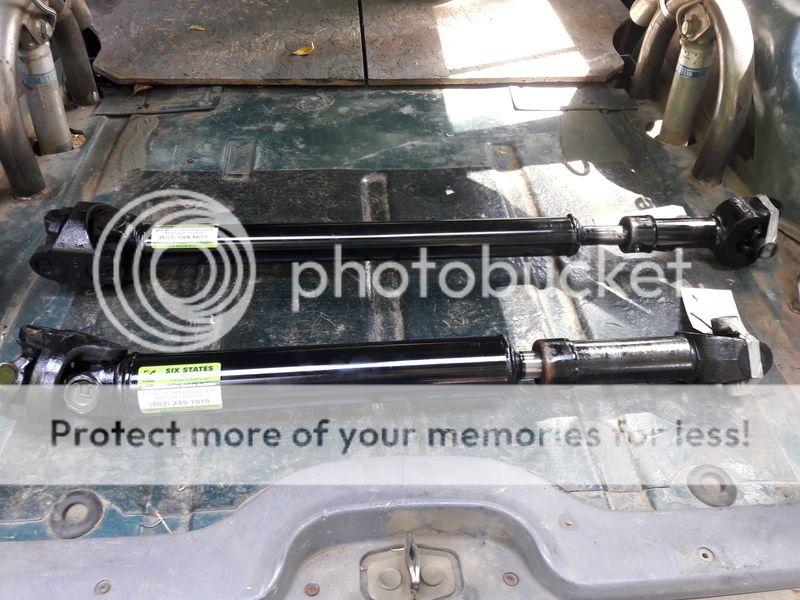
So atlas I see?
What's the scoop lol
What's the scoop lol
Last edited:
So atlas I see?
What's the scoop lol
Sent from my iPhone using Tapatalk

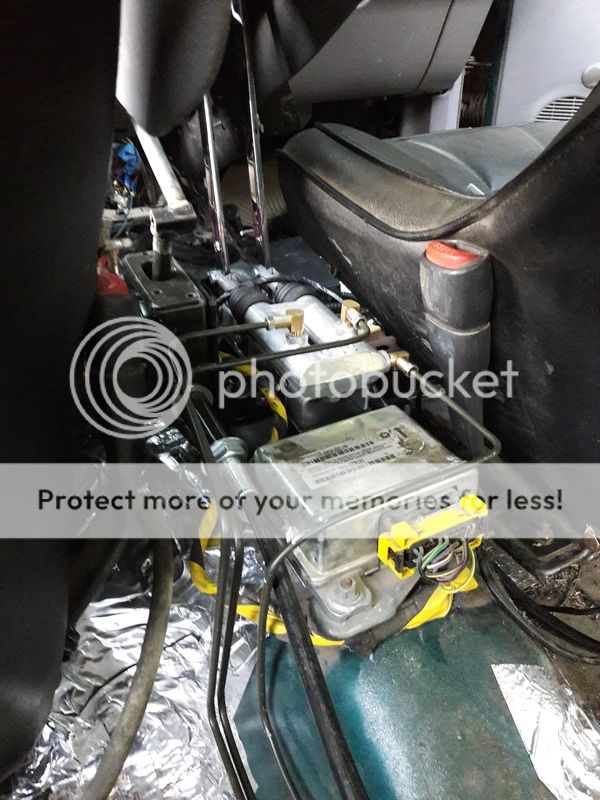
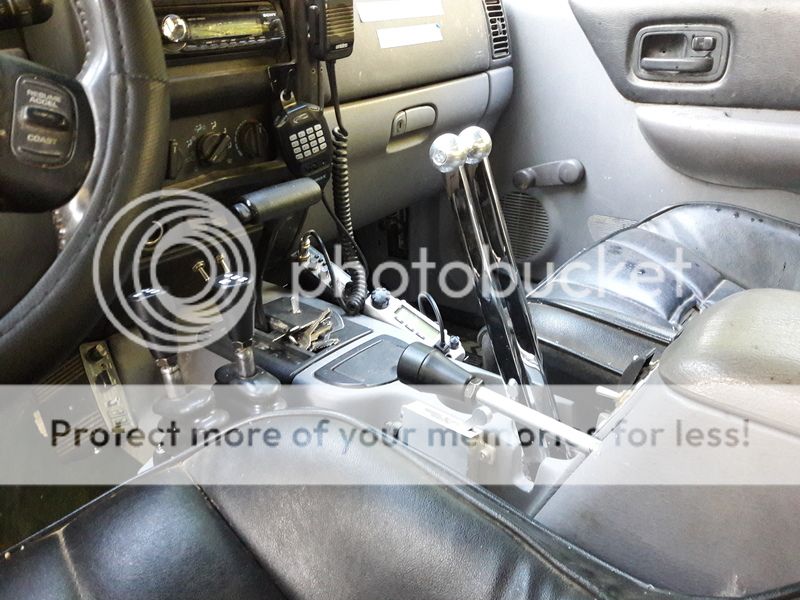
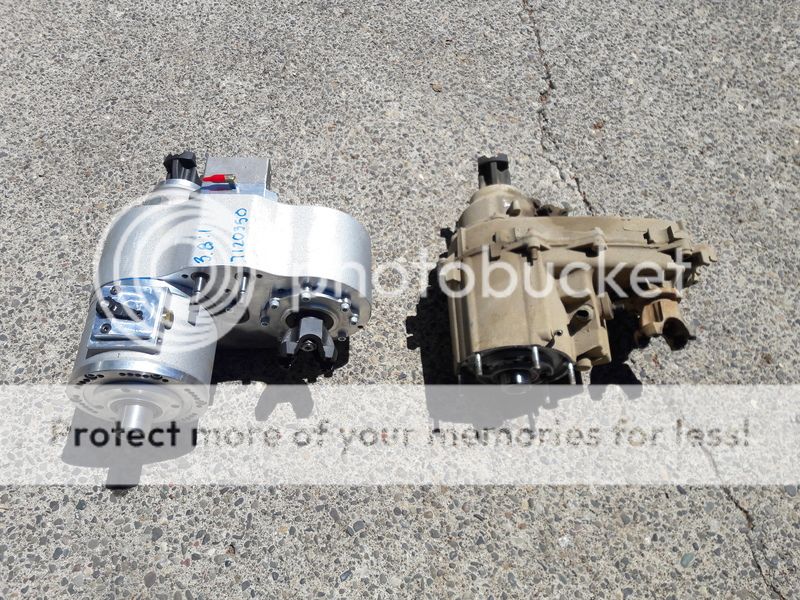
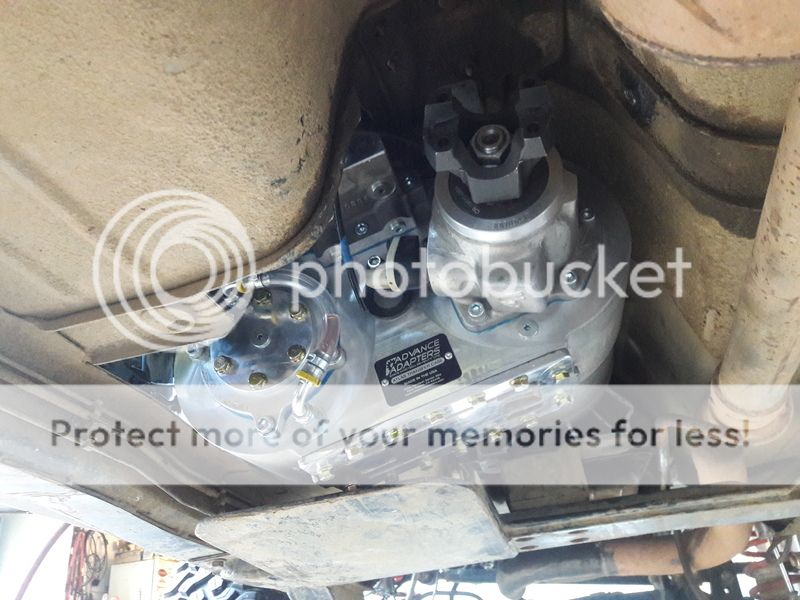
What's there to talk about? It's an atlas ....
Gears ratio..... since there's multiple options..
Sent from my iPhone using Tapatalk
Oh yeah, kind of forgot about that.So atlas I see?
What's the scoop lol
Oh yeah, kind of forgot about that.
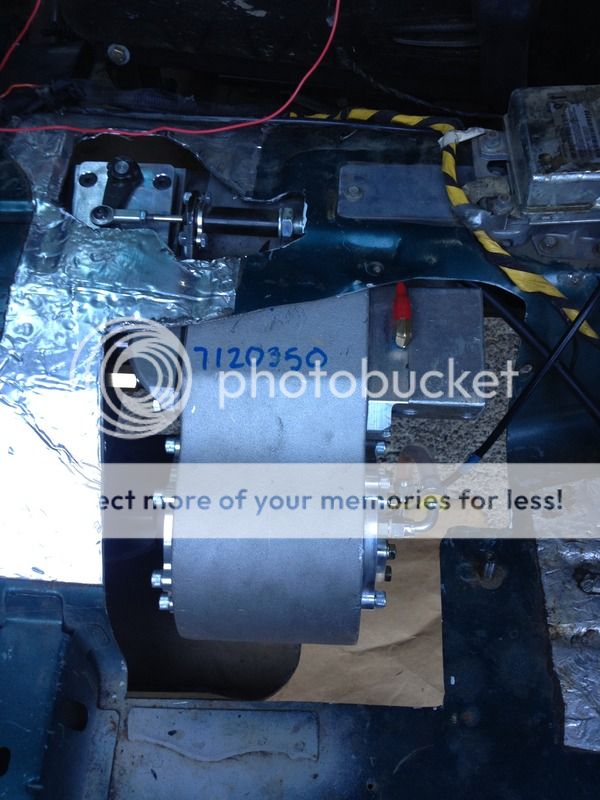
It's been sitting for a few weeks now. Not sure what to do with it. :dunno:
I'll end up at 148.47:1 if I get around to installing it.
Doubtful. I could probably slam it in next weekend, but I'll likely be needing driveline mods, which doesn't leave much time (three days). Thinking it'll be a July project with some other stuff.Gonna have it installed before nwfest?

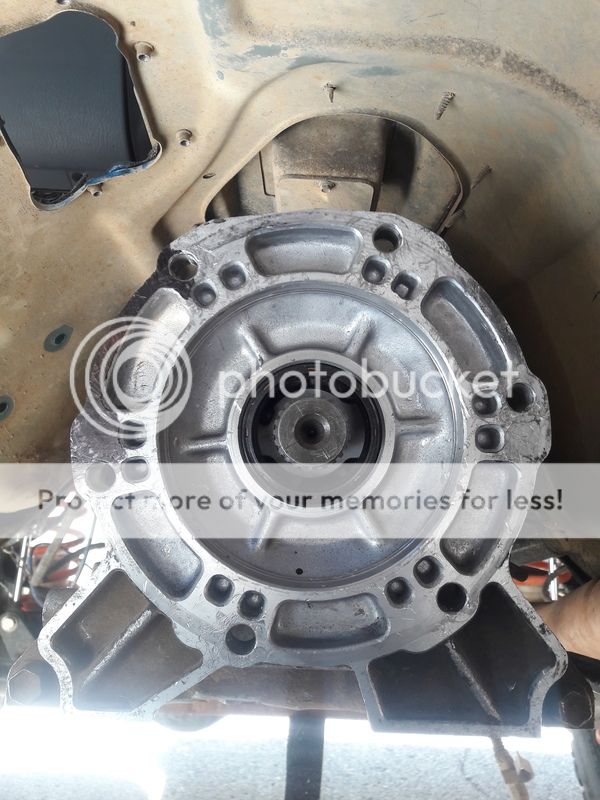
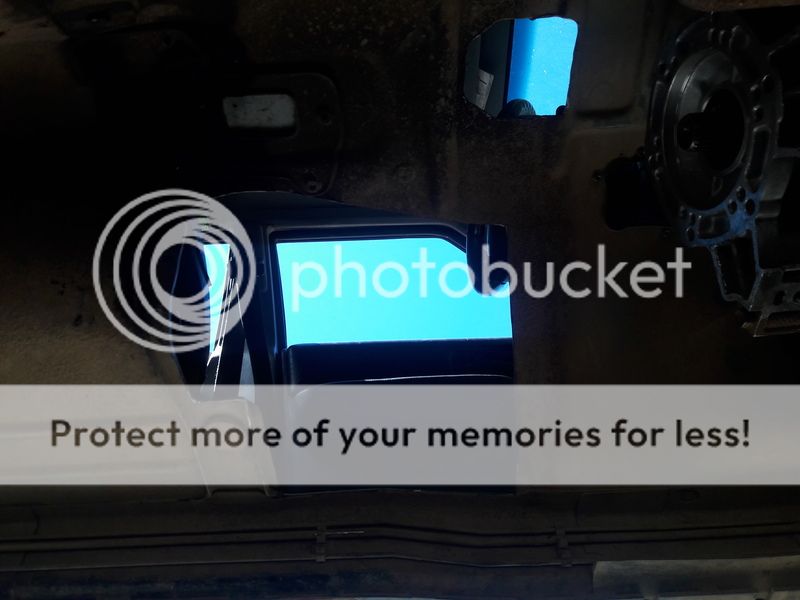
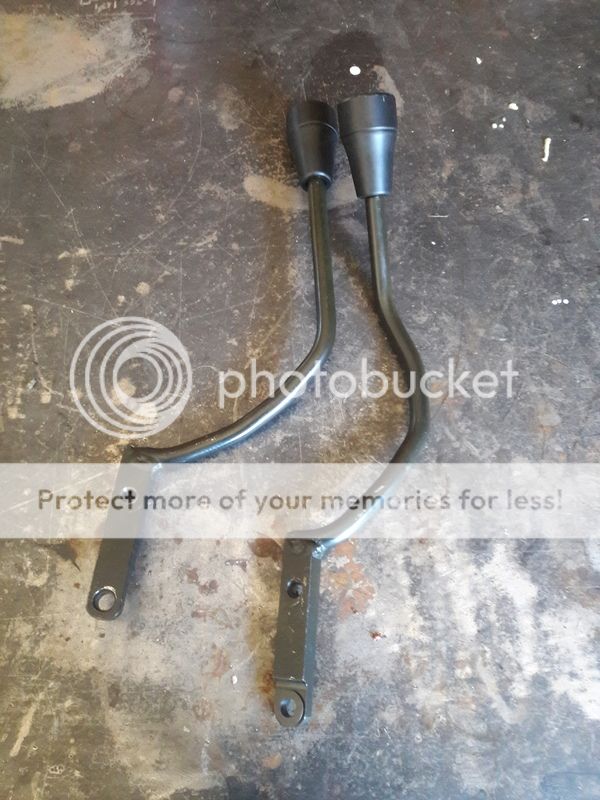
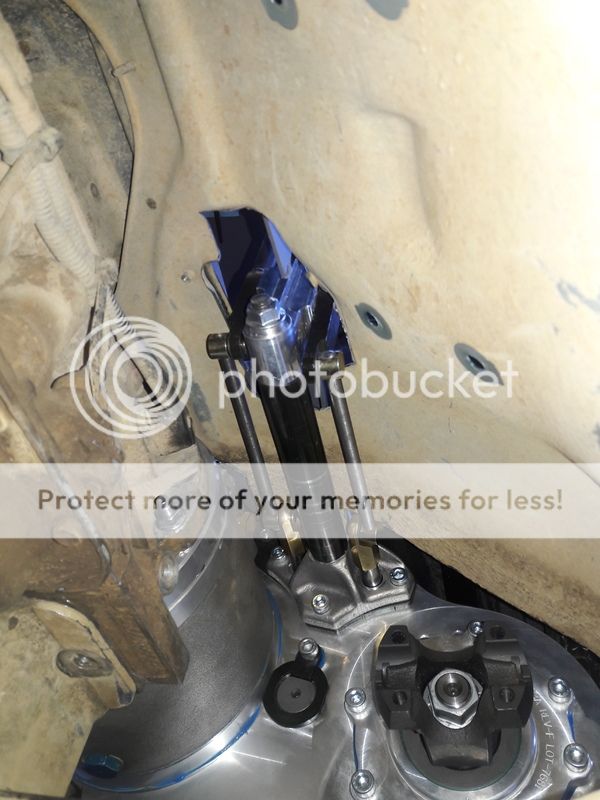

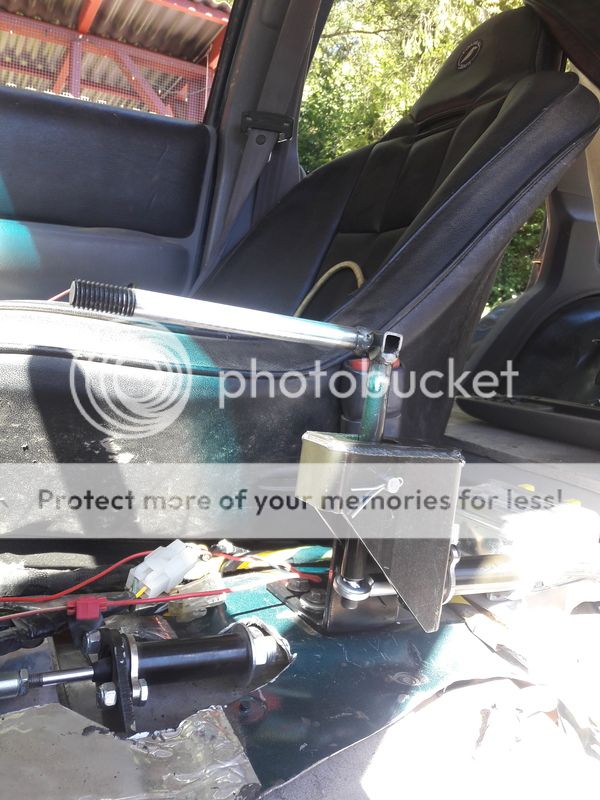
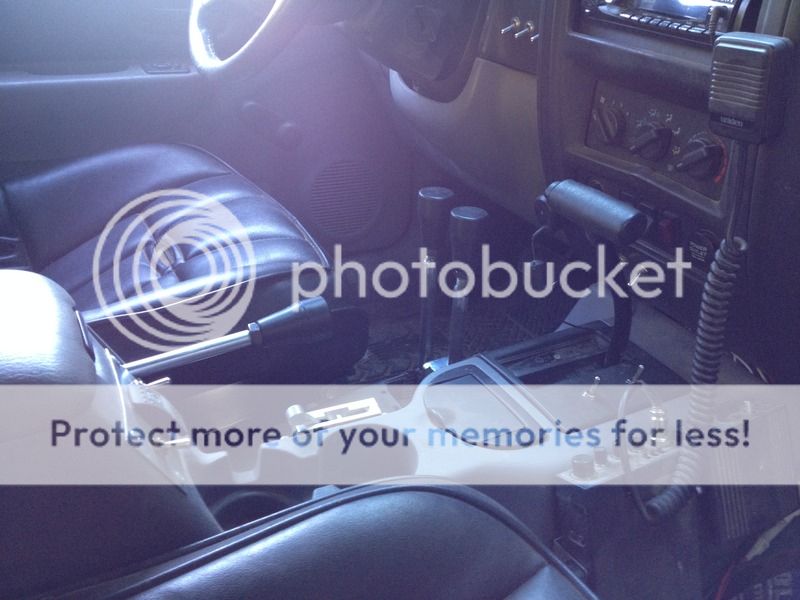
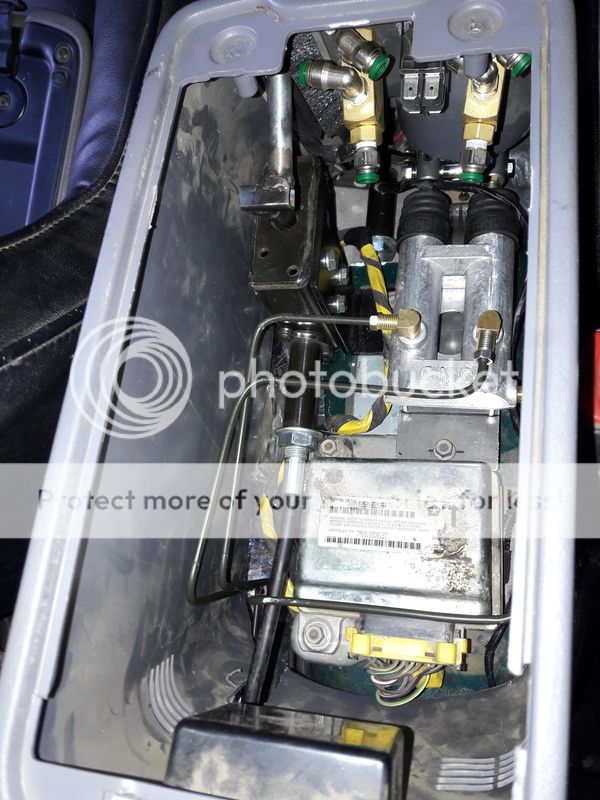
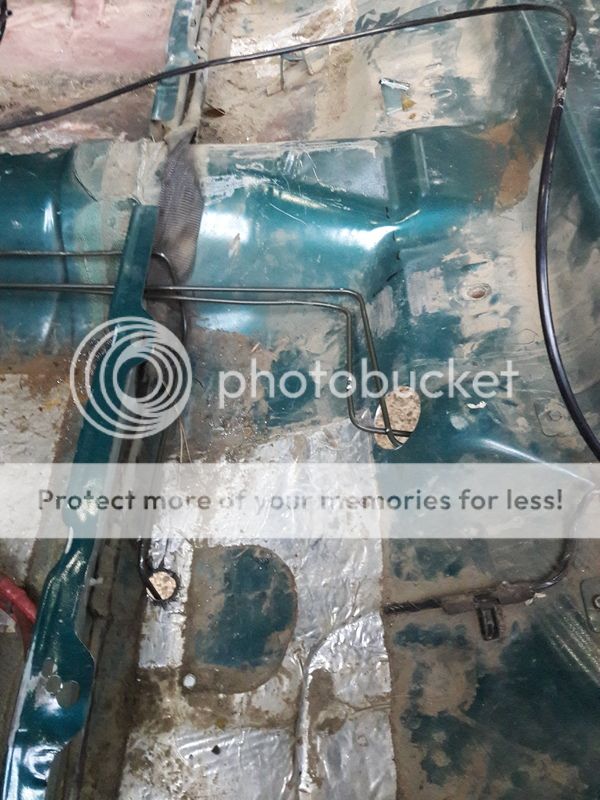
Sealing up the big ass hole, and around the shifters will happen in time (kinda like the UCA hole). AA does supply a shift boot for the twin sticks, so in time I'll likely bend up a piece of sheet metal to box in around the shifter hole, and then mount the shift boot to that.Nice Work!
How do you plan to seal off the shifters?
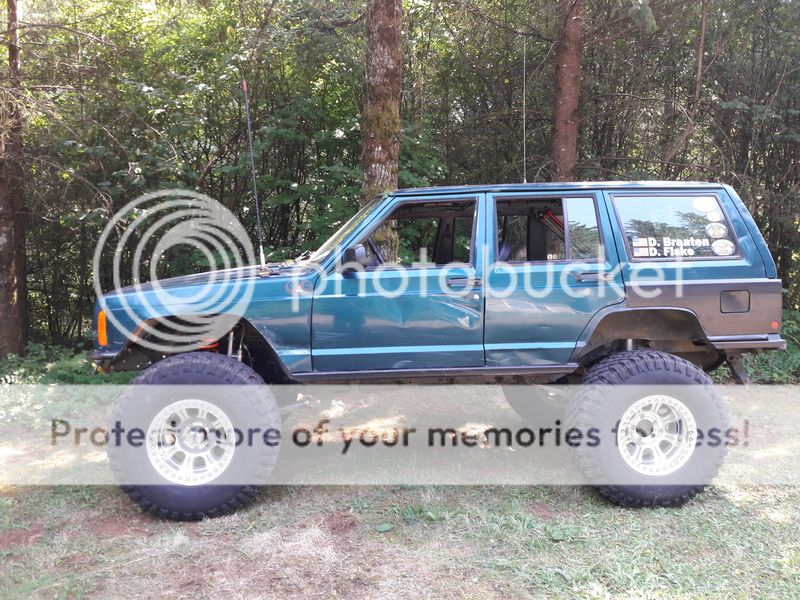
Thanks, dude.Dustin, your rig is definitely one that has given me so many ideas for my new one! great looking ride brotha