• Welcome to the new NAXJA Forum! If your password does not work, please use "Forgot your password?" link on the log-in page. Please feel free to reach out to [email protected] if we can provide any assistance.

Minecraft Jeep - Build Thread

Re: Cherokee Resurrection - Build Thread

great job so far, and while i am personally a great fan of pre face lift XJ,s ( mine is a 1994 Limited)

seeing as you have up dated the front sheet metal why didnt you up date the dash??

just curious


Budget and necessity. Swapping in the different dash requires a major rework of electrical and other systems. Don't worry, I have a plan for that as well!

Might even build a digital dash board with Arduino if I have the budget for it.
 
Re: Cherokee Resurrection - Build Thread

Cleaning up rust
The number one area for all Cherokee models to rust is directly below the rear outside bolts of the front seats. This is because the bolt goes directly through the floor sheet metal and into an area that is constantly being splashed from tire spray. Now is the time to take care of it, not later! Once the rust eats through the first layer of sheet metal it is better to cut and replace. Trying to grind and paint once it has eaten through will only delay total failure.

Overall this Cherokee has very little rust with the major rust being around the spot welds on the passenger seat riser.

Dealing with light rust
1.) Spray and clean the area of dirt before starting.
2.) Using a wire wheel on a drill or rotary tool to remove the paint and rust over and around the affected areas. There is no need to get to shiny silver metal everywhere. Just until you see the brown loose rust is gone and all that is left is black pitted metal.
3.) Clean again.
4.) Use 500 to 1000 grit sand paper to light scratch the paint surrounding the area. This will help to promote paint adhesion.
5.) Clean again! Let the area dry for a few minutes.
6.) Grab a can of Rustoleum Rust Reformer and apply two light coats a few minutes apart. Rust Reformer will actually convert oxidizing steel into harmless iron.
7.) Allow to cure for 24 hours before applying a top coat of durable enamel paint. Properly applied Rustoleum enamel works great.


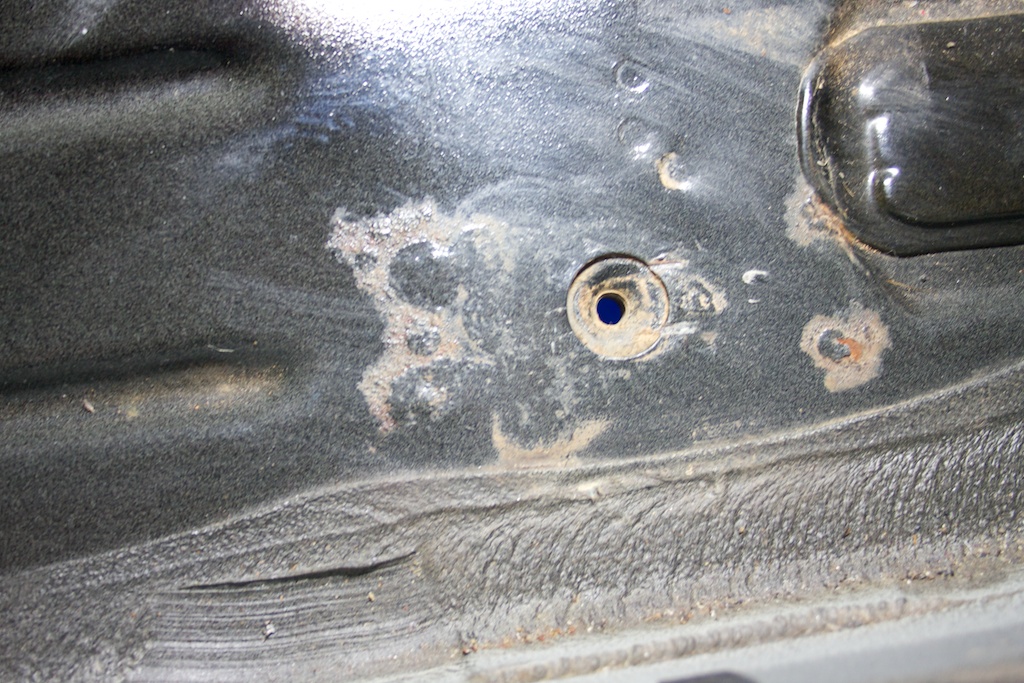
Doesn't look too bad!
gallery_1_5_260161.jpg


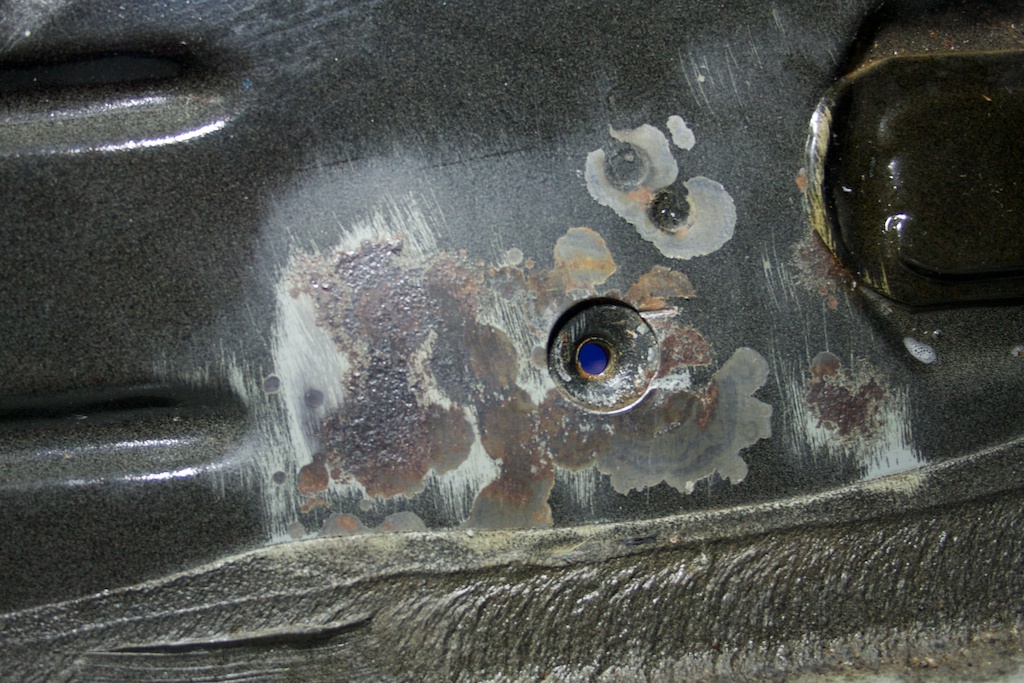
Think again - Some very light surface rust hiding under the paint.
gallery_1_5_238312.jpg


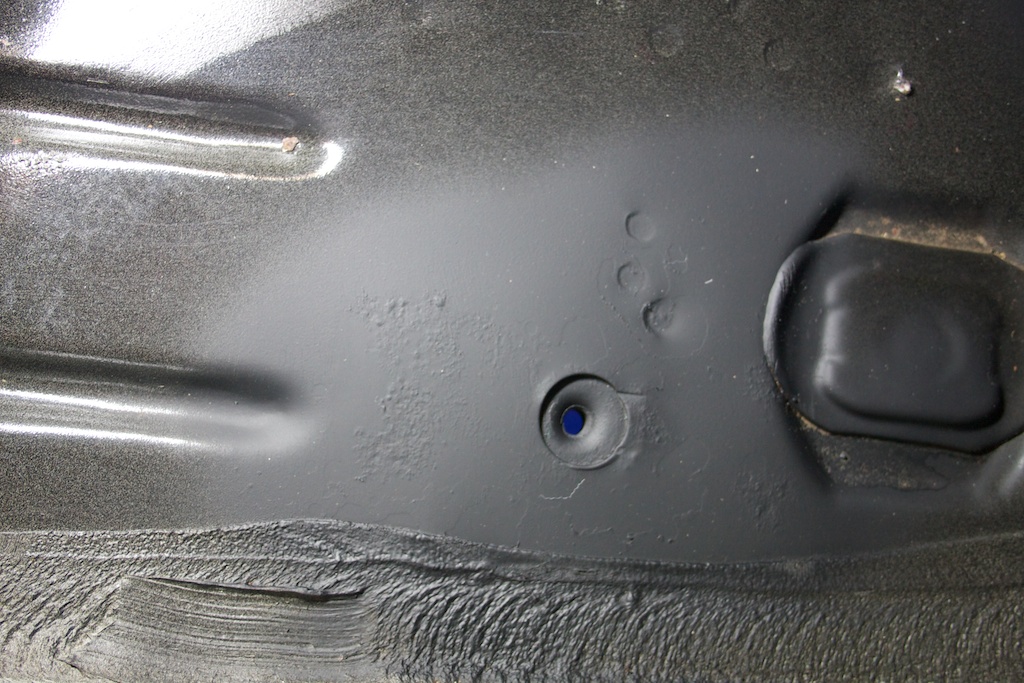
Fully cured Rust Reformer ready for a top coat.
gallery_1_5_218911.jpg


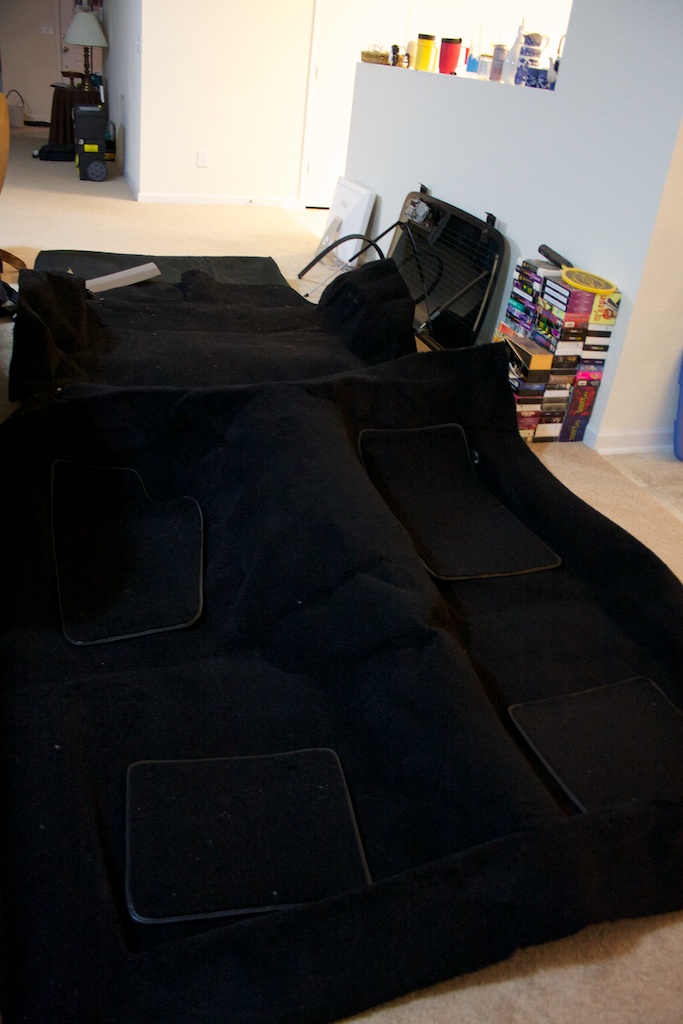
Brand new carpet retaking its shape after shipping, waiting to get installed.
gallery_1_5_29948.jpg
 
Re: Cherokee Resurrection - Build Thread

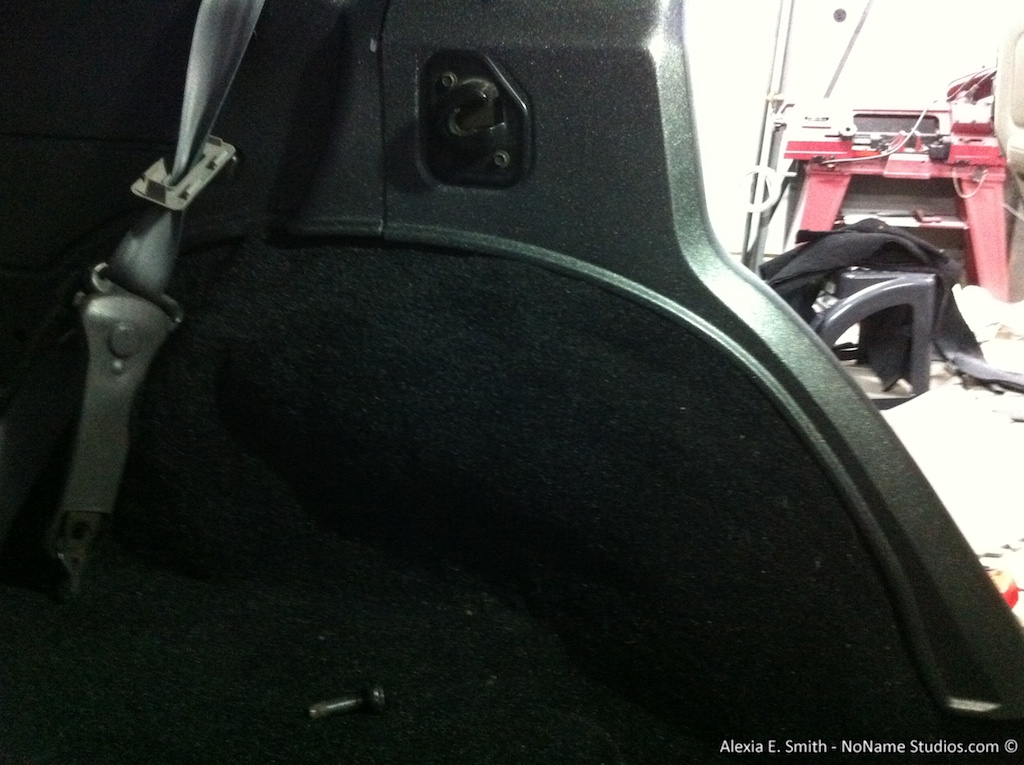
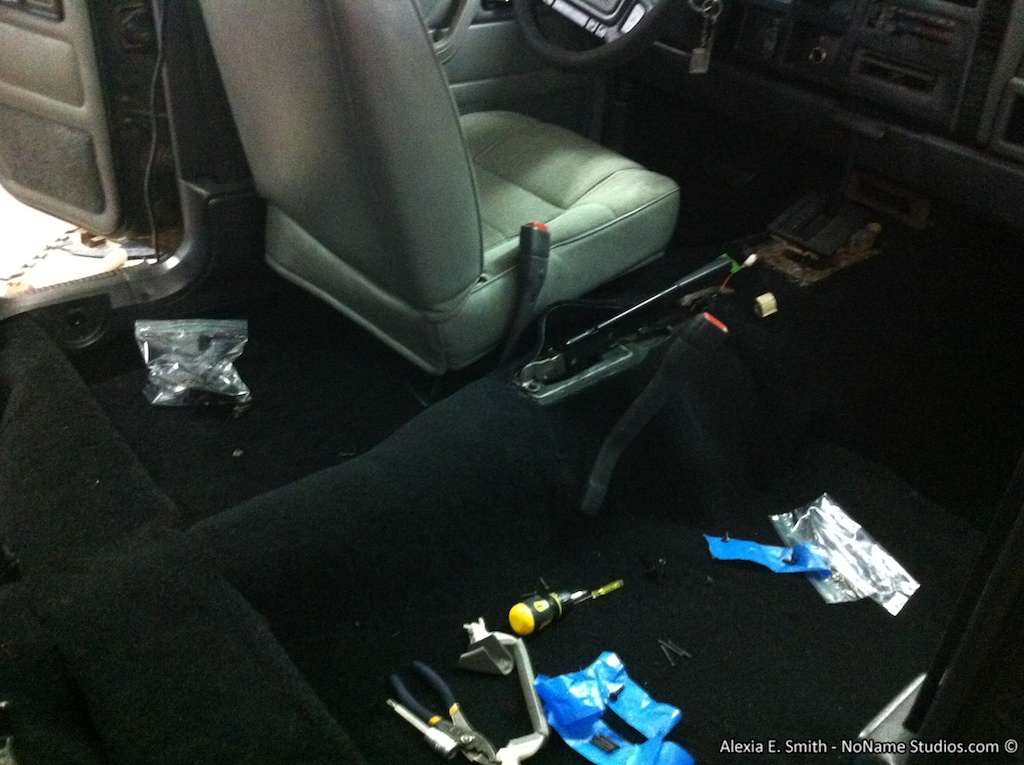
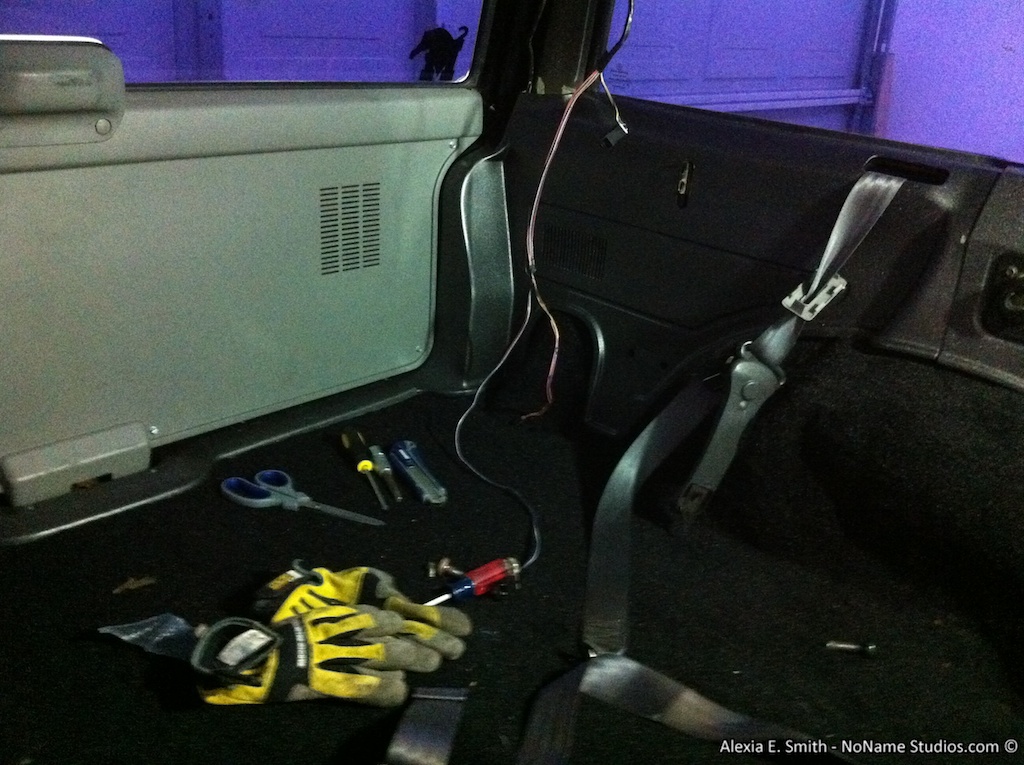
Interior Renovations
It has been three weeks since the last update! The interior requires lots of fiddling, carefully cutting carpet, and taking lots of time for trim pieces to dry.

The final colors I decided on were a very dark silver metallic flake on the trim pieces, black carpet, black seats with silver accents, and black head liner. I am still waiting on the head liner fabric to arrive and deciding how I want to take care of the seats. As well, the crappy super dark purple window tint will come off and be redone by a professional.

I did take the Jeep on a maiden voyage after it sitting for a three months. It sunk just like a broken boat out of a dry dock.

Now, since I do have an indoor lens on my good camera anymore, I present crappy iPhone pictures!

gallery_1_5_227239.jpg


gallery_1_5_206019.jpg


gallery_1_5_135538.jpg
 
Re: Cherokee Resurrection - Build Thread

Does that come with the padding as well?

Yes, it has padding under the foot areas. There are a couple places I wish it had more padding, like under the back seat, to make it identical to the stock carpet. Mass padding is usually really cheap at car audio places.
 
Re: Cherokee Resurrection - Build Thread

Alternator Deviation
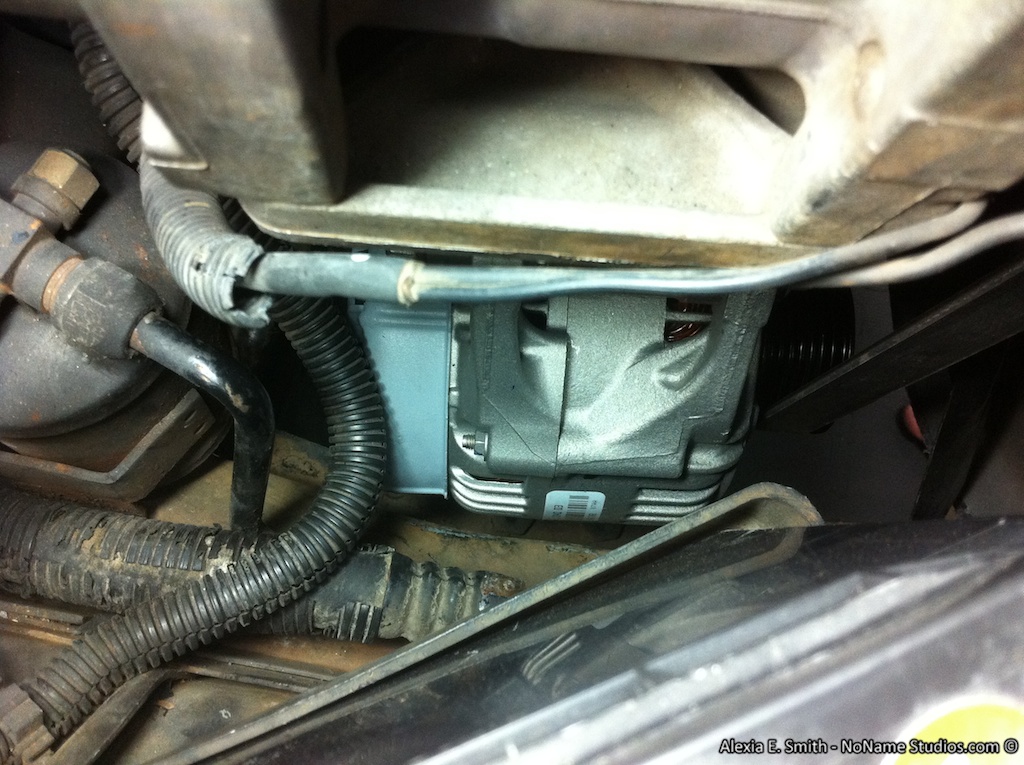
I need this Jeep running for a brief period next week since my Wrangler will be at the body shop getting the tub repaired. Due to the electrical land mines I jumped to the conclusion that my alternator was bad when it was in fact still good. However, I ended up with an upgraded 136 amp alternator so it was still worth it. This is even after having to swap it once after the first replacement smoked upon first turn over.

Removing the alternator from XJ models with it in the lower right position on the engine looks difficult, but can be made easy with some simple steps.

1.) The alternator will be removed from the top.
2.) Remove: Battery, battery tray.
3.) Disconnect the voltage regulator harness and output wire from the back of the alternator.
4.) Remove the top and bottom bolts the hold the alternator in place. Then remove the other three nuts and one bolt that hold the black steel bracket in place. It can be pulled out from the top or bottom.
5.) Remove the two 15mm bolts on the cast steel bracket that bolt directly to the engine block.
6.) Completely remove the middle of the three studs.(The top two are the only ones that bolt through the bracket.) Loosen the top stud and now the bracket should have lots of wiggle room.
7.) From the top of the Jeep push the cast steel bracket upwards and towards the engine block. This will give plenty of room to remove and install the alternator.

Newly installed alternator resting in place.
gallery_1_5_102175.jpg


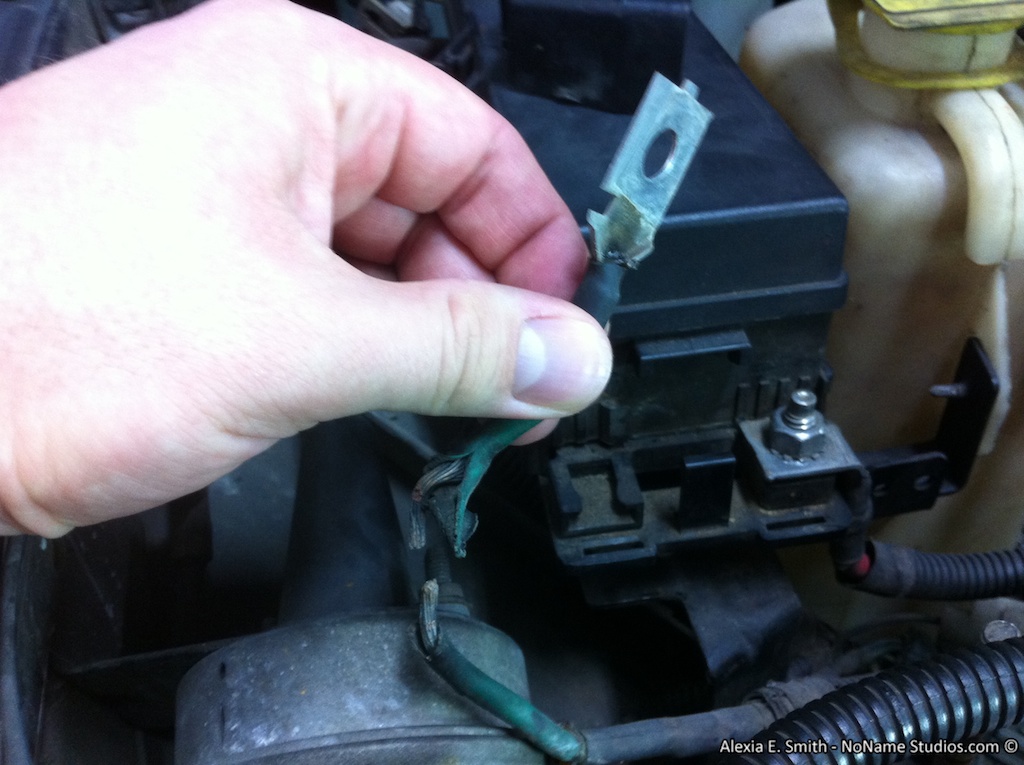
Still not charging after the new alternator? Make sure the alternator output going to the PDC is has not blown its fusible link or has been maliciously cut.
gallery_1_5_11134.jpg


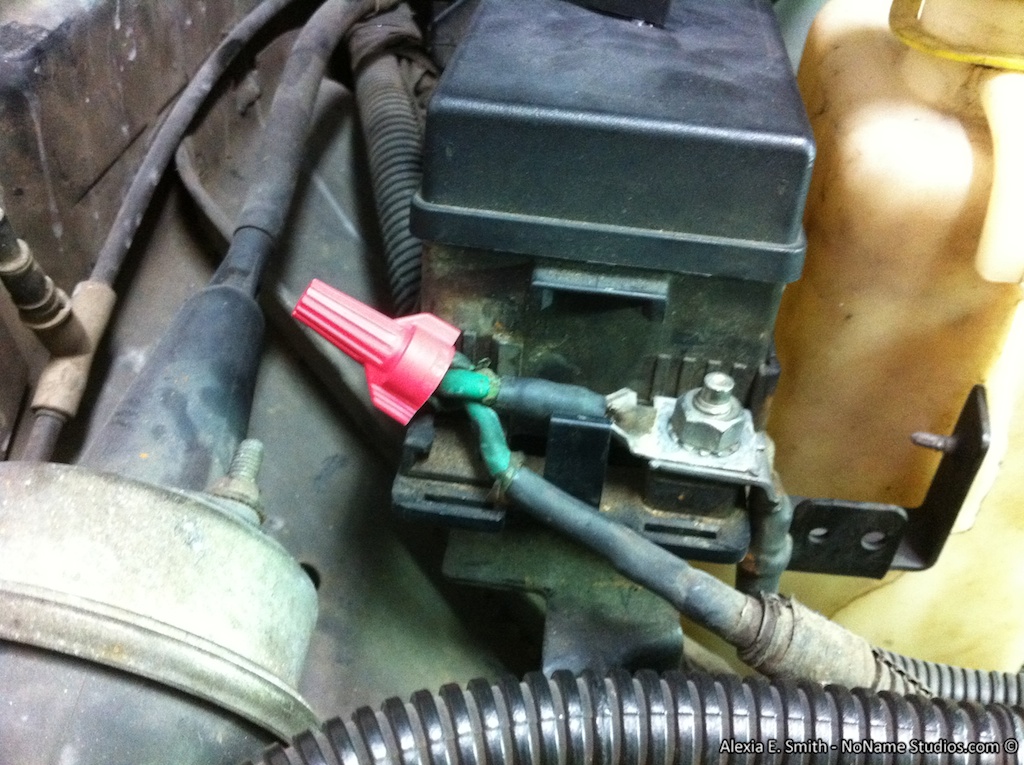
Temporary fix with a high amperage and temperature wire nut.
gallery_1_5_19866.jpg
 
Re: Cherokee Resurrection - Build Thread

wow. you are taking a long road to restoring that heep you picked up. I like it.
 
Re: Cherokee Resurrection - Build Thread

Lets add another saga to the pain this Jeep can be.

First, I turned on my recorder because the Jeep made a slight noise at the previous intersection.
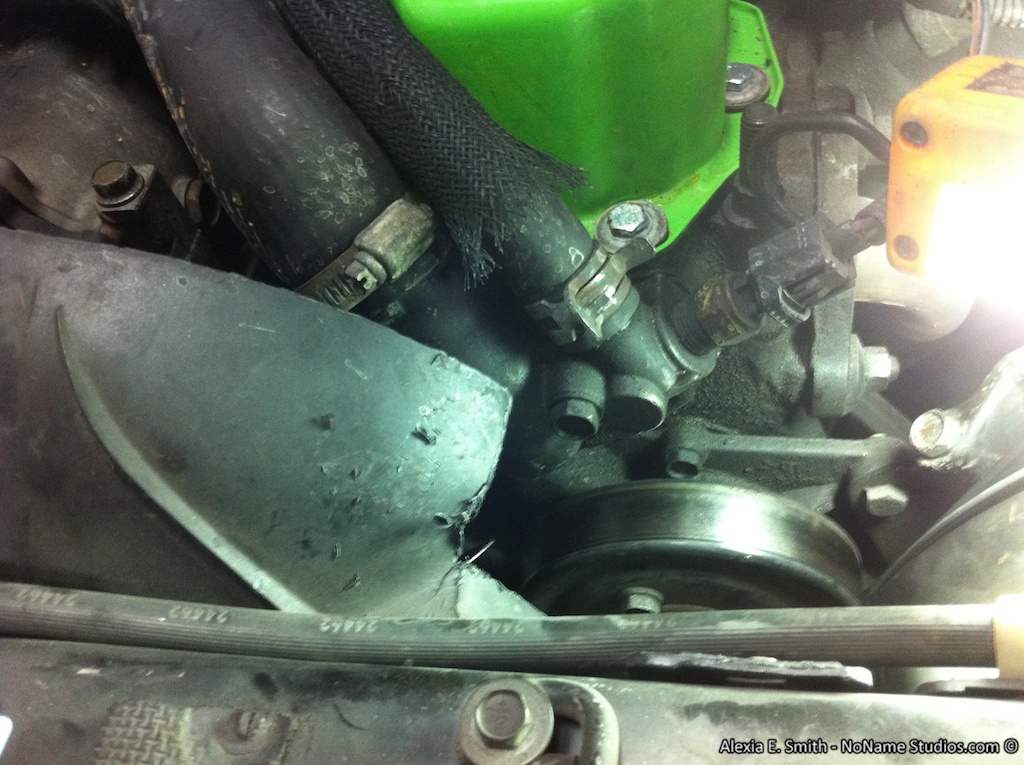
http://www.nonamestudios.com/uploads/jeepeatingmetal.mp3 VROOM FFFCRUNCH CRUNCH

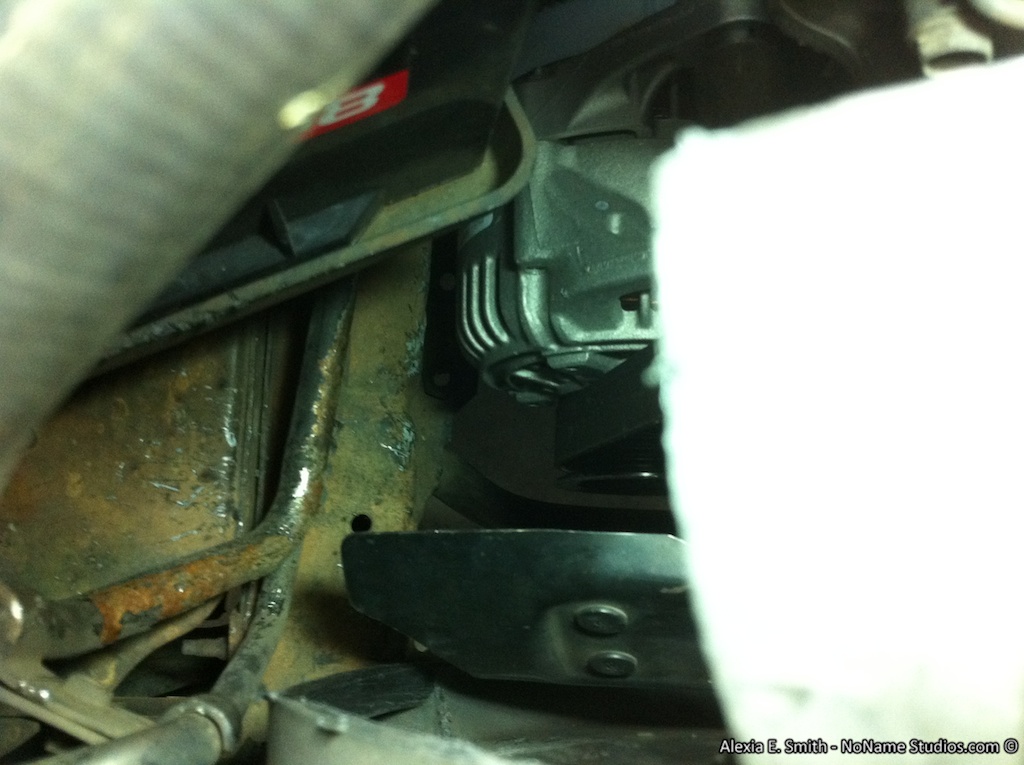
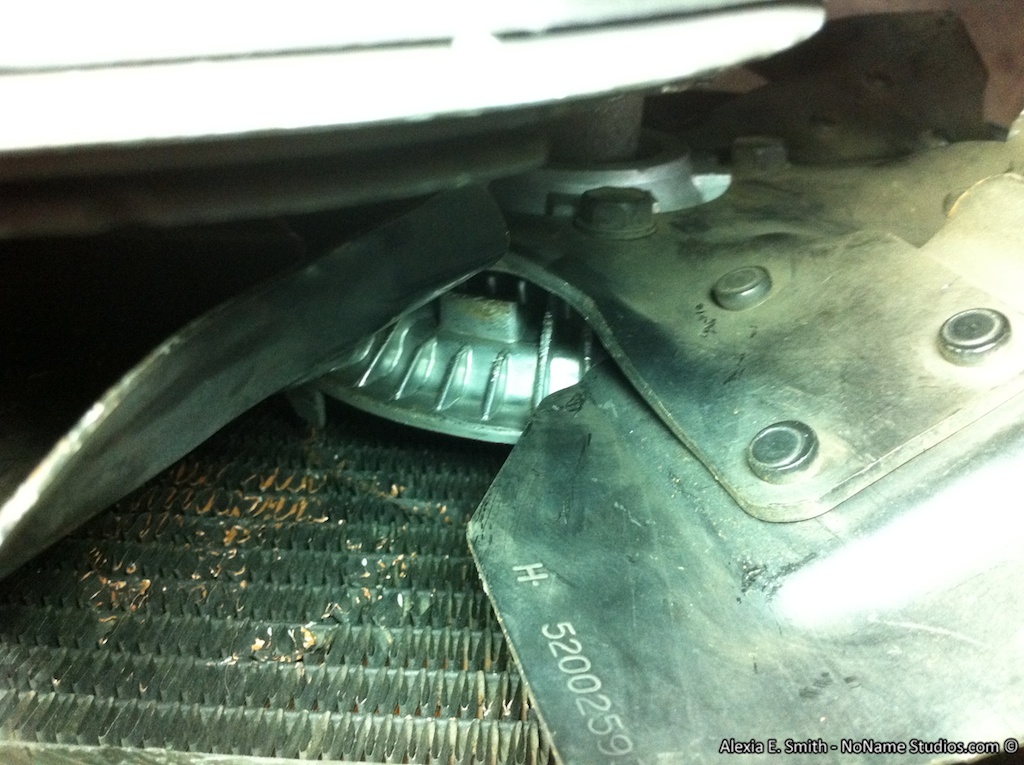
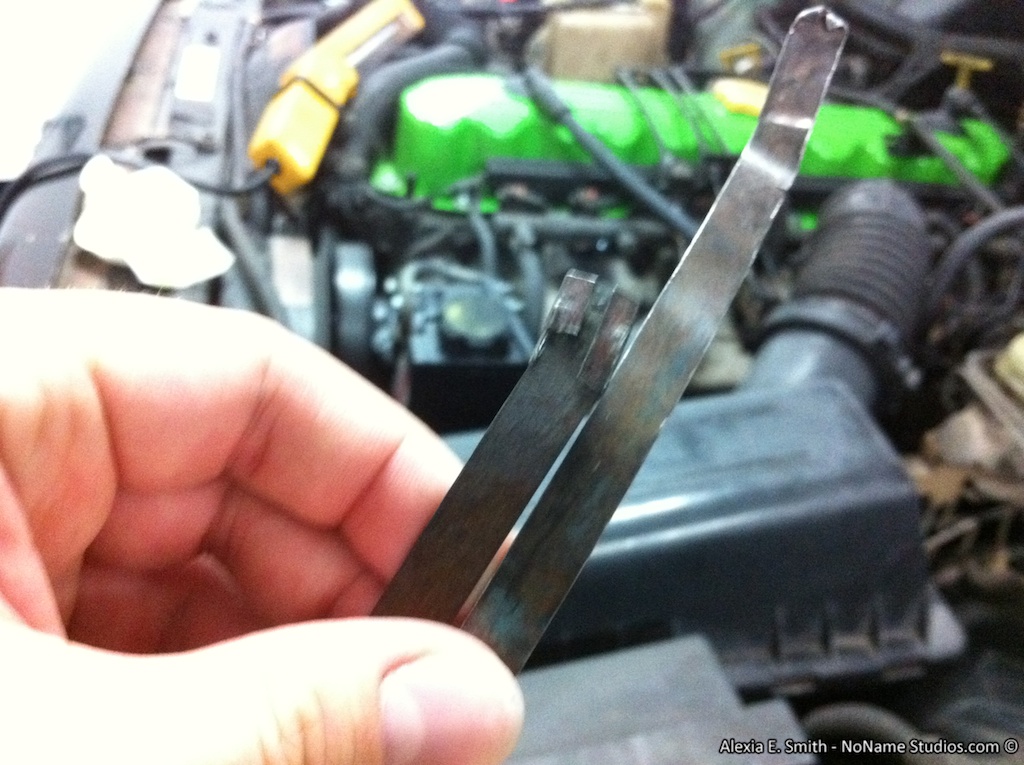
I have no idea what this metal band goes to.
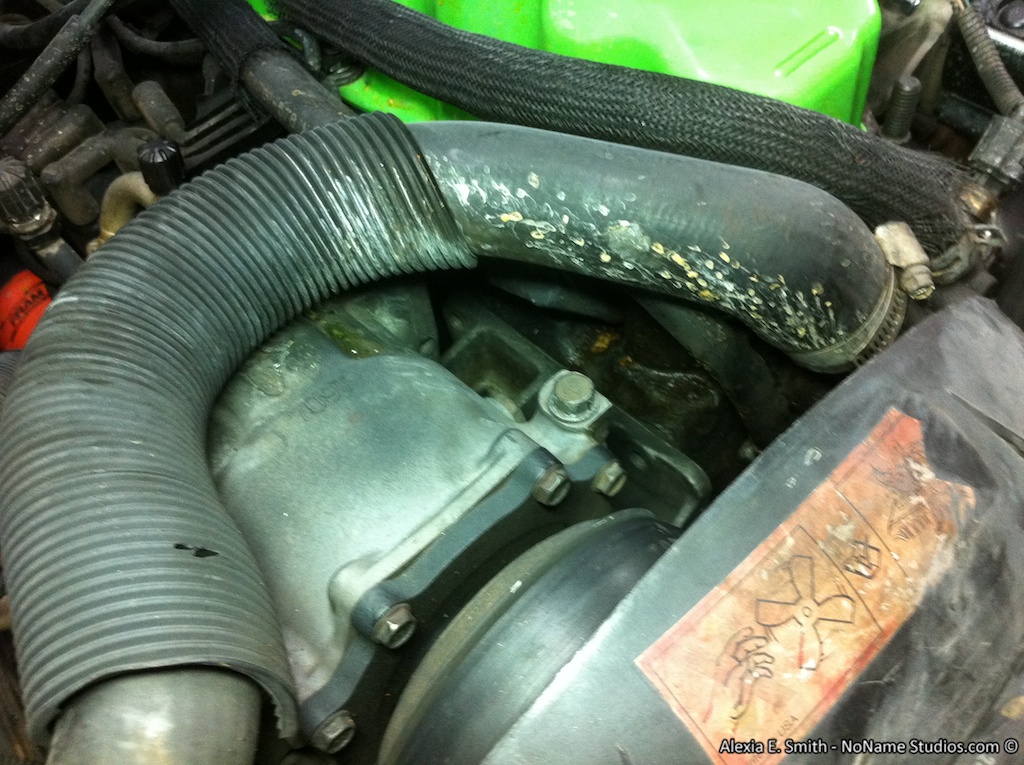
It sliced open the upper radiator hose.
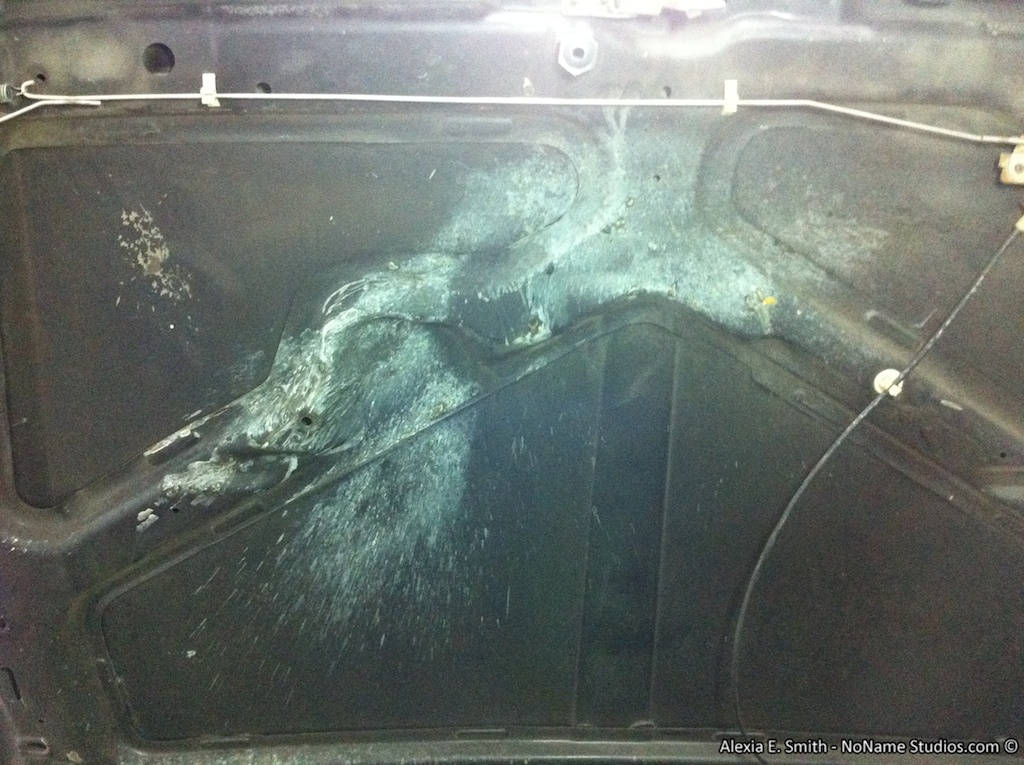
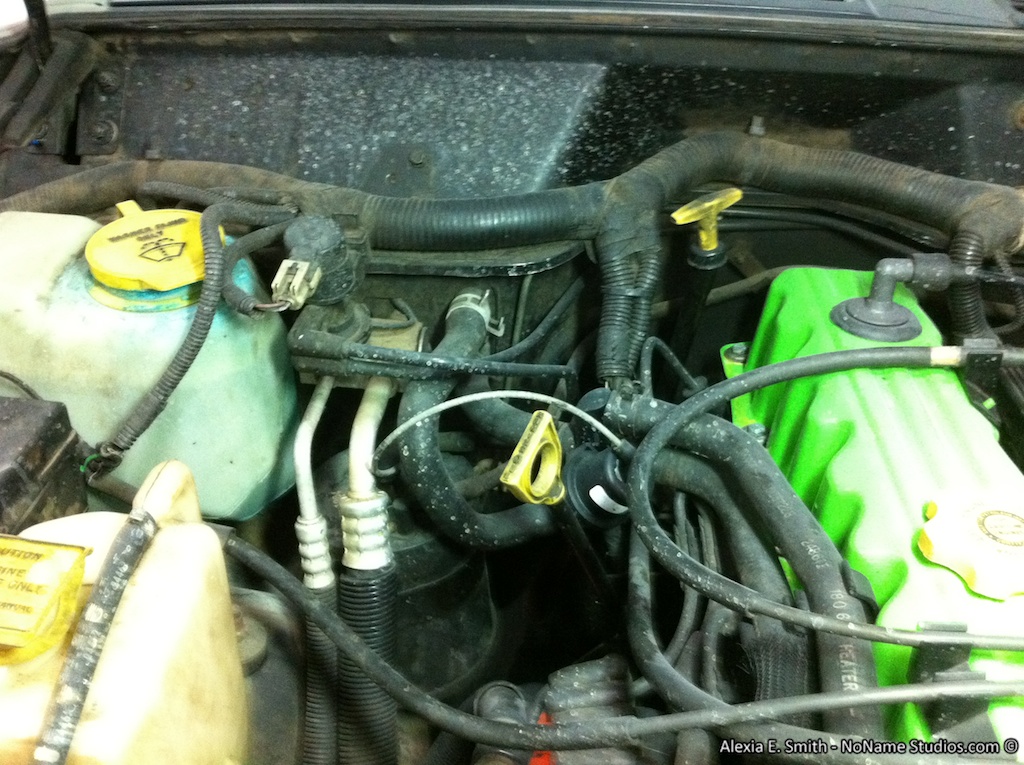
Coolant has damaged the new valve cover paint.
Big freaking mess every where!

gallery_1_5_257425.jpg


gallery_1_5_3399.jpg


gallery_1_5_217402.jpg


gallery_1_5_165804.jpg


gallery_1_5_164458.jpg


gallery_1_5_180584.jpg


gallery_1_5_118047.jpg
 
Re: Cherokee Resurrection - Build Thread

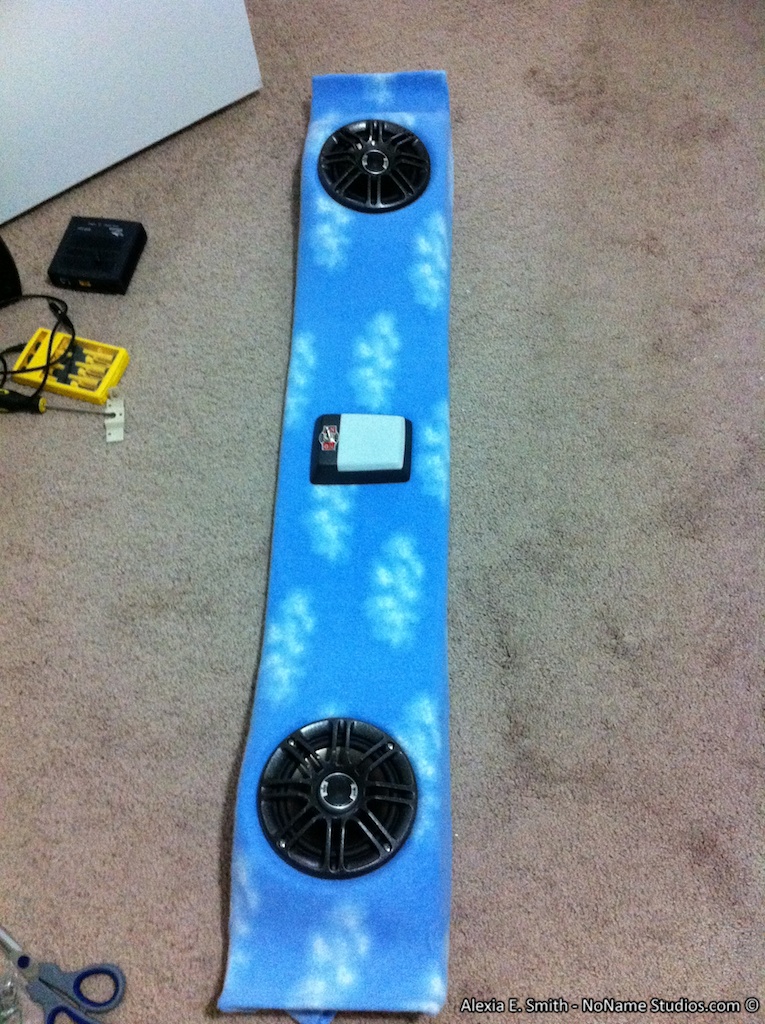
Headliner, Sound Bar, Speakers, Dome/Cargo Lights

There is not much technical to this section. Removing the sound bar and headliner is as simple as removing all the trim pieces holding it up. For a detailed process read 4x4xplor's guide. It is really important to use 3M's headliner adhesive for the best and easiest bond. The equivalent Permatex adhesive is like working with a preparation intensive paint. Get it slightly wrong and the head liner will be in your face. I will have the head liner pictures up within the next two days. Waiting on the adhesive to dry before I install it and take pictures.

This is where the theme for the Jeep starts to come together. This will be the Minecraft Jeep! The final exterior paint color has been chosen and license plate reserved. Interior is a theme of bedrock painted trim, black carpet, clouds for the headliner, and redstone accents. Exterior will be a green color with a big Creeper face painted on the hood.

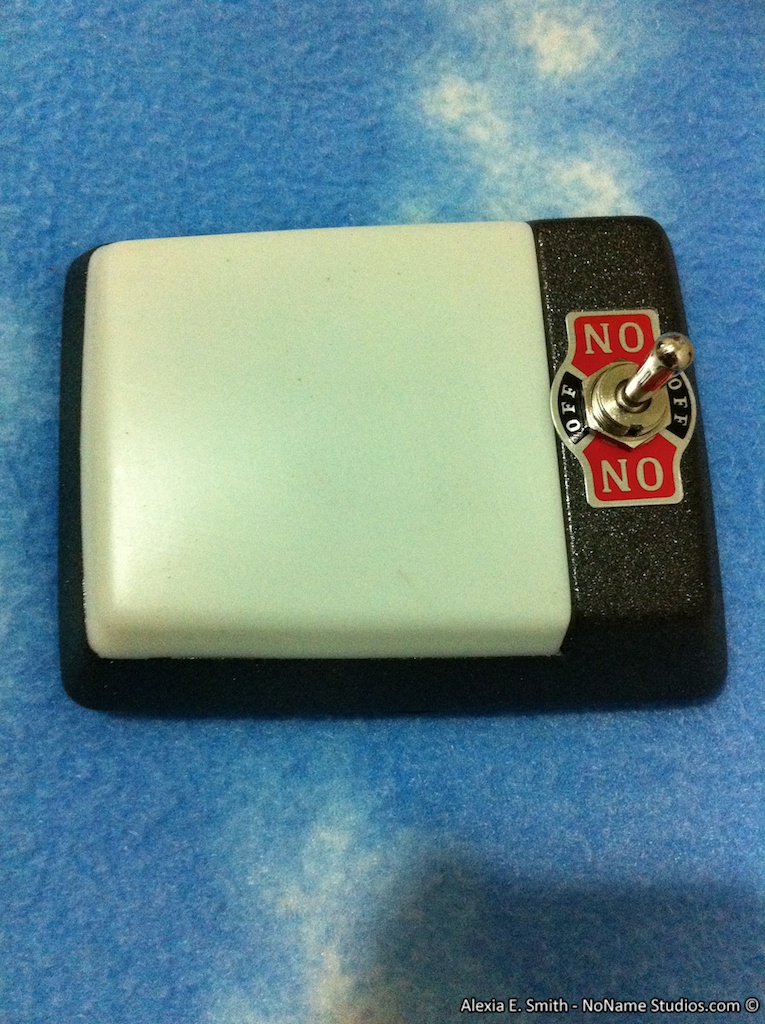
I am making this as Minecraft themed as possible while being practical. The switches I chose for the dome/cargo lights are supposed to represent redstone levers. The stereo head unit uses red LEDs to further the redstone electrical theme.(Still waiting for that thing to be delivered.)

gallery_1_5_977.jpg


gallery_1_5_69411.jpg


gallery_1_5_332385.jpg
 
From the pics, looks as if that "band" is from the fan clutch.
 
Re: Cherokee Resurrection - Build Thread

When I herp, I derp. I mean it was really stupid. I misjudged the side of the driveway I was turning around in, side embankment gave away, and flop!

I believe I misspoke about this delaying the project. In my weird way of getting lucky and making things work out this accident may accelerate the project! At least it will be on track. The soreness from the flop went away in a day and the only soreness is in my left Achilles tendon where I dropped the busted hard top on. Plus all the sun burn from driving with no top...

I will be posting up the dash refit within the next few hours.

You have a Cherokee now, slap a soft top on that Jeep and call it good! :D BTW, nice thread!
 
Re: Cherokee Resurrection - Build Thread

Soft top is sitting upstairs! Need to convince the room mate to help me take the hard top off.


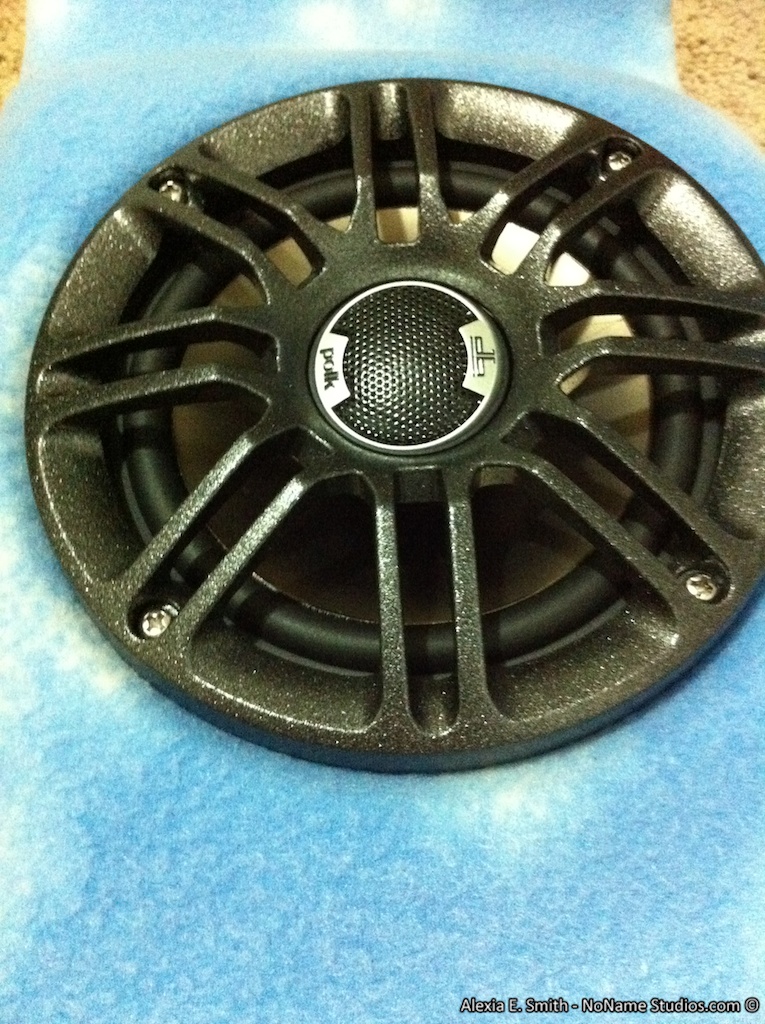
Standard XJ size, 5.25".
in the soundbar yes, door speakers on 97+ models are 6.5's, which also fit in the soundbar fine.
 
Back
Top