Milton's Other Jeep Build

This morning I took to the task of installing the Tomken fuel tank skid that was delivered a couple days ago. I decided on this skid for a couple reasons. The cost was good as I got it from a vendor on JF for for a good price including shipping. As well, the way it mounts is front and rear of the fuel tank so I wouldn't have to dismount and remount the hitch (which was a complete PITA the first go around).
As it turns out, I had to pull the hitch off anyway in order to install this skid plate. Once I got it in place w/ a couple bolts to test fit it I realized a couple other modifications would be needed. First I had to get rid of the heat shield on the passenger side of the fuel tank. Then, I had to cut the tailpipe back because it just wasn't gonna work:
IMG589_zpscadcf4a9.jpg

IMG590_zpsb52b6d4a.jpg

IMG591_zpsbff8301d.jpg

After that was out of the way I tightened everything down:
IMG592_zpse063f555.jpg

IMG594_zpsa93dbb8f.jpg

Then tucked the hitch back up (which was actually pretty easy this time):
IMG595_zps9e2dec9b.jpg

And for anyone needing/wanting to know if the Tomken fuel tank skid fits with a factory hitch - the finished product:
IMG596_zps293b2cba.jpg
 
Been having a knocking/thumping feeling/noise under the driver floorboard since that wheelin trip. Mostly on ignition start up. I've searched JF, NAXJA, www, etc. and found everything from tranny mounts to motor mounts to ujoints to exhaust hangers to CA bushings to blah, blah, blah. I've crawled all over the underside of this thing looking, grabbing, pulling, shaking trying to get an idea of the culprit. This morning I noticed the exhaust hanger pin coming off the trans mount has snapped off at the exhaust tube. Now, when I put the belly pan in I knew the exhaust basically sat right on the pan - but I didn't have any knock/thump until recently.
Anyway - I'm gonna see about prying the exhaust off the belly pan later today and see if that resolves the issue.
 
I still haven't resolved the floorboard rumble but I suspect this is what's causing it:

IMG601_zps6d98960e.jpg


The belly pan really tucks up in there and you can see where the hanger broke off - I thought of welding it back but it wouldn't pull the exhaust off the skid anyway. I gave the exhaust tube some pretty good prying and whacks with a heavy soft mallet but I couldn't get it off the skid and I really don't wanna manipulate it with too much force because I don't wanna crack the exhaust.
I crawled under the Jeep and had my fingers on the tranny mount bolts while I hit the remote starter and I don't feel a rattle on the bolt/nuts. I don't necessarily feel it on the point of contact of exhaust/belly pan either though :dunno: Guess I'll have to deal with it for now.


The other day I was helping a friend with a motor install on a CJ and he happened to have a bellhousing dust shield laying around :laugh3: which was perfect because mine was AWOL.

IMG600_zps2bb2a4f0.jpg


I picked up the hardware for it this morning. I searched all over the forums and www to track down the bolt size to no avail. So I went diggin through the garage and found a random bolt that fit the threads in the flange.
They are M8x1.25 for anybody needing to know and the length is pretty much to your choosing.
So I made this:

IMG602_zps295c6f0a.jpg


Look like this:

IMG604_zps250b060a.jpg
 
Today I did some random tinkering with the XJ.

First thing I did was address the wobbly center console. The screw mounts inside the cubby were broken off so I used some self tappers, washers, and brackets that I had in the garage to secure it down:

IMG618.jpg

IMG619.jpg


It's not pretty but no more wobble to the console as I'm bouncing through a trail :laugh3:

The next thing I did was put the screws to the seat brackets. Neither the driver nor the passenger had bolts running through the back outboard mount:

IMG615.jpg

IMG616.jpg


So I drilled through the floor board with a pilot on up to a 3/8 bit and bored it out some:

IMG617.jpg


I ran up to the hardware store and got some M10x1.25 flange bolts and nuts:

IMG620.jpg


I sanded the rust down best I could on the driver side and sprayed some Rustoleum on it and after it dried I used some washers I had in the tool box for the underside and topside and bolted the mounts down:

IMG621.jpg

IMG622.jpg


Then I coated the underside bolthead/washer with some rtv:

IMG623.jpg

IMG624.jpg


Once it was good and skinned over I sprayed some rubber undercoating on the underside bolts:

IMG627.jpg


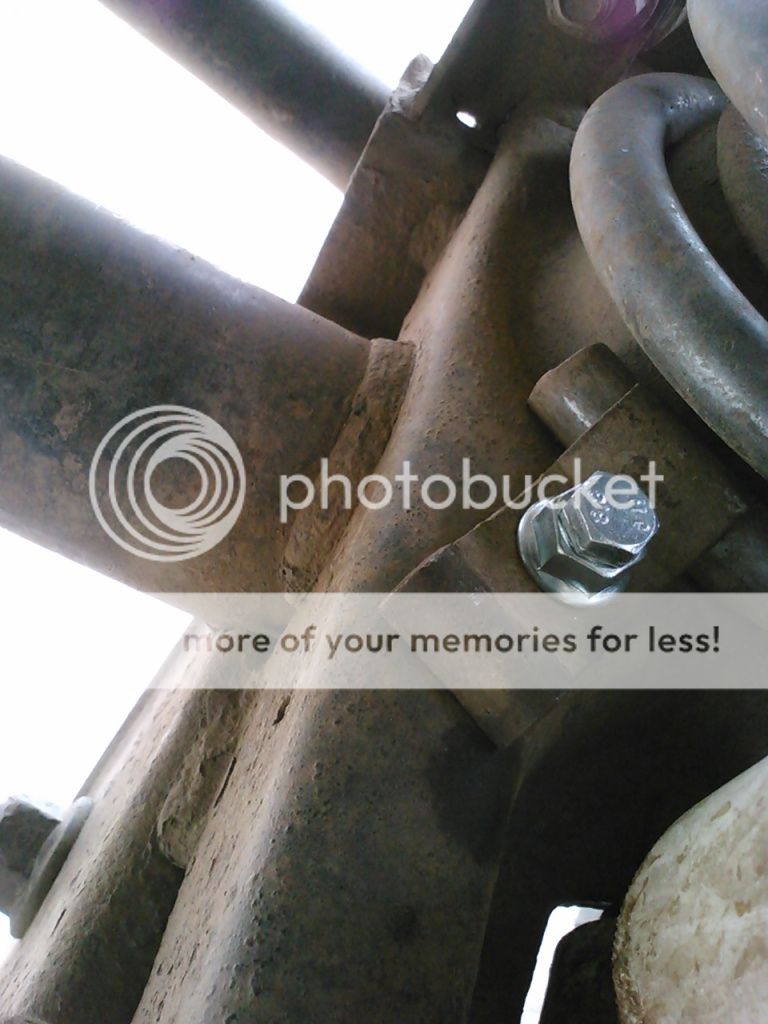
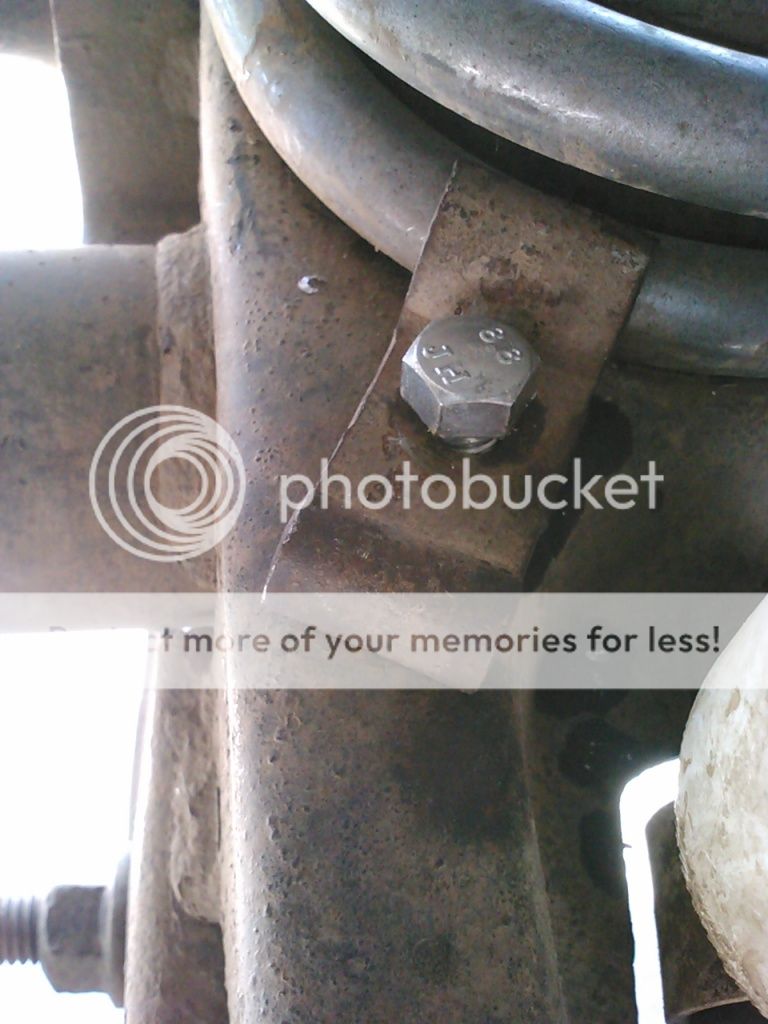
The other thing I did was figure out that the coil spring retainer clip bolt is an M8x1.25 thread bolt. So I cleaned the threads up and hole with a tap/die and resecured the passenger side clip. I used a different bolt I had laying around but I might come back to it and retap with a different size bolt 'cause I'm not convinced this did the trick:

IMG626.jpg
 
Yeah - I noticed that when I posted the pic. Couldn't really see that when I took the pic. That's another reason I think I'll come back to it in the next day or two.

Thanks for lookin out for me, dude! ;-)
 
Well I have no rear bumpstops as of right now :thumbdn:

The other day I noticed this:

IMG629.jpg


So I ordered a set of 4+" oe rear bumpstops from Quadratec - at 9 bucks apiece I figured why not. They were delivered yesterday so when I got off shift this morning I took a look at 'em and they're Crown manufactured and seem to be pretty stout quality.

Anyway - went to take the old stops/mounts off and 3 outta the four boltheads snapped right off - easier than a twist off bottle a beer :smsoap:

I attempted to drill 'em out but w/o the bigger jackstands I'd borrowed last week I couldn't support the body to let the axle drop far enough to really get a drill in there.

In my head this was such a simple job :shhh: In the end I got nothing done :mad:

I mentioned the other day to a buddy this thing can be a cranky mofo sometimes and today it held up to that :nono:
 
I got the passenger coil reseated/rotated in a better position today. Also redid the retainer clip bolt. Drilled it out and retapped it for an M10x1.25 and put a new bolt to it.


IMG630.jpg


The bolt head is too big and hits the clip on the coil side so it doesn't seat the all the way down but it is tight. :thumbup:
 
No pics of the process just what I got done so far today - just wanted to get this overwith and have a bunch of other stuff on my plate. I couldn't drill these s.o.b.'s out w/o breaking drill bits and trying to punch them out wasn't gonna work either. But I took a couple blocks of scrap aluminum I had in the tool box (2" x 4" @ 1/2" thick roughly). I marked the holes from the bumpstops on the blocks and predrilled them with a pilot hole then used some JB Weld to "cold weld" them, as they say, to the unirail. I set them rearward about a 1/2" from the bolts that are stuck in there - just enough to clear the what's there when I drill and tap new holes. Used c-clamps to hold them while they cure overnight.

IMG632.jpg


IMG633.jpg


It's sloppy and it might not be optimal - but it'll give me more meat than just drilling new holes in the unirail to tap for the M8x1.25 flangehead bolts I grabbed at the hardware store this morning. Plus it's better than no bumpstops at all I'd guess. Tomorrow I'll finish up and post some pics of the finished product.
 
Back in business with rear bumpstops in place.
This morning I finished drilling out the mounting holes all the way through the bottom of the unirails and then tapped them with a M8x1.25 thread. I hit it with some flat black Rustoleum then some spray on undercoating:

IMG634.jpg


IMG635.jpg


Then anti-siezed the flangehead bolts and mounted the bumpstops:

IMG636.jpg


IMG638.jpg


The finished product gives me about 5.5" of uptravel before the axle hits the stop which will definately keep the tires out of the fenders if I even flex the leafs enough to stuff 'em up there.

IMG639.jpg


IMG640.jpg


And just because:

IMG643.jpg
 
Got down to SMORR this weekend for some camping and wheeling. Took the whole family and the dog and met up with my uncle, aunt, and cousin to do some wheelin with a great group of folks from the Christian Crawlers 4x4 club for an event they sponsored - Rock the Ozarks.
Weather was cold, wet, and sloppy as it rained all day the first day. Still got some good wheelin in on Saturday.
We had quite a spread at camp:
IMG655.jpg

IMG656.jpg


IMG652.jpg

IMG653.jpg

IMG654.jpg

IMG662.jpg

IMG663.jpg

Did some investigating the rear bumpstop set-up on the RTI ramp. I took 2 other pics to show the rear tire stuffed but they didn't come out. Anyway, I think I might need to extend them another inch yet:
IMG659.jpg

IMG660.jpg

Our group hit a gathering spot to watch some Jeepers do some stuff I wasn't gonna bother w/o sturdy rock rails:
IMG677.jpg

IMG676.jpg

IMG674.jpg

IMG669.jpg
 
Last edited:
This JK scraped hardcore coming over and off the ledge:
IMG666.jpg

My cousin snapped this pretty good series of me descending a really fun trail (I noticed lookin at the pics he must not have closed the door all the way):
IMG678.jpg

IMG679.jpg

IMG680.jpg

Flexxy ;)
IMG681.jpg

IMG682.jpg

IMG683.jpg

It was a good day of trail runs - the rain created some sloppy conditions so the trails once again were all bumped up a notch in difficulty and limited what we were up to running.
Back at home with the aftermath:
IMG685.jpg

IMG687.jpg

IMG686.jpg
 
Back
Top