DanMan2k06
NAXJA Forum User
- Location
- Damascus, MD
After debating more lift, bushwackers, homebrewed flat flares, no flares, and just about every other possibility, I came to the conclusion - I needed to cut. Because I run JK wheels, I already have adapters. Which means I can't add additional spacers that would be needed to fill in the HUGE aftermarket flares.
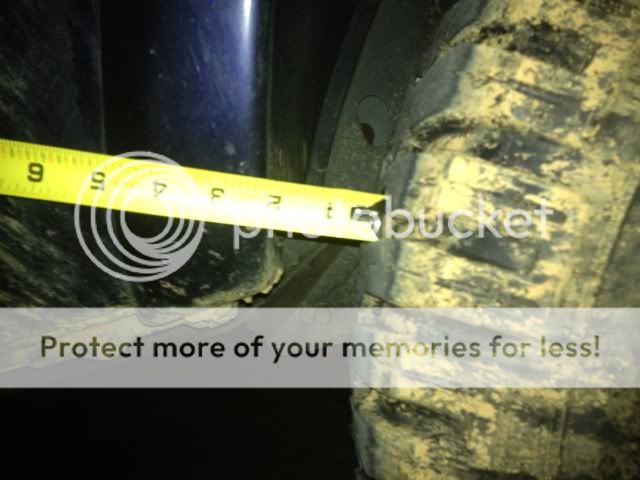
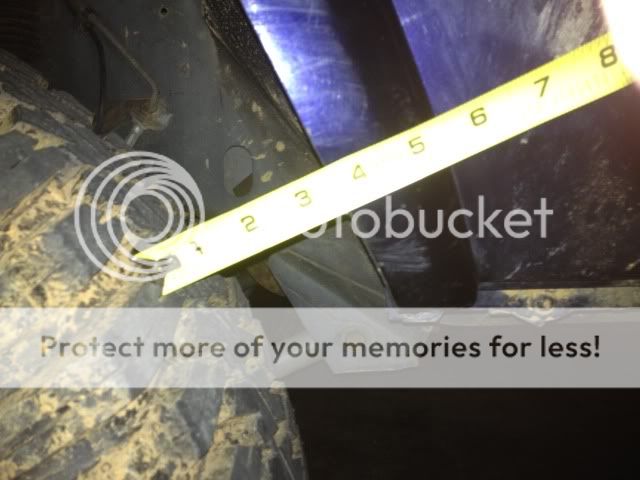
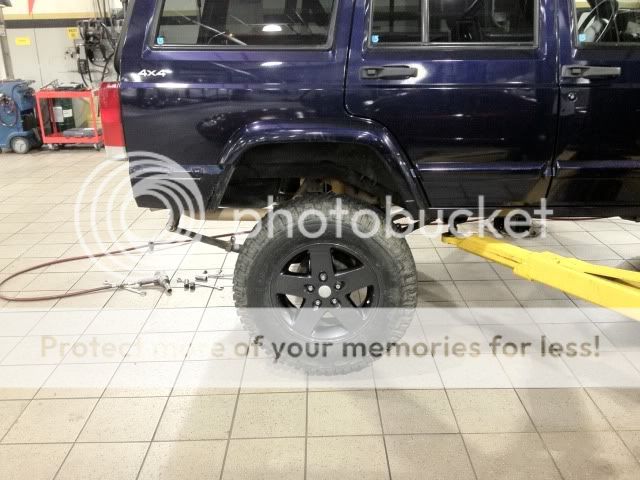
53guy's write up was pretty nice, and this will look strangely familiar, but there are some differences. I retained the ENTIRE length of the flare, while keeping it in the stock location. The flare itself is cut, and the fender inside is also cut. This is for people who want a mild cut, but don't need tons of clearance. If you are trying to clear your 35's, this is not for you. Anyone can take a sawzall and cut a giant hole in their fender for some boggers. This simply add about 1.5-2" of clearance on either side of the tire so it won't rub your fenders during full stuff, while still looking good enough drive your gf's parents around in. I run 255/75/17 treadwright MTG's that measure a TRUE 32" and they clear just fine now :greensmok
It got dark on me so I'll have to take some pictures of left out details tomorrow, as well as a better pic of the finished product. But for now, onto the goods.
First thing you need to do, is take the fender liner out:
- The liner is held in with little plastic "christmas tree" clips in various places around the inner fender. Remove all of these.
- Next, there are some metal discs that hold the remainder of the liner up against the fender opening. These are easily removed with a pair of dykes. Once these are removed, the entire liner should fall out. I was suprised how stiff and sturdy this thing was.
Next remove the fender flares themselves:
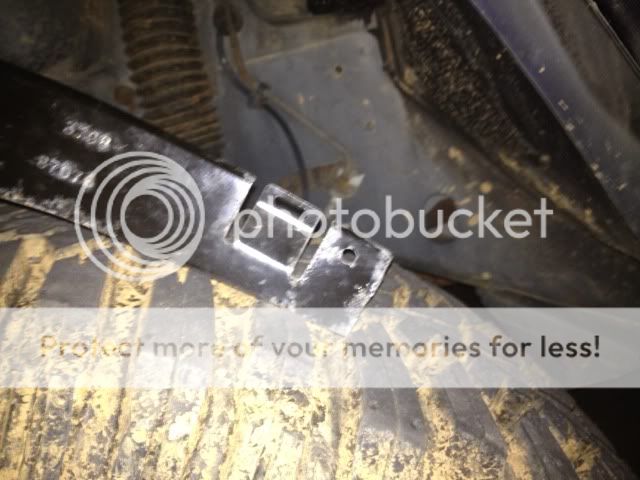
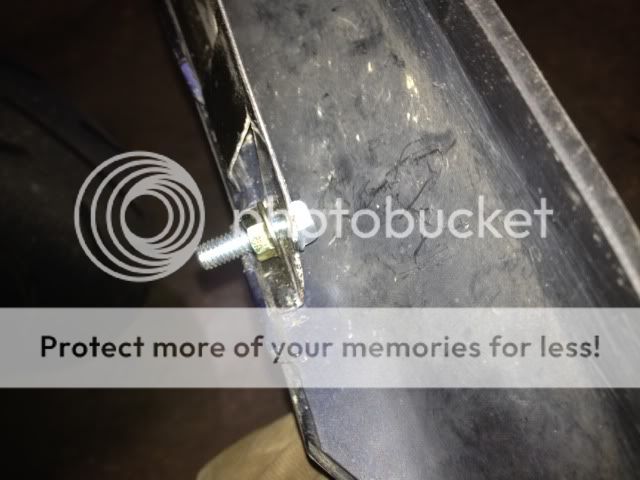
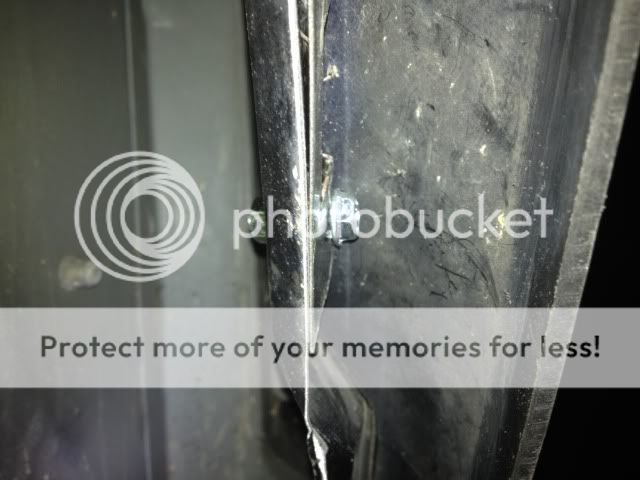
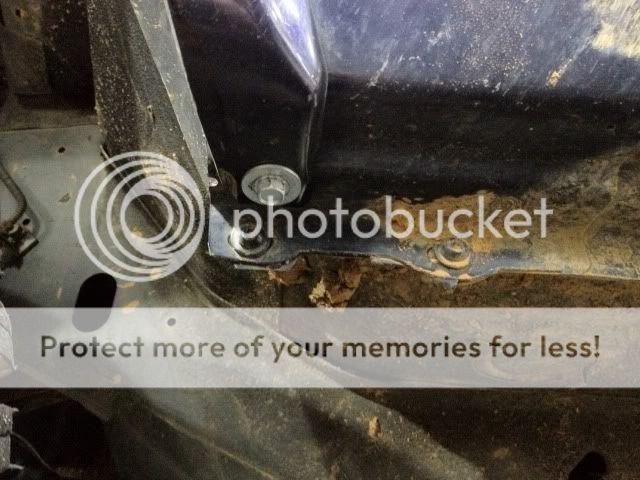
- They are held by (7) 10mm studs around the fender edge, and (1) 10mm self tapping screw on the body right at the corner of the front doors. Be careful with these 10's. If you body is old, they will most likely snap the studs off which leaves you with 2 options - buy new brackets, or grind down the riveted stud and just use a regular bolt.
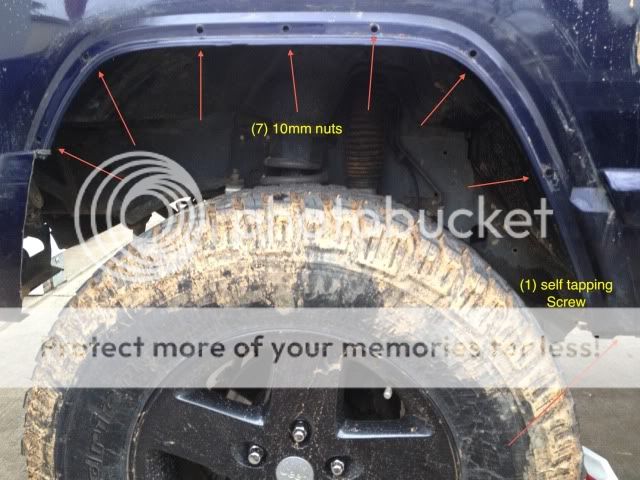
- Once the nuts and screw are removed the flare and brackets should pull away from the body in one piece. My nuts were not frozen so I was able to re-use all my hardware. If you are as fortunate BE SURE to put some anti-seize on them before re-installation.
- Remove the two brackets from the flare itself.
Now it's time to cut the flares:
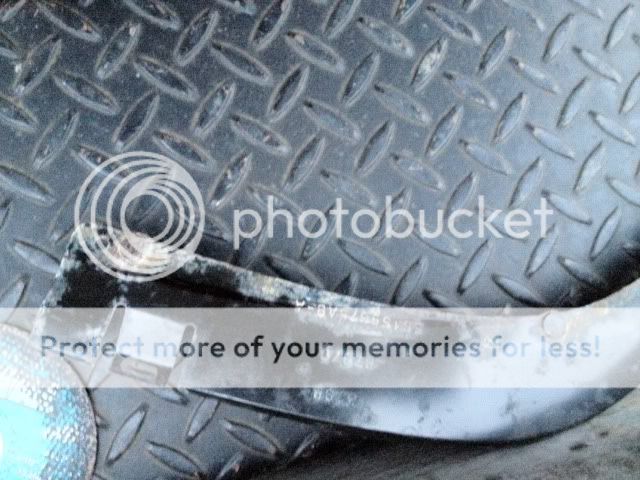
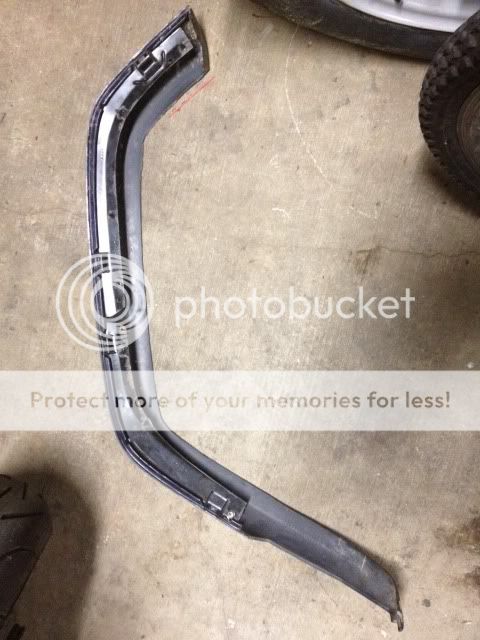
- On the backside of the flare you'll see a seam that runs the entire length of the flare. This is the seam you'll be cutting along. In two places it terminate into the edge, just keep cutting past this so the entire flare is proportional.
- I used an air powered bodysaw which made quick work of the soft plastic, but I've also used a jigsaw, dremel, angle grinder, and sharp tin-snips in the past.
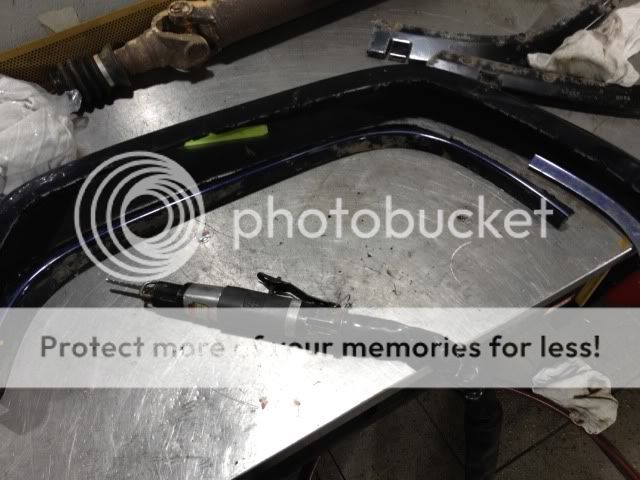
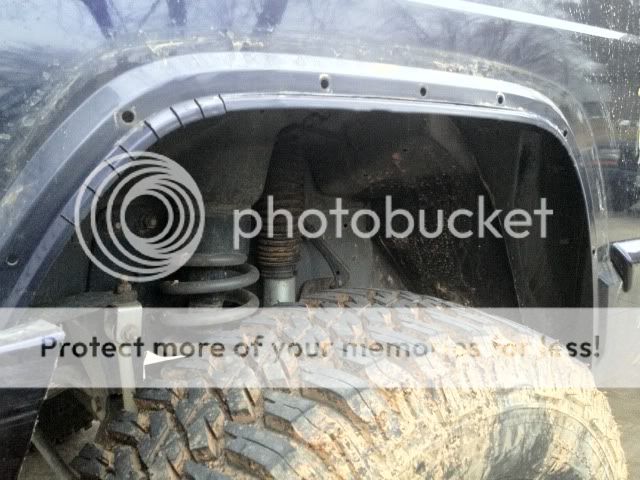
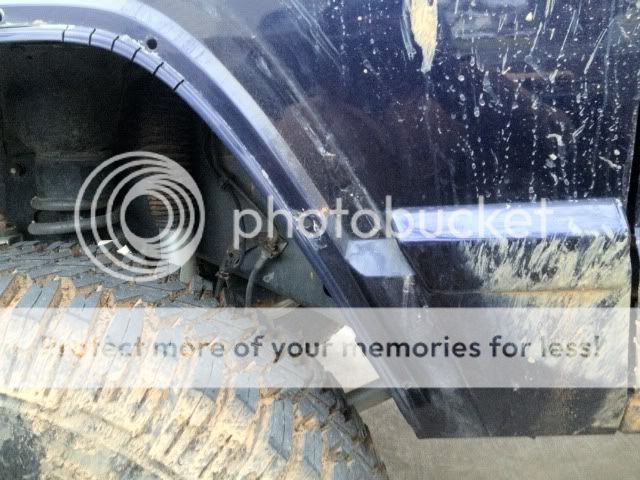
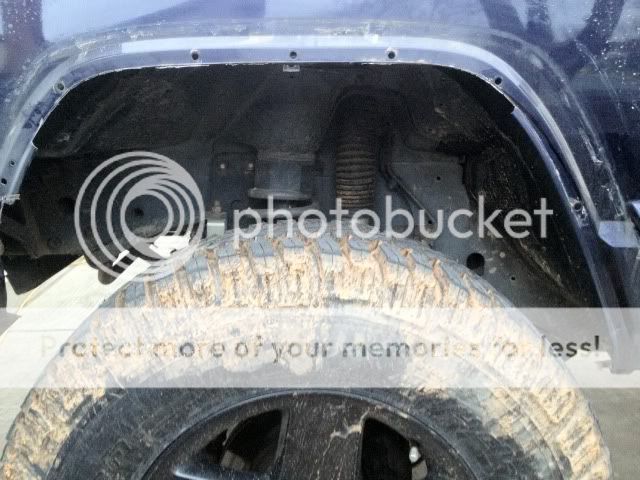
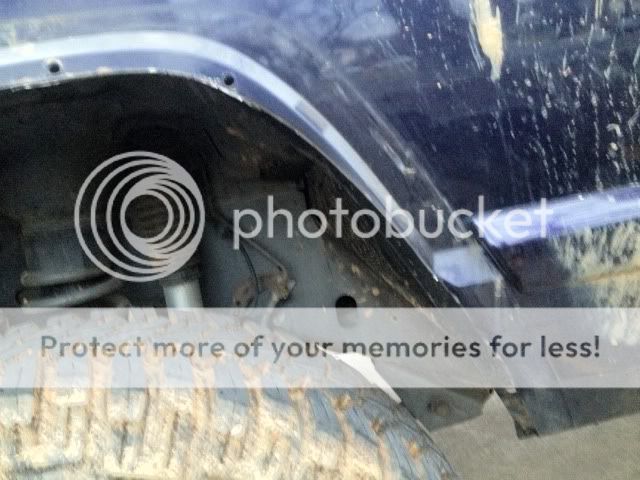
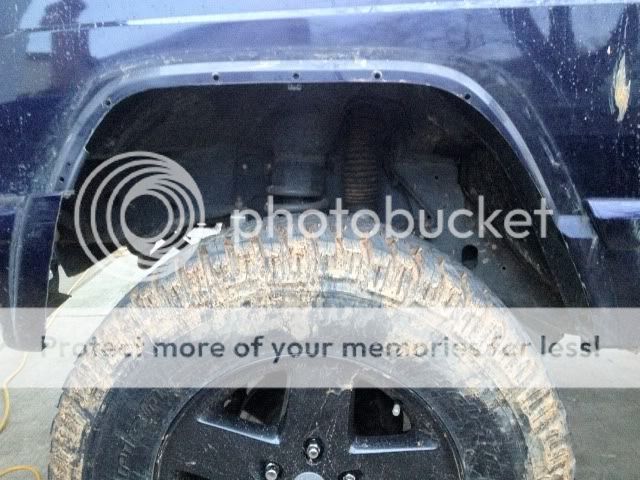
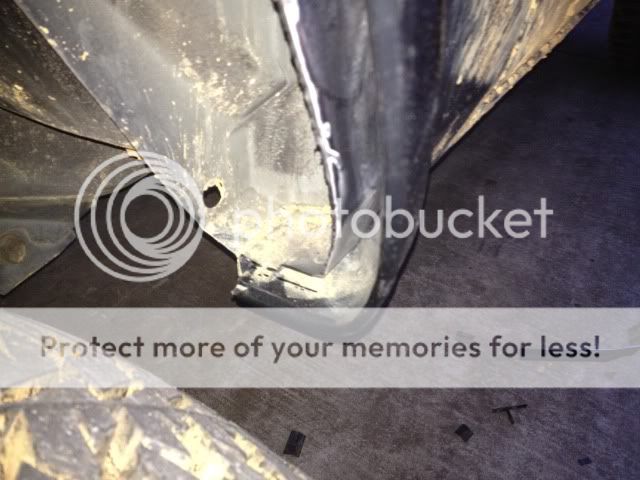
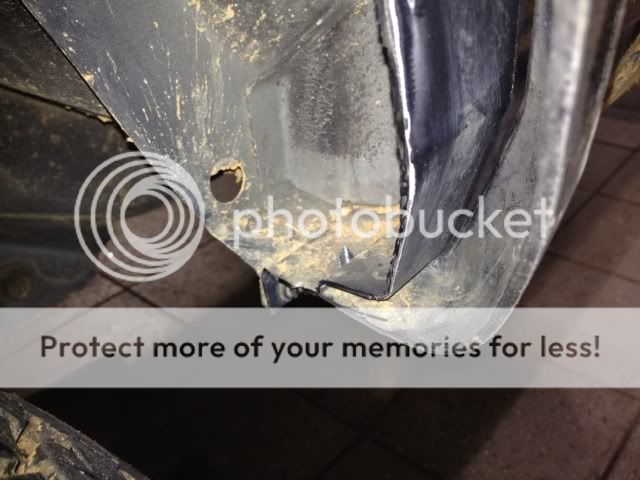
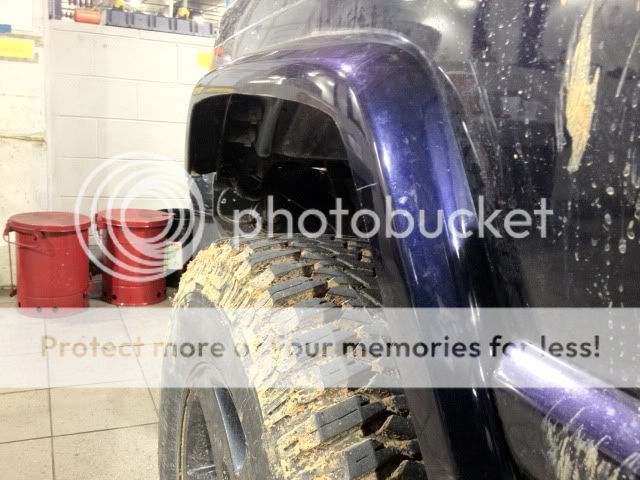
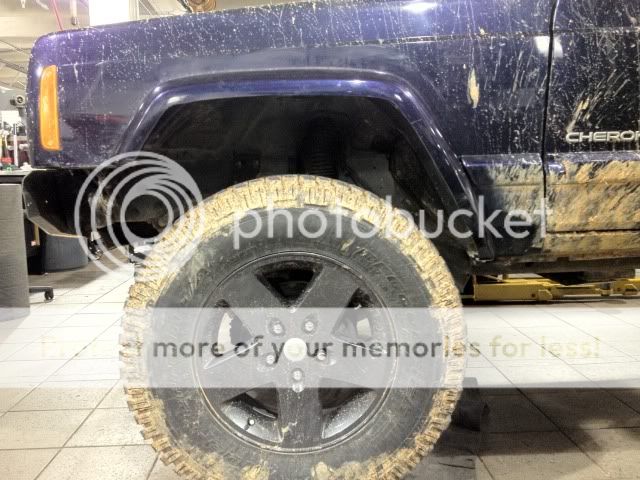
- This is what the flare will look like when cut. Here it is re-installed on the fender without having cut any sheemetal yet. You can see how vulnerable the sheet metal is now, and why it will need to be trimmed back.

53guy's write up was pretty nice, and this will look strangely familiar, but there are some differences. I retained the ENTIRE length of the flare, while keeping it in the stock location. The flare itself is cut, and the fender inside is also cut. This is for people who want a mild cut, but don't need tons of clearance. If you are trying to clear your 35's, this is not for you. Anyone can take a sawzall and cut a giant hole in their fender for some boggers. This simply add about 1.5-2" of clearance on either side of the tire so it won't rub your fenders during full stuff, while still looking good enough drive your gf's parents around in. I run 255/75/17 treadwright MTG's that measure a TRUE 32" and they clear just fine now :greensmok
It got dark on me so I'll have to take some pictures of left out details tomorrow, as well as a better pic of the finished product. But for now, onto the goods.
First thing you need to do, is take the fender liner out:
- The liner is held in with little plastic "christmas tree" clips in various places around the inner fender. Remove all of these.
- Next, there are some metal discs that hold the remainder of the liner up against the fender opening. These are easily removed with a pair of dykes. Once these are removed, the entire liner should fall out. I was suprised how stiff and sturdy this thing was.
Next remove the fender flares themselves:
- They are held by (7) 10mm studs around the fender edge, and (1) 10mm self tapping screw on the body right at the corner of the front doors. Be careful with these 10's. If you body is old, they will most likely snap the studs off which leaves you with 2 options - buy new brackets, or grind down the riveted stud and just use a regular bolt.

- Once the nuts and screw are removed the flare and brackets should pull away from the body in one piece. My nuts were not frozen so I was able to re-use all my hardware. If you are as fortunate BE SURE to put some anti-seize on them before re-installation.
- Remove the two brackets from the flare itself.
Now it's time to cut the flares:
- On the backside of the flare you'll see a seam that runs the entire length of the flare. This is the seam you'll be cutting along. In two places it terminate into the edge, just keep cutting past this so the entire flare is proportional.
- I used an air powered bodysaw which made quick work of the soft plastic, but I've also used a jigsaw, dremel, angle grinder, and sharp tin-snips in the past.

- This is what the flare will look like when cut. Here it is re-installed on the fender without having cut any sheemetal yet. You can see how vulnerable the sheet metal is now, and why it will need to be trimmed back.


