Medic22
NAXJA Forum User
- Location
- Lower Merion, PA
There are several ways to go about installing a snorkel on an XJ. All of them require drilling, and some are more expensive then others. The most effecient way to go about doing it is to pick up an ARB Safari style snorkel that runs up along the A-post. I thought long and hard about that one, but a hole in the fender and $450 put it out of the question. Below is my version of the cowl/hummer style snorkel, a much more inexpensive yet efficient and fully functional way of doing it.
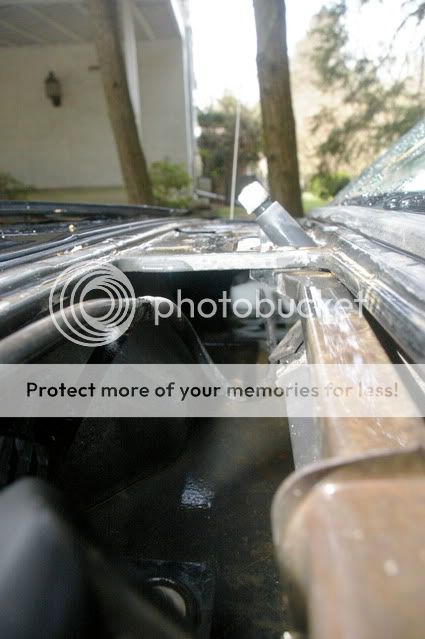
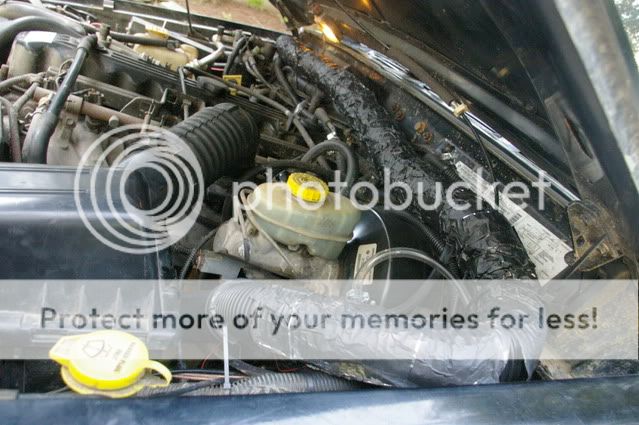
There is a how-to on Eric's XJ (Eric's XJ) on a cowl snorkle that ends at the cowl on the engine side. This was my original intention, but found that after about a minute of "rainfall" that passenger side area was moist. This is what prompted me to go for the hummer style look. Here is a picture of that:
I used several previous how-to's prior to tackling this project:
1. http://www.jeepforum.com/forum/f27/write-up-hummer-cold-air-intake-326040/
2. http://www.jeepforum.com/forum/f9/hummer-snorkel-complete-279468/
3. http://www.jeepforum.com/forum/f11/project-relapse-build-thread-804449/
Supplies:
1x Flexible 2" coupling
1x 90 degree or 45 degree 2" flexible connector
1x 3" to 2" reducer
1x 8 inches of 2" PVC (They usually come in sections of 2 feet)
1x 2" flexible hose (I opted for shopvac hose, sold in 2.25" - It is actually 2")
1x Roll of aluminum tape
1x tube of silicone (I opted for Black high temp RTV, as i had two tubes sitting in my garage)
1x PVC Cap (The one shown in this build is easiest, otherwise use L brackets as shown in link #3 above)
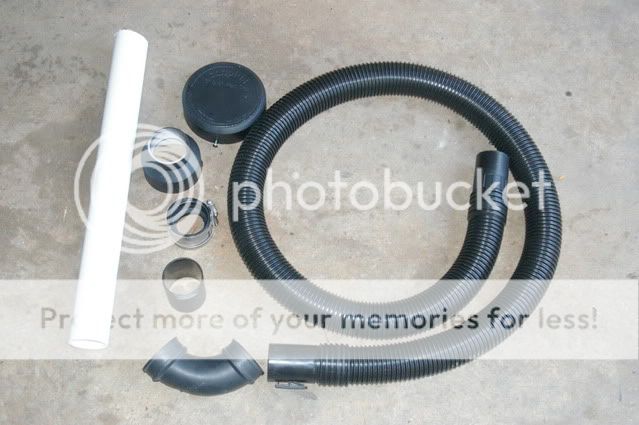
(Ignore the plastic coupling in the picture above, you will not use it)
Tools:
Drill with 2" Hole saw
Dremel
How to: (Before drilling into your car and playing with the intake system, take a deep breath and understand that i'm not responsible for you messing your car up.)
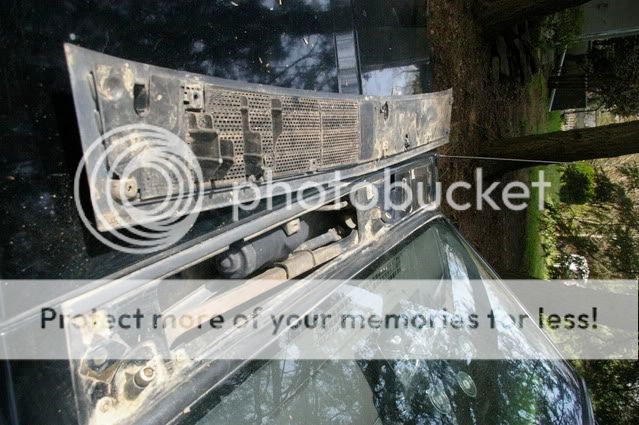
1. Remove the wipers (Pop up the clips on the back and wiggle them off) and undo the screws on the cowl area cover.
The area should now look like this:
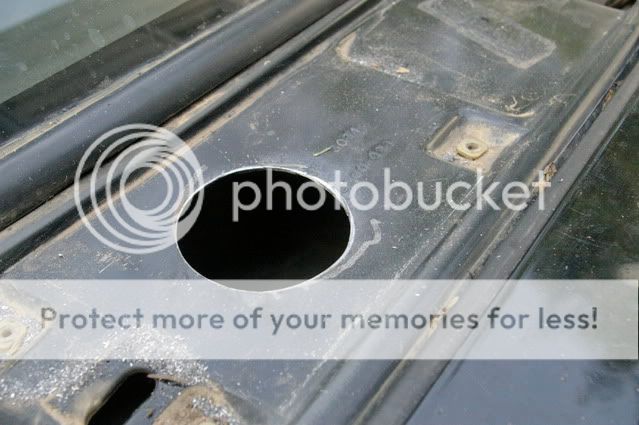
2. Mark where you want the tube to enter the cowl with a pen at the center. Use a smaller drill bit to go through it.
3. Using the 2" hole saw on your drill, drill your 2" hole. After you have drilled, be sure to spray the edges with spray paint. You do not what the edges to rust.
http://i277.photobucket.com/albums/kk51/raphic/IMGP4498.jpg
4. Moving to the top, decide where you want the intake to sit. reinstall the cowl cover (the piece with the vents). Mark the center of where you want it to sit. Drill through the cover and the metal sheet beneath is with a small drill bit.
5. Remove the cover. Using your 2" hole saw drill through the cover and the metal. I would suggest doing the two seperately.

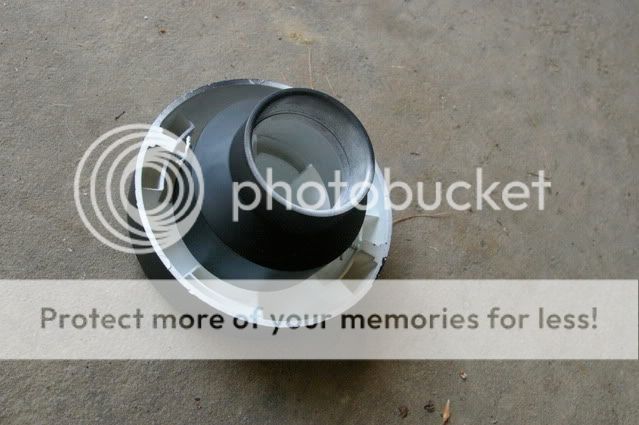
6. Join the reducer coupler and the cap using the two supplied screws. I would suggest painting them now.
7. Cut the connecter off of your tube if you used the shopvac tubing.
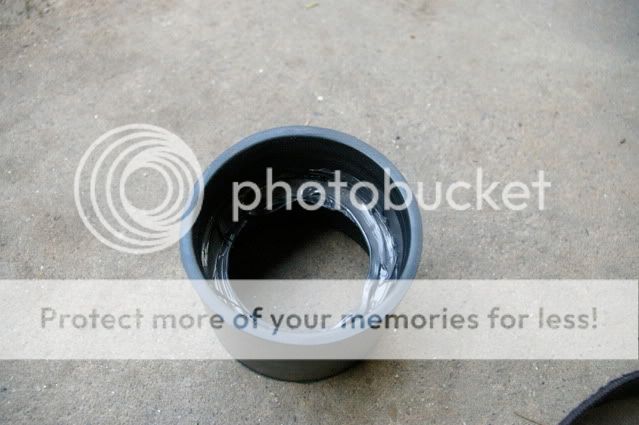
8. Using your 2" flexible coupler, spread silicon on the inside edges as below. Do the same on the outside of the flex tubing.
9. Feed the attached tube and coupling through the hole on the engine side and pull it up towards the sky into the hole on the top. You may need to extend the edges on the first hole to feed the coupler through all the way (using the dremel).
10. As you did before, spread silicone on the inside of the coupler. Attach the cover with the reduced and a small section (about 4") of your 2" pvc piping.
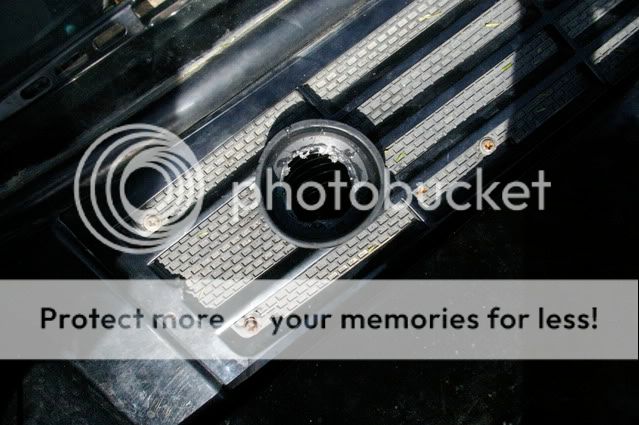
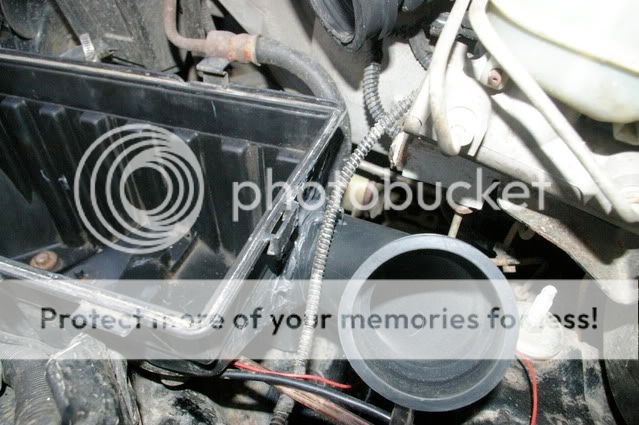
11. Remove your airbox. Using a piece of sheet metal or plastic, cover the old intake and seal it with silicone. Drill a new 2" hole on the opposite end with your hole saw.
12. Feed your 90/45 degree coupling through the new hole in the airbox and seal it with silicone.
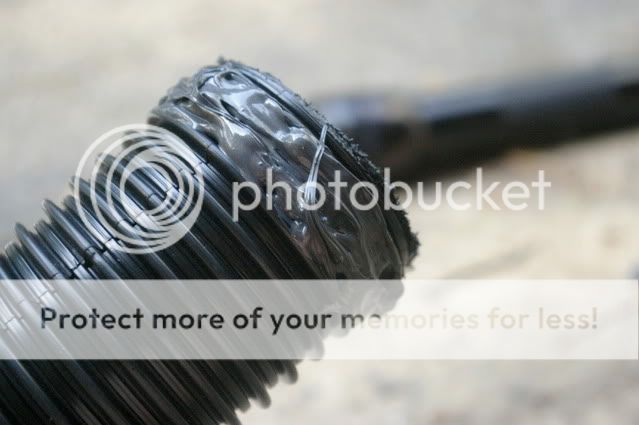
13. Wrap your flex tubing with the aluminum tape. If you prefer, paint it black as I did.
14. Spread silicon on the opposite end of the connector and on the hose as you did with the 2" coupling on the other end. Attach the two pieces. Using silicon, fill the drainage holes in your airbox.
15. You're done! Let it all dry, you should now be in service.

:smootch:
There is a how-to on Eric's XJ (Eric's XJ) on a cowl snorkle that ends at the cowl on the engine side. This was my original intention, but found that after about a minute of "rainfall" that passenger side area was moist. This is what prompted me to go for the hummer style look. Here is a picture of that:
I used several previous how-to's prior to tackling this project:
1. http://www.jeepforum.com/forum/f27/write-up-hummer-cold-air-intake-326040/
2. http://www.jeepforum.com/forum/f9/hummer-snorkel-complete-279468/
3. http://www.jeepforum.com/forum/f11/project-relapse-build-thread-804449/
Supplies:
1x Flexible 2" coupling
1x 90 degree or 45 degree 2" flexible connector
1x 3" to 2" reducer
1x 8 inches of 2" PVC (They usually come in sections of 2 feet)
1x 2" flexible hose (I opted for shopvac hose, sold in 2.25" - It is actually 2")
1x Roll of aluminum tape
1x tube of silicone (I opted for Black high temp RTV, as i had two tubes sitting in my garage)
1x PVC Cap (The one shown in this build is easiest, otherwise use L brackets as shown in link #3 above)
(Ignore the plastic coupling in the picture above, you will not use it)
Tools:
Drill with 2" Hole saw
Dremel
How to: (Before drilling into your car and playing with the intake system, take a deep breath and understand that i'm not responsible for you messing your car up.)
1. Remove the wipers (Pop up the clips on the back and wiggle them off) and undo the screws on the cowl area cover.
The area should now look like this:
2. Mark where you want the tube to enter the cowl with a pen at the center. Use a smaller drill bit to go through it.
3. Using the 2" hole saw on your drill, drill your 2" hole. After you have drilled, be sure to spray the edges with spray paint. You do not what the edges to rust.
http://i277.photobucket.com/albums/kk51/raphic/IMGP4498.jpg
4. Moving to the top, decide where you want the intake to sit. reinstall the cowl cover (the piece with the vents). Mark the center of where you want it to sit. Drill through the cover and the metal sheet beneath is with a small drill bit.
5. Remove the cover. Using your 2" hole saw drill through the cover and the metal. I would suggest doing the two seperately.
6. Join the reducer coupler and the cap using the two supplied screws. I would suggest painting them now.
7. Cut the connecter off of your tube if you used the shopvac tubing.
8. Using your 2" flexible coupler, spread silicon on the inside edges as below. Do the same on the outside of the flex tubing.
9. Feed the attached tube and coupling through the hole on the engine side and pull it up towards the sky into the hole on the top. You may need to extend the edges on the first hole to feed the coupler through all the way (using the dremel).
10. As you did before, spread silicone on the inside of the coupler. Attach the cover with the reduced and a small section (about 4") of your 2" pvc piping.
11. Remove your airbox. Using a piece of sheet metal or plastic, cover the old intake and seal it with silicone. Drill a new 2" hole on the opposite end with your hole saw.
12. Feed your 90/45 degree coupling through the new hole in the airbox and seal it with silicone.
13. Wrap your flex tubing with the aluminum tape. If you prefer, paint it black as I did.
14. Spread silicon on the opposite end of the connector and on the hose as you did with the 2" coupling on the other end. Attach the two pieces. Using silicon, fill the drainage holes in your airbox.
15. You're done! Let it all dry, you should now be in service.
:smootch:
