jesterbomb
NAXJA Forum User
- Location
- Alberta
rite-up I've done here. Figure it’s about time, seeing as how I have gained so much information from the site and you guys over the years. Hoping to kinda pass it on. Thanks in advance for future help. It's long and there are pictures. Hope you don't have ADD.
There are a few issues covered in this tale of woe. So, be patient. I am going to cover not only the opening of the hood with a broken cable latch, but also how to replace the cable.
Okay, so this particular write-up comes about as a direct result of my own experience today. Of course I ran to my computer to figure out what to do. I found the help I needed, but no pics. So here they are.
This week started with me soldering in a new fuse panel into my 2000 XJ Sport. I’ll try to do a write-up for that later on. (NP 231 and the NV 3500(?) transmission, not that it matters for this write-up) Once that was done and apparently working beautifully, I prepared to sit back and have my obligatory "Hells YEAH I did!" moment. So, I go to close the hood and...
It doesn't latch.
Okay, I can understand the latches being sticky. It has sat for two years after all. (Hence the new fuse panel... Dielectric grease is your friend. Just saying) So, I lift up the hood, spray some Blaster on everything that is supposed to move and try again.
Nope. The hood springs back up, catching nothing but the goofy safety latch in the center. Okay... maybe I need some force.
*Slam*
Nothing.
*Slam*
*Slam*
*SLAM*
No dice. Okay, so what in the hell is going on here? I lift the hood and inspect everything. I check the latches on both sides of the hood by putting a screwdriver inside them in place of the strike rod to open and close them, like this:
Open: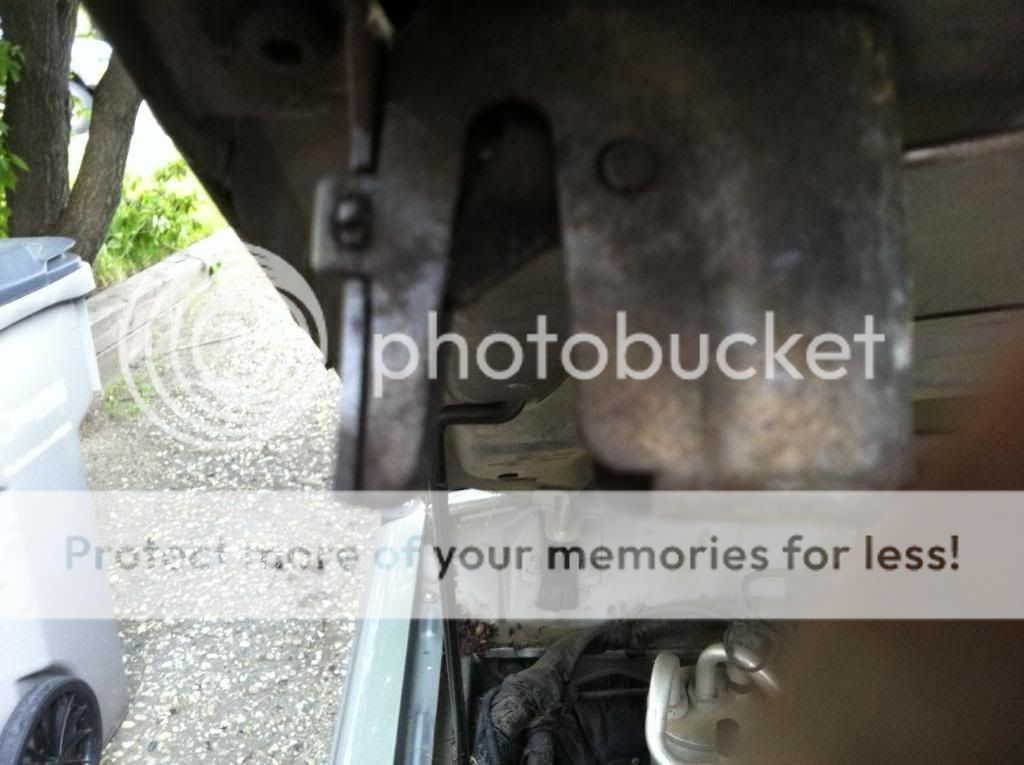
Closed: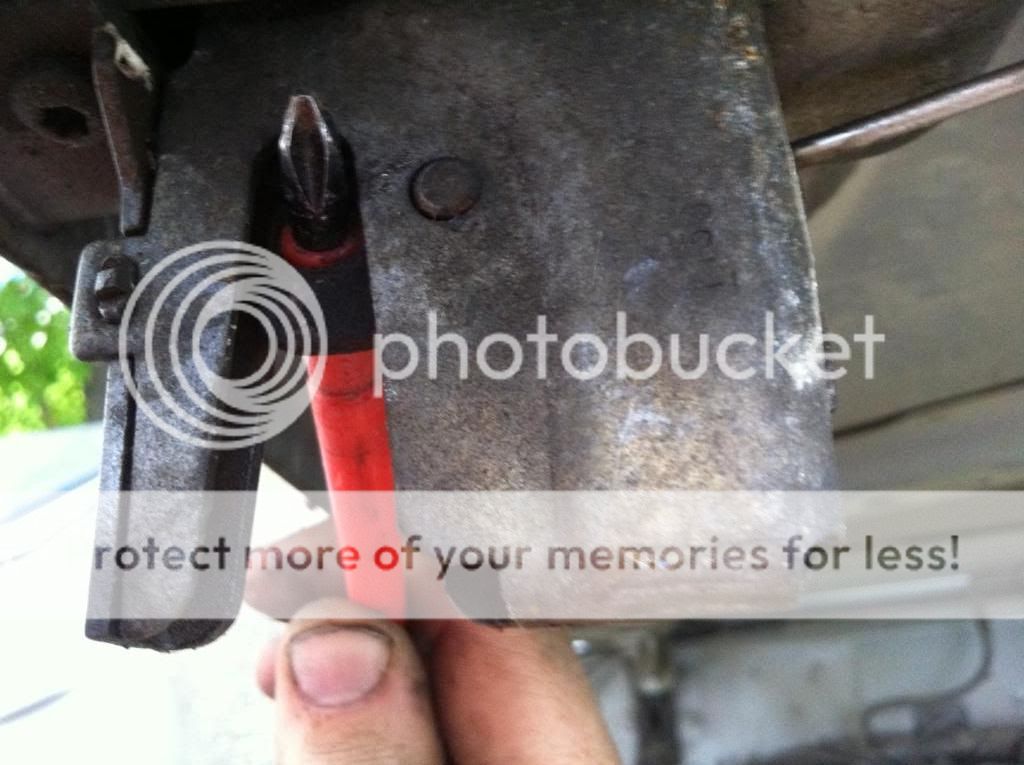
I also move the mounting ears in which the hood opening rods by hand, to make sure that this part also moves. It's fine.
This slotted tab by the screwdriver:
So, I find out by doing this that the latches on either side of the hood are working just fine. The next suspect is the mechanism nearer the middle, so I take a look at it, seeing if the moving bits actually move.
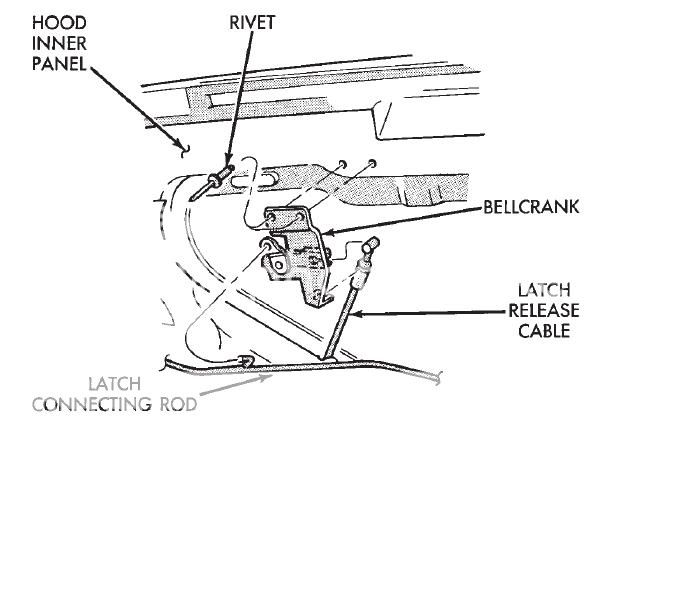
Turns out, the mechanism (Which is apparently called a "Bellcrank" for some obscure reason) connecting the cables to the latch release rod is actually rusted open. Thanks Chrysler, for deciding to use whatever metal this is. None of the other unpainted bits of metal did this. Bastards.
Here’s a pic so you know what I mean, just in the off chance that a Google search will take a non reader with no experience here. I found this online:
Either way, I need this little bastard of a bellcrank to freaking MOVE. So I PB Blast it, clean it, scrape the rust off with a pick and some emery cloth, eventually resorting to a punch and a hammer to budge it. Of course, no dice. As if the previous project wasn't fun enough, now I have to take this part off.
Okay, out comes the drill. For whatever reason, Chrysler decided to use rivets on this piece. I'm sure there is a good reason for this, but I don't really care. It's annoying. Luckily, there are only two, so my mostly dead drill managed to finish the job.
Pic of the "Bellcrank" off: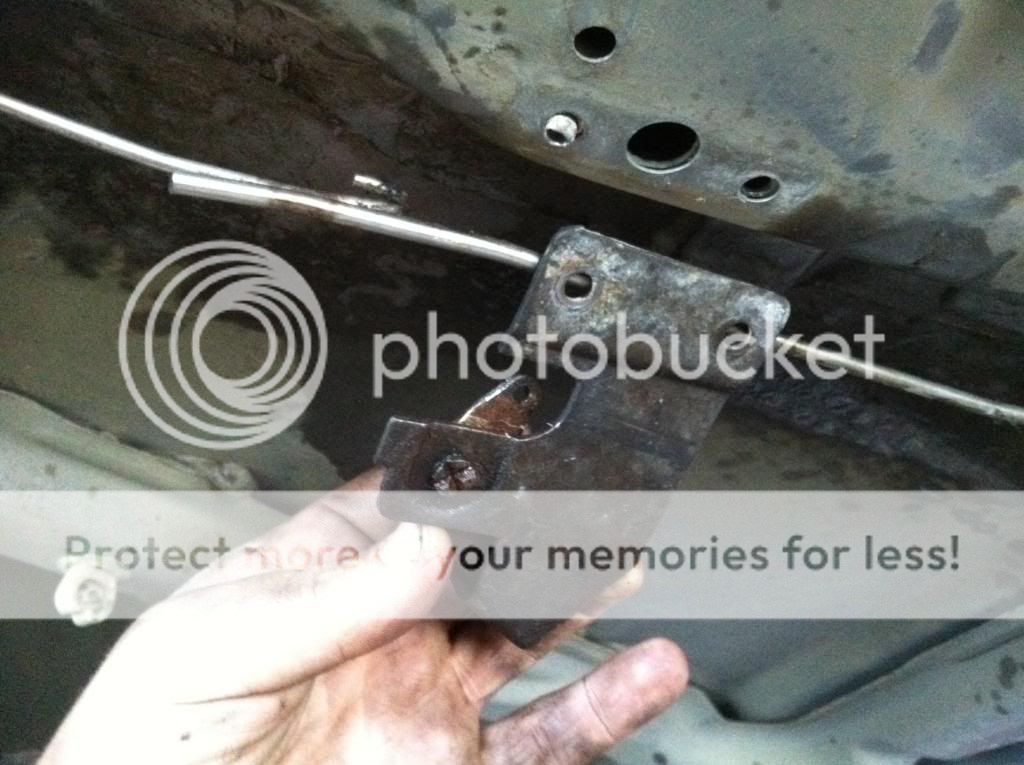
Once you get the rivets out, (If this is something you need to do... You poor soul) you need to disconnect both the cable, and the connecting rod. The cable slips out pretty easy once you get it lined up with the slot on the back of the "Bellcrank".
Pic of the "Bellcrank" from the back, the side AGAINST the hood, actually this is the closed position: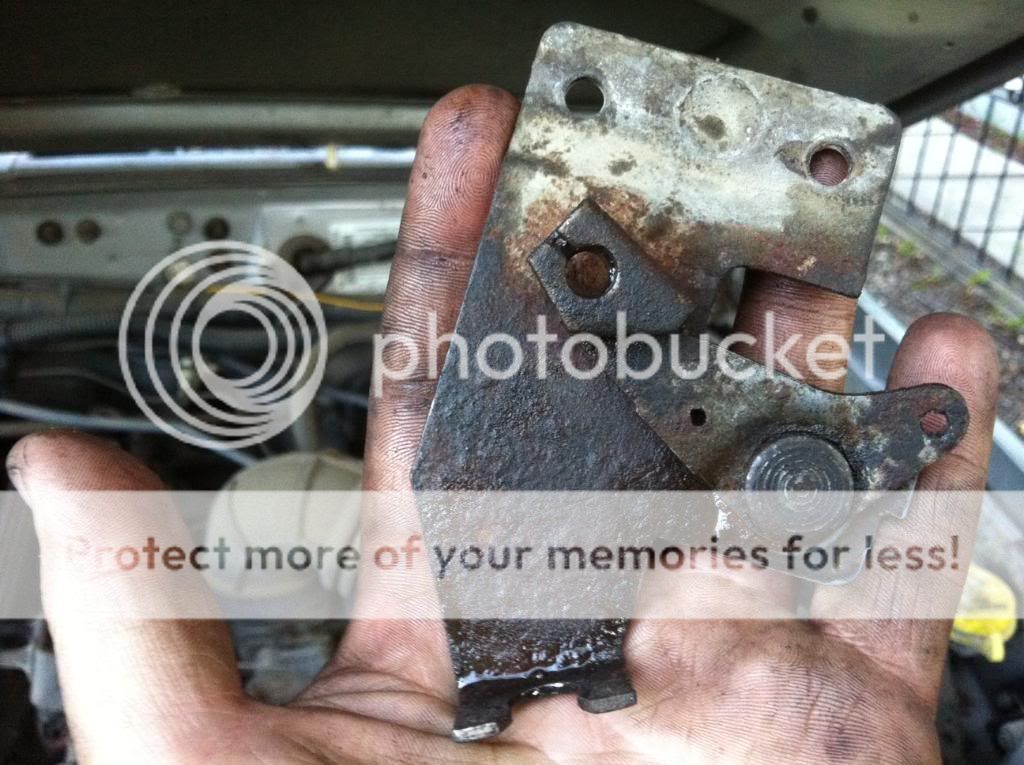
And if you think it actually matters, this is a pic of what the damn "Bellcrank" is SUPPOSED to do when you pull the hood release: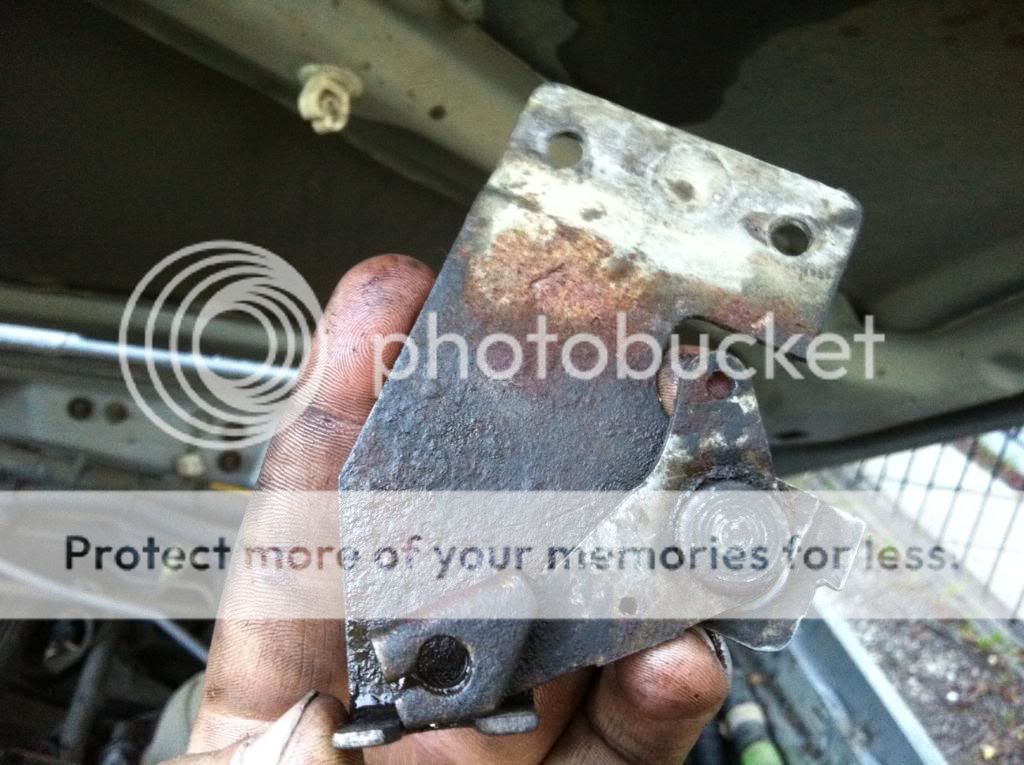
In the above two photos, you can see the slot in which the cable needs to be twisted backwards to line up with the slot, so that it can come out.
Here is a picture of the hood end of the cable, the part that sits behind the bellcrank: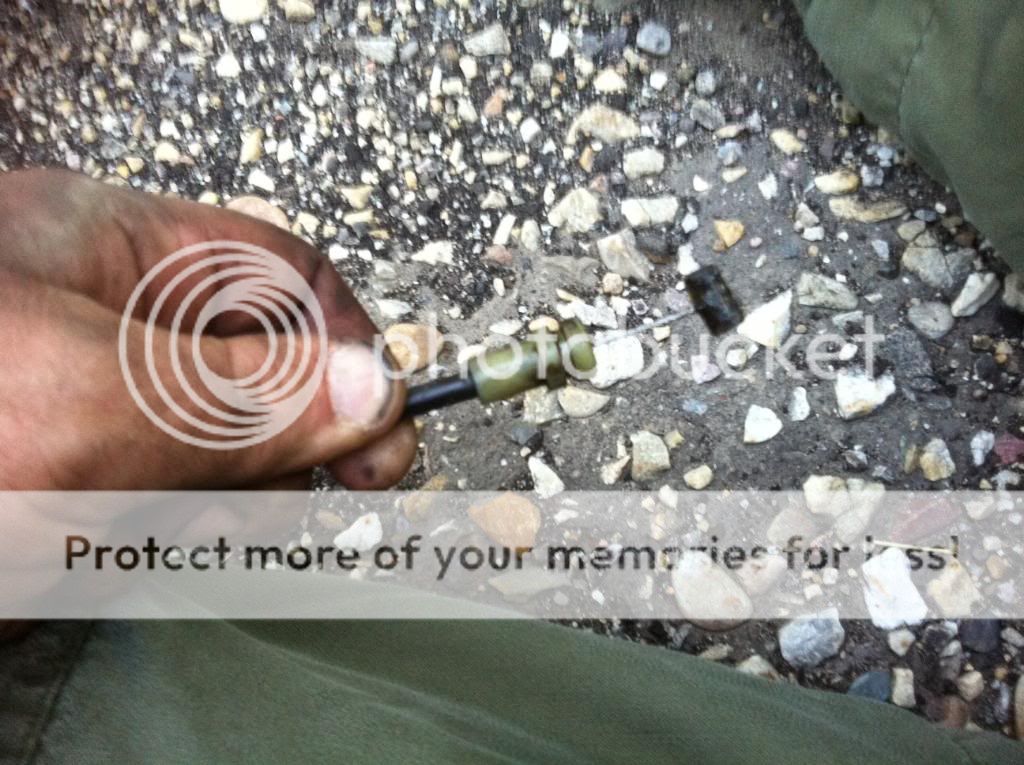
The other thing that needs to be done is to swivel the "Bellcrank" around so that you can disengage it from the connecting rod. This can be done once the cable is off.
Pic of the connecting rod uh... Connector thingy. It's just a bend in the rod. Ignore the "Bellcrank"; focus on the bend in the rod: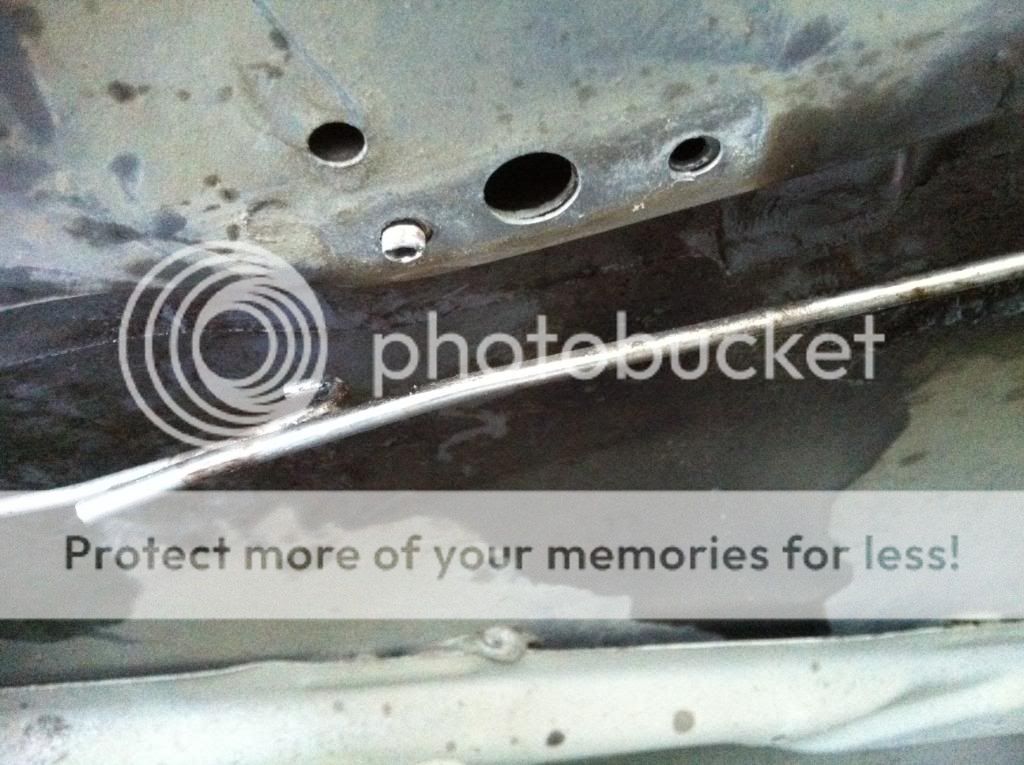
Regardless, I get the "Bellcrank" off, clean it up and dagnabbit, it works just fine now. Feel free to rivet it back on. And my Girlfriend said buying that riveter was a silly idea... HA! Come to think of it, I'm fairly sure that you could use something else in place of rivets, although if you use lag screws (Self-tappers) the space this doohickey has behind it to mount to, is very small before you drill through the hood. And the metal is thin thin THIN. So, I guess that's why Chrysler used rivets. Damn. It makes sense.
So, with a fully functioning hood, I check everything (Almost...) and close it up. Because I am paranoid, I check the hood release from inside using the handle.
It comes off in my hand:
Is anyone really surprised? So, I run here to research. Apparently, the latch mechanism can be reached from underneath the vehicle, by sticking a skinny arm between the radiator and the fan(s). The latch can then be moved towards the Drivers side (?) and the hood will then open.
The view from the ground, You can *just* see the mechanism waaaay up there: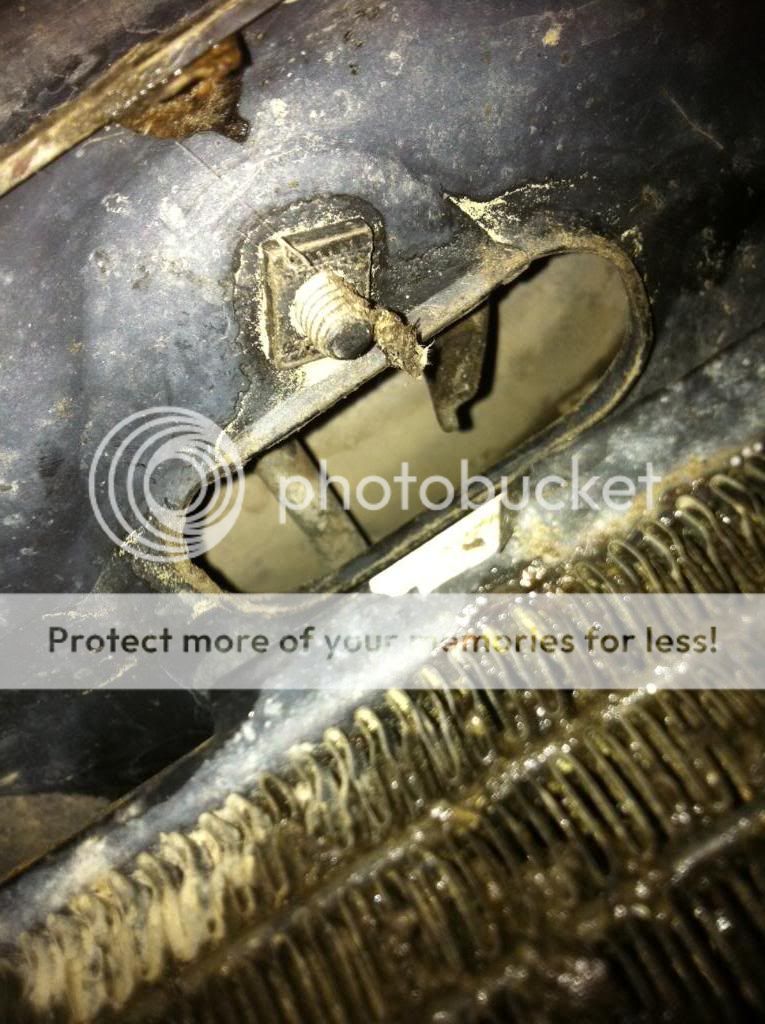 (Yes, my jeep is dirty, it's been sitting under a tree for two years, like I said)
Well, my engine is hot. And I have an electric fan from the factory, so space is more limited than it would be on my 91. Also my arms are fat. That is simply not gonna happen.
*Sigh*
Okay, so, the good folks here have NUMEROUS times pointed out that you can peel back on the cable housing and grab the cable with vice grips, give it a yank and voila. Open hood. Well, to be honest, I didn't read that part. Not gonna lie. I skimmed those posts and skipped straight to the hard solution.
That's right, removing the headlight buckets. Why? Because I’m a moron and I made a HUGE muck-up later on, which I will explain.
Let's pause a moment and look at a picture. Now, this illustrates an unbroken release cable (From my 91'. My poor, poor, 91'. May she rest in peace.) next to the broken one.
Pic: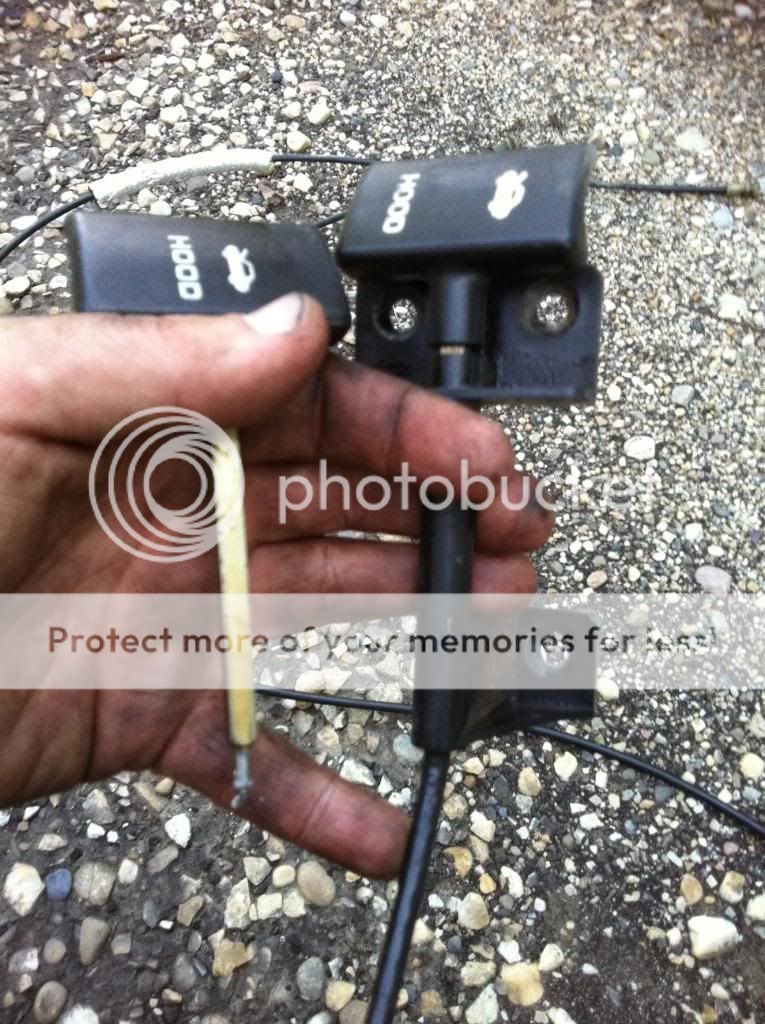
Here, you can see the mounting holes for the screws in the side of the body. These are (obviously) hiding underneath the kick panel on the driver side. Well, the third one is. The first two are directly behind the handle, which is probably in some bushes near you, where you throw it when it broke off in your hand. Oddly enough, in my 91', the three screws were Phillips heads but on the 2000, they were annoying torx screws.
Side note: Torx screws are the work of the devil.
Where my pinky is pointing is the location from where you can start peeling back the plastic to get at some steel cable. if you were wondering where to start, this is it. You might as well just do that, rather than removing headlights. The cable is pooched anyway. Honestly, it's not repairable.
Whatever. With the hood open, if you pull those three screws and remove the cable from the "Bellcrank", you can then unclip the cable from inside the hood and pull it through.
These are the clips on the inside of the hood, so you can see how they work, from the comfort of your desk. (Or phone, you tech savvy person, you!):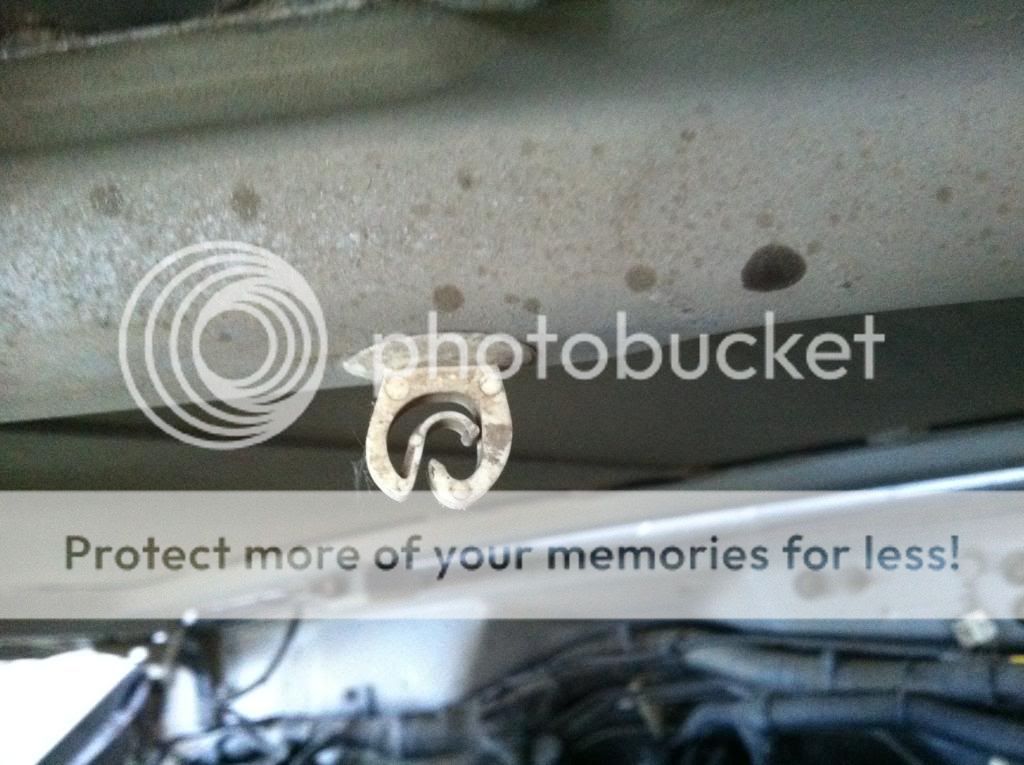
Seriously, once the clips are off, all you need to do is pull. The metal sleeve that clips into one of the uh... well, clips under the hood will grab the firewall grommet and pull it out. Don't bother trying to save it. It's pretty impossible to get off the cable. Presuming the cable end doesn't get snagged on anything on the engine; it'll come out no problem.
There are a few issues covered in this tale of woe. So, be patient. I am going to cover not only the opening of the hood with a broken cable latch, but also how to replace the cable.
Okay, so this particular write-up comes about as a direct result of my own experience today. Of course I ran to my computer to figure out what to do. I found the help I needed, but no pics. So here they are.
This week started with me soldering in a new fuse panel into my 2000 XJ Sport. I’ll try to do a write-up for that later on. (NP 231 and the NV 3500(?) transmission, not that it matters for this write-up) Once that was done and apparently working beautifully, I prepared to sit back and have my obligatory "Hells YEAH I did!" moment. So, I go to close the hood and...
It doesn't latch.
Okay, I can understand the latches being sticky. It has sat for two years after all. (Hence the new fuse panel... Dielectric grease is your friend. Just saying) So, I lift up the hood, spray some Blaster on everything that is supposed to move and try again.
Nope. The hood springs back up, catching nothing but the goofy safety latch in the center. Okay... maybe I need some force.
*Slam*
Nothing.
*Slam*
*Slam*
*SLAM*
No dice. Okay, so what in the hell is going on here? I lift the hood and inspect everything. I check the latches on both sides of the hood by putting a screwdriver inside them in place of the strike rod to open and close them, like this:
Open:

Closed:

I also move the mounting ears in which the hood opening rods by hand, to make sure that this part also moves. It's fine.
This slotted tab by the screwdriver:

So, I find out by doing this that the latches on either side of the hood are working just fine. The next suspect is the mechanism nearer the middle, so I take a look at it, seeing if the moving bits actually move.
Turns out, the mechanism (Which is apparently called a "Bellcrank" for some obscure reason) connecting the cables to the latch release rod is actually rusted open. Thanks Chrysler, for deciding to use whatever metal this is. None of the other unpainted bits of metal did this. Bastards.
Here’s a pic so you know what I mean, just in the off chance that a Google search will take a non
reader with no experience here. I found this online: 
Either way, I need this little bastard of a bellcrank to freaking MOVE. So I PB Blast it, clean it, scrape the rust off with a pick and some emery cloth, eventually resorting to a punch and a hammer to budge it. Of course, no dice. As if the previous project wasn't fun enough, now I have to take this part off.
Okay, out comes the drill. For whatever reason, Chrysler decided to use rivets on this piece. I'm sure there is a good reason for this, but I don't really care. It's annoying. Luckily, there are only two, so my mostly dead drill managed to finish the job.
Pic of the "Bellcrank" off:

Once you get the rivets out, (If this is something you need to do... You poor soul) you need to disconnect both the cable, and the connecting rod. The cable slips out pretty easy once you get it lined up with the slot on the back of the "Bellcrank".
Pic of the "Bellcrank" from the back, the side AGAINST the hood, actually this is the closed position:

And if you think it actually matters, this is a pic of what the damn "Bellcrank" is SUPPOSED to do when you pull the hood release:

In the above two photos, you can see the slot in which the cable needs to be twisted backwards to line up with the slot, so that it can come out.
Here is a picture of the hood end of the cable, the part that sits behind the bellcrank:

The other thing that needs to be done is to swivel the "Bellcrank" around so that you can disengage it from the connecting rod. This can be done once the cable is off.
Pic of the connecting rod uh... Connector thingy. It's just a bend in the rod. Ignore the "Bellcrank"; focus on the bend in the rod:

Regardless, I get the "Bellcrank" off, clean it up and dagnabbit, it works just fine now. Feel free to rivet it back on. And my Girlfriend said buying that riveter was a silly idea... HA! Come to think of it, I'm fairly sure that you could use something else in place of rivets, although if you use lag screws (Self-tappers) the space this doohickey has behind it to mount to, is very small before you drill through the hood. And the metal is thin thin THIN. So, I guess that's why Chrysler used rivets. Damn. It makes sense.
So, with a fully functioning hood, I check everything (Almost...) and close it up. Because I am paranoid, I check the hood release from inside using the handle.
It comes off in my hand:

Is anyone really surprised? So, I run here to research. Apparently, the latch mechanism can be reached from underneath the vehicle, by sticking a skinny arm between the radiator and the fan(s). The latch can then be moved towards the Drivers side (?) and the hood will then open.
The view from the ground, You can *just* see the mechanism waaaay up there:
 (Yes, my jeep is dirty, it's been sitting under a tree for two years, like I said)
 Well, my engine is hot. And I have an electric fan from the factory, so space is more limited than it would be on my 91. Also my arms are fat. That is simply not gonna happen.
*Sigh*
Okay, so, the good folks here have NUMEROUS times pointed out that you can peel back on the cable housing and grab the cable with vice grips, give it a yank and voila. Open hood. Well, to be honest, I didn't read that part. Not gonna lie. I skimmed those posts and skipped straight to the hard solution.
That's right, removing the headlight buckets. Why? Because I’m a moron and I made a HUGE muck-up later on, which I will explain.
Let's pause a moment and look at a picture. Now, this illustrates an unbroken release cable (From my 91'. My poor, poor, 91'. May she rest in peace.) next to the broken one.
Pic:

Here, you can see the mounting holes for the screws in the side of the body. These are (obviously) hiding underneath the kick panel on the driver side. Well, the third one is. The first two are directly behind the handle, which is probably in some bushes near you, where you throw it when it broke off in your hand. Oddly enough, in my 91', the three screws were Phillips heads but on the 2000, they were annoying torx screws.
Side note: Torx screws are the work of the devil.
Where my pinky is pointing is the location from where you can start peeling back the plastic to get at some steel cable. if you were wondering where to start, this is it. You might as well just do that, rather than removing headlights. The cable is pooched anyway. Honestly, it's not repairable.
Whatever. With the hood open, if you pull those three screws and remove the cable from the "Bellcrank", you can then unclip the cable from inside the hood and pull it through.
These are the clips on the inside of the hood, so you can see how they work, from the comfort of your desk. (Or phone, you tech savvy person, you!):

Seriously, once the clips are off, all you need to do is pull. The metal sleeve that clips into one of the uh... well, clips under the hood will grab the firewall grommet and pull it out. Don't bother trying to save it. It's pretty impossible to get off the cable. Presuming the cable end doesn't get snagged on anything on the engine; it'll come out no problem.


