• Welcome to the new NAXJA Forum! If your password does not work, please use "Forgot your password?" link on the log-in page. Please feel free to reach out to [email protected] if we can provide any assistance.

T&T Project Low Wagon

Rock Yacht

NAXJA Member #1242
NAXJA Member
Location
Cheyenne, WY
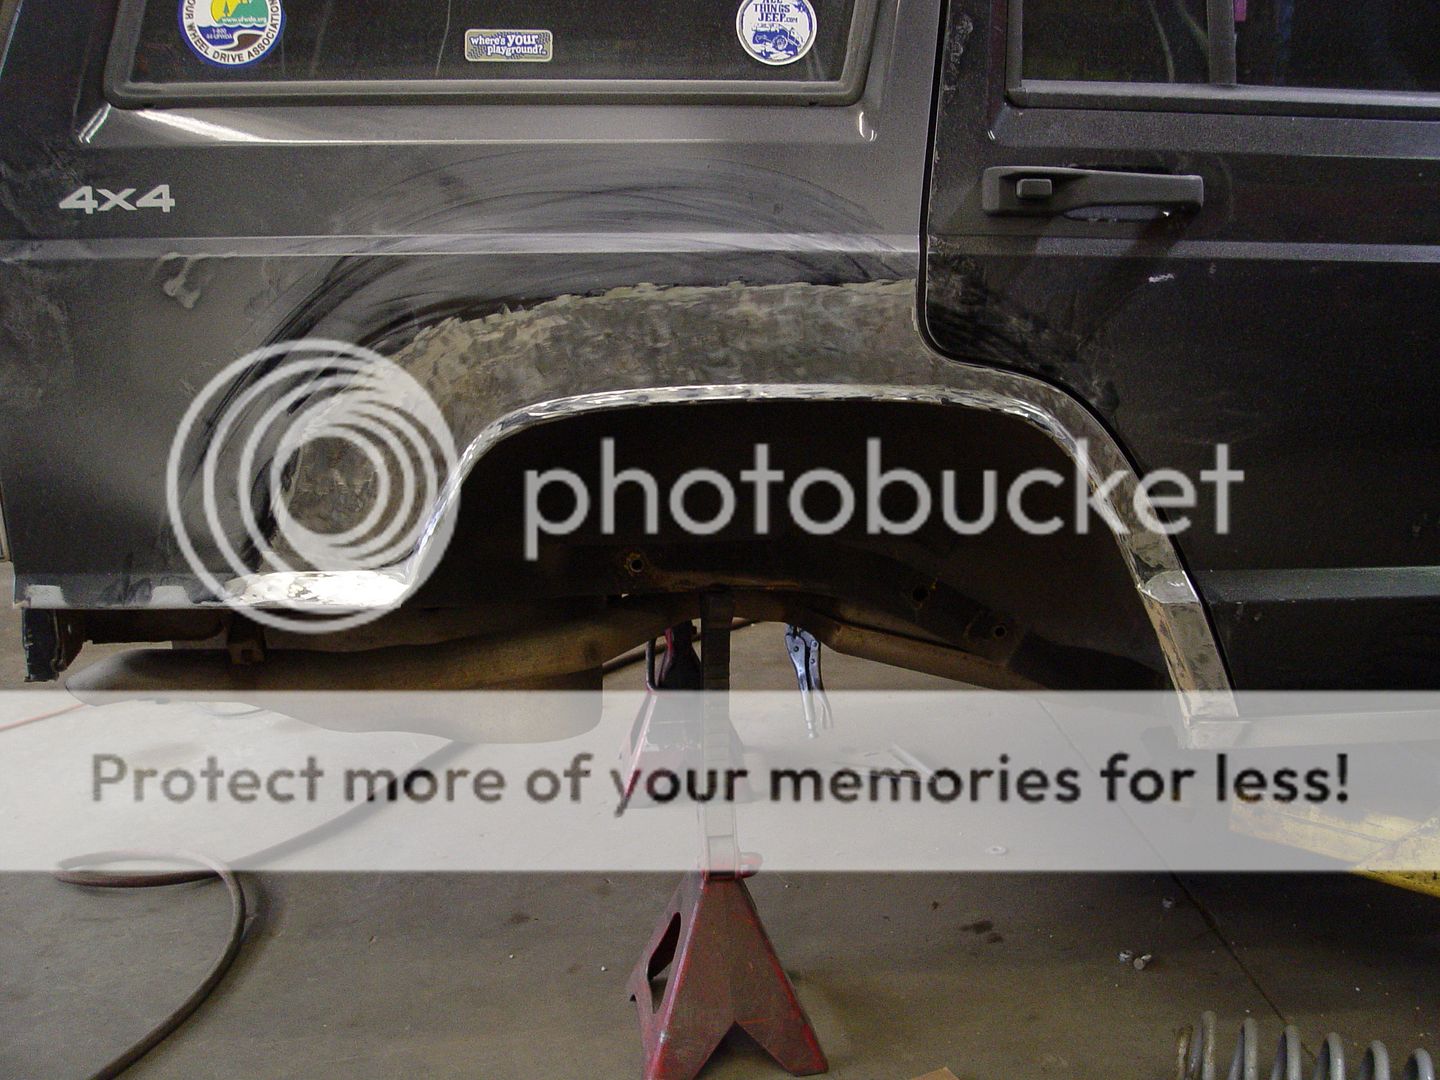
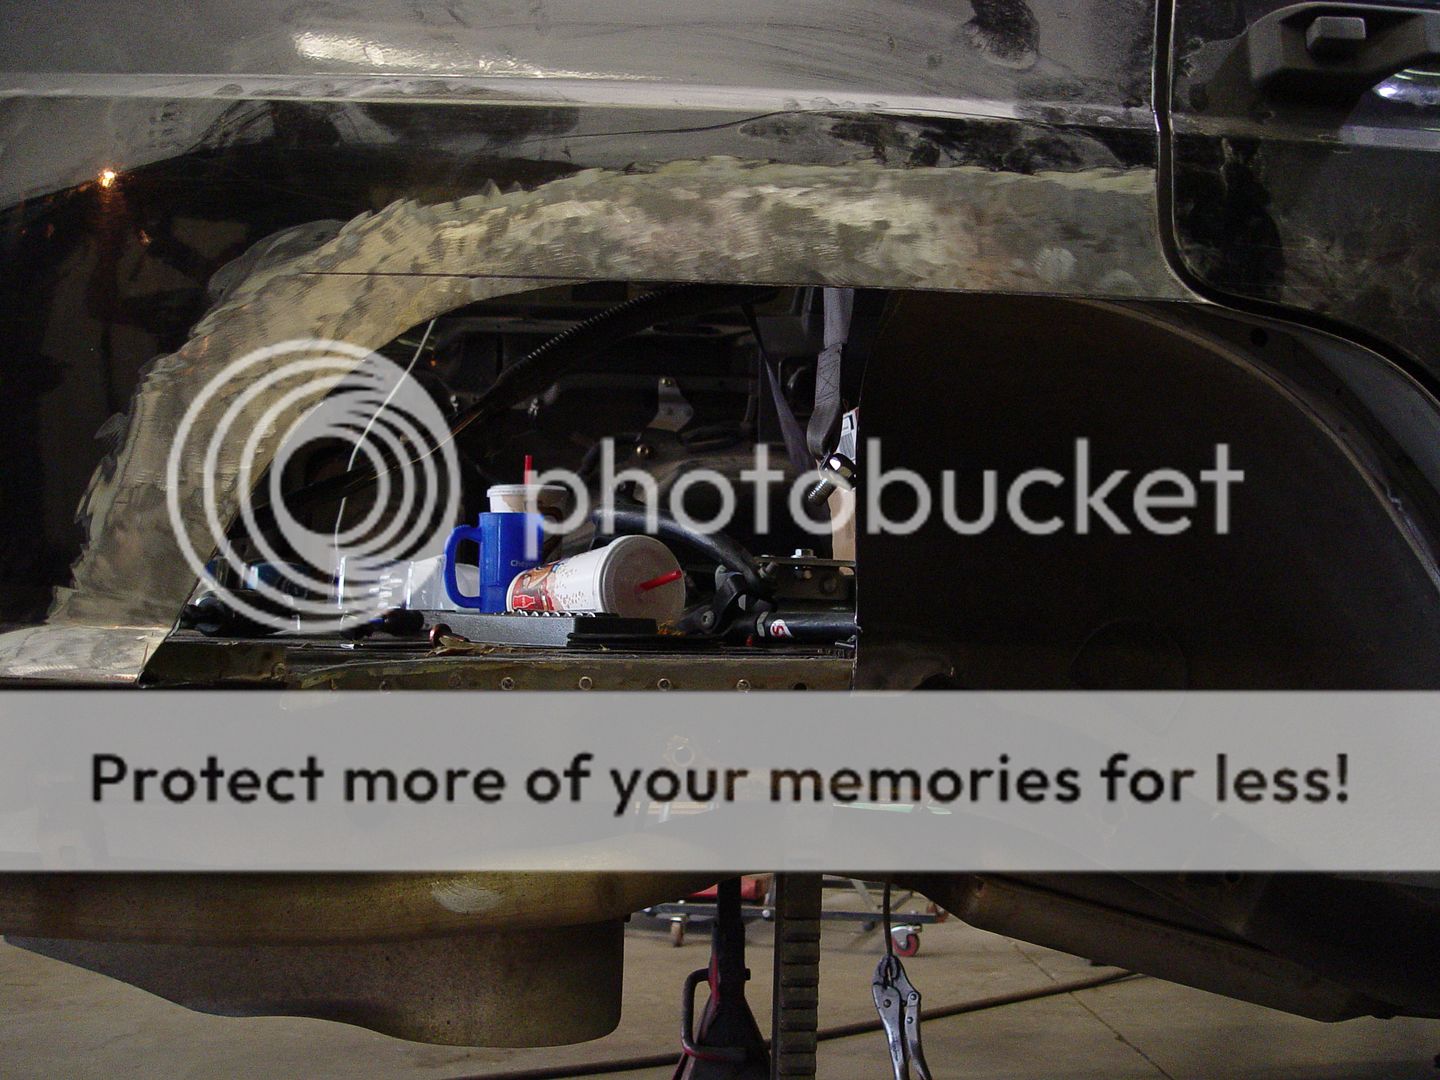
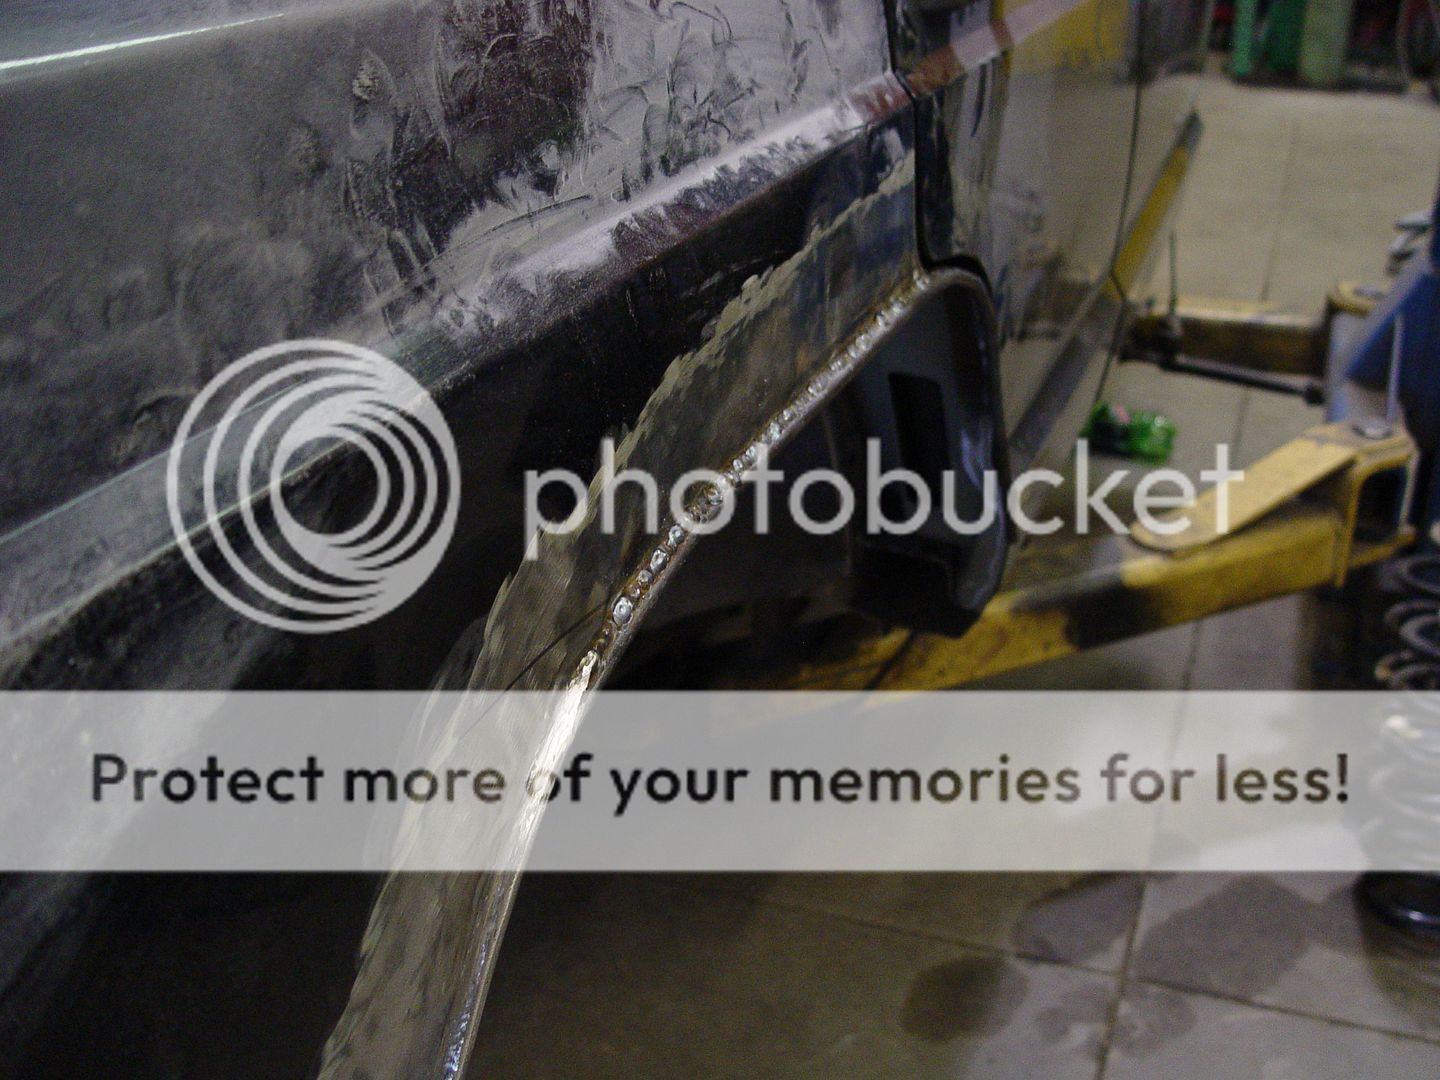
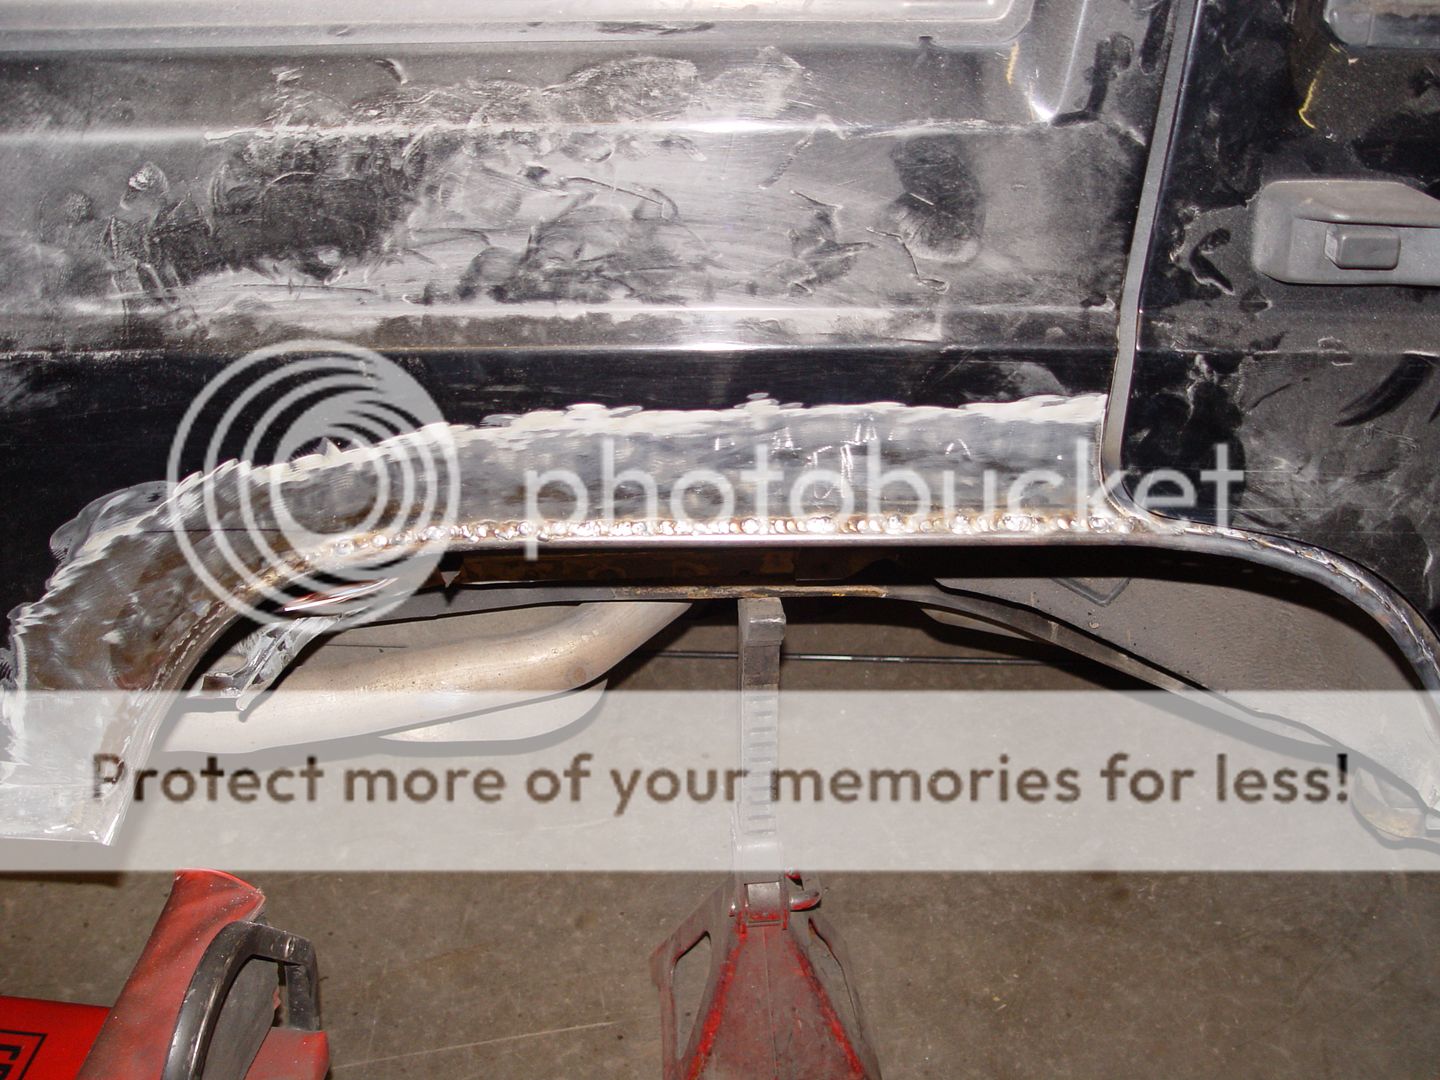
After building TJ's like the HyLine Hemi Jeep and the T&T Lo Rider, it's time to do a LCOG build of a different flavor. After several months of acquiring parts the time has come to bump my XJ up to 37's. Most lift/tire guides say that at least an 8" lift, plus heavy trimming, is required to fit that big a tire on a Cherokee but T&T and crew has once again stepped up to the challenge as we plan to run less than 5.5" with the larger rubber.

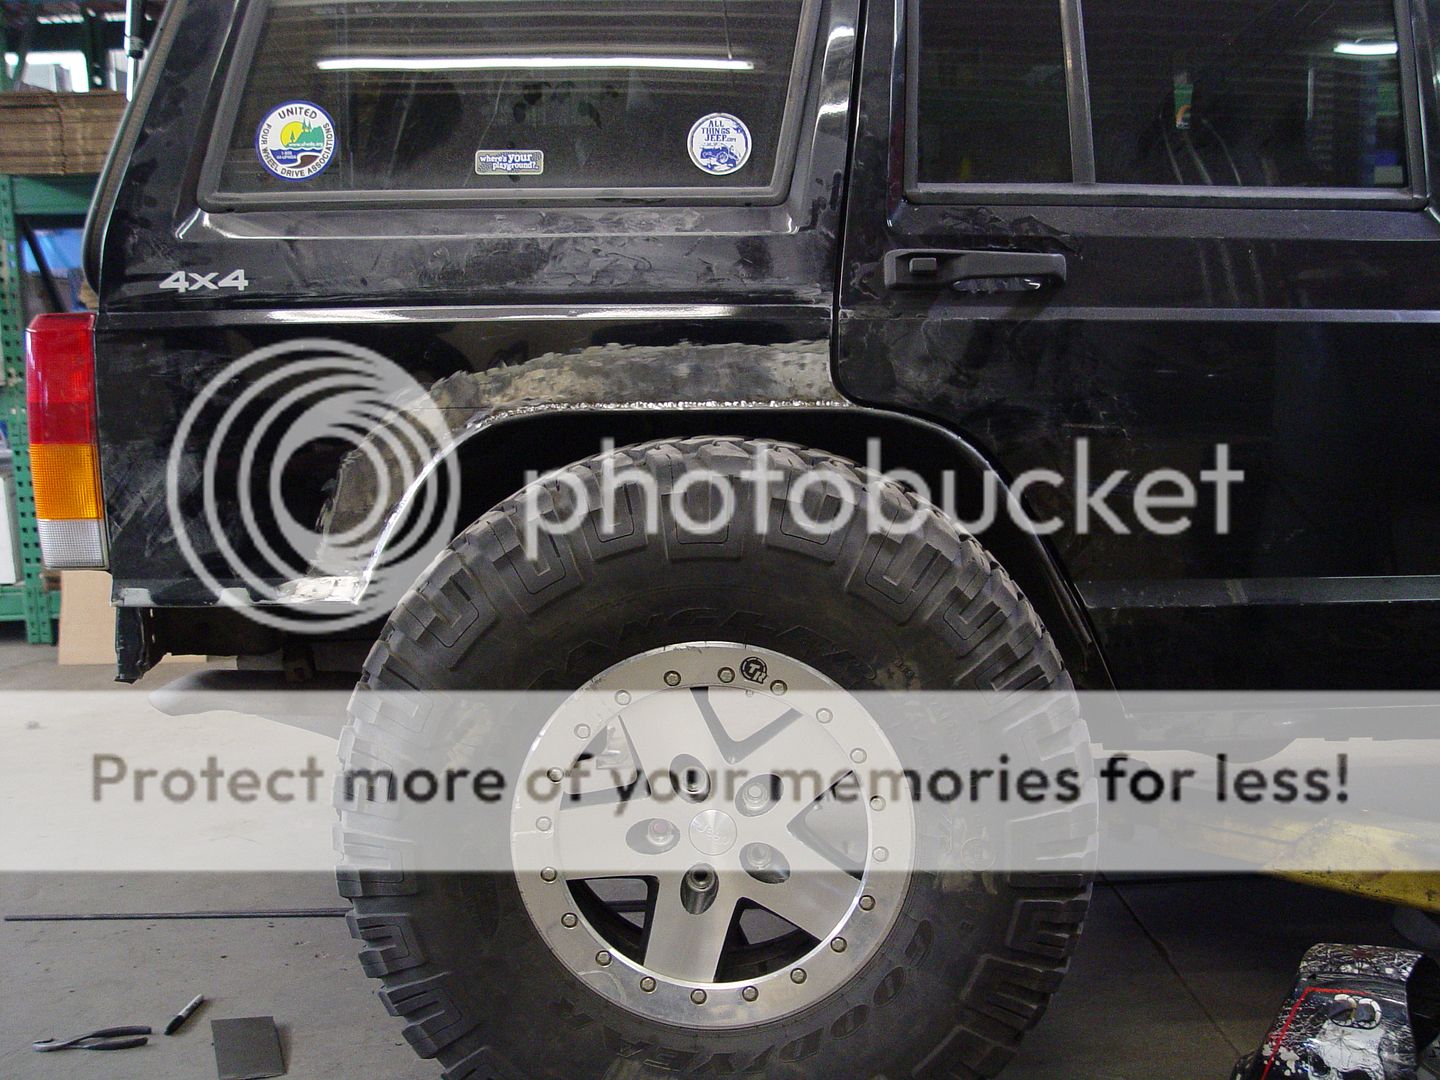
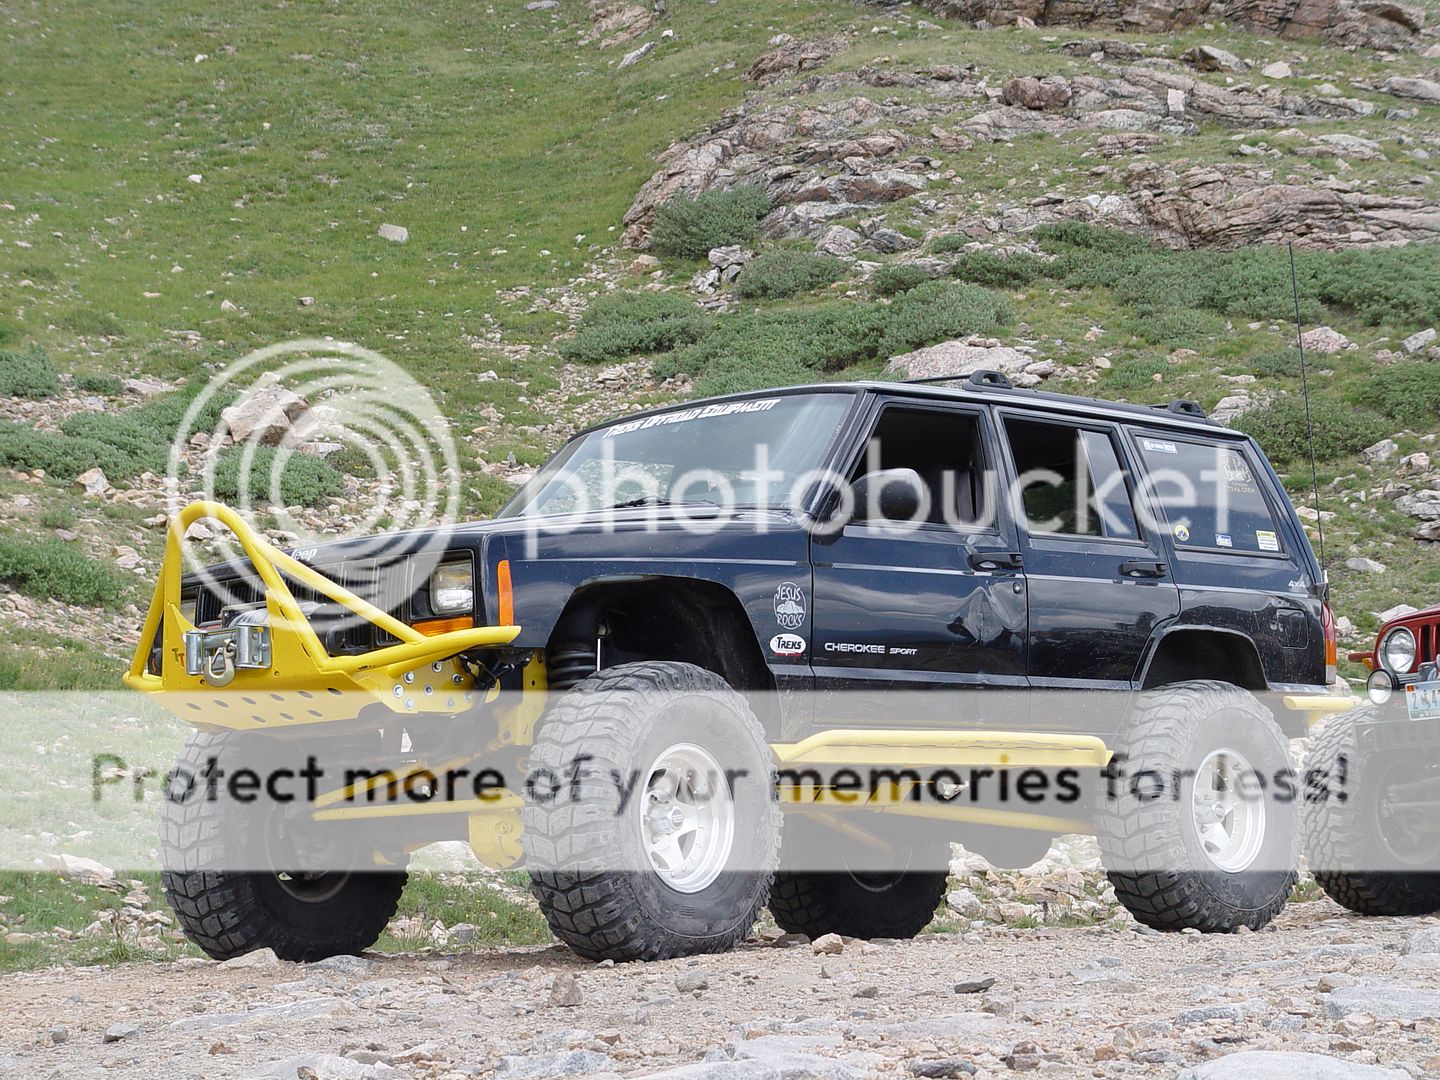
My XJ was already equipped with our 5.5" Coil Conversion along with 35" Pro-Comps, Explorer 8.8 rear w/Detroit, trussed HP30 front w/ARB and all our armor.

Before
DSC09197.jpg


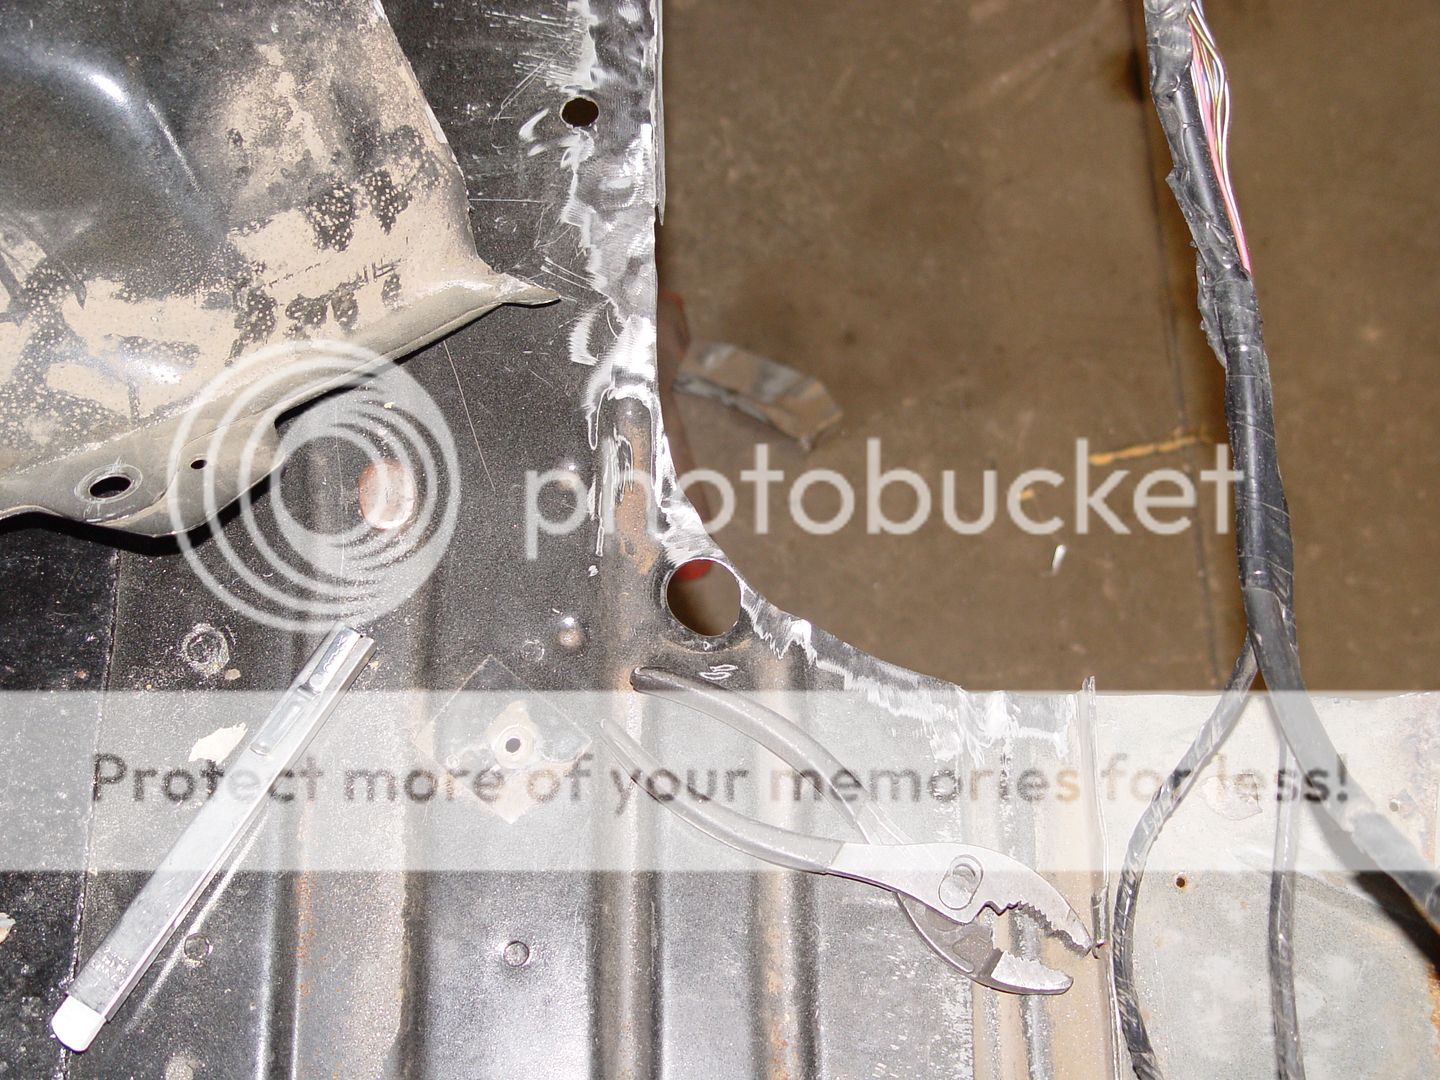
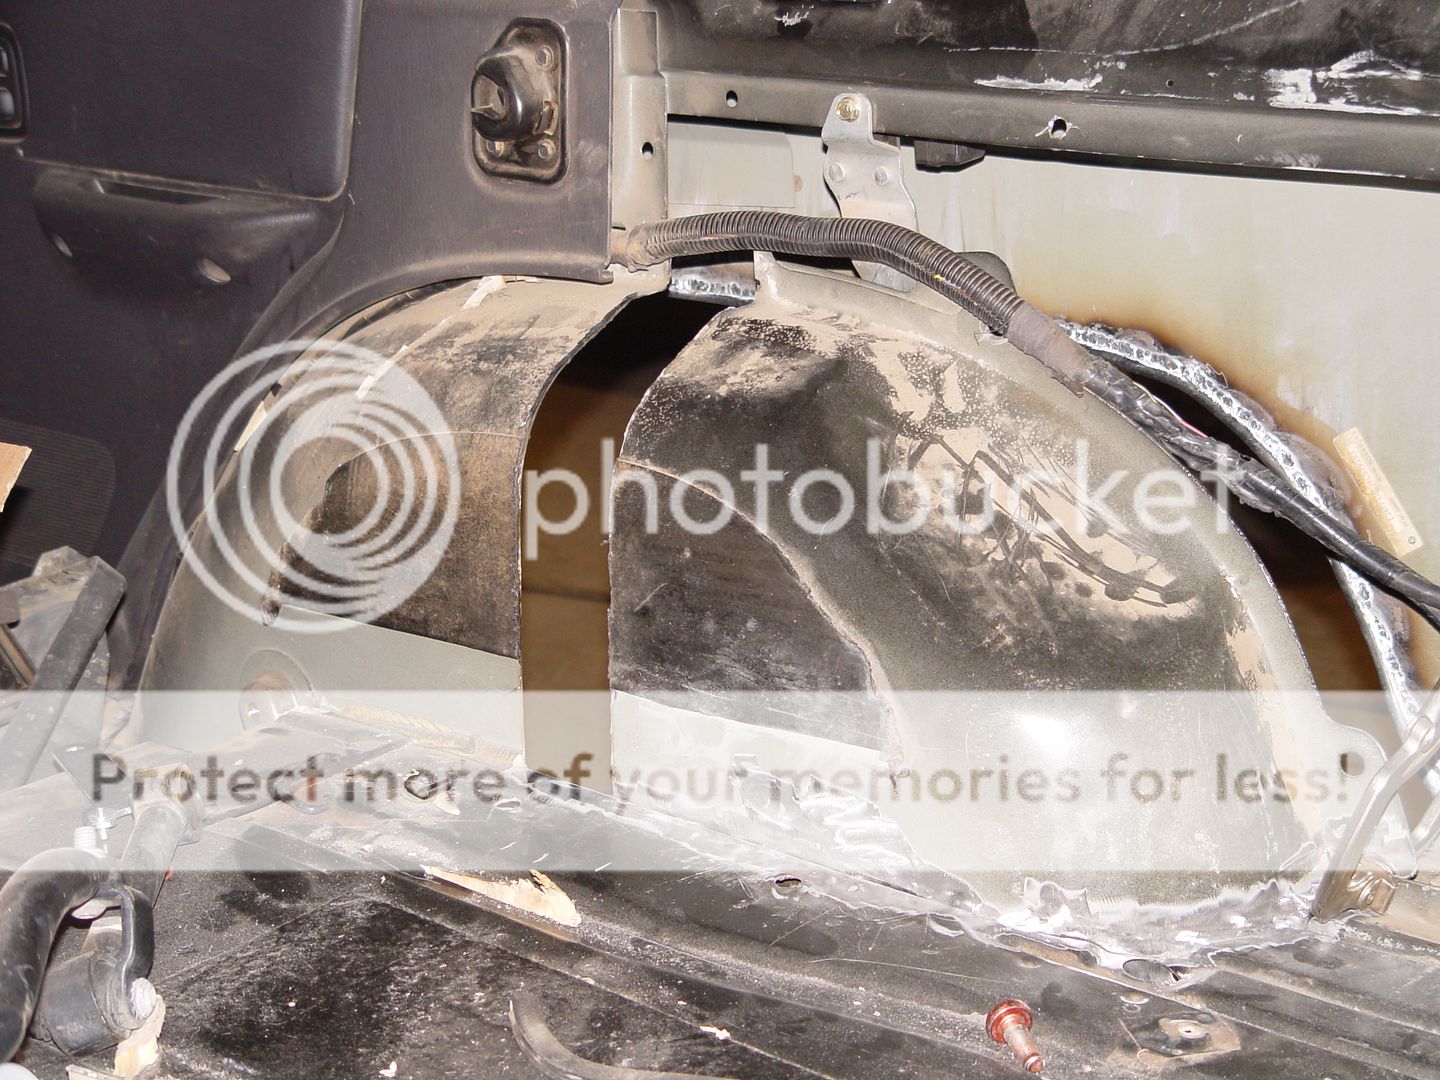
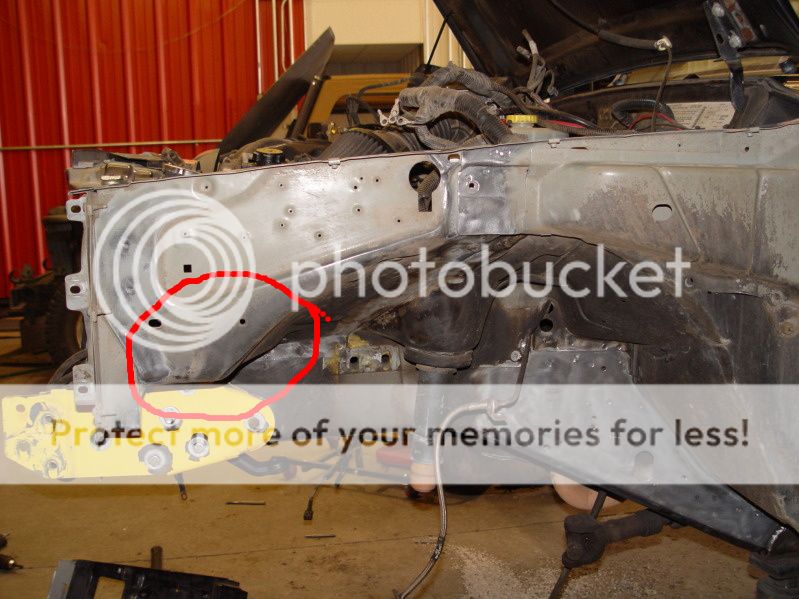
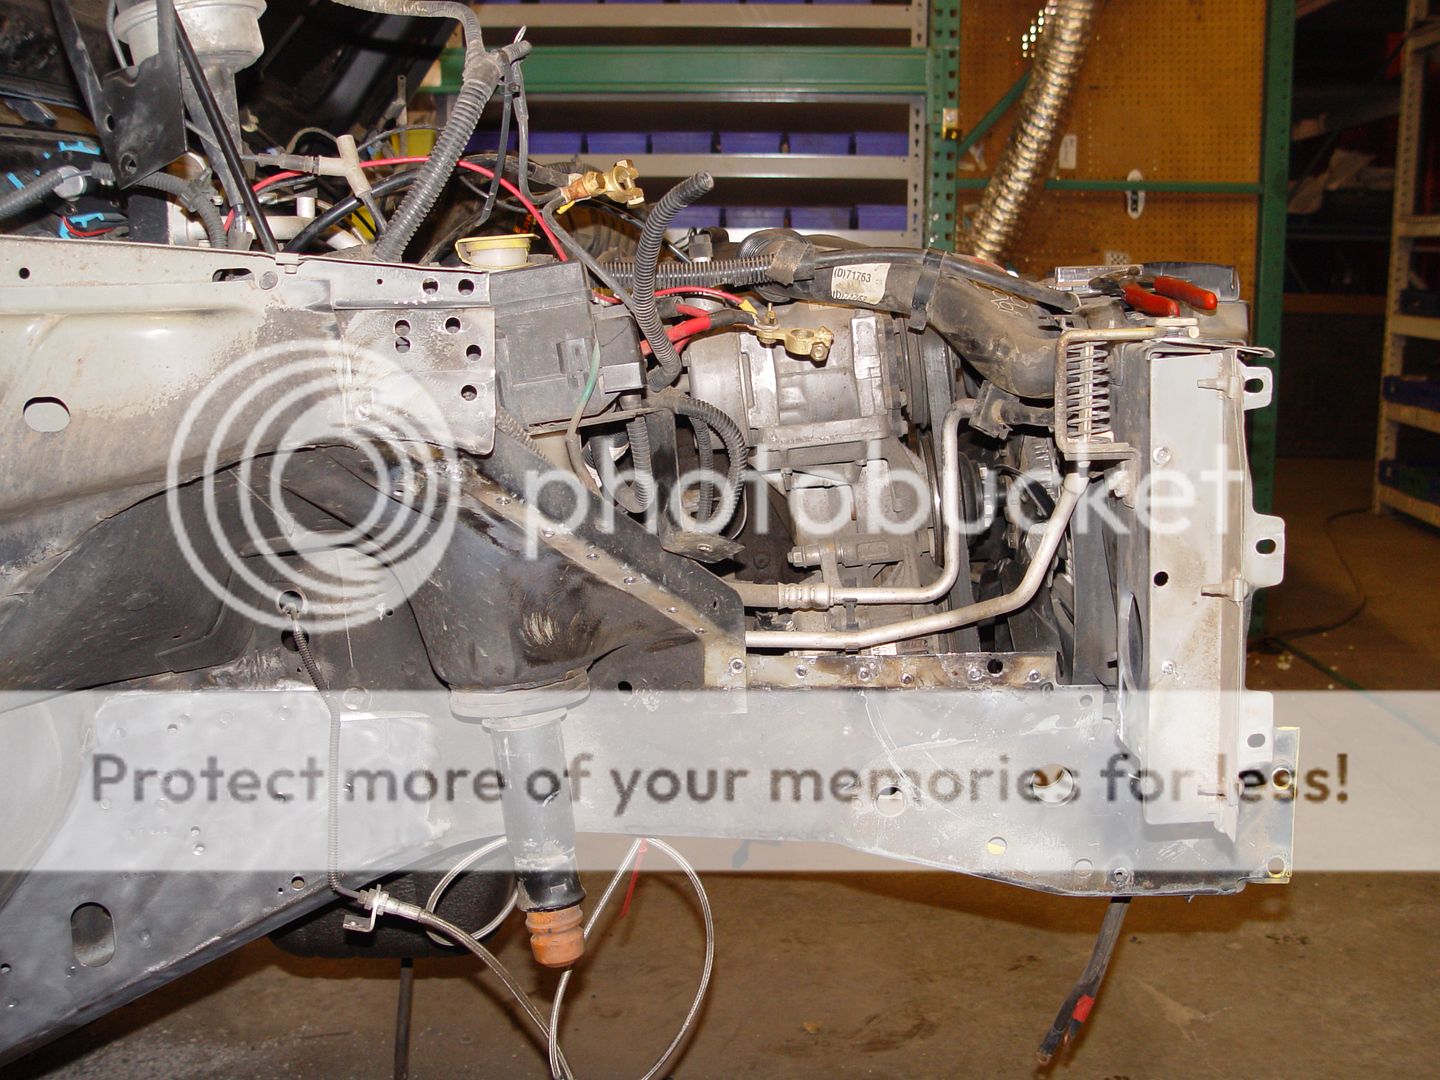
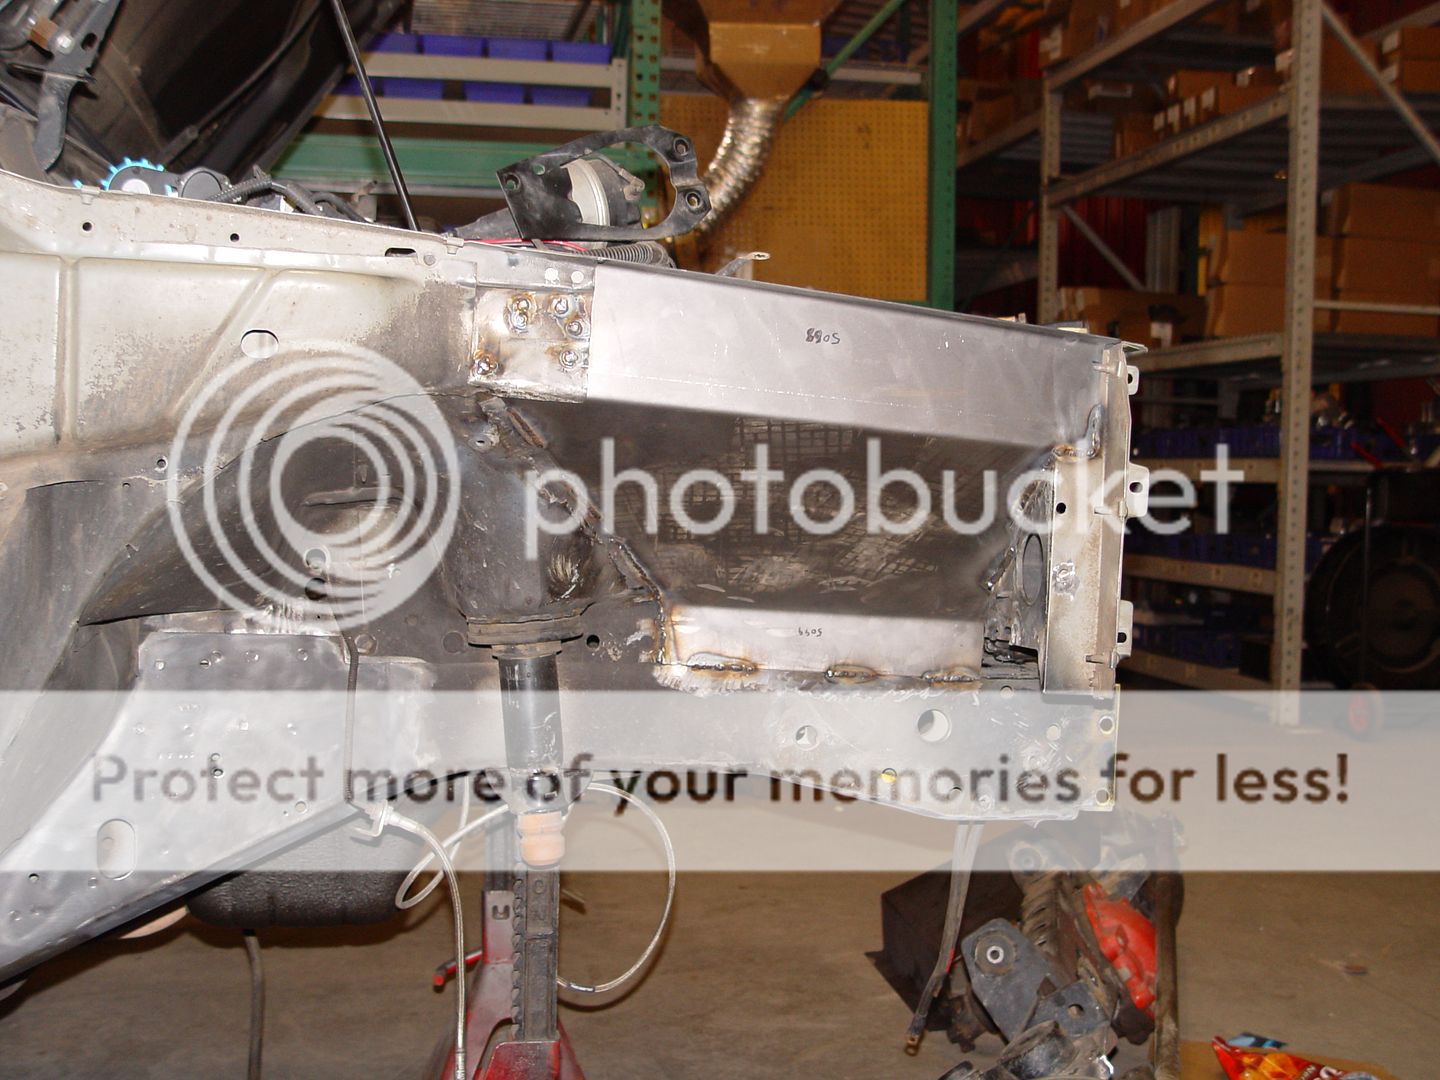
We'll be swapping a JKD30 w/ARB and 4.88's into the front with our JK truss system. Due to the width of the JK axle we'll be installing a truck 8.8 into the rear along with the previous 8.8's Detroit and a set of Moser shafts drilled to match the JK lug pattern.
 
As for the body mods, it was time to start cutting :eek:....:D

DSC01095.jpg


No turning back now

DSC01096.jpg


Once we figured out what was behind the body we were able to determine where the final opening needed to be and then cut accordingly.

DSC01102.jpg


The inner fender is made up of two halves, here we have the outer half removed so we can section the inner one. Once everything is moved we'll make a new filler to connect the inner halves and a new outer piece to connect it all back to the body.

DSC01109.jpg
 
Awesome start, few questions... why the JKD30? and not a rubi 44? also what's the new tire size going to be?
 
This picture is what an XJ would look like at ride height with 37's :D

DSC01102.jpg


It also shows where it would be going................NOWHERE! :D Looks like its gonna be Low COG for sure!
 
Here's a shot of the front of the wheel well. The rectangle opening was a vent which will get blocked off when the new inner fender goes in.

DSC01107.jpg


The rear half of the inner fender is getting moved back a couple inches as shown by the white line.

DSC01111.jpg


1/4" steel rod was added to stiffen up the quarter panel as well as provide a surface to weld the new inner fender to.

DSC01122.jpg

DSC01120.jpg
 
Subscribed.Looking forward to your progress waiting till funds are there to try this my self.
 
Very nice!

I already loved the pics from your coil conversion thread, this is going to be sweet!
 
A little clarification... Pics above are at stock suspension height with the 37's fitting in the opening. This is not where I intend the final ride/trail height to be. I'd like to see it end up with 3" of lift on it so A) there is room for uptravel - riding around on the bumpstops makes for sore kidneys :) B) it needs lift for break over angle - getting turtled on a parking curb would suck and C) We need some suspension height to clear the rear upper control arms in our dual tri-angulated coil conversion system (or I have to cut the floor up to make clearance for those too...)

Bob
 
looks awesome! opening up those rear fenders helps a ton, and i LOVE those beadlocks.

and btw, my friend has run 37s on 2-3" of lift on his XJ :shhh:
 
looks awesome! opening up those rear fenders helps a ton, and i LOVE those beadlocks.

and btw, my friend has run 37s on 2-3" of lift on his XJ :shhh:

Let's see some pics :)

Those wheels tend to grab alot of attention. I can't remember off hand what Larry at TrailReady charged to convert them to beadlocks but they do look slick.
 
Now for the front!

The circled area in the attached picture was going to interfere with our goal so it had to go. Thankfully, the front inner fender is made up of two pieces so all we had to do was remove the front half.

DSC01089-1.jpg

DSC01086.jpg


Once removed we fabbed up a replacement that gives us the clearance needed.

DSC01153.jpg


Some of the area in red is still going to have to die but we won't know for sure how much until the front axle is installed.

DSC01153-1.jpg
 
Once removed we fabbed up a replacement that gives us the clearance needed.

DSC01153.jpg

Much cleaner than cutting the corner off the panel and welding in a flat plate. I like it. :thumbup: I assume the battery is being relocated to the back?
 
Much cleaner than cutting the corner off the panel and welding in a flat plate. I like it. :thumbup: I assume the battery is being relocated to the back?

It's going to be tight but with a little tweaking of the AC lines we should be able to reinstall the Optima on its side at an angle.

DSC01163.jpg
 
Back
Top