Talyn
NAXJA Forum User
- Location
- Radford, Communistwealth of Virginia
I used my old 0331 head to try my hand at polish and porting before I hit my 0630 that will be going on the engine. Basically I wanted to get a feel for the different bits and try it before I go mucking up the 0630. Lets take a look at the pics.
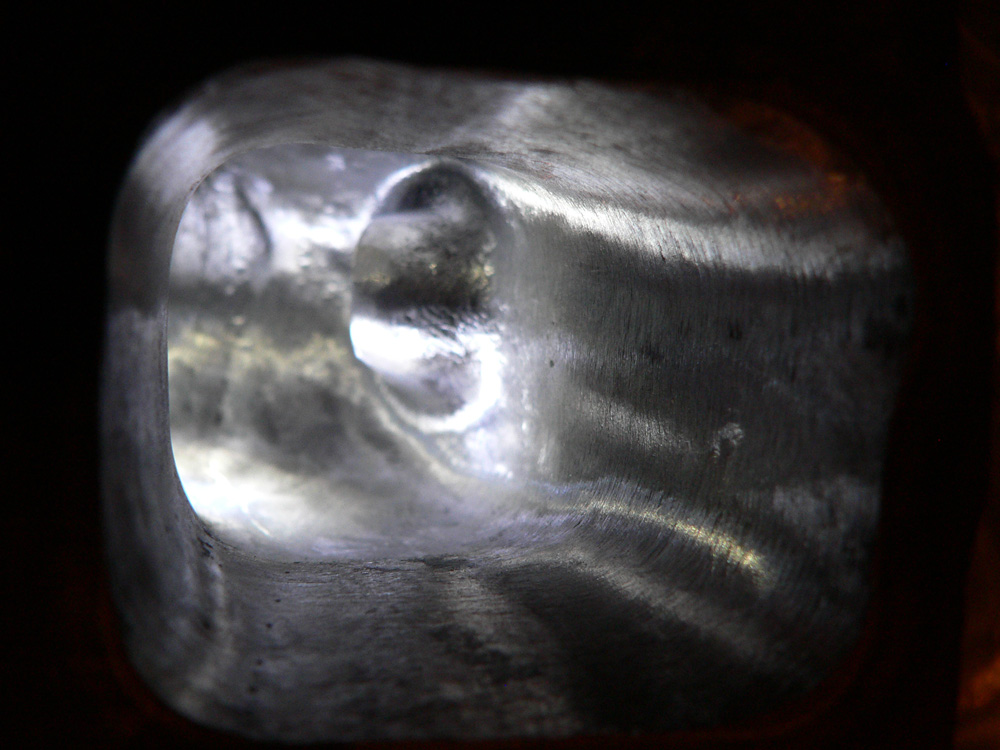
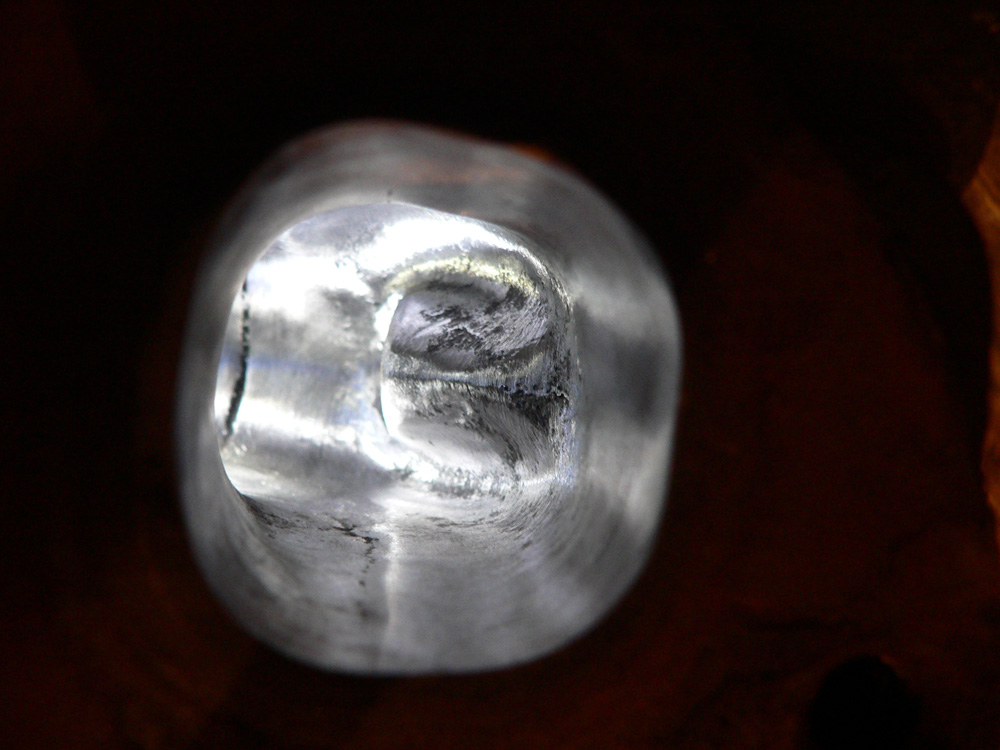
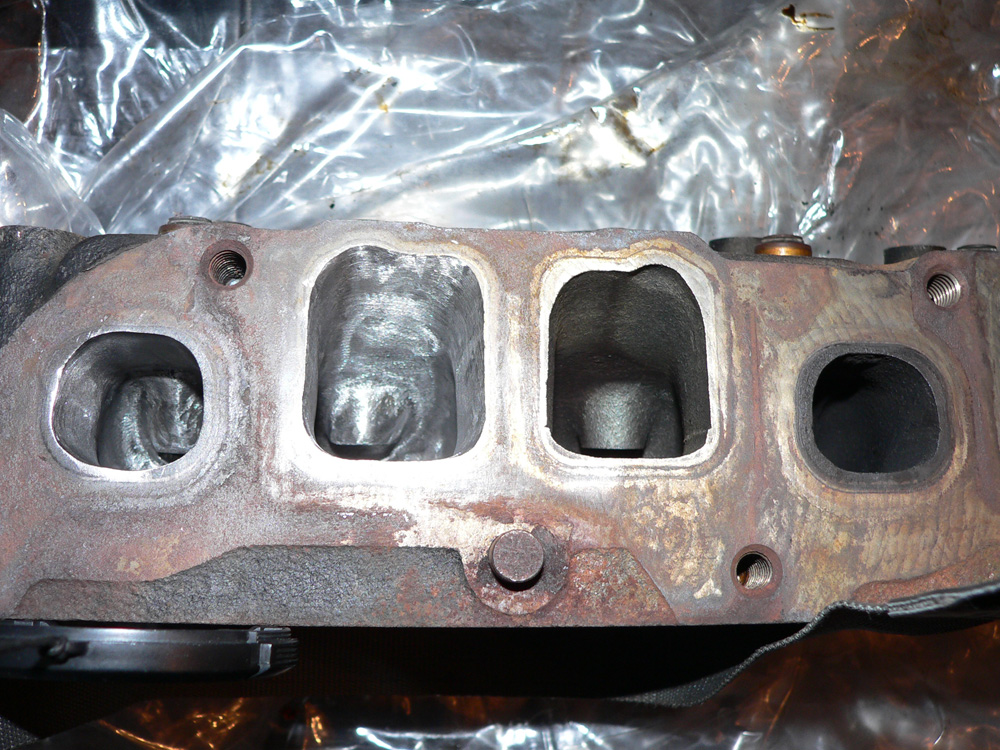
Intake:


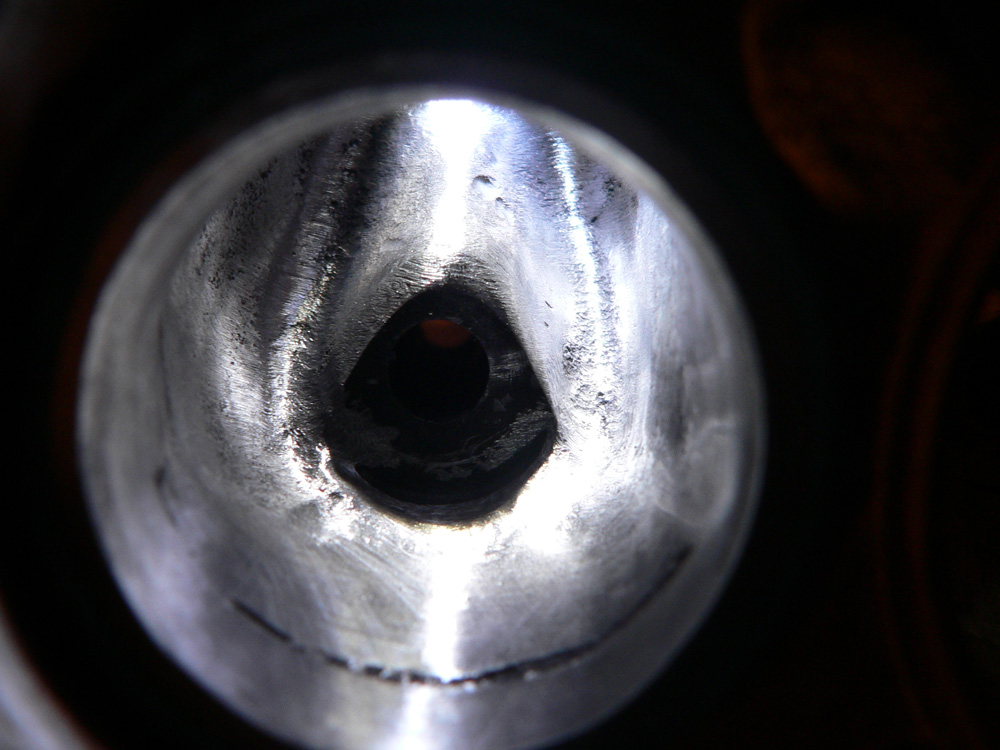
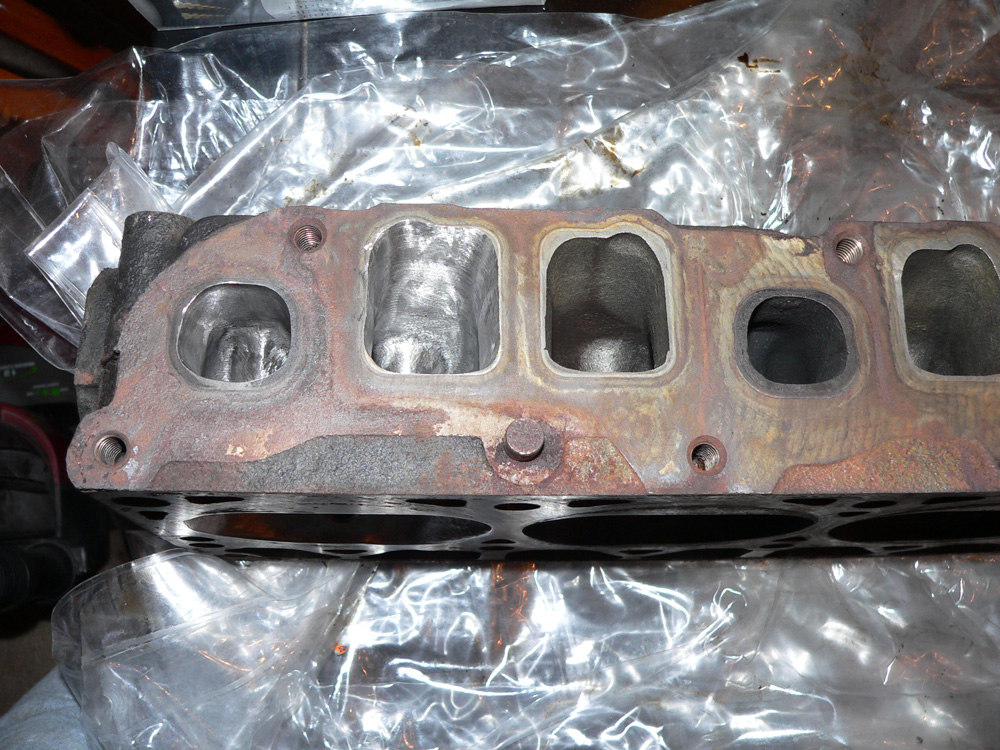
Exhaust:
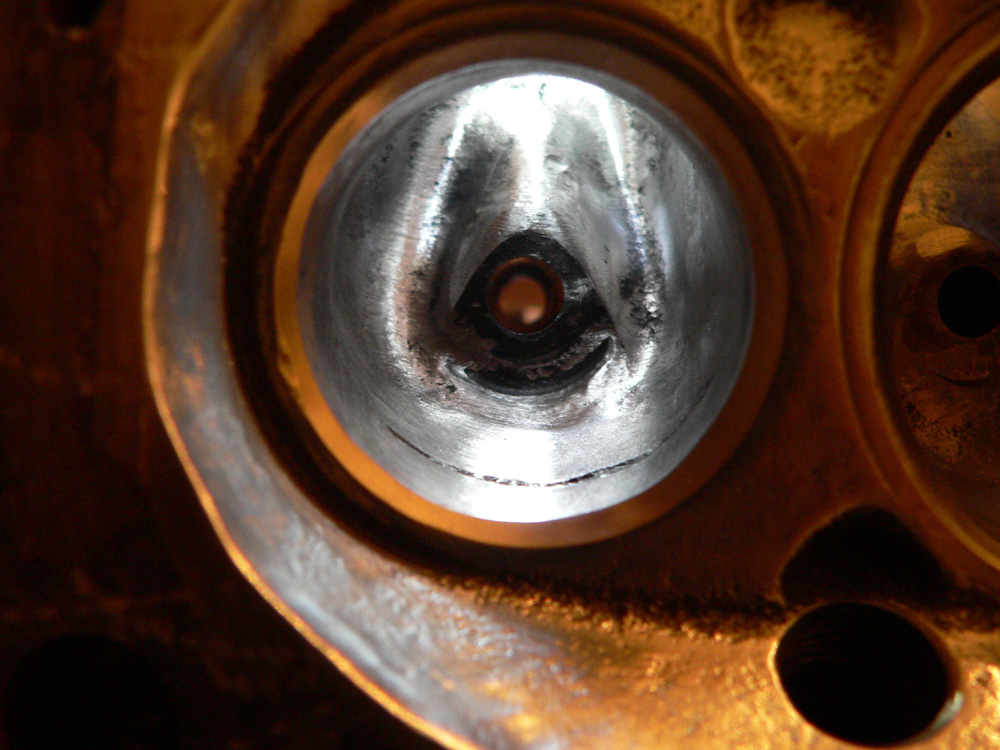
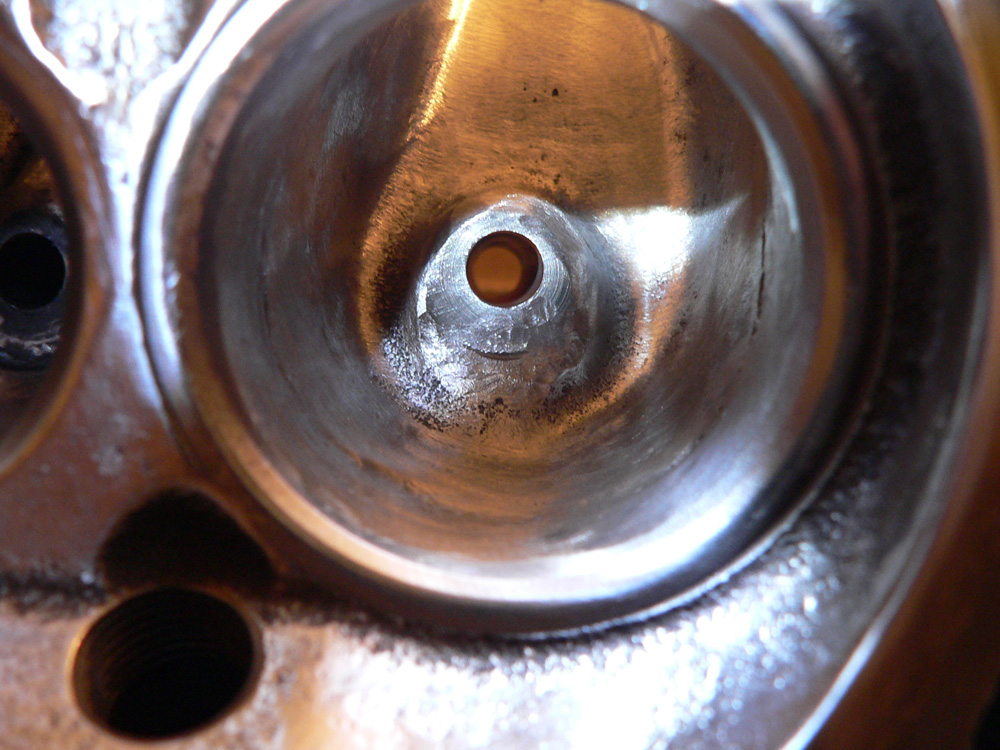
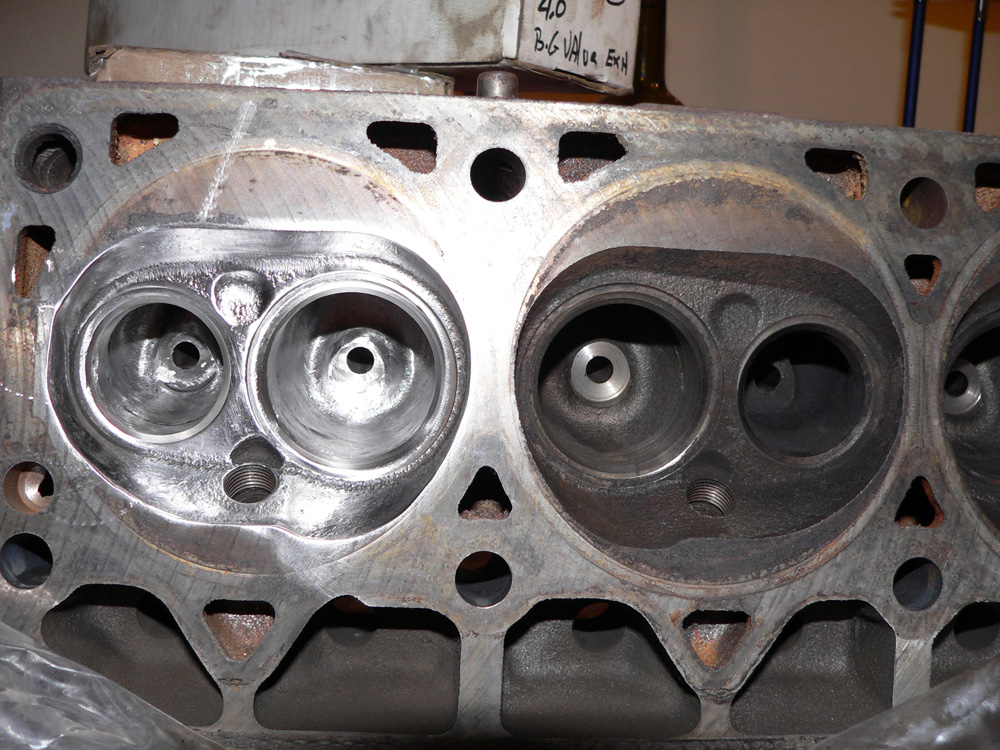
Combustion chamber close up:

A few comparing before and after:
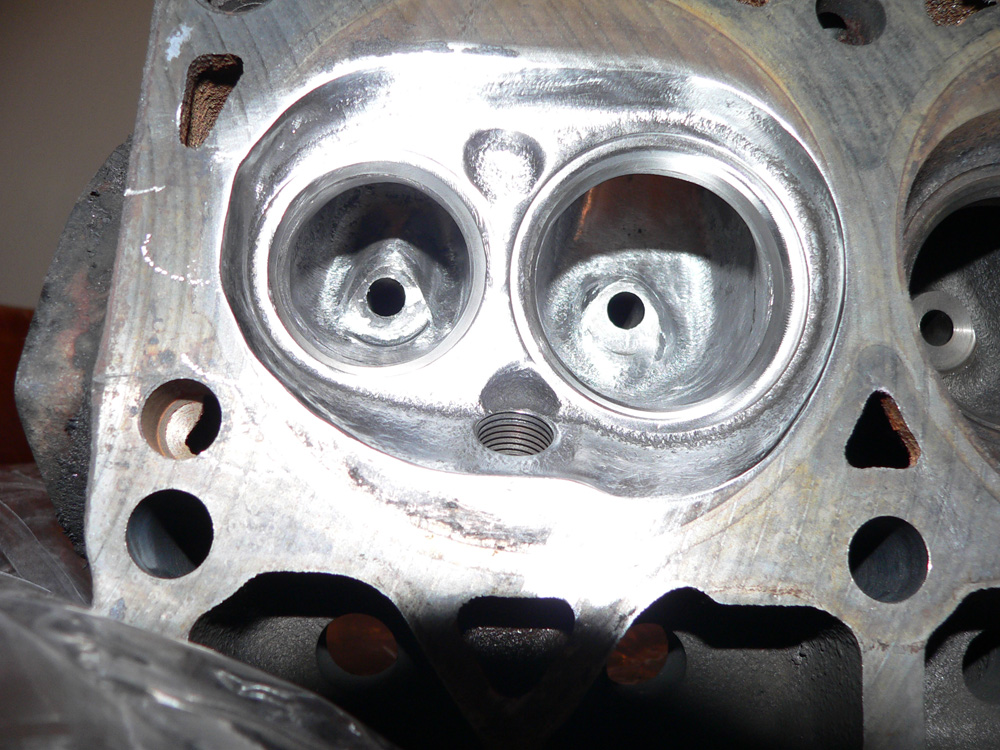
I started at 5 and finished around 8. I went from a carbide burr, to the grinding stone, then to the 40 grit rolls, then to the 80 grit rolls, then finally to the cross buffs. I didn't really care that much about hitting the valve seats and I did a few times, but I will be careful on the real deal. I found that the carbide bits cut really fast... i made the mistake of attempting to unshroud the exhaust valve with one, that is why it is so lumpy looking. I didn't have my manifold gasket with me so I just went off of the marks form the original gasket. Not sure if I will open up the intake that much or not on the final one. Neither of the ports are actually polished, only the combustion chamber, which I know requires a bit more work. Also, there are a few bits in the runners that I would like to make a bit smoother. I will also be putting dowel in the valve guides to protect them and using old valves on the combustion chamber polishing. I did encounter a problem with the cross buffs... they won't fit in the exhaust port.. its just too big.. suggestion on that?
So, whats the verdict? Am I on the right track? Where do I need to put more effort in?
Oh yeah.. any one have a pair of valves that I could use to protect the valve seats?
-Chris
Intake:
Exhaust:
Combustion chamber close up:
A few comparing before and after:
I started at 5 and finished around 8. I went from a carbide burr, to the grinding stone, then to the 40 grit rolls, then to the 80 grit rolls, then finally to the cross buffs. I didn't really care that much about hitting the valve seats and I did a few times, but I will be careful on the real deal. I found that the carbide bits cut really fast... i made the mistake of attempting to unshroud the exhaust valve with one, that is why it is so lumpy looking. I didn't have my manifold gasket with me so I just went off of the marks form the original gasket. Not sure if I will open up the intake that much or not on the final one. Neither of the ports are actually polished, only the combustion chamber, which I know requires a bit more work. Also, there are a few bits in the runners that I would like to make a bit smoother. I will also be putting dowel in the valve guides to protect them and using old valves on the combustion chamber polishing. I did encounter a problem with the cross buffs... they won't fit in the exhaust port.. its just too big.. suggestion on that?
So, whats the verdict? Am I on the right track? Where do I need to put more effort in?
Oh yeah.. any one have a pair of valves that I could use to protect the valve seats?
-Chris